Search This Blog

Showing posts with label Oakridge BBQ. Show all posts

Thursday, January 8, 2015

Bock BBQ Sauce with Pulled Beef and Broccoli Slaw

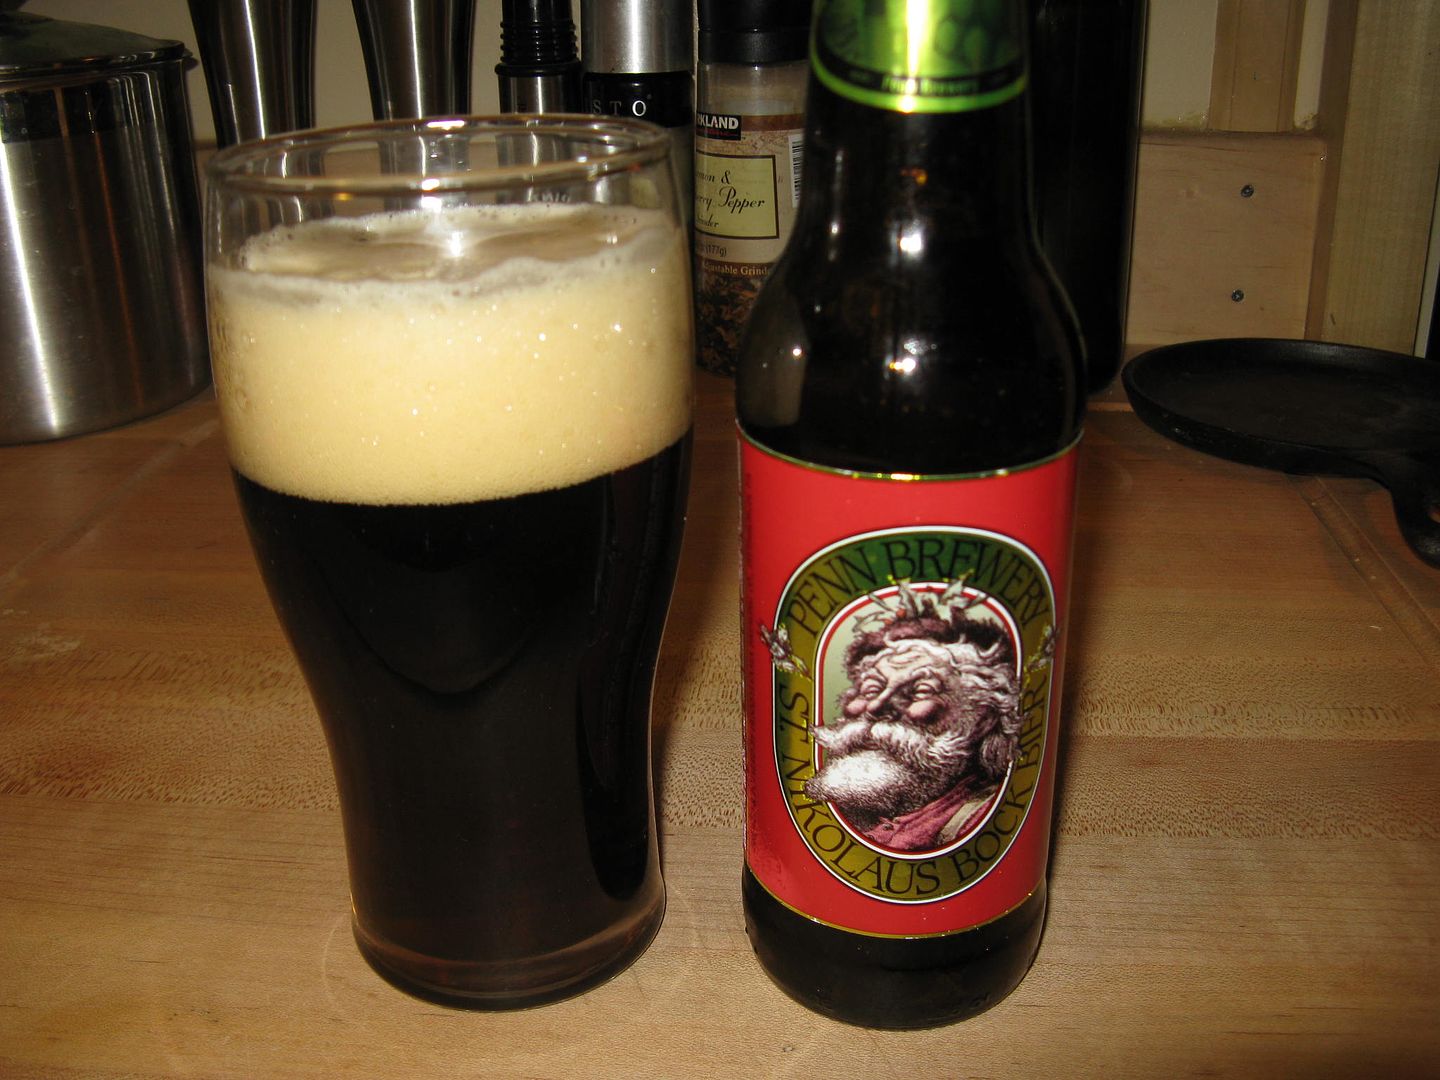
Around here, during the holidays, the Penn Brewery releases one of my favorite seasonal beers: St. Nikolaus Bock.


Slightly sweet, full bodied, yet smooth.  A nice holiday session beer.  One day over the holidays, I was yearning for something other than heavy holiday meals.  A taste of summer perhaps.  So, I decided to work a St. Nikolaus Bock into a BBQ sauce and used pulled beef as my meat of choice.

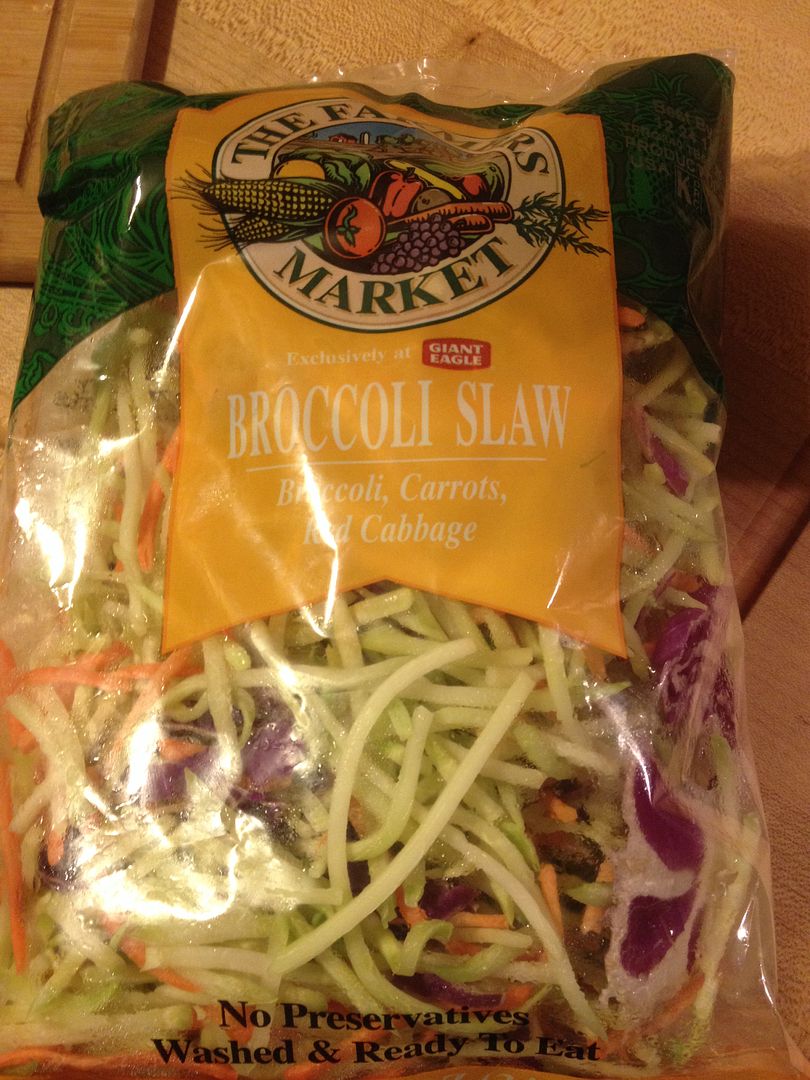
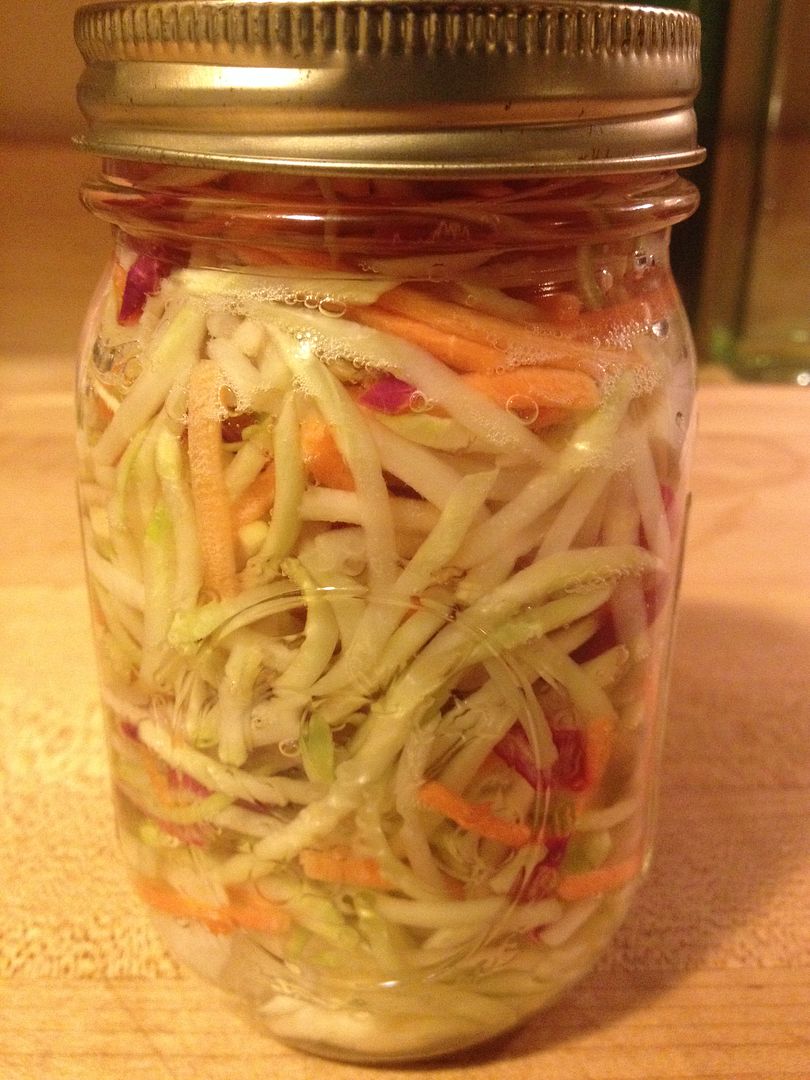
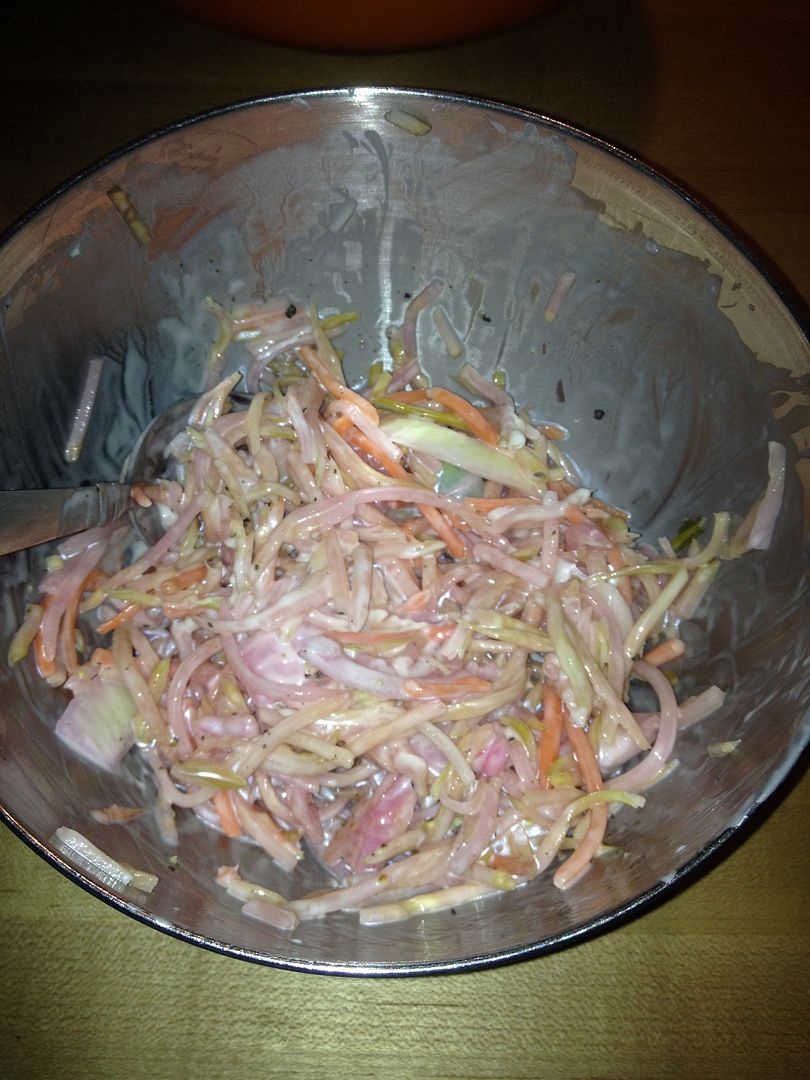
First, the day before, I put a quick over night pickle on a pint of broccoli slaw mix, 1/4 of a sweet onion, and two garlic cloves.


To make this sauce, I used an old recipe that I had and worked the beer into the ingredients.

St. Nikolaus Bock BBQ Sauce

3 Cloves Garlic, minced
1 Small Sweet Onion
1 Cup Ketchup
1 Cup Beer
1 Tbsp Cider Vinegar
2 Tbsp Worcestershire Sauce
1 Tbsp Dark Brown Sugar
1/2 tsp dried thyme
1/2 tsp dried mustard powder
1 tsp black pepper
1 tsp chili pepper
1/4 tsp cayenne pepper
Olive Oil for sautéing

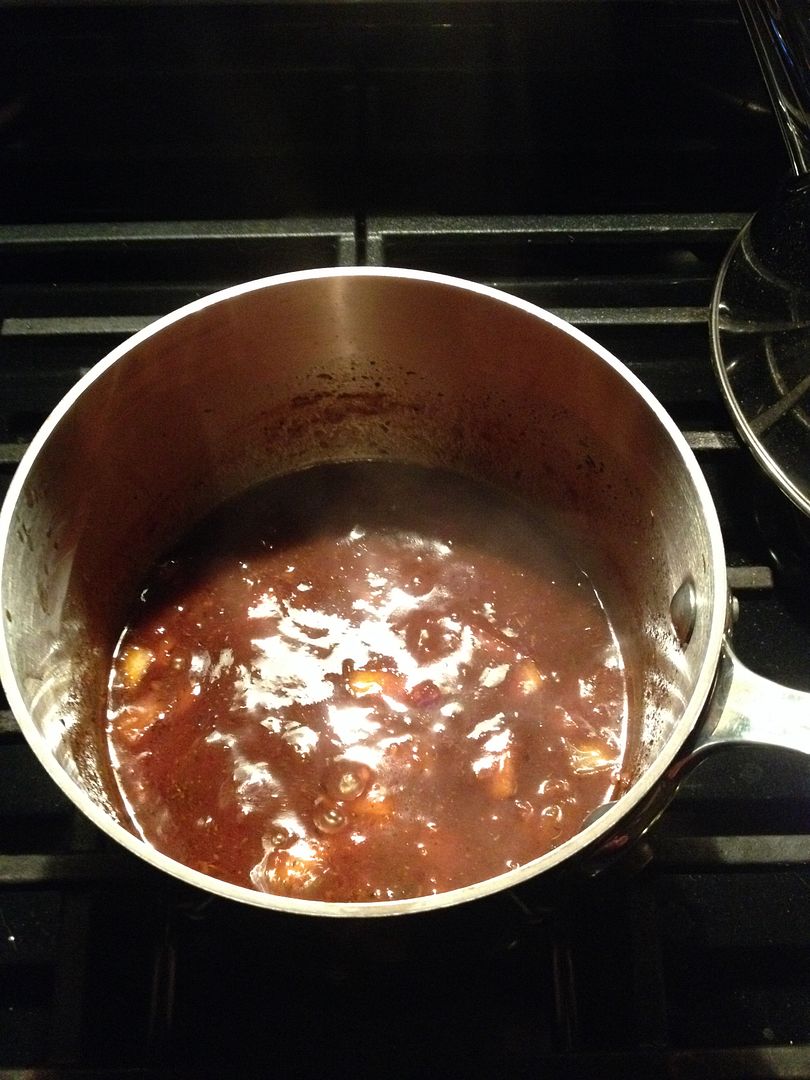
I heated the olive oil and sauteed my garlic and onion in a small sauce pan on low heat until soft and translucent.  Then, I added the remaining ingredients into the saucepan and brought to a boil.  Then, I reduced the heat and simmered until I had reduced the sauce by 1/3 of the volume or until thick.  Then, I made the mixture smooth with my immersion blender.


That's it.  Quick and simple.  I suggest preparing the day before you plan to use so that the flavors have a chance to mingle and mellow.  It was even better the second day.

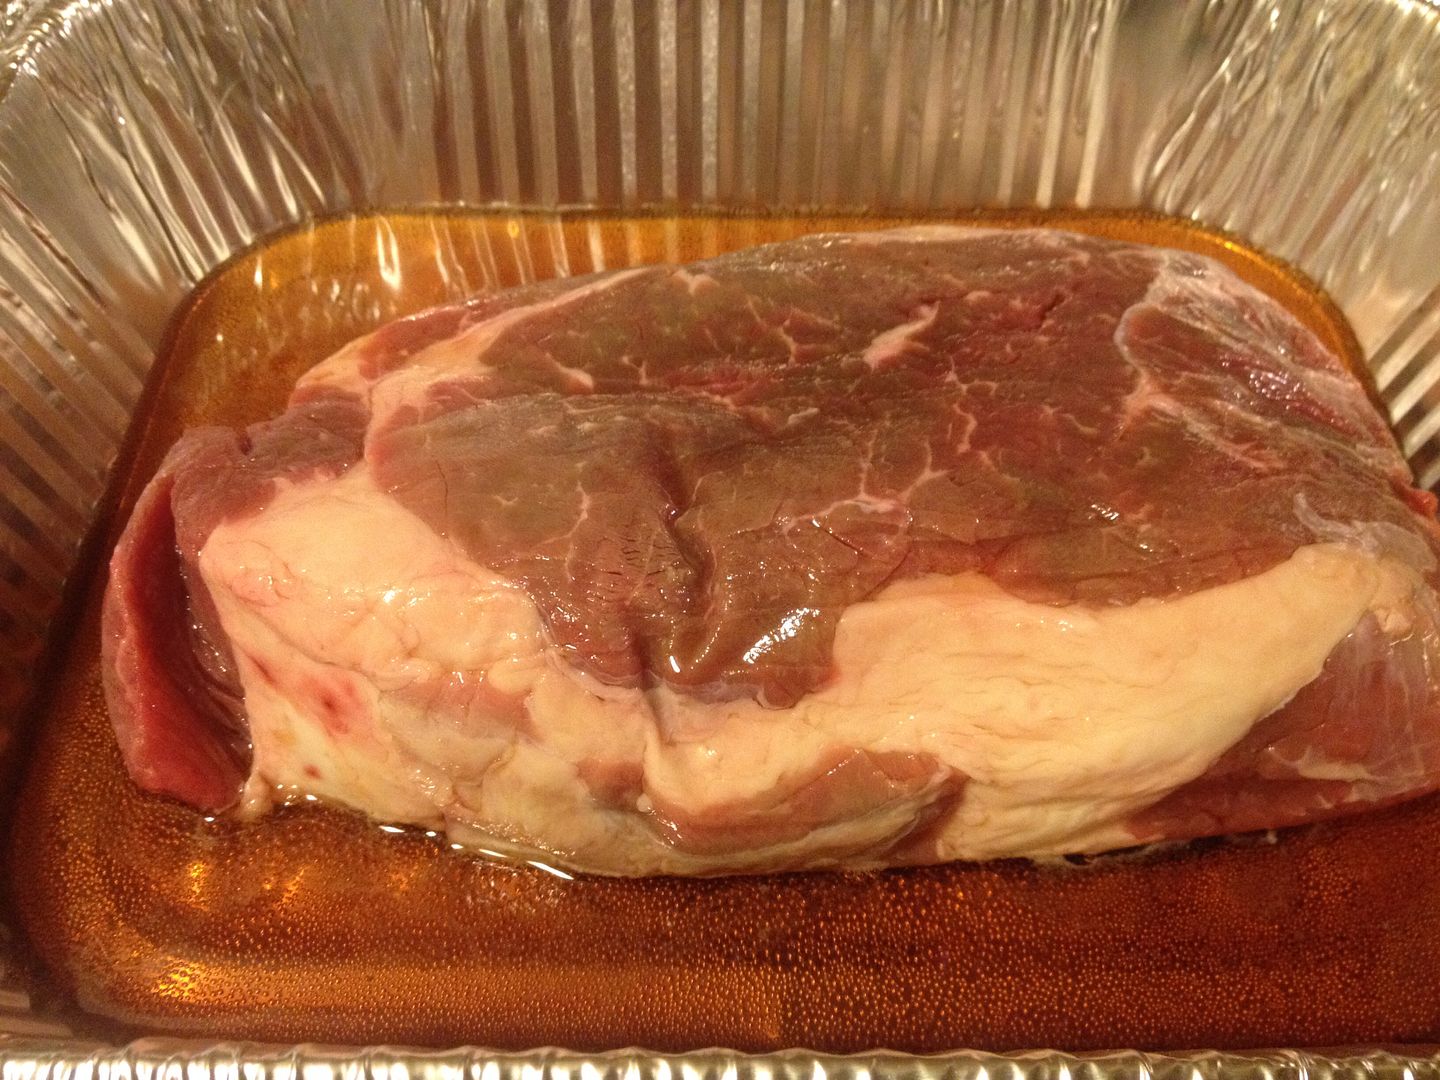
For the pulled beef, I took a two pound chuck roast, hit both sides with the tenderizer, then let it marinade in the rest of the beer overnight.


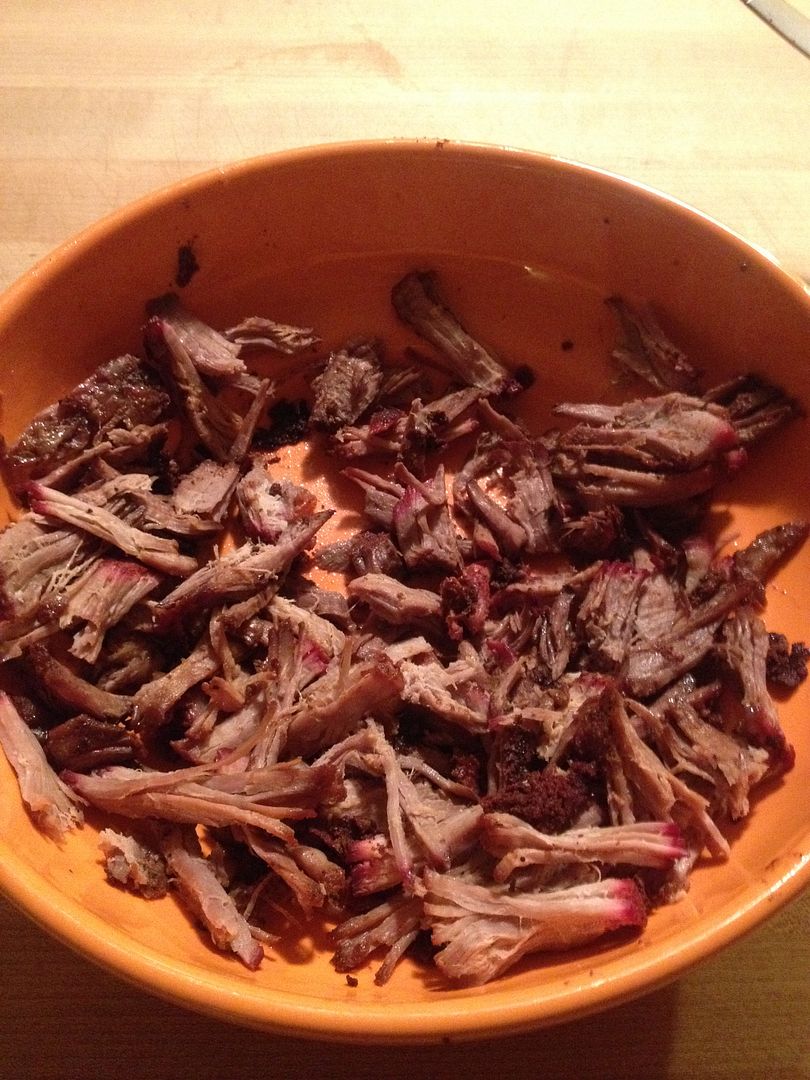
The next day I rubbed with some Oakridge Beef and Pork rub, then smoked with pecan wood at 250 F until the chuckie was at 195 F internal temperature.  I smoked the roast in the pan with the leftover beer marinade.  When the meat was done, I foiled the pan tightly then placed in my oven, turned off, to rest for one hour.  Then, Hope was nice enough to pull the beef apart and add the sauce.


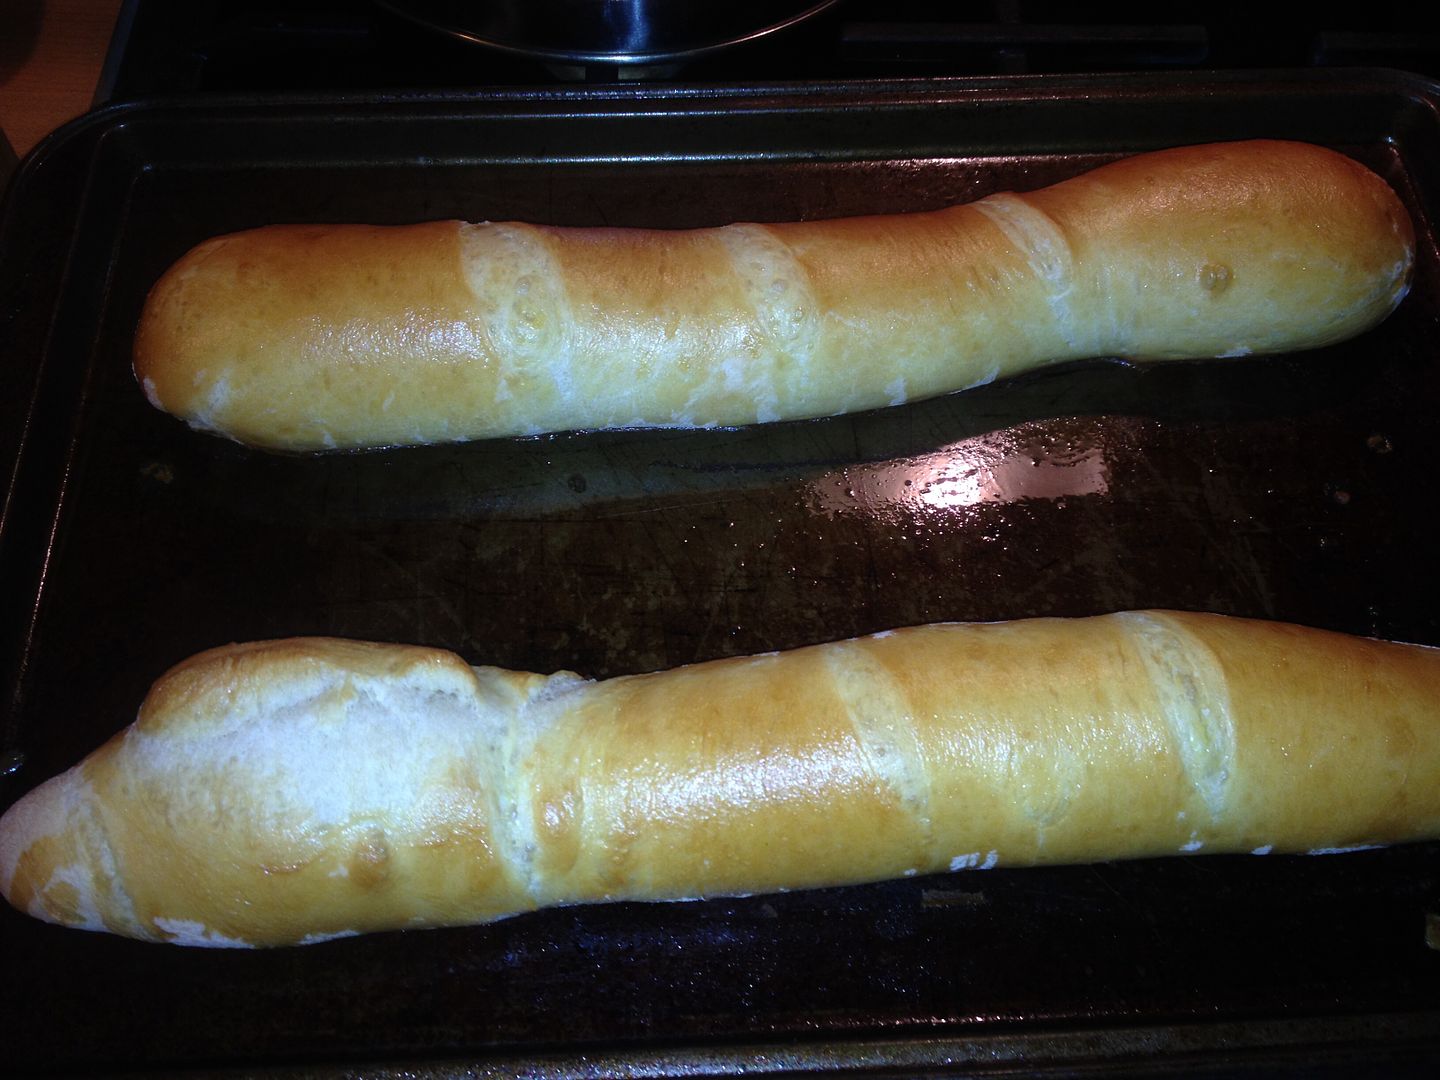
Hope was also nice enough to make some crusty French loaves for this BBQ treat.


Before assembling the sandwich, I drained my pickled broccoli slaw and added one tablespoon of mayonnaise for some creaminess.


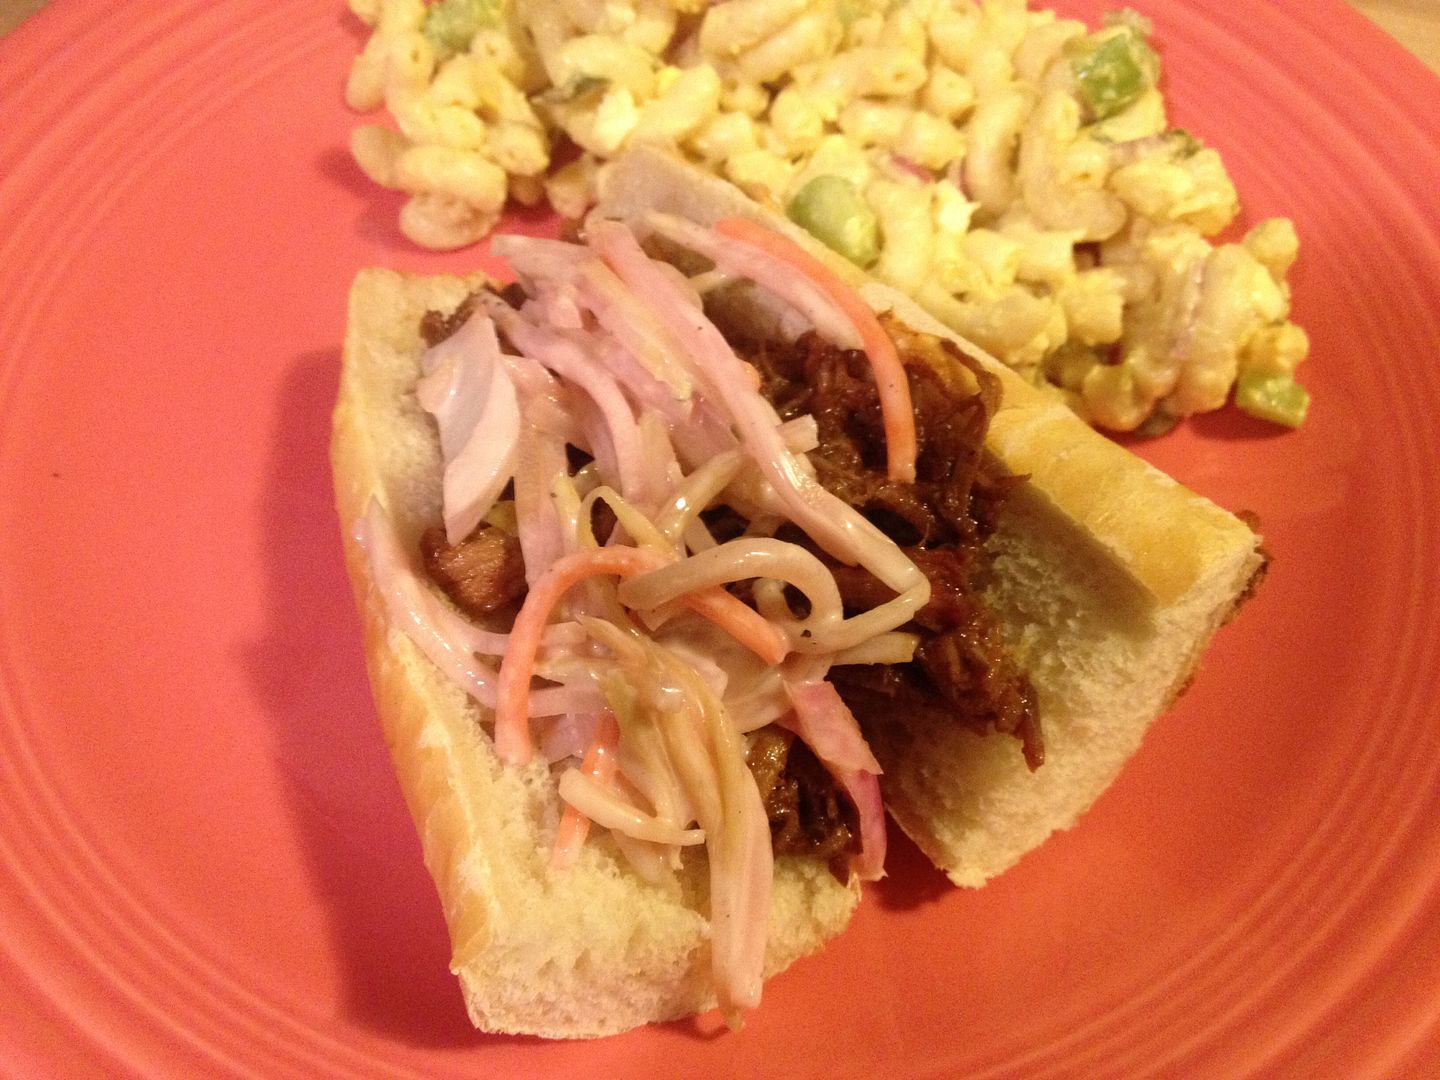
Tender BBQ pulled beef, BBQ sauce with a slight bock beer flavor, crunchy slaw, and crispy French bread.  A perfect meal to remind us of summer and to escape from the succession of holiday meals.

Thanks for stopping by,

Bill

Sunday, January 4, 2015

Your Goose is Cooked, Part Two: Brined and Roasted Two Ways

Back when The Oldest brought over his goose jerky to be smoked, he also dropped off the rest of his jerky trimmings for me to play with in the kitchen.  I decided that I would try and make them edible in a form as close as possible to the real meat without curing or turning into jerky.  To do that, I needed a way to get over the shoe leather qualities of the meat when cooked traditionally.  The solution to that was a brine.

One of the problems The Oldest was having with cooking his goose breast was the blood that the meat was retaining.  For example, after soaking the breasts in water overnight, we observed a lot of blood in the water the next morning.  There was even blood on the paper towels used to dry the breasts.  So, as an experiment, we placed the breasts back in the water and after about 30 minutes of soaking, blood could be observed diffusion into the water.  This is where the brining helps. Brining does two things to poultry.  One, it adds flavor to the meat.  Two, it removes any blood or funky fluids that you do not want in your meat.  Basically this is being done by diffusion.  The brine has a high salt concentration as well as a higher concentration of flavorings.   The salt and other flavorings migrate into the meat until an equilibrium is formed.  At the same time the brine removes the blood and other unwanted juices from the meat retaining the water, keeping your meat moist and flavorful during the cooking process.  Here is a picture of the goose trimmings after four hours in a brine, rinsed with clean water to remove the excess salt, then being dried on paper towel.  Notice the absence of blood.


For our brine, I used Oakridge Game Changer brine.  Instead of all water, I substituted half of the water for apple juice to add flavor.  The recommended brining time for poultry parts is two to four hours, so I opted for four hours of brining time knowing this would be one tough bird.  Once brined, rinsed and dried, I wrapped half of the goose tenders in bacon and left the other half unwrapped.  Next I applied rub.  Half of each type were rubbed with Oakridge Game Bird and Chicken rub, the other half were seasoned with Oakridge Habanero Death Dust.  I allowed the goose tenders to rest on the counter at room temperature while I brought my smoker to a temperature of 350 F.  When the smoker was ready, I added pecan to the ash pan for smoke flavor, then placed my racks of goose on the top rack of the smoker.


I was shooting for a temperature of 145 F.  So, due to the thin cut on these tenders, I started checking for temperature after 20 minutes.  The unwrapped tenders were done at exactly 20 minutes.  The bacon wrapped tenders were done after about 45 minutes as they were the thicker tenders and were wrapped with an outer layer of bacon.  Here is the final product.


No shoe leather here.  The tenders were tender and juicy.  No knife needed here.  The game bird rub from Oakridge is one my favorite non competition rubs and did not disappoint.  It was a nice balance of flavor with the richness of the goose.  The Habanero Death Dust was a pleasant surprise, a nice balance of flavors and sweet with heat at the end of your bite.  I will have to start using this rub more in my cooking.  Very good.

So, there you have it, a way to cook your goose with out eating shoe leather as your final product.  I can't wait for the oldest to bring more goose over for experimentation.

Thanks for stopping by,

Bill

Sunday, January 12, 2014

Smoked Venison Shoulder Roast

Say cheese!


The oldest is an avid hunter and that would be his biggest hobby.  This year, we lucky enough that he dropped off a three pound venison shoulder roast for me to do with what I pleased.  Around here in Pennsylvania, the deer are very lean.  So, for the most part, people have the meat made into sausage, bologna, and jerky.  The meat can be that dry if cooked improperly.  The only way I have heard of people cooking a roast is by marinading in cheap red wine and garlic, then slow cooking in a crock pot.  Sure, the meat is tender, but it is not a roast.  There has to be a better way.

I asked around and was pointed in the direction of this recipe from Oakridge BBQ.  I followed it step by step.  No changes.  Here is how it turned out.

First, I made my brine and chilled thoroughly.  While the brine was chilling, I washed and dried my roast, then peppered generously with my tenderizer all over on both sides.


Once the brine was chilled, I put the roast in the brine, then let sit covered for about 40 hours.


On the day of smoking, I fired up my smoker and brought to a temperature of 375 F.  While the smoker was warming up, I removed the roast from the brine, rinsed thoroughly with water, and patted dry.


Look at how the venison had absorbed the brine and turned a nice dark color.  I could see this was headed in the right direction.

For seasoning, I used Oakridge BBQ's Venison and Wild Game Rub.


The ginger and lemongrass were nice complements to the chilies, garlic, and onion in this rub.  Lemongrass can be off putting to those not accustomed to the flavor.  But, this was a nice balance.  Not to assertive.  I rubbed both sides of the roast and allowed to sit until the rub had liquefied and formed a nice paste.


The smoker had stabilized at 375 F by now, so I added two six inch hickory splits to the ash pan and placed the roast on the top rack.  You don't want to over cook venison, so I was shooting for 140-145 F.  After one and a half hours, the internal temperature had reached 145 F.  So, I brought inside, wrapped tight in foil, and placed in the freezer to stop the cooking and chill the meat down for slicing.   Here is a picture before wrapping.  I am loving that color and the smell was intoxicating.


I let rest in the freezer for about two hours.  Then, I removed and sliced.


The rub added a nice bark to the outside.  The flavor from the brine was definitely noticeable throughout the roast.  It added a slight sweet BBQ flavor that was balanced out nicely by the Oakridge rub.  Overall, each bite started sweet and spicy and finished with a hint of ginger and lemongrass.  The meat itself was juicy and tender.  I was quite impressed with this recipe and so was the oldest.  I might consider trying this recipe on some other cuts of venison.

Thanks for stopping by,

Bill

Monday, July 1, 2013

The Never Ending Quest for the Perfect Rib

Personally, I have never made what I consider to be a perfect rib.  Thinking back, I don't think I have ever had one.  I have had close, but never 100% spot on greatness.  For our KCBS rib entries this year, we started out with something a bit on the spicy side.  We paid for that choice in Rochester this past May.  Everyone says, judges like sweet, sweet, sweet.  Did I mention sweet?  So, it was back to the test labs to fine tune the recipe.

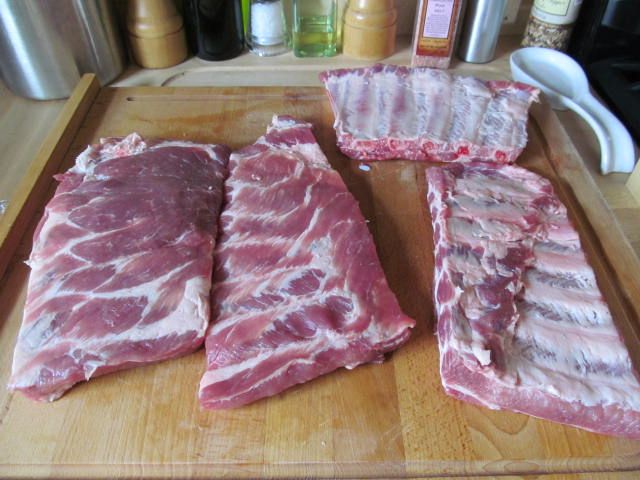
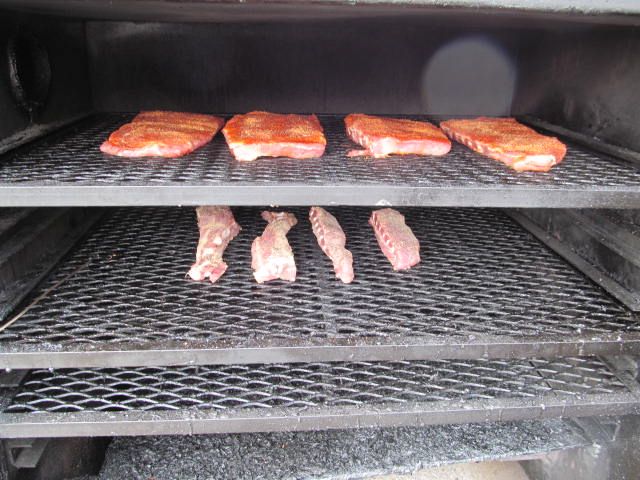
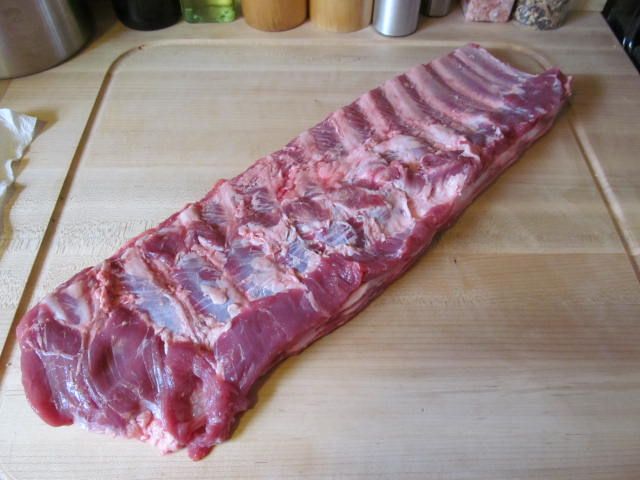
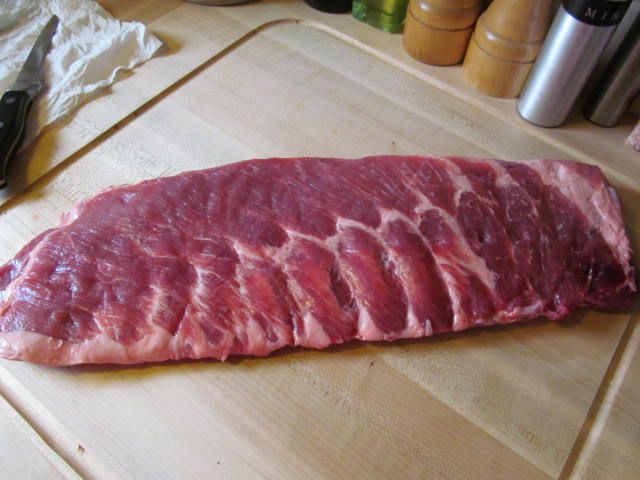
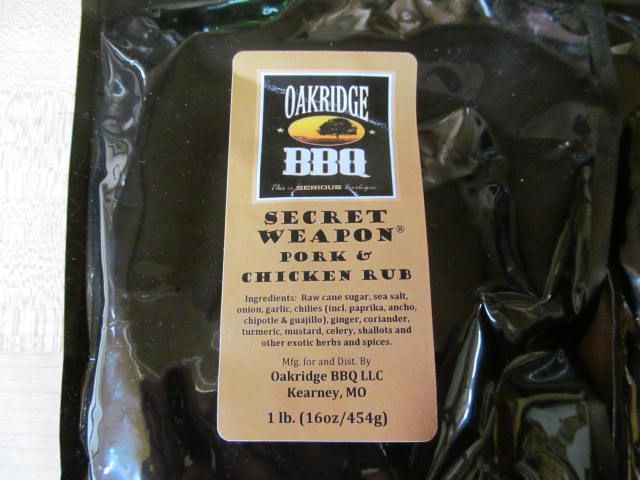
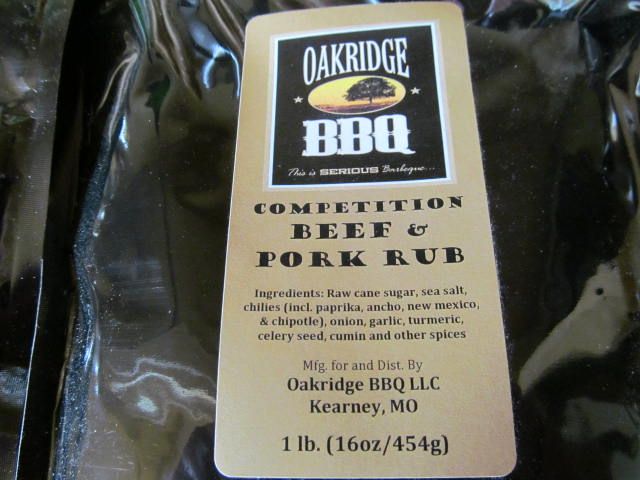
First, I picked up some spare ribs from my butcher, pulled off the membrane from the back, and seasoned front and back with Oakridge Secret Weapon Pork and Chicken Rub.  This is a switch from their Beef and Pork Rub.  While I like the Beef and Pork version, it leaves a tingle on the lips and tongue that judges are not used to receiving in competition.


I then placed the ribs on a 235 F smoker with apple, hickory, and pecan in the ash pan and cooked for three hours.  The rib tips were just seasoned with granulated garlic, onion powder, salt, and pepper and cooked for some tasters.


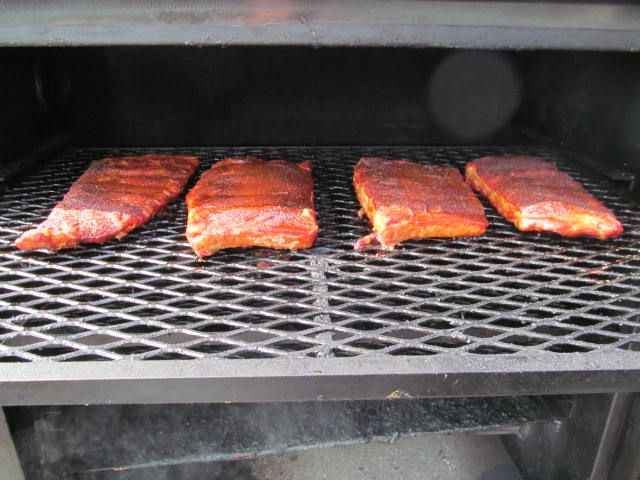
After 1.5 hours, I spritzed the racks with a mix of apple juice and molasses.  What was the ratio?  I placed 1/4 cup of molasses in a 1 liter spray bottle then filled to the top mark with apple juice.


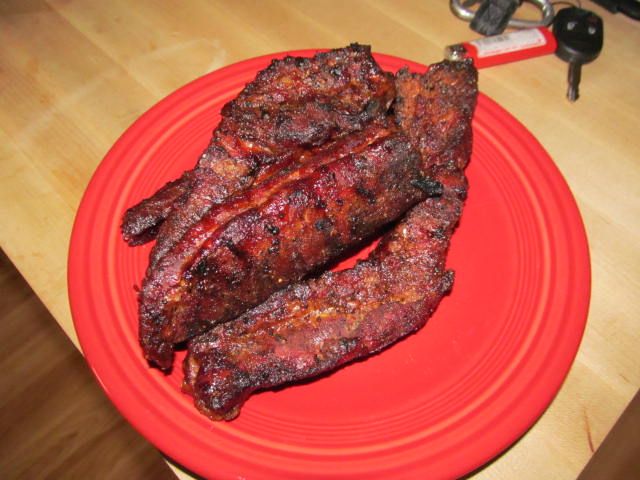
Rib tips all ready for the freezer.  These are destined for a pot of beans or collard greens!


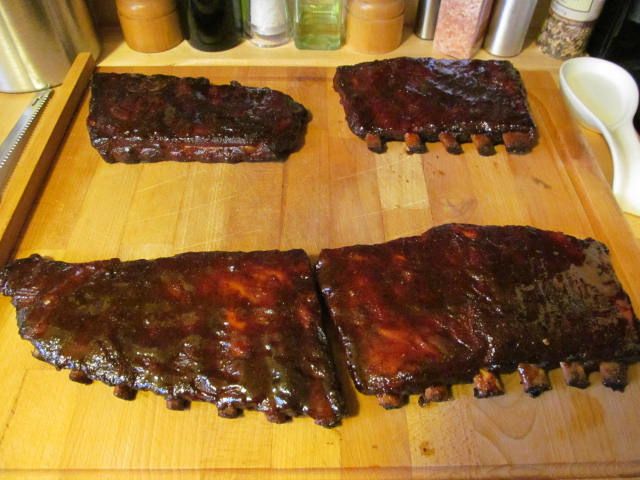
I foiled the ribs after three hours with a healthy spritz of the juice and molasses mixture and about 1/8 cup of Franks Sweet Chili sauce.  The ribs were in foil for 1 and a half hours.  Then, I pulled the racks out of the foil and applied a dusting of rub and a thin glaze of sauce.  What did I use for a sauce?  1 cup of Blues Hog regular, 4 Tbsp of Blues Hog Tennessee Red, 1/3 cup of honey, 1/4 cup of apple juice and 2 Tbsp of turbinado sugar.  After 30 minutes, I reglazed with a very small amount of sauce.  After 30 more minutes I pulled and let the ribs sit for 15 minutes before slicing.


How were they?  So sweet that my teeth hurt.  I had two, Hope had one.  But, everyone else sucked them down.  We were down the clean bones in 15 minutes flat.

Overall, I think they were way too sweet.  Even for a judge.  But, remember, a Trigg style rib sits in squeeze butter and brown sugar to make them candied.  That being said, for our next competition, we will be using the above recipe, minus the 2 Tbsp of turbinado sugar in the sauce.  One final note, the apple juice/molasses mix helped to make a nice, deep colored bark without an overpowering molasses flavor.

More on how we scored with the new recipe later in the week.

Thanks for stopping by,

Bill

Friday, June 28, 2013

Deep Sea Triple Play: Grilled Swordfish Santa Maria Style. Part 3 of 3

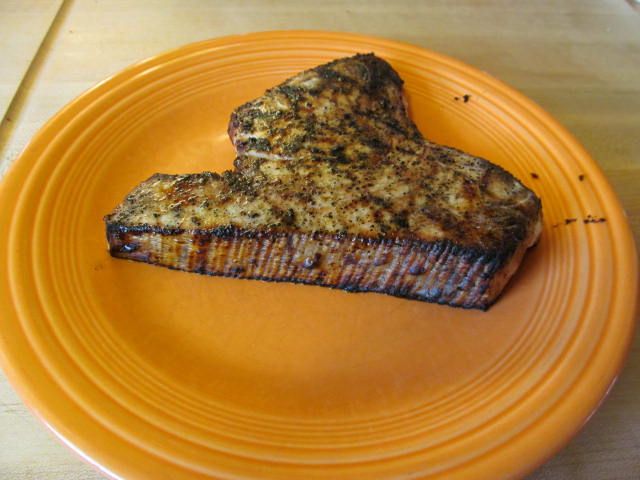
For the final post in this series, we have grilled Swordfish with Santa Maria seasonings.  Swordfish is a meatier fish.  It almost takes on red meat textures when grilled.  I have never seen it marinaded, although I do not see why you couldn't.  I chose to make this piece of fish like a steak: rubbed and grilled over high heat.

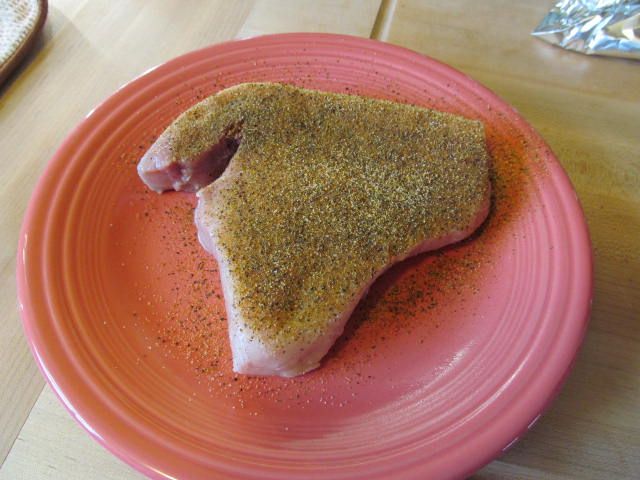
First, I washed the steak, sprayed both sides with a thin mist of olive oil, then I applied a liberal coating of Santa Maria Rub from Oakridge BBQ.


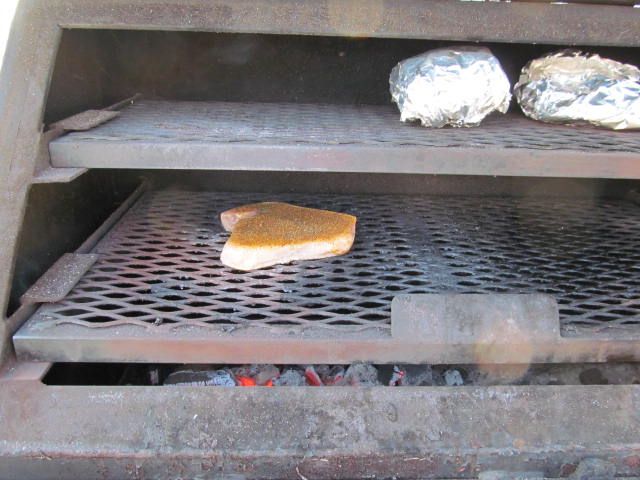
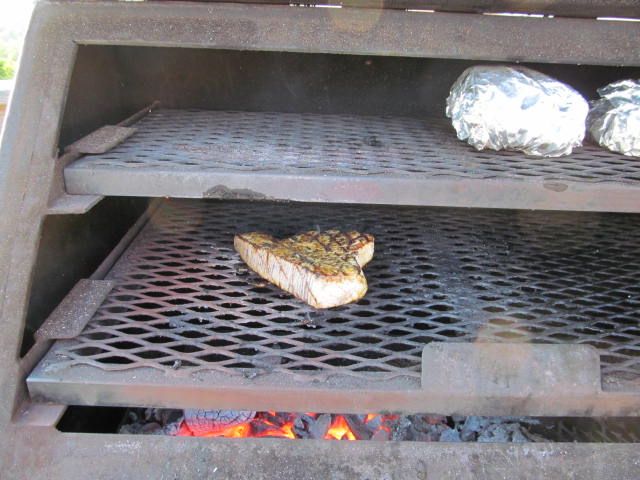
I then fired up the grill and allowed the rub to absorb into the fish.  Then, when the grill was ready, I placed on direct heat.  On the direct heat, I let the fish cook for five minutes a side.


As you can see it is a thicker piece of fish.  I have read that Swordfish can be susceptible to parasites.  So, I always grill Swordfish until it is firm and well done.  After the time on direct heat, I moved the fish away from the heat and cooked on indirect heat with the grill door closed until firm to the touch.  This was about seven more minutes a side.


I was a little hesitant to use the Santa Maria seasoning as I thought it might overpower this cut of fish.  I was wrong.  The flavors of the rub mingled nicely with the fish.  Tender and moist.  This Swordfish steak paired nicely with some grilled zucchini and onions.

This concludes our series on grilling deep sea fish.  Now, back to good old BBQ!

Thanks for stopping by,

Bill

Sunday, May 19, 2013

Penguin Ribs

Before you get all bent out of shape, no, we did not buy penguins from some black market, back street, exotic butcher that deals in spotted owl as well.  We just made a few racks of spares for our last practice and gobbled them up while watching a Penguin playoff game.  What goes better than ribs, beer, and playoff hockey?

Were were trying some different rub and sauce combinations.  We couldn't make a choice before, so this was sort of like a single elimination contest between our top four combinations.  What were the combinations?

1.  Oakridge Pork and Chicken rub, Franks Sweet Chili during foil time, Blues Hog Regular with Blues Hog Tennessee Red for the sauce.

2.  Oakridge Pork and Chicken rub, standard foiling technique, Blues Hog Regular with Blues Hog Tennessee Red for the sauce.

3.  Oakridge Beef and Pork rub, Franks Sweet Chili during foil time, Blues Hog Regular with Blues Hog Tennessee Red for the sauce.

4.  Oakridge Beef and Pork rub, standard foiling technique, Blues Hog Regular with Blues Hog Tennessee Red for the sauce.

I know, doesn't sound like a lot of variation, but there was.  The Oakridge Beef and Pork rub has an extra kick of heat that the Pork and Chicken rub does not.  Also, the Franks Sweet Chili sauce adds a nice level of sweet to the ribs, along with a nice chili flavor.

Trimming up the racks...


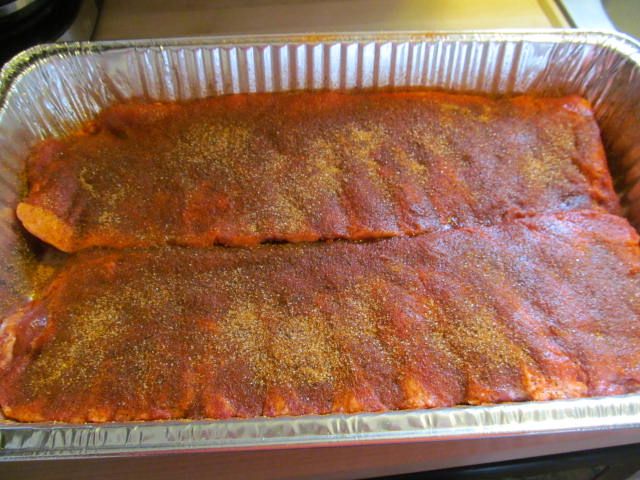
Rubbing my racks...


Just about ready for the smoker...


Gotta love that red color...


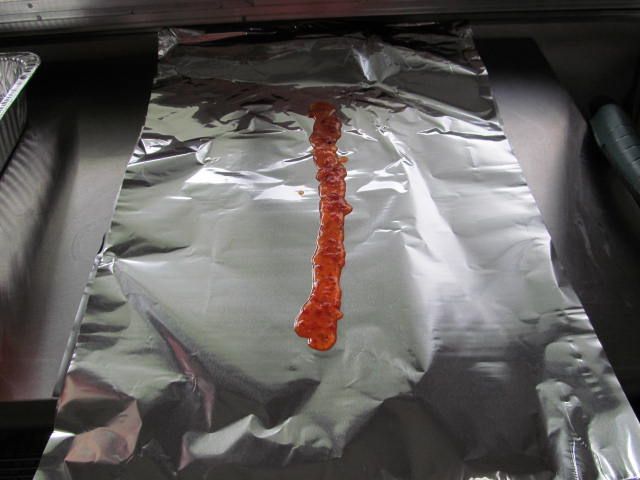
A little ribbon of Franks before the foil...


Finished product...


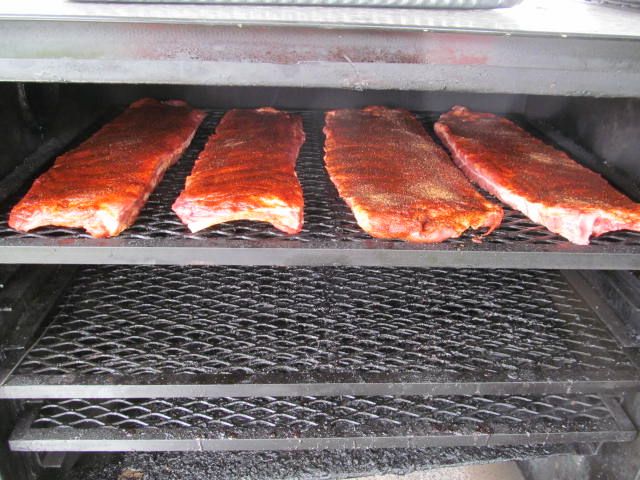
We cooked these spares at 235 F with apple, hickory, and pecan.  Three hours on the rack, one hour in foil, and one hour back on the rack with sauce for glazing.  Which combo won you ask?  Well, it was #3: Oakridge Beef and Pork rub, Franks Sweet Chili during the foil, Blues Hog sauce combo.  The very slight bite from the rub is balanced perfectly by the sweet from the Franks and Blues Hog sauce.  All throughout you get the undertone of chili that comes from the Franks as well.  A winner for sure.

Oh, who won the Penguin game?


Thanks for stopping by...

Bill

Sunday, March 17, 2013

KCBS Competition Practice, Brisket. Part 4 of 4, and a Product Review, Oakridge BBQ Black Ops Brisket Rub

Three down, one to go.  Brisket.  Up until Nelsonville last October, brisket has been the category that we have done the worst in by far.  I have made some great brisket at home.  But in competition, we have been lacking.  But, mid-season last year, we did a little research and some talking with some fellow teams and changed up what we were doing.

The two biggest changes we made that improved our score were:

1.  Changed our rub.  We went to Oakridge BBQ Santa Maria Rub.
2.  Strained our juices, separated out the fat, and dredged the brisket slices through the au jus before putting in the box.

These two steps added an average of 30 points to our brisket score.

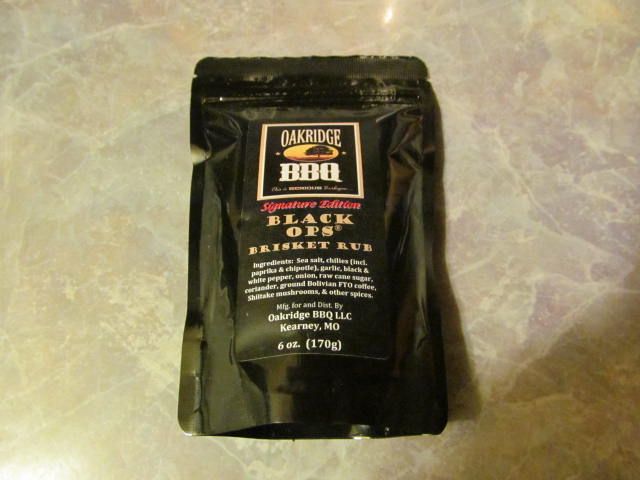
So, over the winter, we are trying a new Oakridge product, Black Ops Brisket Rub...


Upon opening the package, we knew this was not your standard brisket rub.  The aromas were rich and complex.  The finger test was not a disappointment.  Coffee and shitake mushrooms are just two ingredients that add a complex flavor to any piece of beef.  Enough of the rub for now, here are the details on our practice session...

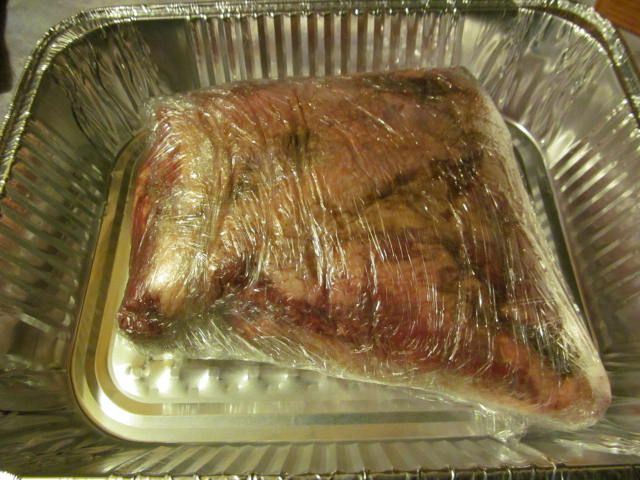
Hope went to the butcher and purchased a nice 4.5 lb brisket flat.  It was trimmed nicely with a thin layer of fat on the top.  We injected with a mix of soy sauce, Worcestershire sauce, and beef stock.  Then, we wrapped in plastic wrap and placed in the frig for some overnight happy time...


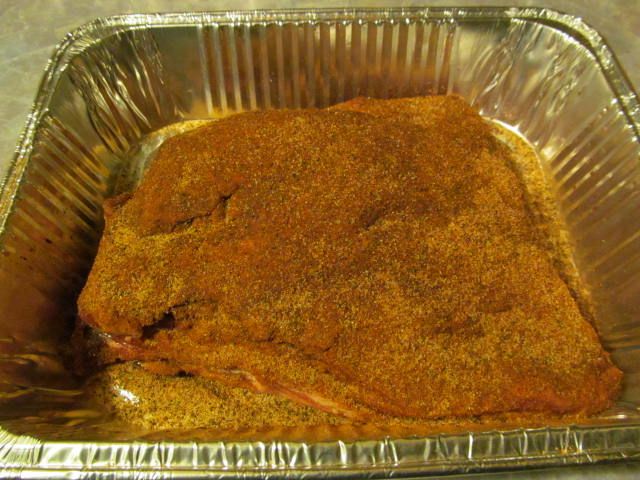
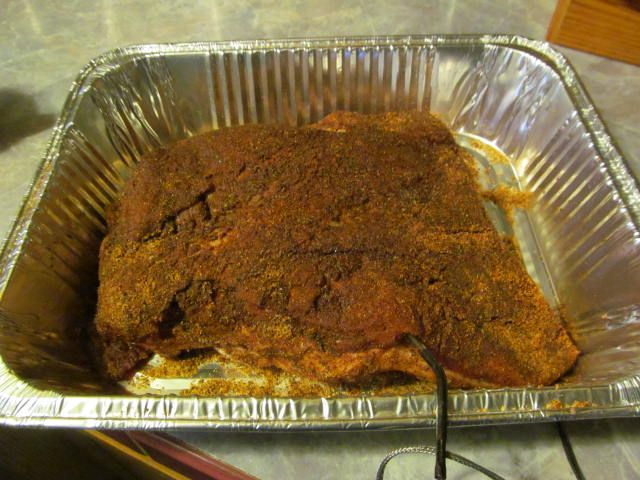
In the morning, I fired up the smoker and brought to 250 F.  While this was happening, I pulled the brisket out and applied a liberal coating of the Black Ops Brisket Rub...


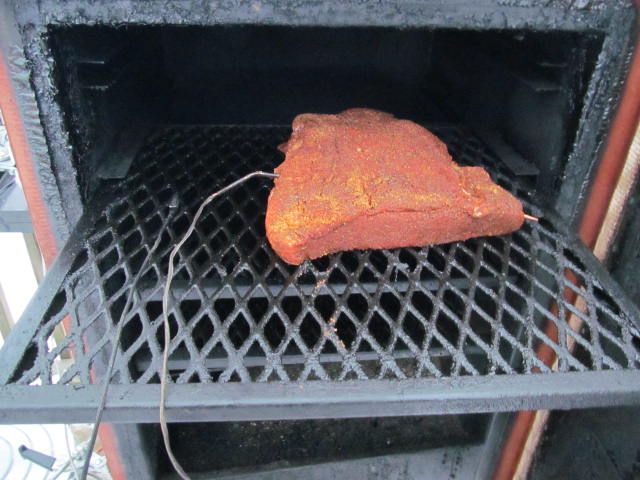
I allowed the brisket to sit on the counter for 2 hours for the rub to moisten and the brisket to come to room temperature.  Then, I placed some pecan in the ash pan of the smoker and placed the brisket on the second rack down on my smoker...


I also placed a toothpick (bottom right corner on the brisket) into the brisket perpendicular to the grain so I would know which way to slice when done.

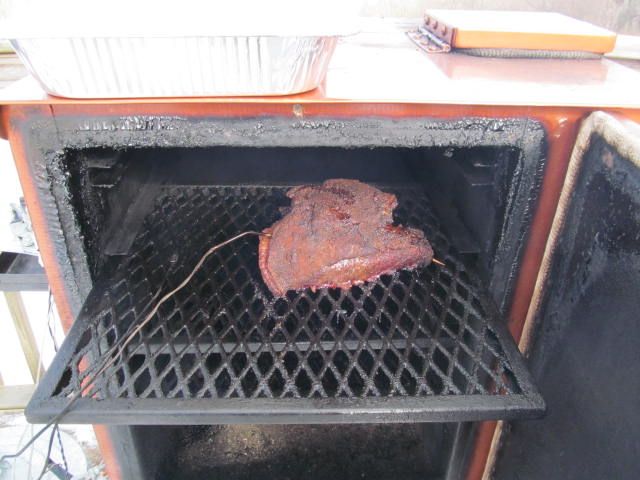
I then cooked the brisket until the internal temperature reached 175 F, then I placed in a foil pan with some of the reserved injected and covered with foil.

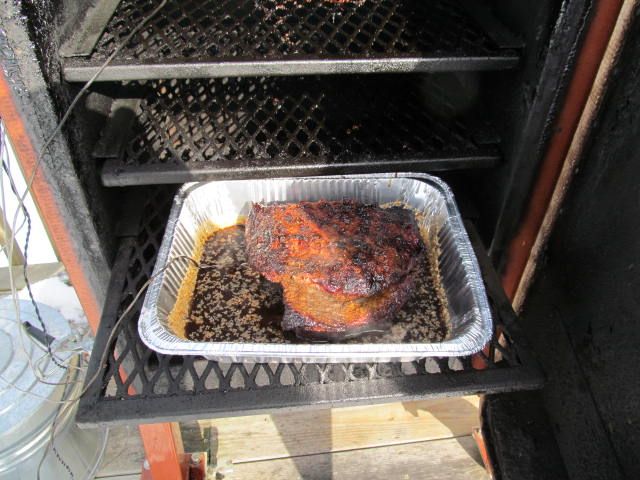
Brisket at 175 F before the pan...


In the pan...


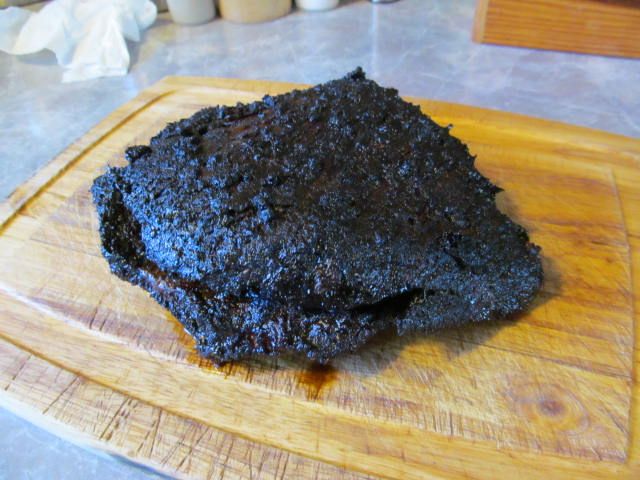
Once covered in foil, I cooked until an internal temperature of 195 F.  The temperature probe was sliding into the brisket like butter in about 80% of the meat.  Now, we usually place the brisket in a cooler with towels to rest for two hours.  But, we were hungry and it was late.  So, I only let the brisket rest for 30 minutes on top of the stove sitting in the pan.  When you do pull the pan out of your cooker, crack the foil to release the steam.  This will give the bark a chance to set up.  And set up it did.  Look at this beautiful bark.  It was the best bark I have ever produced on a brisket...

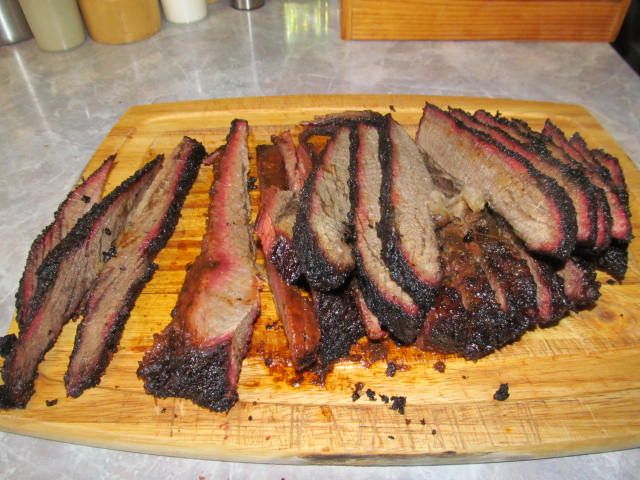
I sliced and dipped in some of the strained au jus.


My impression?  For the first time, I made something at home that I thought was trophy worthy in competition.  The Black Ops Rub was made for beef.  The rub made an outstanding bark.  The flavors of the rub mingled with the au jus and the natural flavor of the beef producing an outstanding taste.  I am sold!

Bottom line:

Brisket needs to rest at least two hours.  While the flavor was outstanding, it was not quite as tender as I would like.

Oakridge BBQ Black Ops Brisket Rub gets 4 stars out of 4.  While their Santa Maria rub is a outstanding product, the Black Ops rub is superior!

Thanks for stopping by...

Bill