Search This Blog

Showing posts with label Beef. Show all posts

Saturday, March 21, 2015

3.1415 = Pi: Smoked Short Rib Pot Pie with an IPA Crust

As you may, or may not have heard, last Saturday was Pi Day.  Since this day only comes around once every 100 years, we decided to celebrate with some Short Rib Pot Pi.  Making this pie was an all day affair, but worth the effort and the wait.

First, we took some beautiful looking beef short ribs, coated them with some Oakridge Black Ops brisket rub, and slowly smoked them at 250 F with some pecan wood.


I took the ribs to an internal temperature of 165 F.  I didn't want the meat to be fall apart at this point.  The short ribs will get to that point while the pies are cooking.

Next, I made a batch of Milk Stout Onion Gravy for a base:

 3 tablespoons butter
 2 medium onions, thinly sliced
 1 tablespoon all-purpose flour
 1/2 cup Milk Stout
 1 (14.5 ounce) can beef stock
 2 teaspoons Dijon mustard
 1 teaspoon Worcestershire sauce
 salt and ground black pepper to taste

Basically, you slowly caramelize your onions with the butter on low heat for 40 minutes.  Then, add your flour and cook for five more minutes, then add the rest of your ingredients and simmer for 30 minutes or until thick.


After the 40 minutes of caramelization:


After 30 minutes simmering:


While the gravy was simmering, I roasted three carrots, two diced potatoes, and two ribs of celery in the oven, with a little bit of olive oil.  Roast time was 60 minutes at 350 F with a stir after 30 minutes.


Hope was also getting into the act.  She whipped up a batch of pie dough using a recipe from over at the Eatapedia website.  Our substitutions were to use butter instead of lard and for liquid, we used iced Magic Hat #9 Not Quite IPA.


While Hope was rolling out the crusts, I cubed the short ribs and mixed along with the roasted veggies into the Milk Stout Onion Gravy.


I filled the pie crusts, then Hope applied the top layer of crust and crimped them shut with a small fork.  She has much more patience for pastry than I do.


Then, we baked the pies at 375 F for one hour in a conventional oven.  Here is the final product.


I gotta say, these were some of the best pot pies we have ever made.  Smoked beef and the rich milk stout  onion gravy paired well together.  The pie dough made with the IPA had an extra layer of flavor as well.  The only change I will make is to double the onion gravy recipe.  The filling needed a bit more liquid.  Other than that, these pot pies were a great way to celebrate Pi Day.

We will not be around for the next Pi Day, but we will be making these pies again for sure.

Thanks for stopping by,

Bill


Sunday, August 3, 2014

"Jet Engine" Steaks

I have seen a lot of talk lately about "Cowboy Style" steaks.  This is where you light your lump charcoal, and when the coals are red and ready to go, you place you meat directly on the fire to cook. Generally it is for two and a half minutes a side.  Word has it that your steak comes out crispy on the outside and rare on the inside, just the way we like our steaks around here.  While it sounds good in practice, I am not that you do not get ash on your steak.  Wouldn't that be a little off putting?  Then, I remembered an episode of Alton Brown's Good Eats where he cooked porterhouse steaks under a chimney of lit coals.  Fast forward to today where, after some research, I have heard of the Jet Engine method.  Basically, it is the Alton Brown chimney method, but you just put a grate on the top of your chimney full of lit coals, and cook your steaks for two and a half minutes a side.  That, I was willing to try.  So, ladies and gentlemen, please buckle your seat belts, return your tray tables and seat backs to their full and upright locked position, it is time for this flight to takeoff.  Sitting in cattle class is encouraged.

The first time I tried this our butcher, Dave's Country Meats, had a great deal on some beautiful beef fillet.  Nice and thick, I thought there would be some leeway for mistakes and help prevent over cooking.


I brushed the outsides with melted butter and seasoned with granulated garlic, salt, and pepper.  Then, I let the meat rest on the counter top to come to room temperature.


I filled the chimney full of lump charcoal, and let them get nice and hot.  When ready, I shook the chimney to settle the coals, then placed the rack from my Smokey Joe on top to get hot as well.


Then, the moment of truth.  I placed the fillets on the grill.


Big time sizzle.  But, after two minutes, I was a bit afraid they would be undercooked.  So, I decided to go three minutes a side.  Here they are after the flip.


When done, I brought them inside and let them rest for about five minutes, then we dug into this meaty feast.


We paired with some sautéed collard greens and kale.


Mine was perfect medium.  A bit past what I was looking for, but still, very good.


Hope's was perfect medium rare as her steak was a bit thicker than mine.


Both were very good.  And, all of that talk about steakhouse quality is true.  You could have put that in front of me at Ruth's or Morton's and I would not have complained one bit.  The plus is that we had  steakhouse quality steaks for two for under $25.  You can't do that at a mega-chain restaurant.

So, after some talking in the BBQ community, I was told you have to put them on refrigerator cold.  That would get you the rare cook that I was looking for.  So, the steak special of this past week was NY Strips.  I am ready to take this flight again.

Brushed with butter, seasoned with granulated garlic, salt, and pepper, then placed the meat back in the refrigerator.


Started my charcoal and placed my rack in place.  A friend of mine was even kind enough to provide me with a round grilling rack that fits nicely on my chimney starter.


Since NY strips are thinner than fillet, I decided upon one and a half minutes a side and I was sticking to it, period.  On the steaks went.


After the flip.


Inside and resting.


This time, we served with some grilled tomatoes topped with mozzarella cheese.  It is a big meaty smile!


The verdict?


Perfect rare.  Crispy on the outside, juicy on the inside.  The high heat really helps to sear the outer layer of meat, locking those juices inside.

I am very happy with the "Jet Engine" method for cooking steaks.  I may never cook one any other way.  The Internet rumors are true, you do get steakhouse taste and quality.  Adjust your cooking times to get the doneness that appeals to you.  Now, go buy a chimney starter and some lump charcoal and enjoy your flight.

Thanks for stopping by,

Bill

Tuesday, March 4, 2014

Shepherds Pie, Brisket Style

After our Super Bowl party and few days of picking through leftovers, we still had some leftover brisket.  What to do with this leftover meat?  Freeze?  Perhaps.  But why dull something that is so good.


With some inspiration from a fellow smoker friend, I decided to try my hand at some shepherds pie made with the reserved au jus from my brisket smoke, the rest of our left over brisket, and some leftover mashed potato casserole.

First, I took the reserved au jus, skimmed the fat off of the top, and placed the liquid in a medium sauce pan.  This amounted to two cups.  I then heated and brought the au jus to a gentle boil.  The infused smoke aroma was intoxicating to say the least.  


While the above was heating, I took two cups of beef stock and added a half cup of flour and whisked until the lumps were incorporated and the resulting mixture was smooth.


I then added the flour/stock mixture to the boiling au jus and whisked to incorporate.  Then, I lowered the heat to low and simmered to thicken, stirring occasionally.


Once thickened, I added about three cups of cubed brisket, fat removed, and one package of frozen mixed vegetables.


Then I stirred to make uniform.


I poured the above mixture into a 9x13 pan lightly sprayed with cooking spray.  Then, I took the leftover mashed potato casserole and added some milk to make it some what spreadable.  You could also use freshly prepared mashed potatoes.


I then slid the dish into an oven pre-heated to 350 F and baked for 45 minutes, or until brown on top and bubbly inside.


How was this shepherds pie?


Rich, thick, decedent, and smoky.  The brisket meat was tender and falling apart.  The potatoes could have been a little more crusty on top, but using fresh mashed potatoes will solve that problem.  Maybe even a few minutes under the broiler would work as well.  This was perfect on a cold evening.  We will be making this with leftover brisket again.

Thanks for stopping by,

Bill

Saturday, March 1, 2014

Brisket: The Low and Slow Method

Our last post focused on the Hot and Fast method of smoking a brisket.  This method seems to be all the rage these days on the BBQ circuit.  But, now I go back to a method where I made my best brisket, from a tenderness standpoint: going Low and Slow.

Twelve years ago for a house warming party (I've lived here this long?  Where does time go?) I smoked a nice brisket on my Weber kettle.  It took all day long, but it was tender.  So, lets see how low and slow works on a proper smoker.

First, I made a batch of my injection:

2 cans of beef stock
1 bottle of Stubbs beef marinade, strained to remove the large spices that will clog your injector
3 tbsp of butter
1 tbsp of Mesquite Liquid Smoke
1 tbsp Sriracha sauce

Bring the above to a boil, then chill to 40 F so that you can inject the brisket safely.

This time I had some advance notice as this brisket was for a Super Bowl party.  So, I had a full seven  pound flat and a seven pound point.  I injected both, rubbed liberally with Oakridge Black Ops Brisket rub, and let sit in the refrigerator overnight.

Point:


Flat:


Ready for the smoker after a night in the refrigerator:


I brought the smoker to 225 F, placed some pecan wood in the ash pan, and placed the brisket on the top rack.  Time to wait.  Here are my cooking notes:

Placed brisket on top rack in the middle at 6:45 am.

12:10 pm, flat at 159 F internal.

2:24 pm, flat at 171 F internal.

2:45 pm, flat at 175 F, time to put in pan with reserved injection and cover with foil.

Brisket before the pan.


5:30 pm, point and flat at 195 F.  Probe slides in like butter.  Time to pull and rest.

I wrapped both pans with towels and let sit in a cooler for two hours to rest.  Then, I made burnt ends with the point and sliced the flat.  Here are the results.

Point before cubing.


Flat before slicing.


Burnt Ends.


Sliced flat.


This brisket now ranks as the best brisket that I have ever made.  It was also the first brisket I have made that was ready at 195 F.  This brisket was tender and full of flavor.  It would have not scored less than an eight in any category on the KCBS judging scale.  

What do I think of the two methods?  Well, every brisket is different.  I could have been lucky that the Low and Slow produced a brisket that was perfect from a tenderness standpoint at 195 F.  I usually end up probing until the meat reaches between 200 and 205 F.  So, I will try this method one more time before May.  But, I am leaning towards low and slow.  It may mean less sleep for me at a competition.  But, it may pay off the next day with a walk to the stage.

Overall, I was glad I tried both methods.  If I need to produce a brisket on short notice, the Hot and Fast method will produce acceptable product in a short amount of time.  If I am looking for the gold standard, Low and Slow is the way to go.  

Thanks for stopping by,

Bill

Monday, February 3, 2014

Stuffed Hamburgers


It was a tropical heat wave around here over the weekend.  50 was the high on Saturday.  A 60 degree swing from a few highs the week before.  I felt much like Mr. Dusfesne in the picture above.  Time to grab some burger meat and head to the grill.  

A year or so ago, as I was cruising through the grill section at a Big Box hardware store, my eye was drawn to a display of Master Forge Hamburger Presses.


$3.99 on clearance = impulse buy.  Some people buy the National Inquirer at checkout.  My weakness is BBQ and grilling gadgets.  I have made many a perfect patty with this gadget.  But, I have never used it for its intended use, making a stuffed burger.  I like the design.  But, you do have to do a little thinking to get it to work.  But, I pulled through in the end.  It breaks down easy, is dishwasher safe, and cleans up nicely.  If you see them on sale, go to the light and pay your $3.99.

Hope wanted a traditional burger.  So, I was alone in my experimentation.  I opted for caramelized onion, American cheese, and BBQ sauce.  I started by caramelizing some sweet onion in a small amount of olive oil with a grinding of sea salt and pepper.  
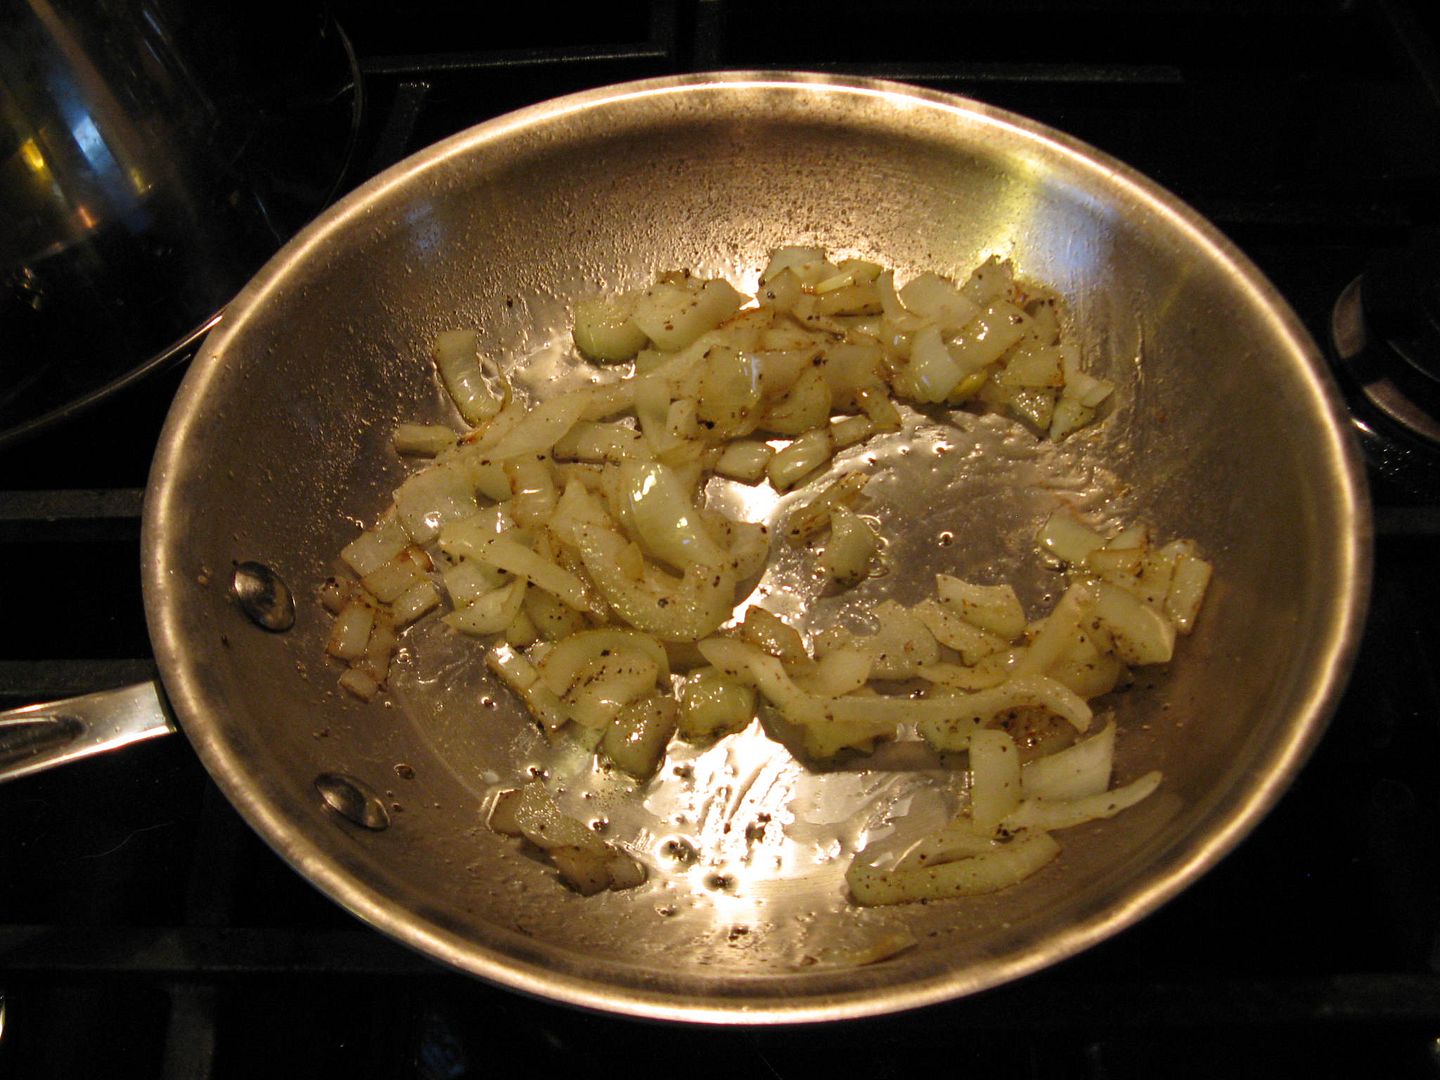

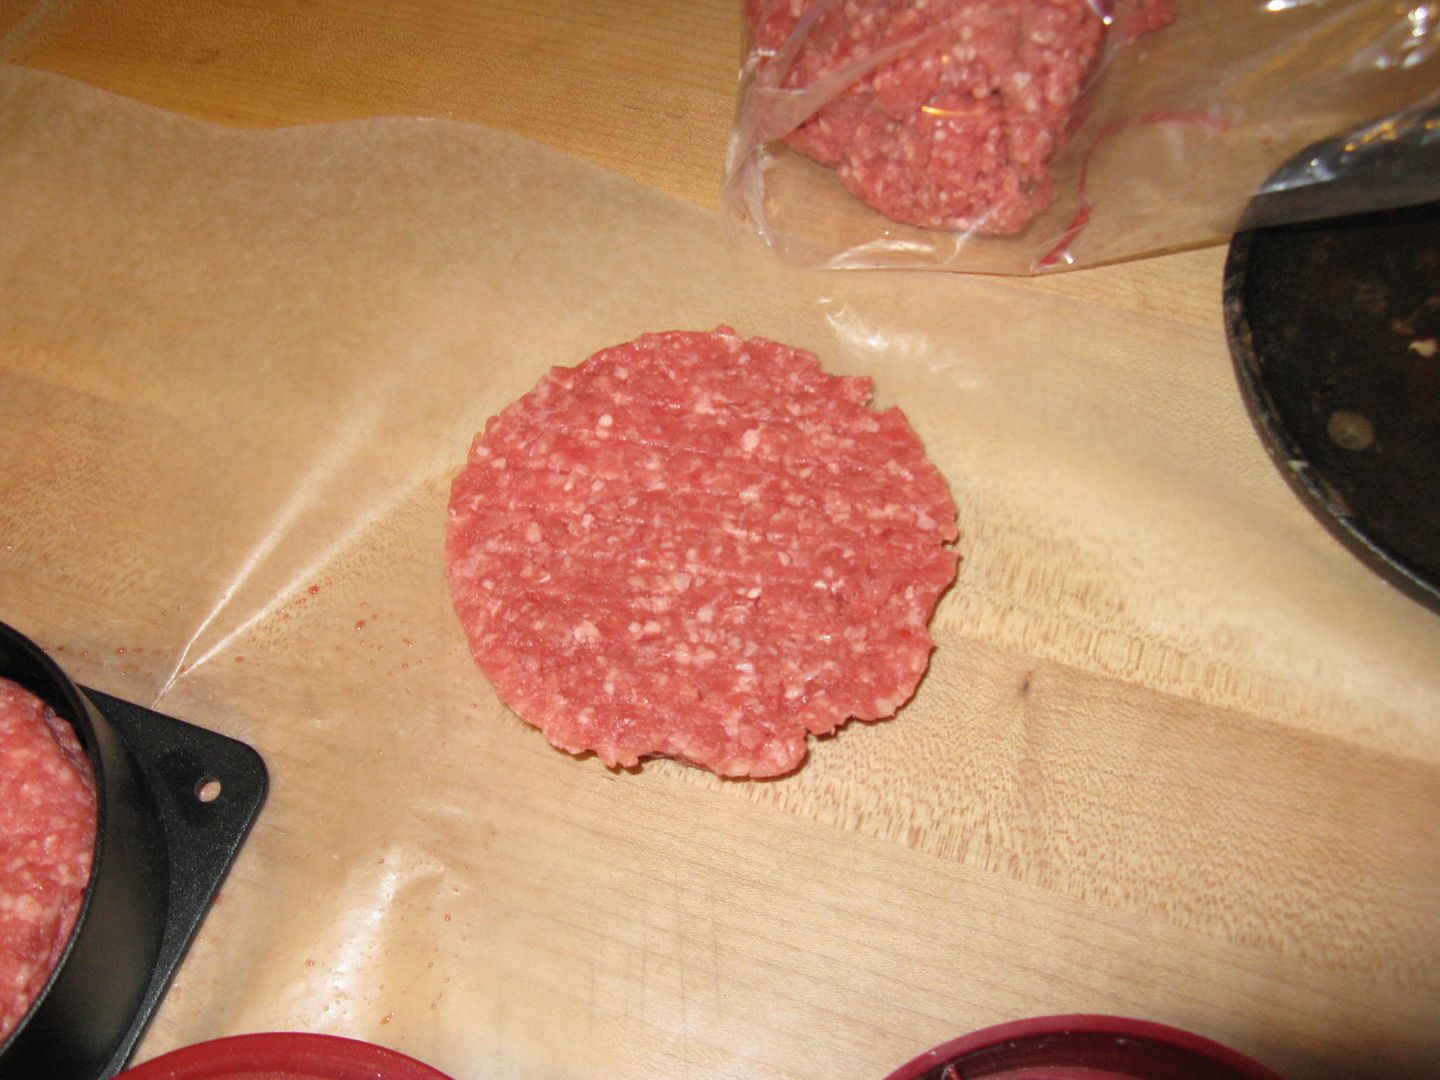
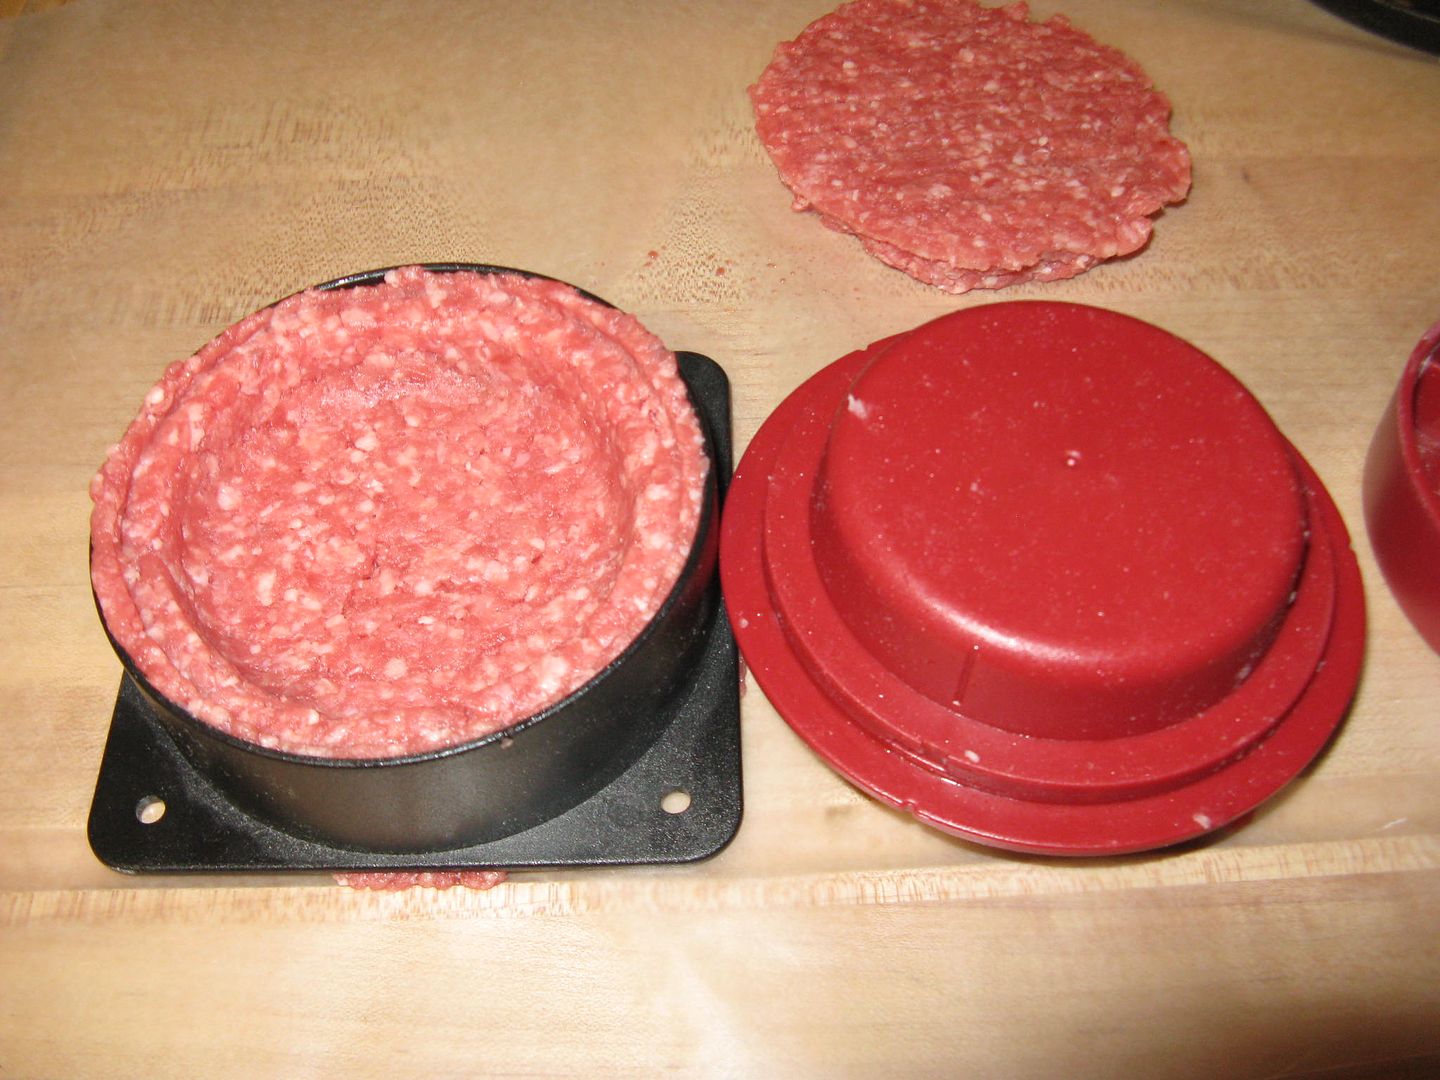
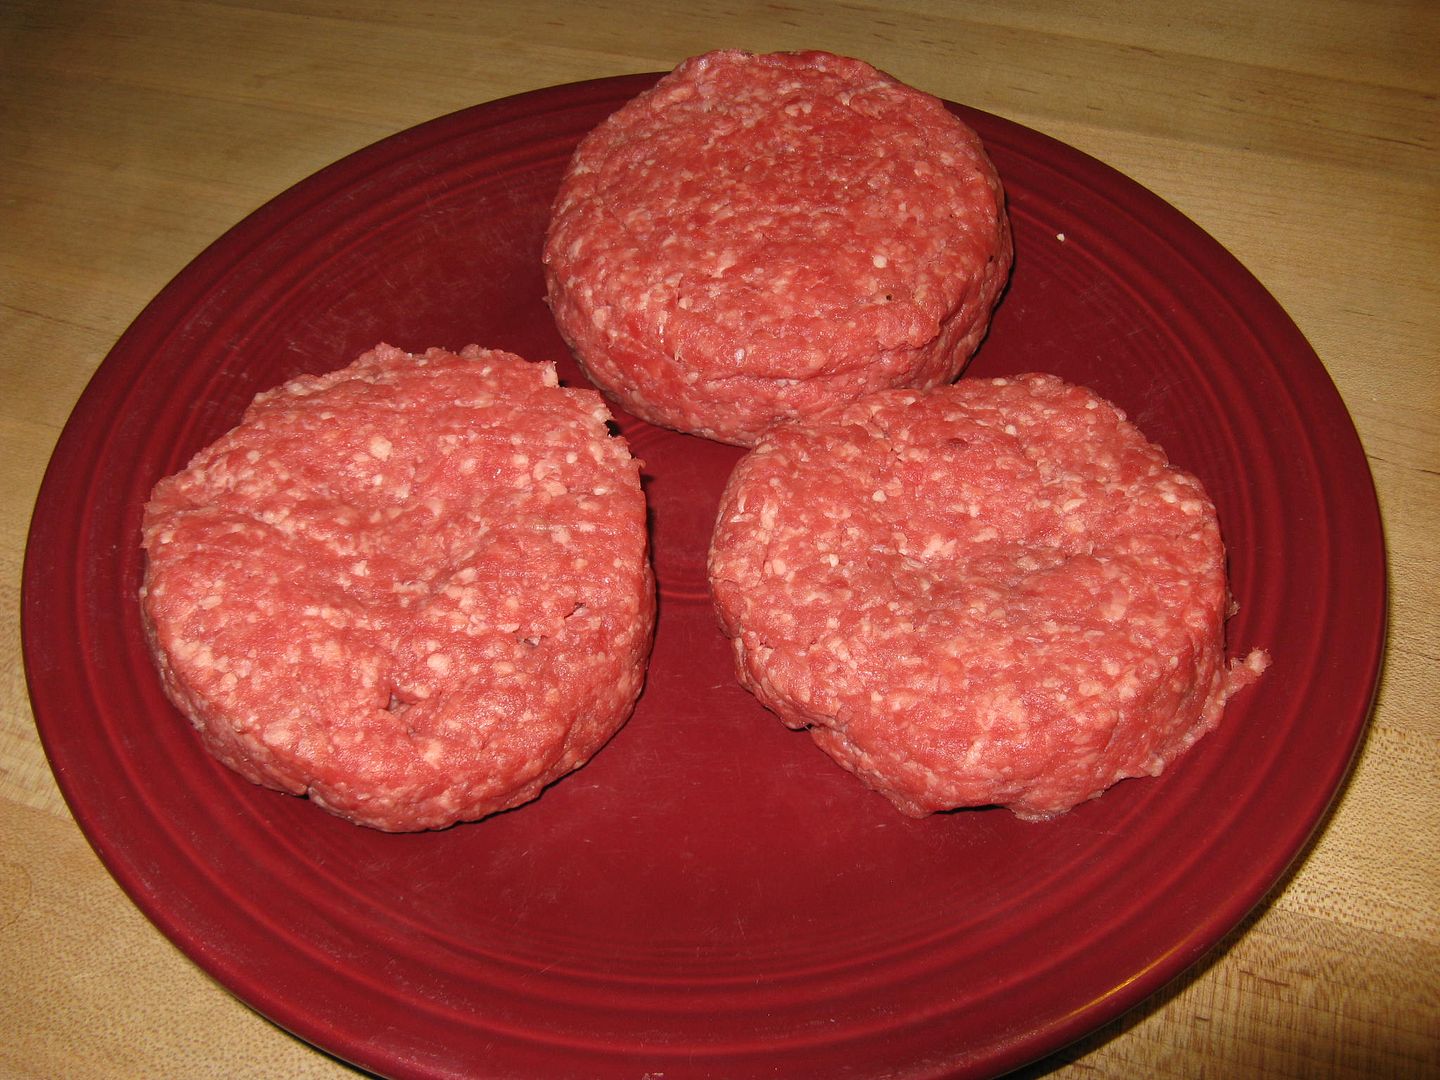
While this was cooking down, I started by pressing 1/4 cup of hamburger meat rolled into a ball into a patty.  I removed the patty and set aside as the top for my stuffed burger.  Then, I placed 1/3 cup of hamburger meat rolled into a ball into the base and pressed using the red top so that a cavity was made in the patty.  


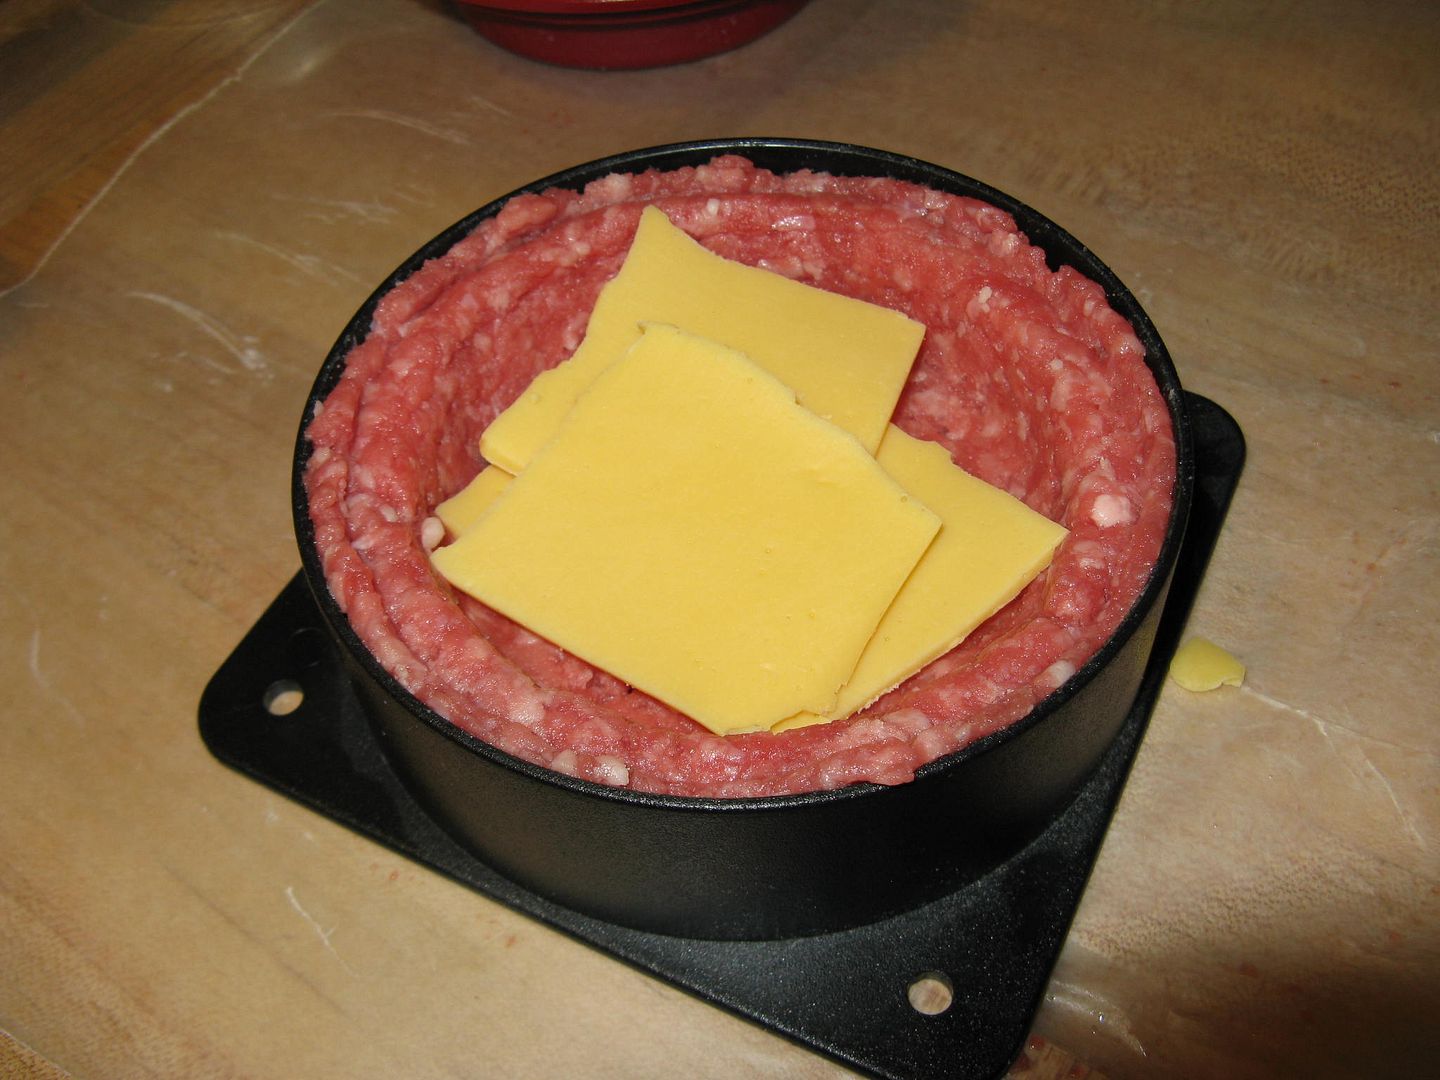
Then, it was time to stuff.  I started with one slice of American cheese.


Then, I added some Sweet Baby Ray's to my caramelized onion and layered on top of the cheese.


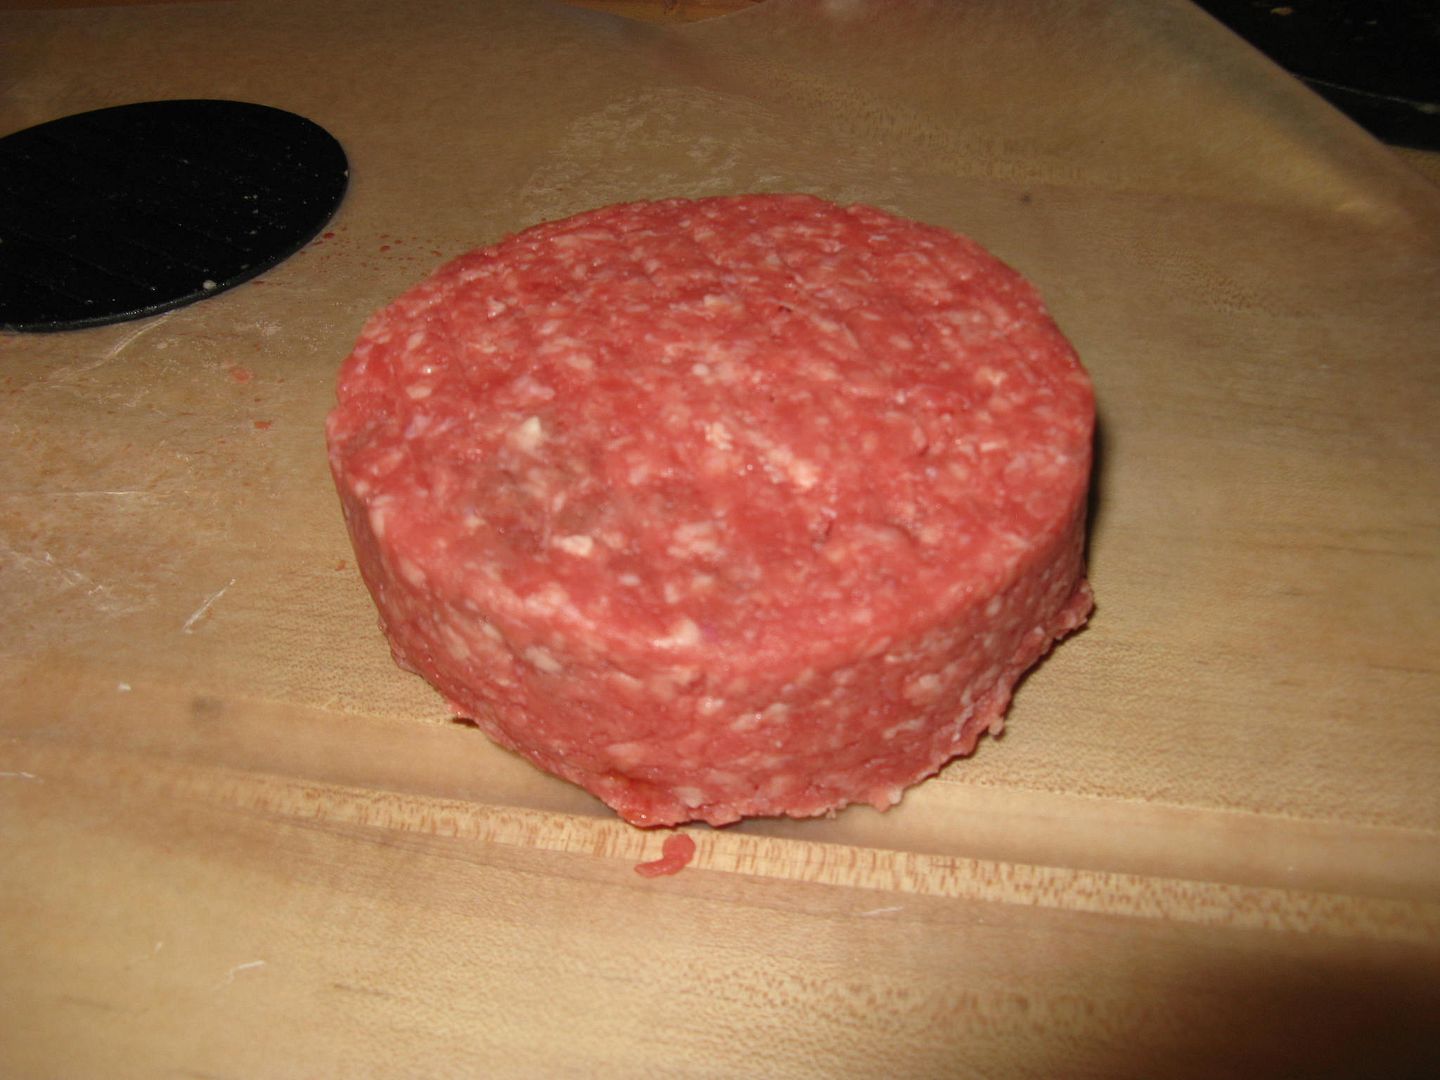
Then, I placed my other patty on top of the cavity, covered with the flat black disk that can be used for flattening, and pressed down firmly.  Amazingly, the burger sealed and only required a minimum of sculpting when removed from the press.


The stuffed burger is on the top in this picture.


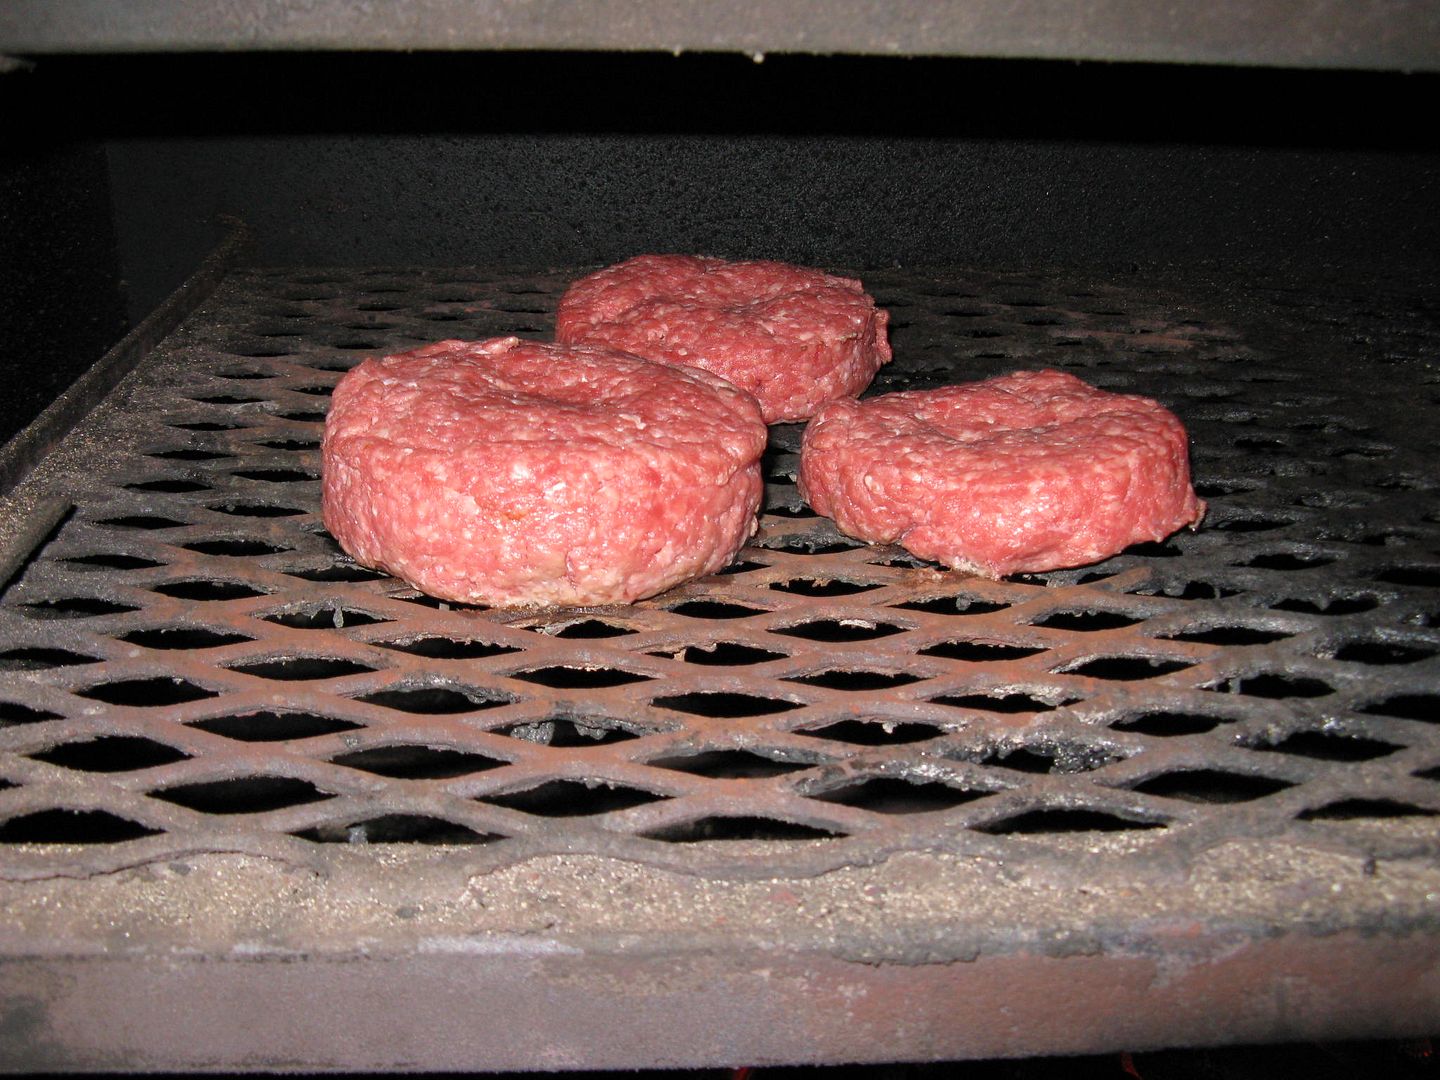
Notice the dimples in the tops of the patties?  I never knew that putting a dimple in the top will keep the burger from swelling up like a beach ball when being grilled.  This tip I learned from Gus over at Gusface Grillah.  More on Gus's site later.  But, he has some great posts on the art of grilling Down Under.  You should visit.  

So, the grill was at temp.  I added the patties and waited with anticipation.


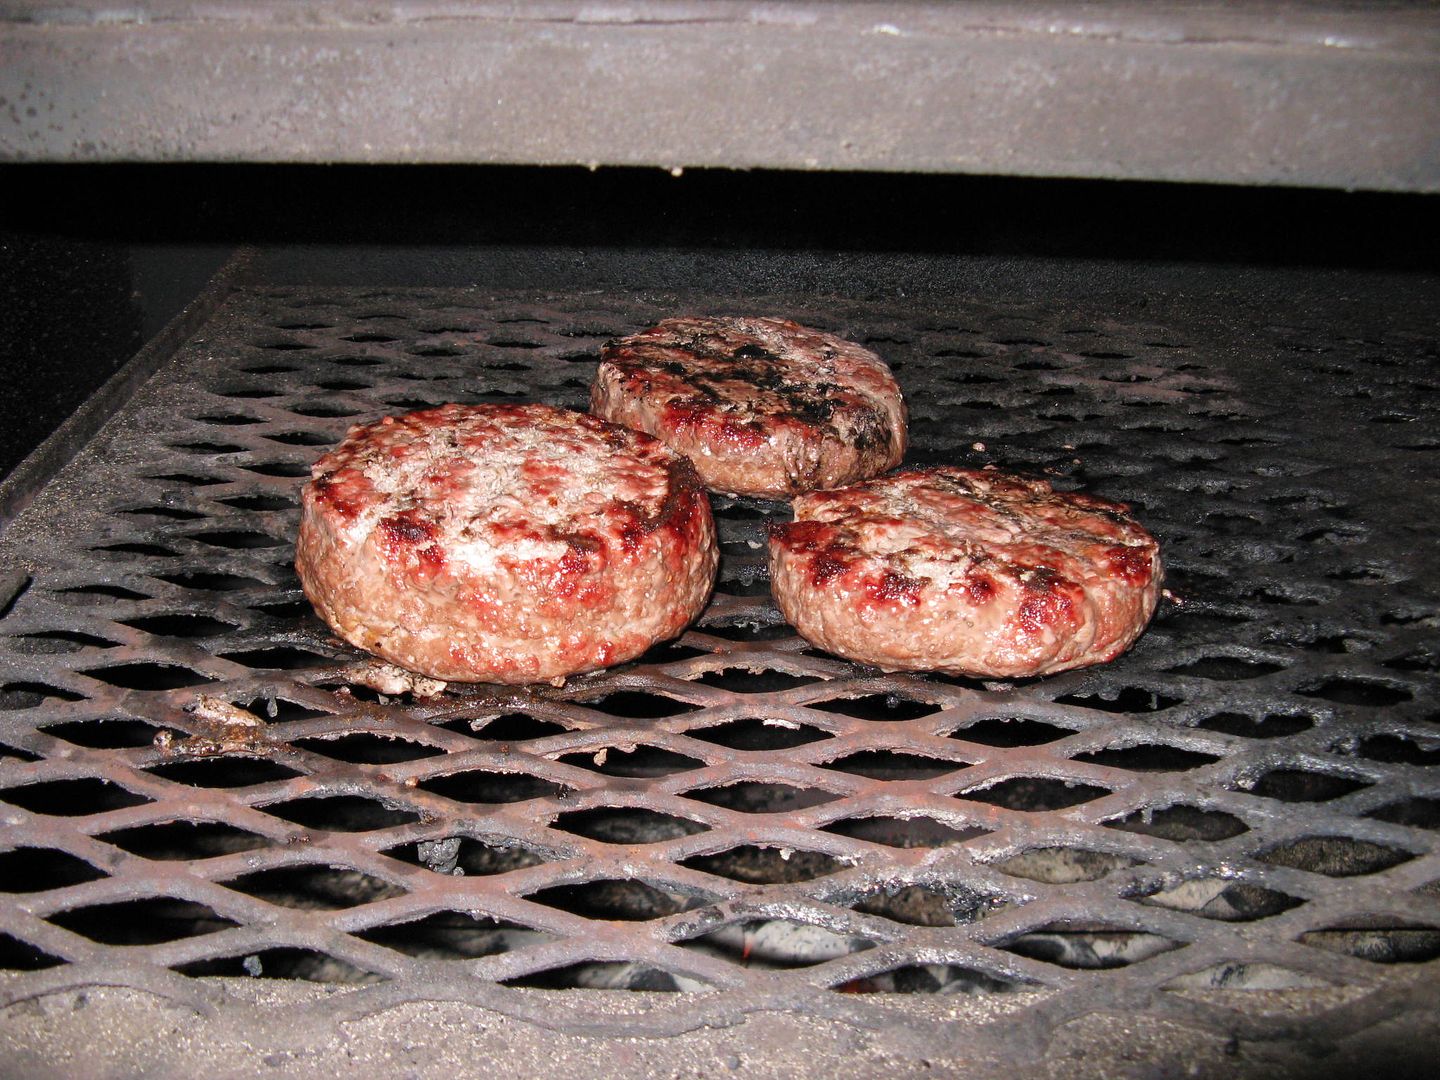
I flipped after five minutes.  The stuffed burger is on the left.  Amazingly, no oozing of the cheese from the inside. Success so far!


I cooked five more minutes, then flipped back over to put cheese on Hope's burger and a left over piece on mine.


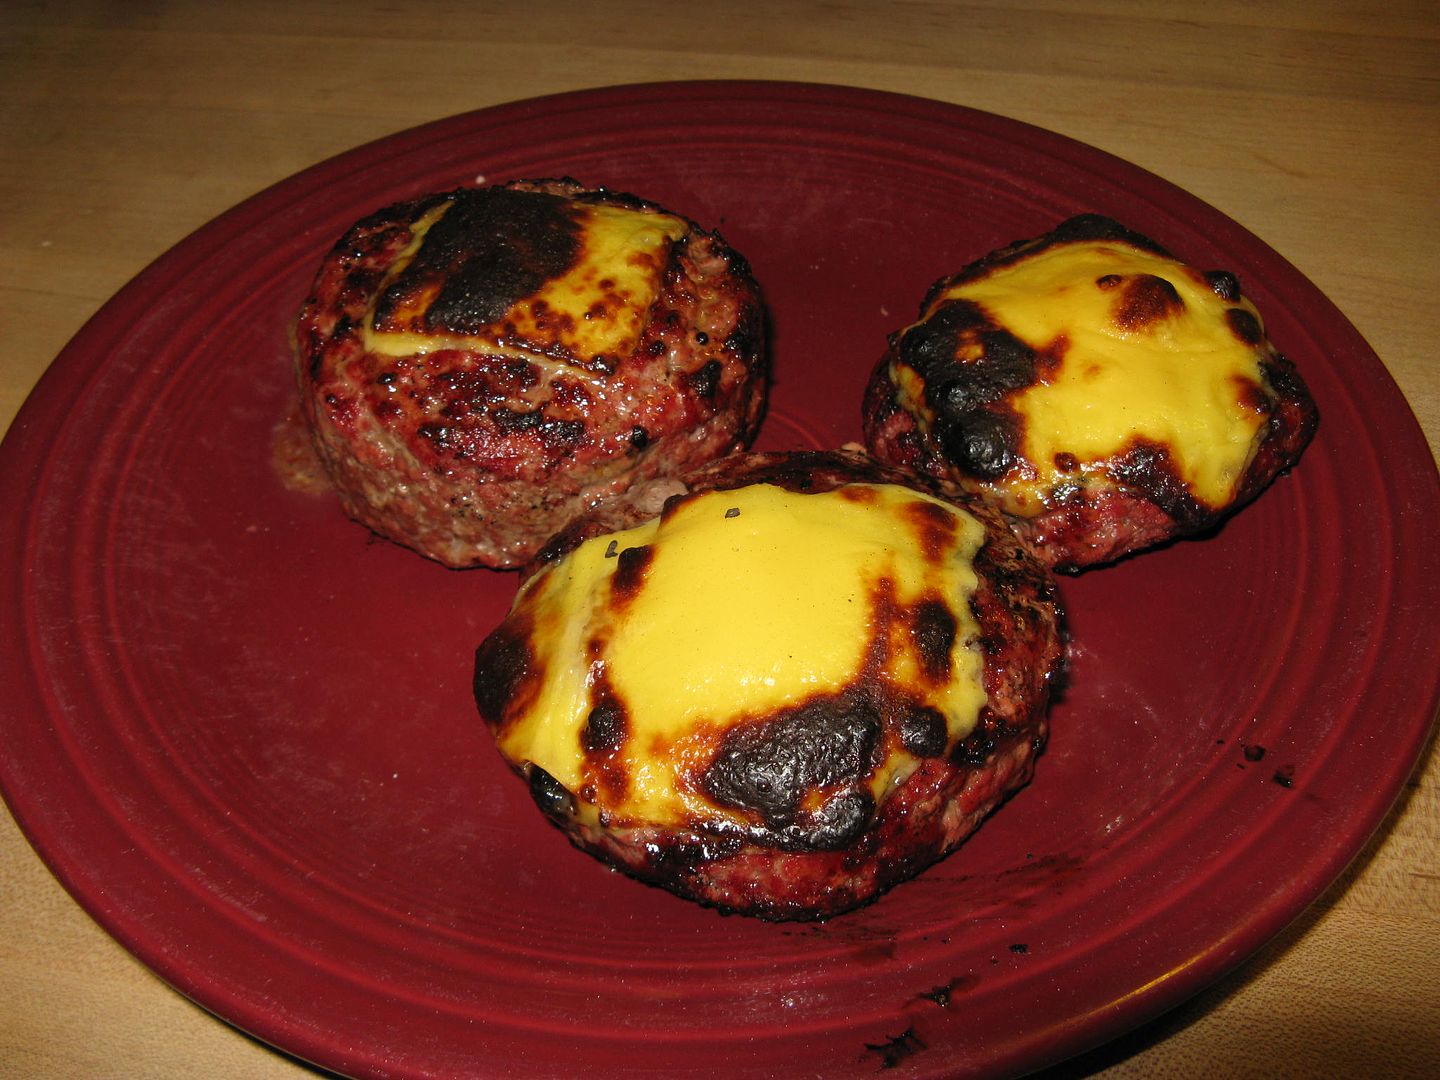
I closed the lid and let the cheese melt.  Then, removed from the grill.  


I know what you are thinking.  You burnt the cheese.  Well, maybe, but we like our cheese on the brown and bubbly side.  Also, while five minutes a side for a burger seems a bit much for medium, but the press does make a thick burger a requires a longer grill time.  

I didn't have any hamburger dill chips, so I topped mine with a dollop of dill relish and cut in half.


The results were excellent.  No leakage of cheese!  The interior was gooey and added a great flavor to the burger.  I wish I had remembered to add some bacon.  Next time maybe.  

There is a world of possibilities using this burger press.  Next time, I am thinking a Greek style burger made with ground lamb and stuffed with olive, spinach, and feta cheese.  Stay tuned.

Thanks for stopping by,

Bill