We have a local pizza joint around here that has a specialty pizza made with broccoli rabe and sweet sausage. The sauce is a white base: olive oil, garlic, thyme, oregano, and a hint a basil. I love that pie. Ever since I had my first piece, I have wanted to make one at home.
Unfortunately, I cannot find broccoli rabe, otherwise known as rapini, in my local grocery. What is broccoli rabe you ask? Think the love child of broccoli and spinach. Looks kinda like spinach with a hint of broccoli, tastes kinda like broccoli with a hint of spinach. It is a nice bitter Italian green that sauteés well. A perfect balance to the fattiness of some browned sweet sausage. Since I cannot find rabe in the store, I substituted regular broccoli. Lets head to the kitchen.
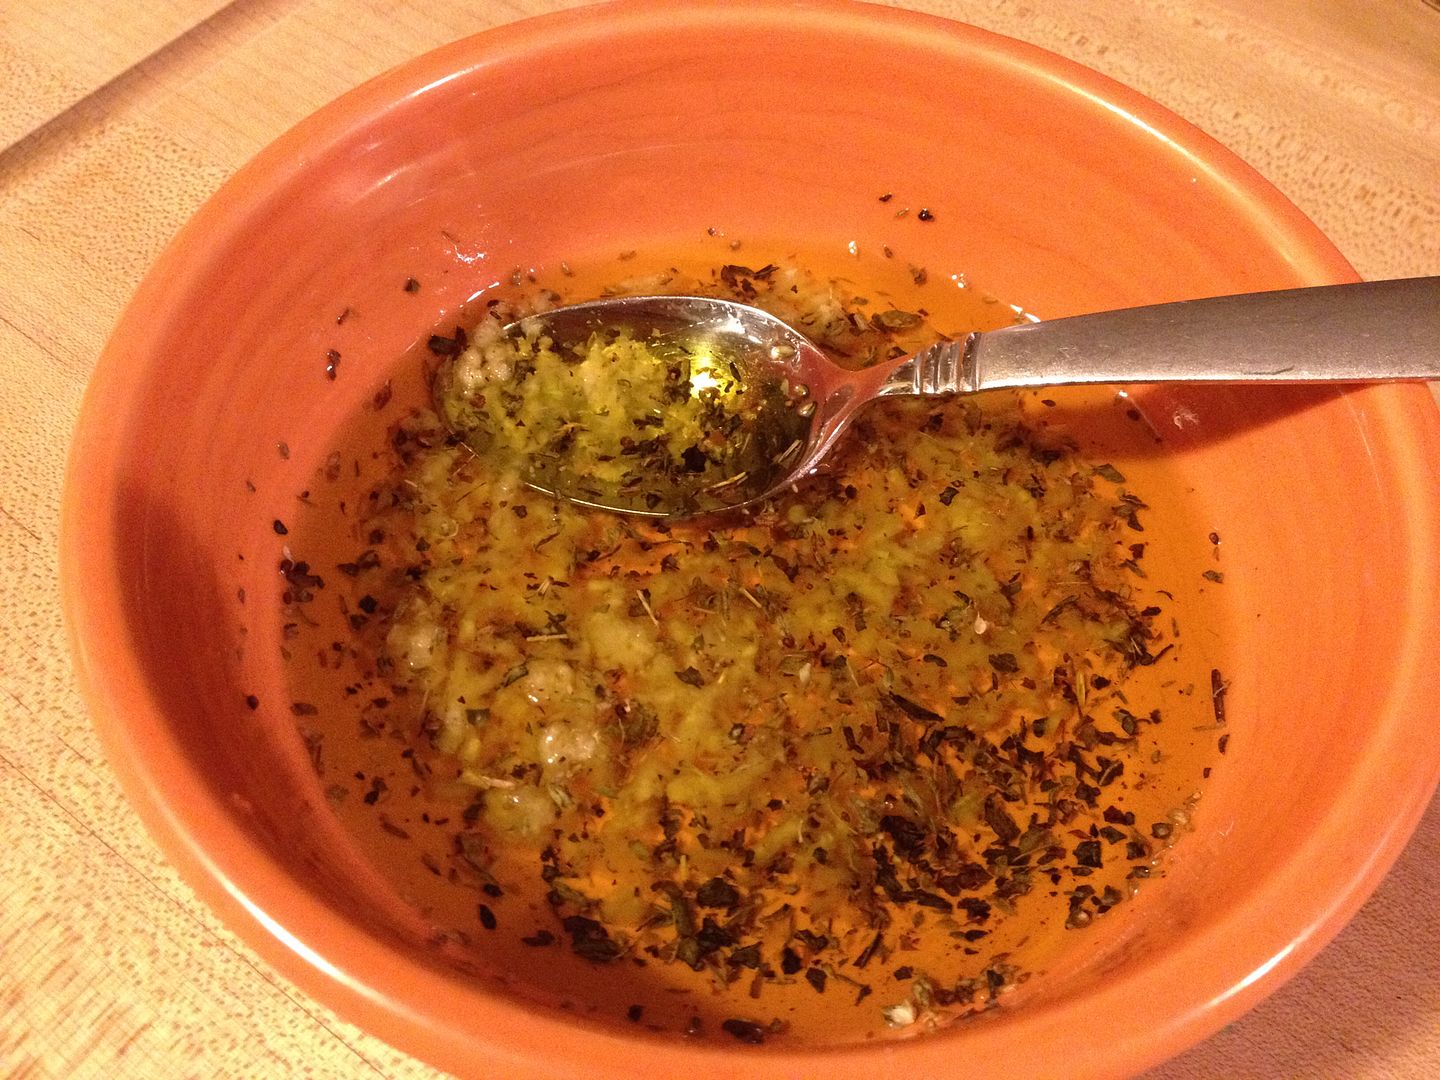
First, I took enough olive oil to cover the bottom of a small bowl and added 1/2 tsp each oregano and thyme, then 1/4 tsp of basil. I also added one large minced garlic clove and a grinding of sea salt and pepper. Since this pizza was for me and not Hope, I also added 1/2 tsp of crushed red pepper for some heat. I allowed this to sit while I moved on to my other preparations.

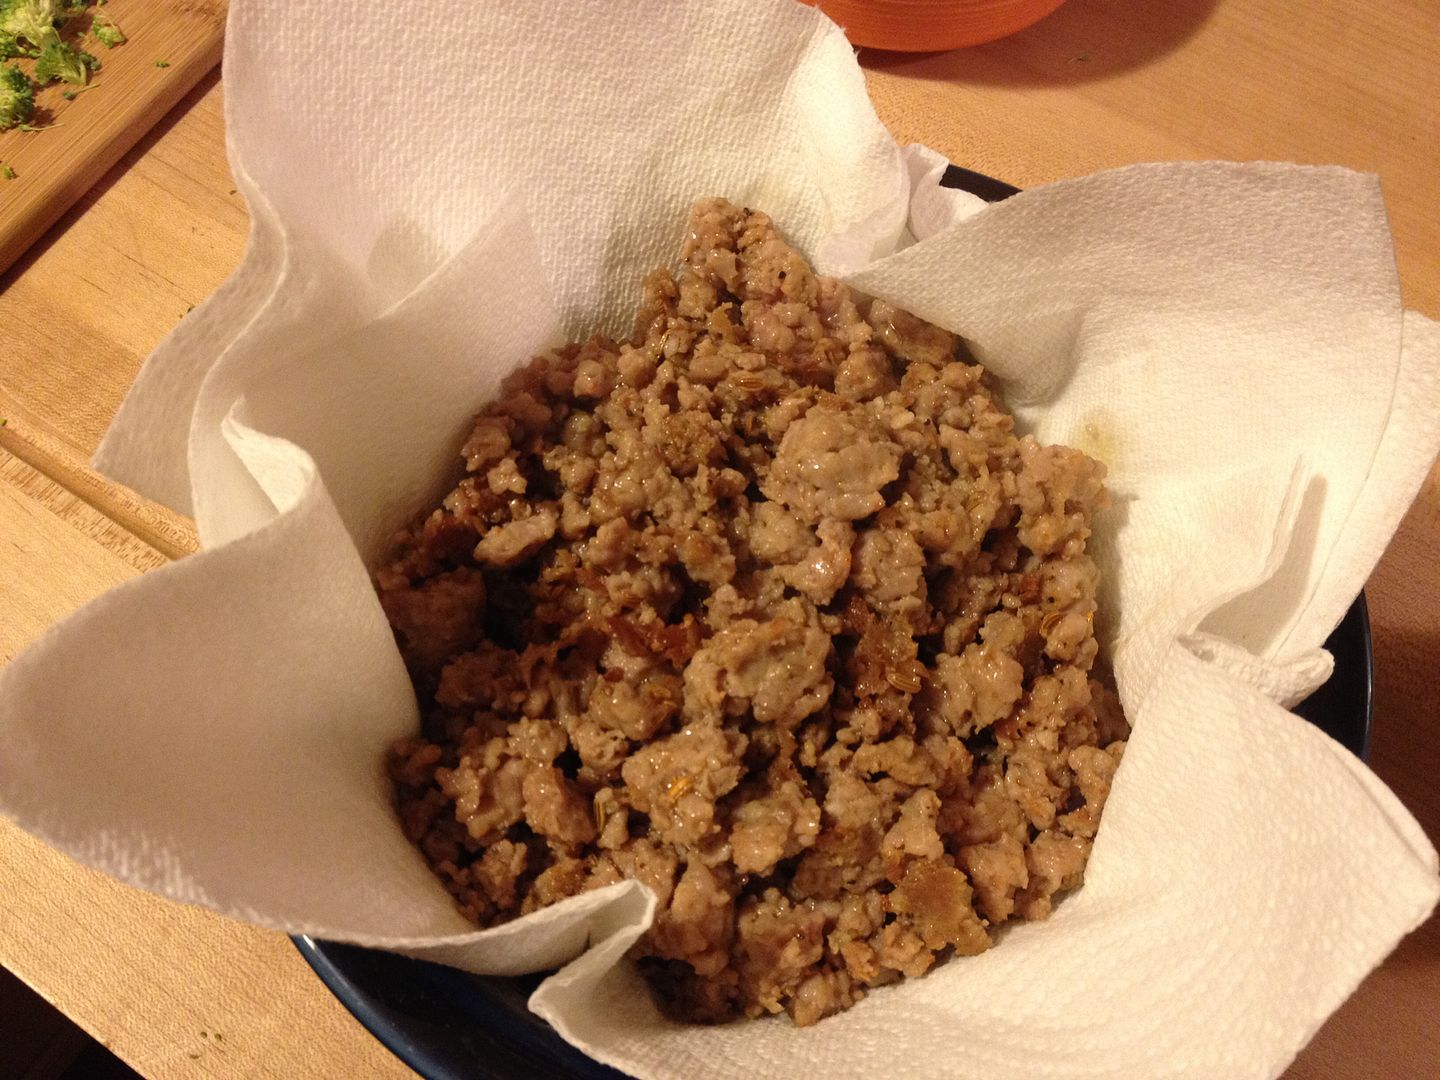
Next, I browned some sweet Italian sausage. I did not cook the whole way through. Probably about 80% cooked so that it would finish the rest of the way while the pizza was cooking. When done, I placed in a paper towel lined bowl to soak up the fat.

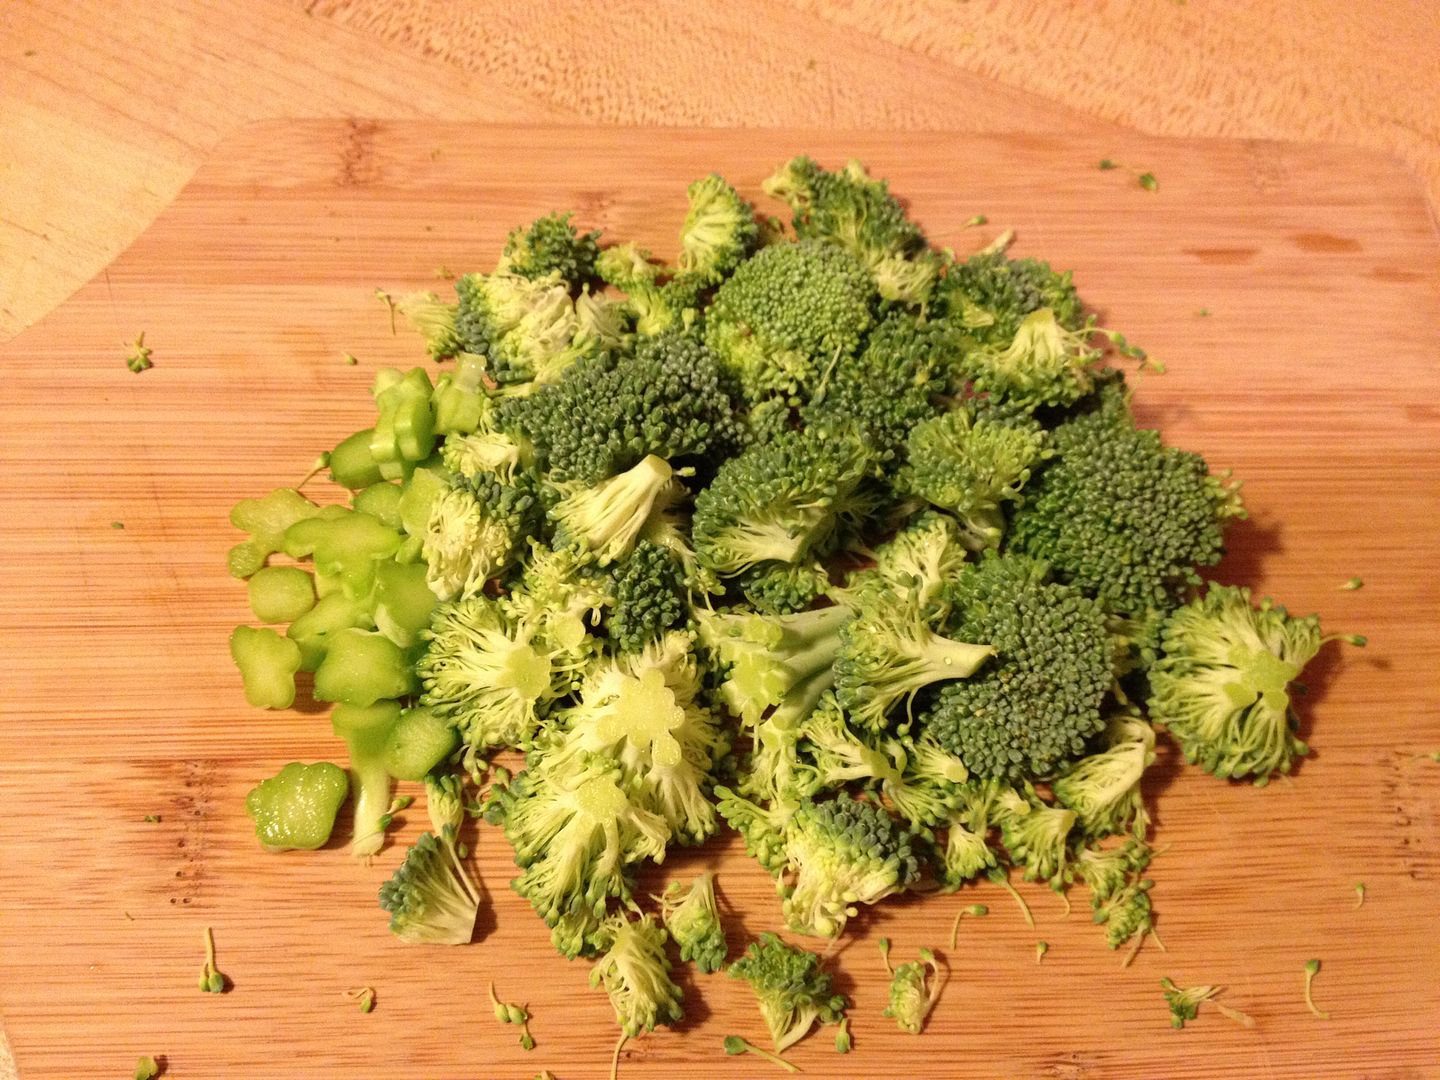
Next, I took half of a head of broccoli and removed the florets. Then, with a pairing knife, I broke the florets down into smaller pieces. For some texture, I took some of the stalks, quarter them, then sliced thinly. In a saute pan, I heated some olive oil and sautéed the broccoli until it was starting to get soft, but still retained its crispiness.

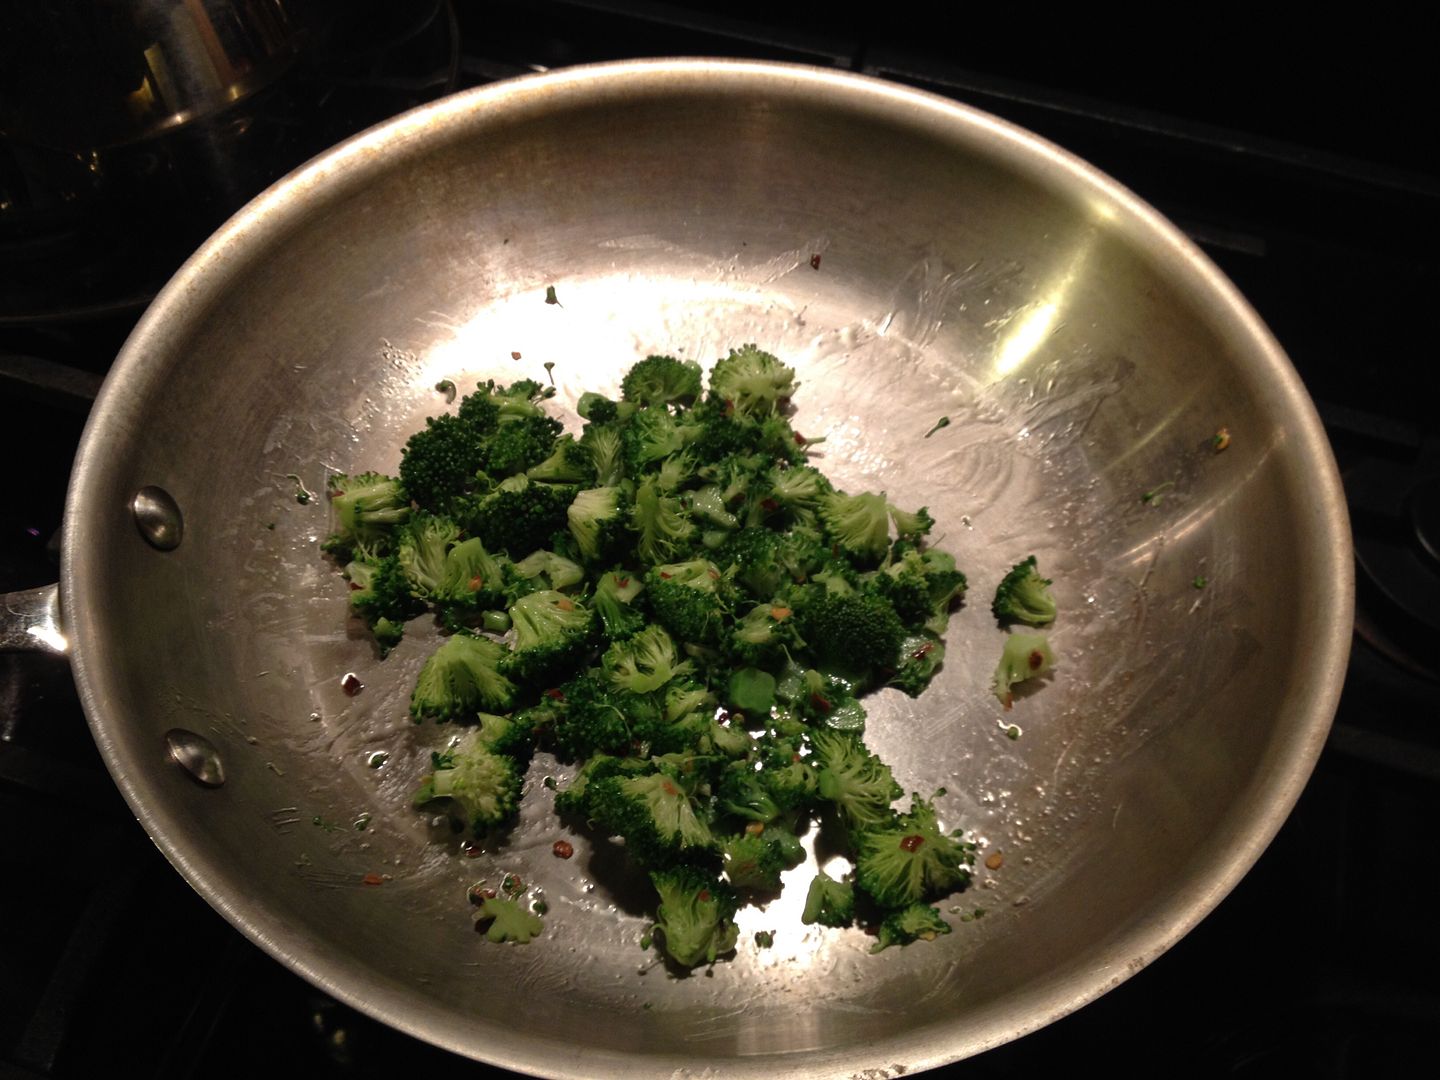
I also added a little more crushed red pepper for a little more kick.

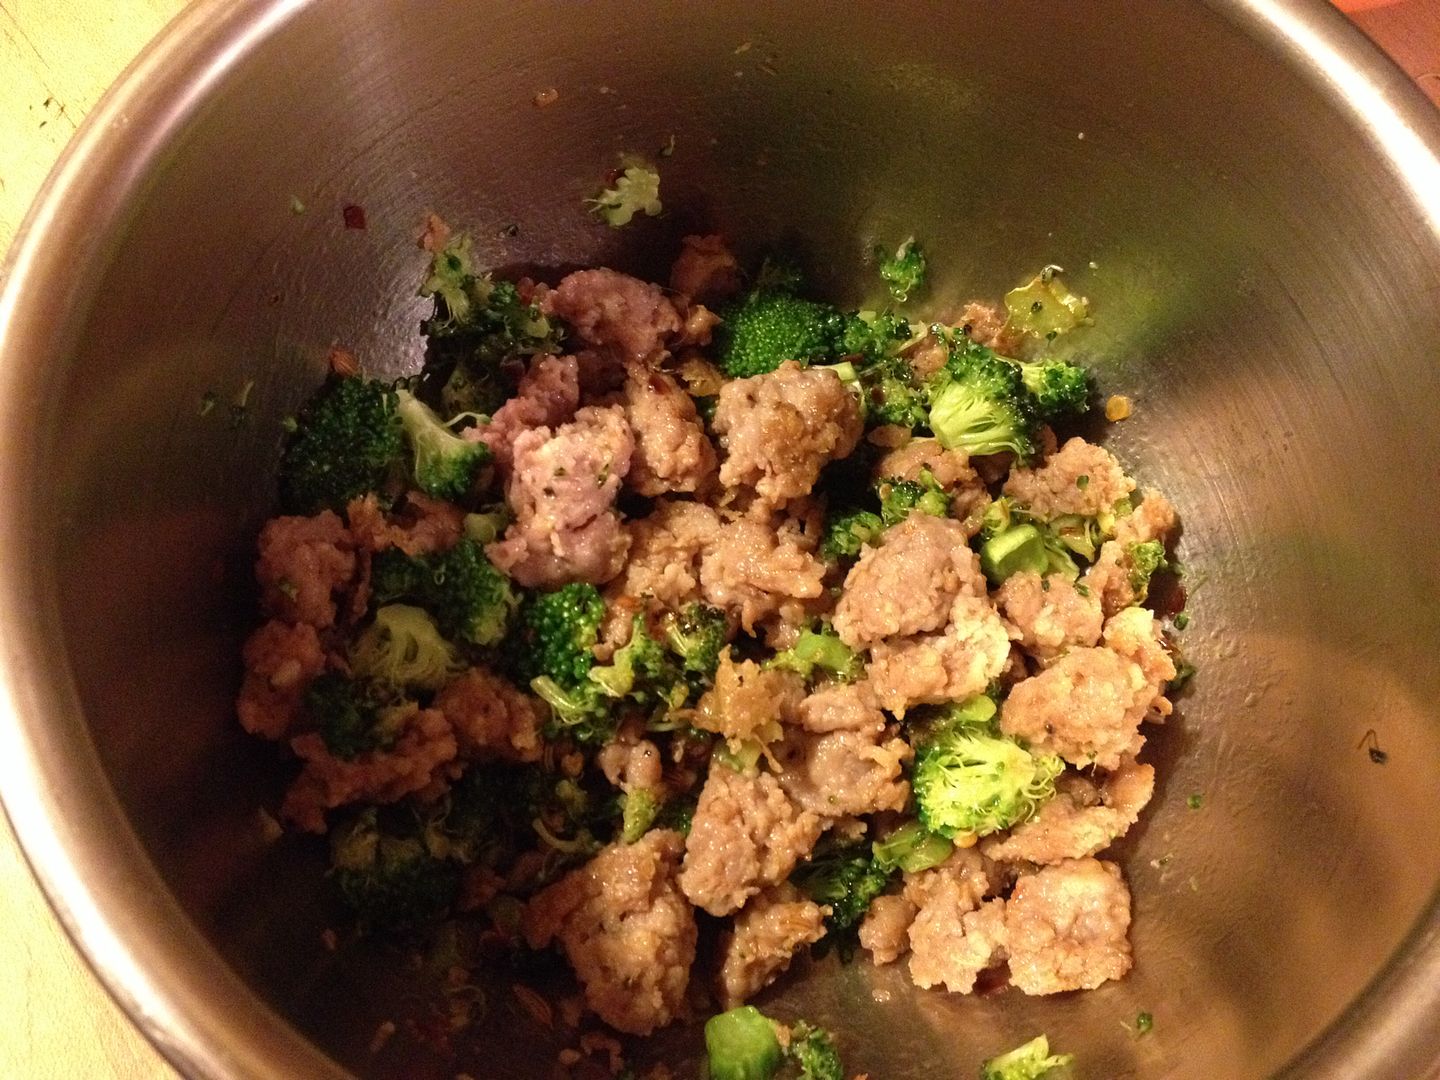
When the broccoli was done, I mixed it with a half cup of the browned sausage and mixed thoroughly.

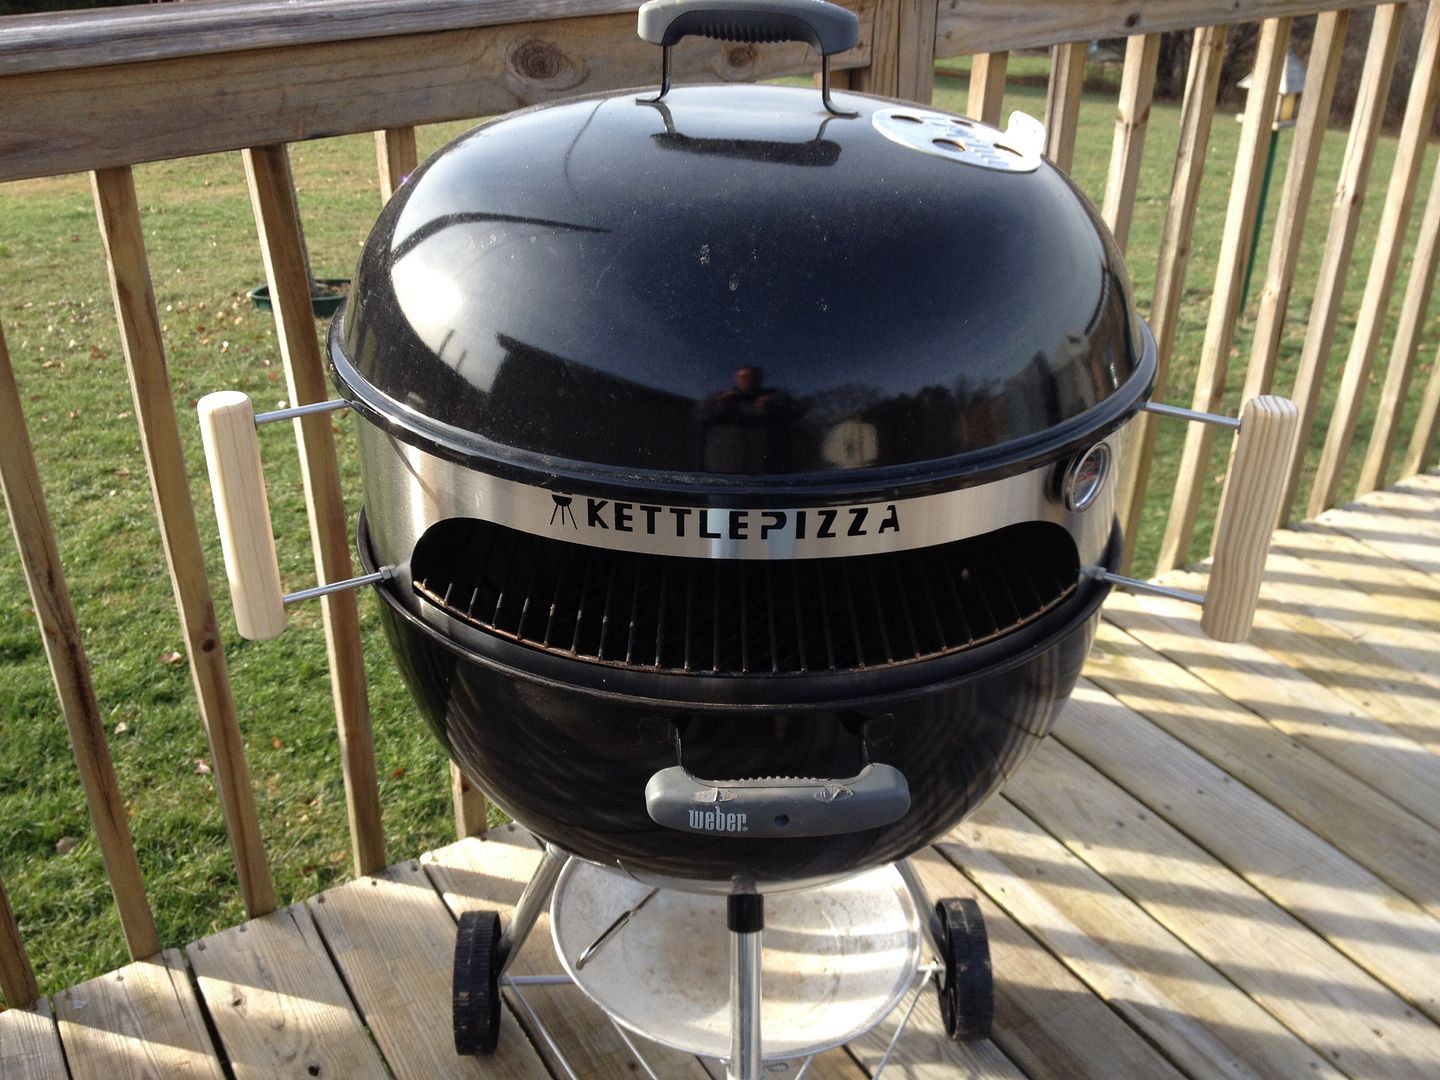
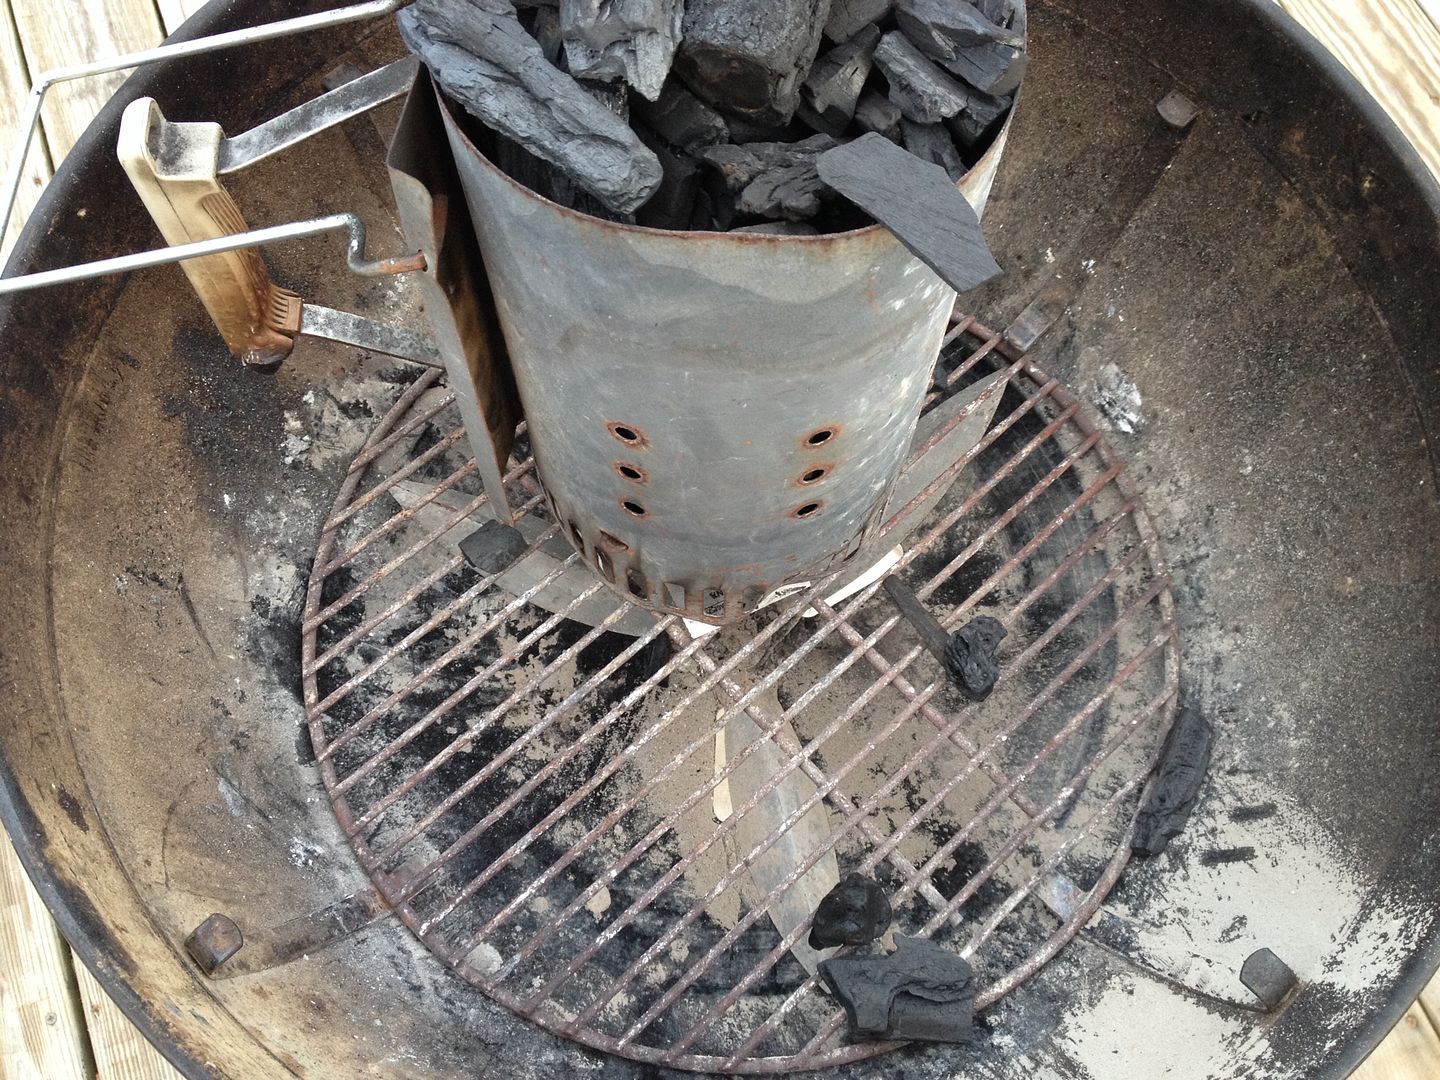
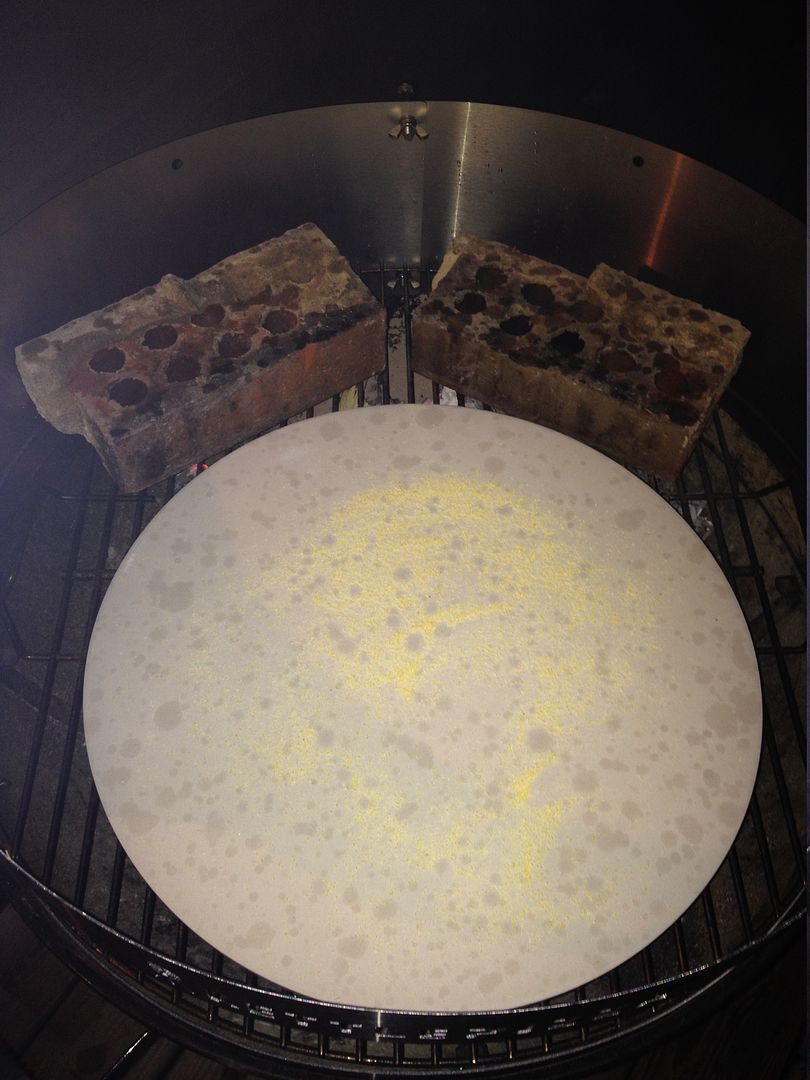
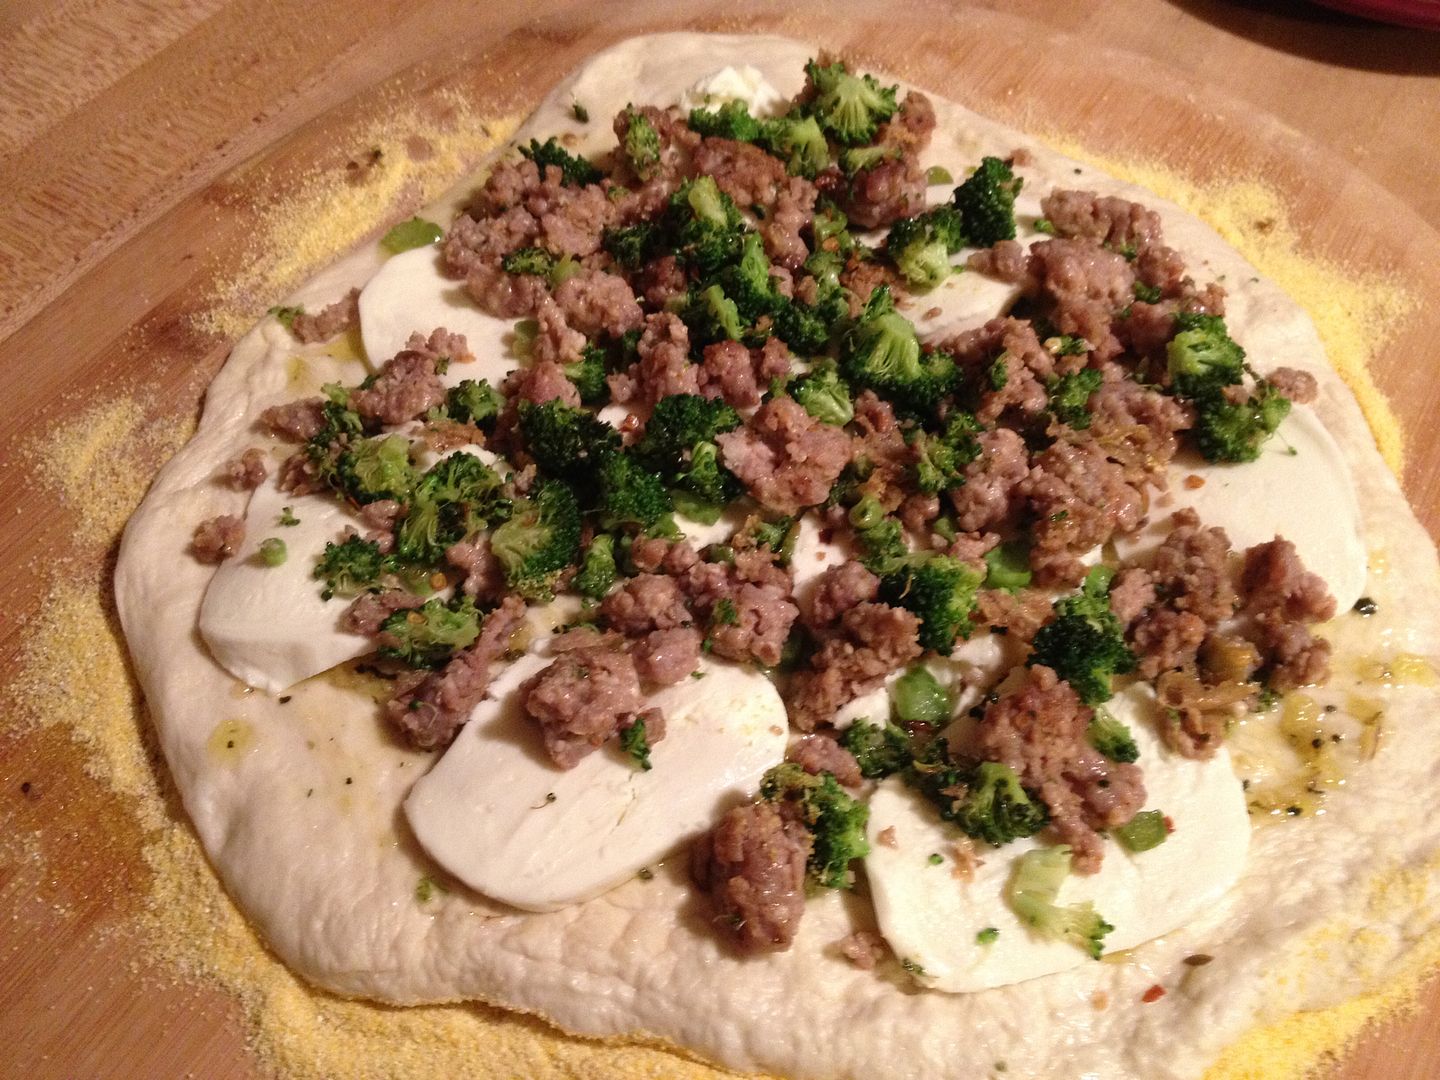
While I was firing up our new toy, the PizzaKettle, Hope offered to build my pie. She brushed the dough with the olive oil mixture, then layered sliced fresh mozzarella, then added the broccoli and sausage mixture.

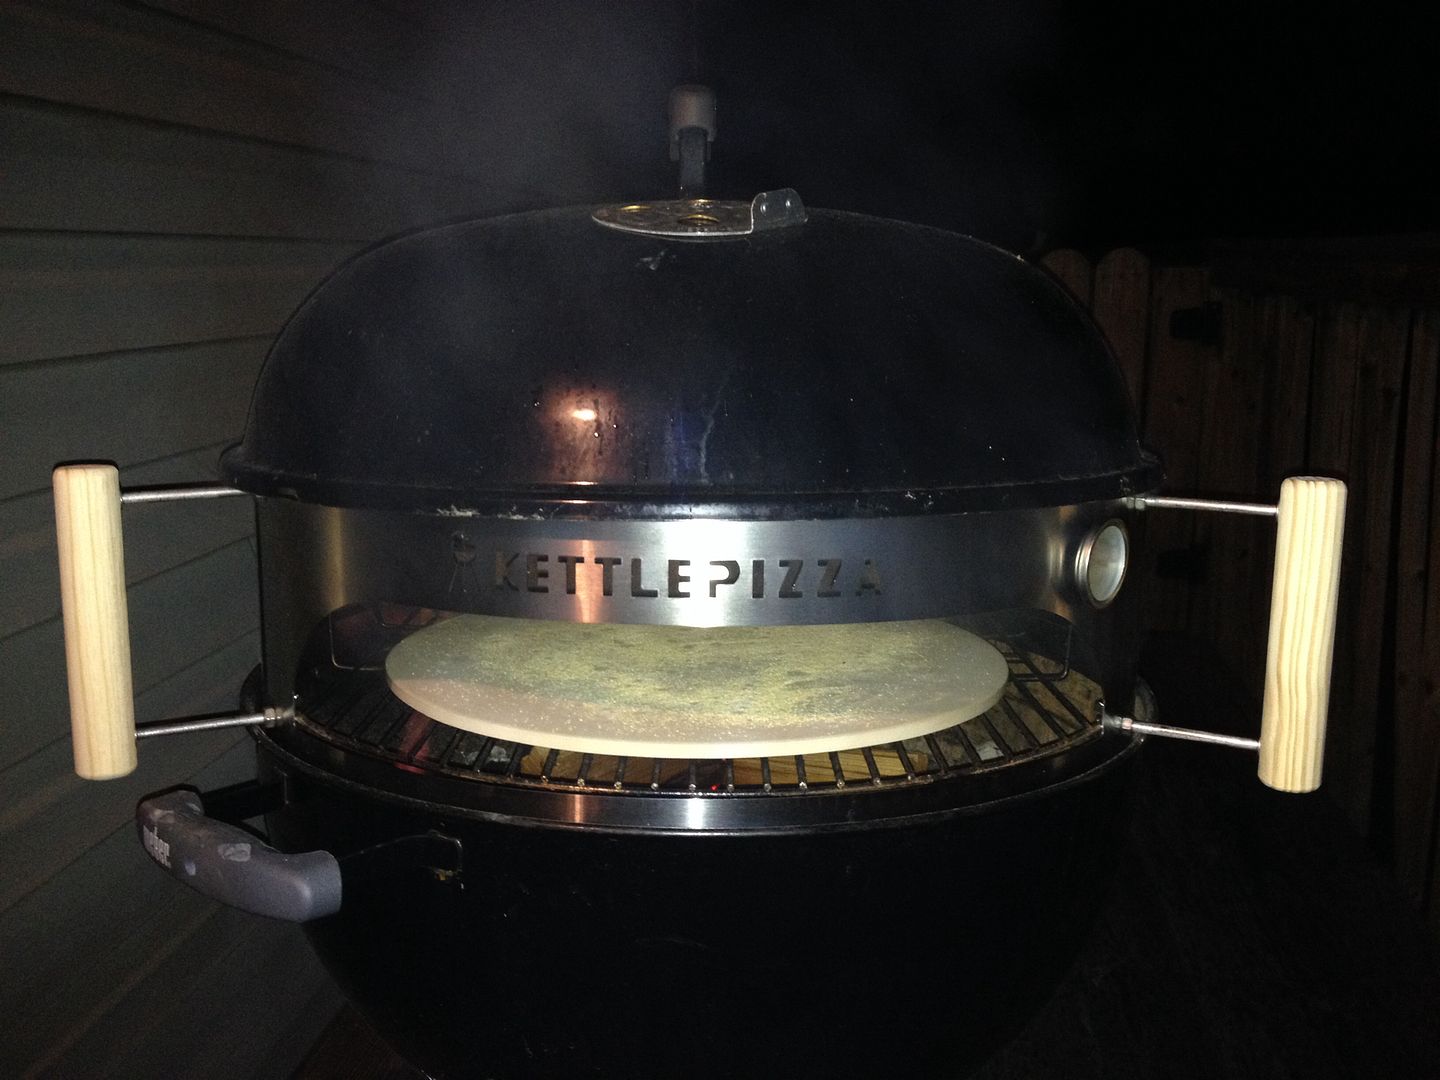
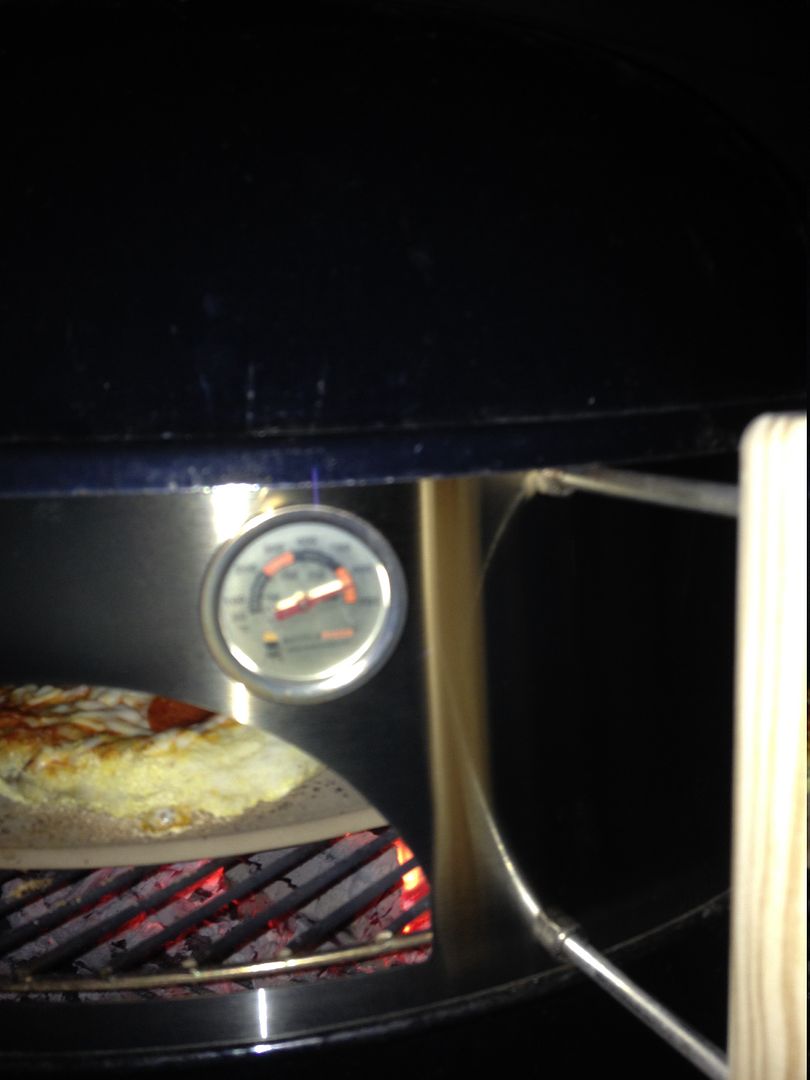
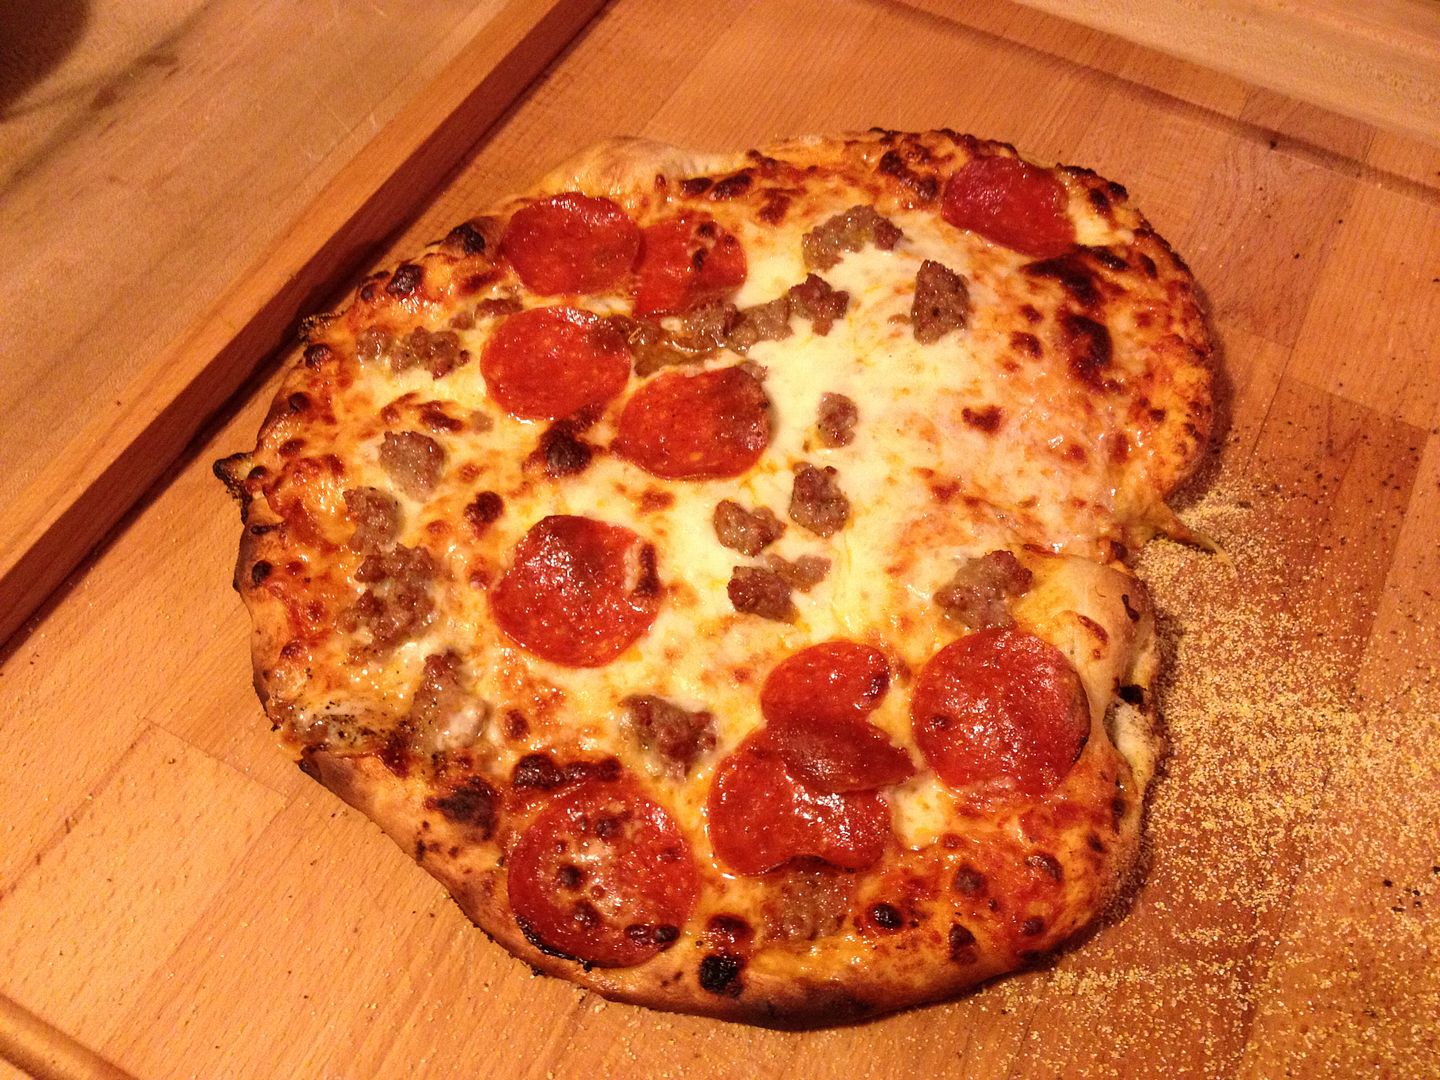
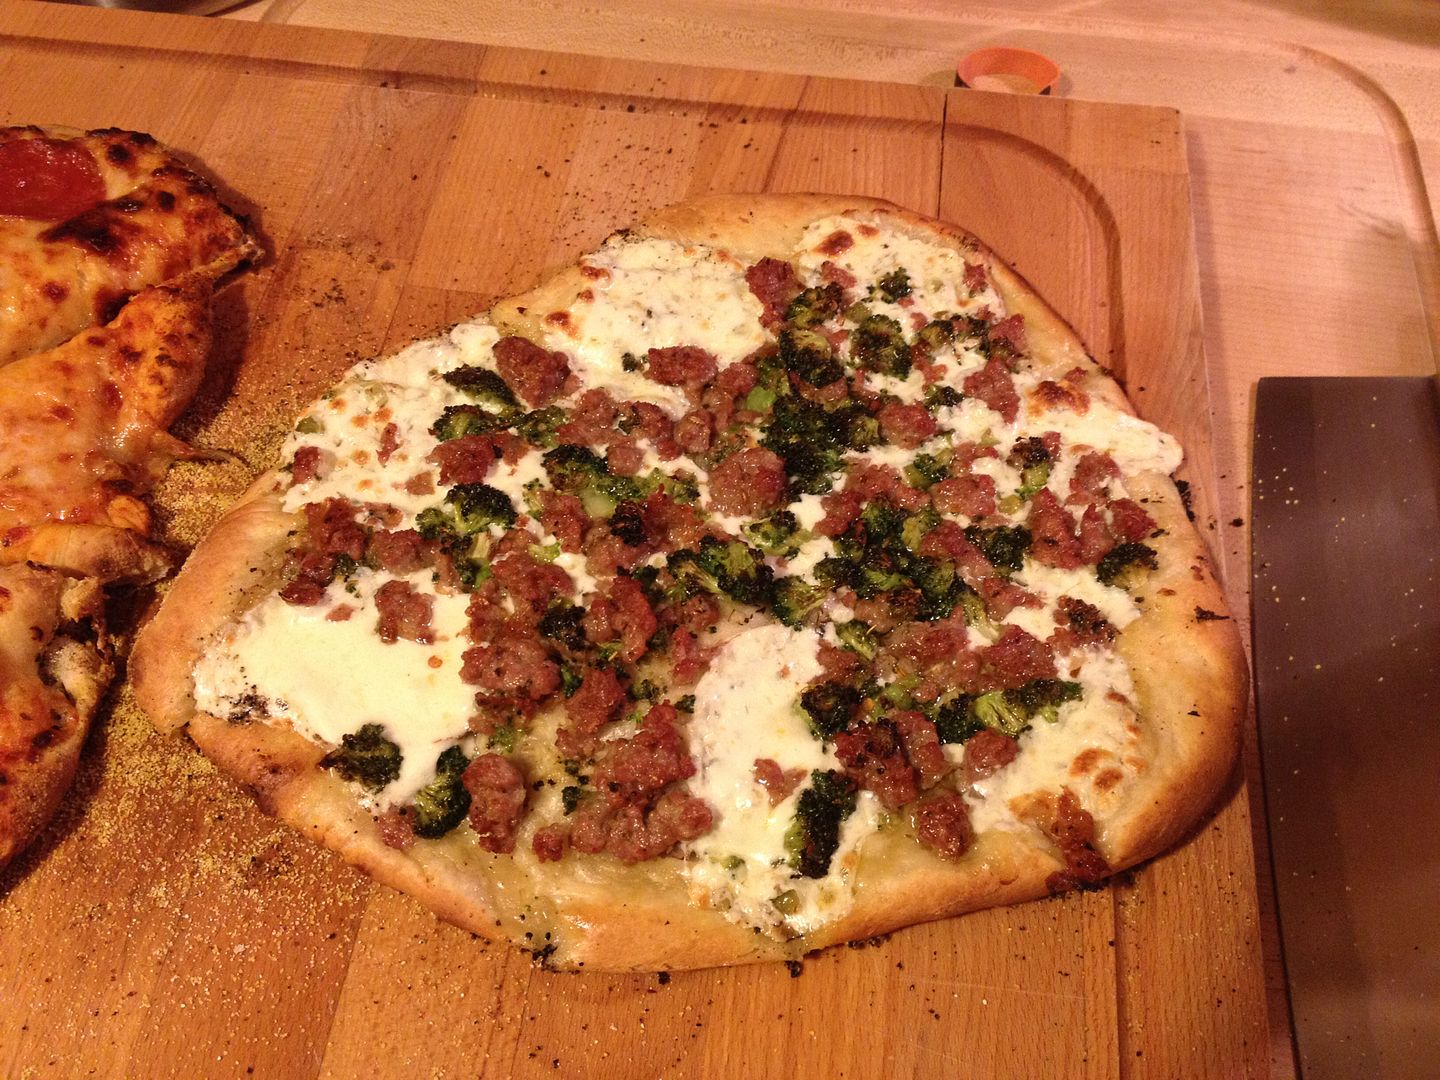
After four minutes in the PizzaKettle with a 180 rotation two minutes into the cook I had a perfect pizza pie. You can also bake this pizza in your oven at 450 F for 20 minutes if you choose.

I liked how my first attempt at this pie turned out. I am missing the bitterness of the broccoli rabe, but the broccoli itself was a nice substitute. If I cannot find rabe in the future, I might substitute half of the broccoli for some spinach. The next time you are looking for something different in a pizza, give this one a try.
Thanks for stopping by,
Bill
Unfortunately, I cannot find broccoli rabe, otherwise known as rapini, in my local grocery. What is broccoli rabe you ask? Think the love child of broccoli and spinach. Looks kinda like spinach with a hint of broccoli, tastes kinda like broccoli with a hint of spinach. It is a nice bitter Italian green that sauteés well. A perfect balance to the fattiness of some browned sweet sausage. Since I cannot find rabe in the store, I substituted regular broccoli. Lets head to the kitchen.
First, I took enough olive oil to cover the bottom of a small bowl and added 1/2 tsp each oregano and thyme, then 1/4 tsp of basil. I also added one large minced garlic clove and a grinding of sea salt and pepper. Since this pizza was for me and not Hope, I also added 1/2 tsp of crushed red pepper for some heat. I allowed this to sit while I moved on to my other preparations.
Next, I browned some sweet Italian sausage. I did not cook the whole way through. Probably about 80% cooked so that it would finish the rest of the way while the pizza was cooking. When done, I placed in a paper towel lined bowl to soak up the fat.
Next, I took half of a head of broccoli and removed the florets. Then, with a pairing knife, I broke the florets down into smaller pieces. For some texture, I took some of the stalks, quarter them, then sliced thinly. In a saute pan, I heated some olive oil and sautéed the broccoli until it was starting to get soft, but still retained its crispiness.
I also added a little more crushed red pepper for a little more kick.
When the broccoli was done, I mixed it with a half cup of the browned sausage and mixed thoroughly.
While I was firing up our new toy, the PizzaKettle, Hope offered to build my pie. She brushed the dough with the olive oil mixture, then layered sliced fresh mozzarella, then added the broccoli and sausage mixture.
After four minutes in the PizzaKettle with a 180 rotation two minutes into the cook I had a perfect pizza pie. You can also bake this pizza in your oven at 450 F for 20 minutes if you choose.
I liked how my first attempt at this pie turned out. I am missing the bitterness of the broccoli rabe, but the broccoli itself was a nice substitute. If I cannot find rabe in the future, I might substitute half of the broccoli for some spinach. The next time you are looking for something different in a pizza, give this one a try.
Thanks for stopping by,
Bill