Search This Blog

Showing posts with label Pork. Show all posts

Tuesday, March 25, 2014

I've Got a Bone to Pick with You...

As a matter of fact, I have a few dozen bones to pick with you.  Time for some rib practice for the upcoming season.


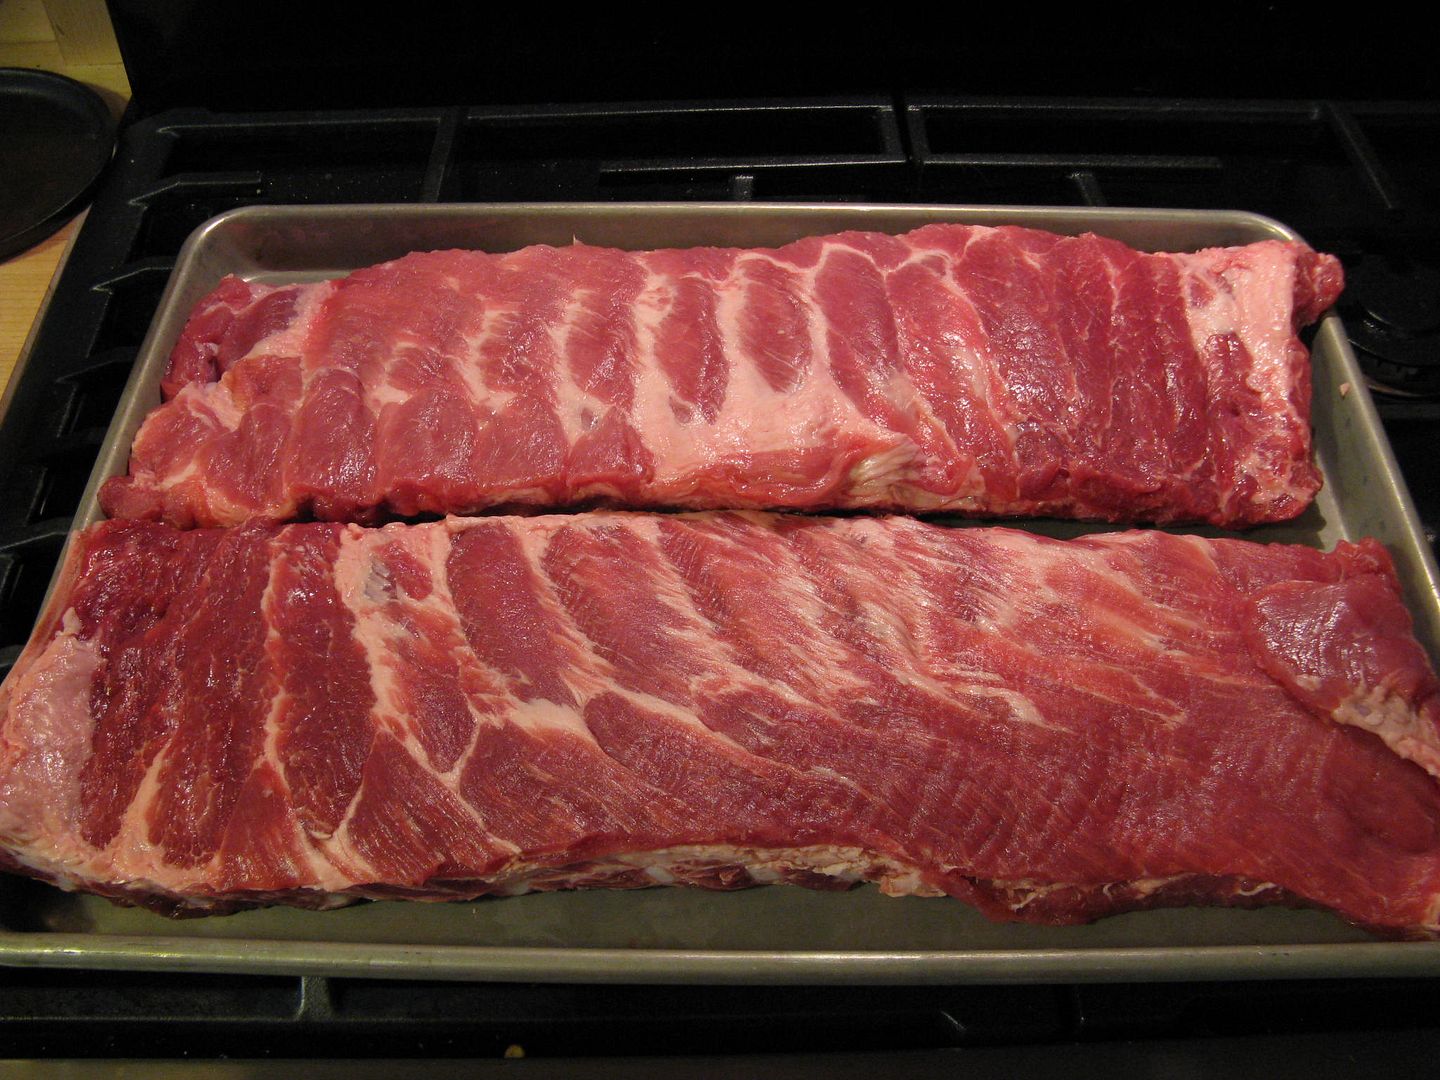
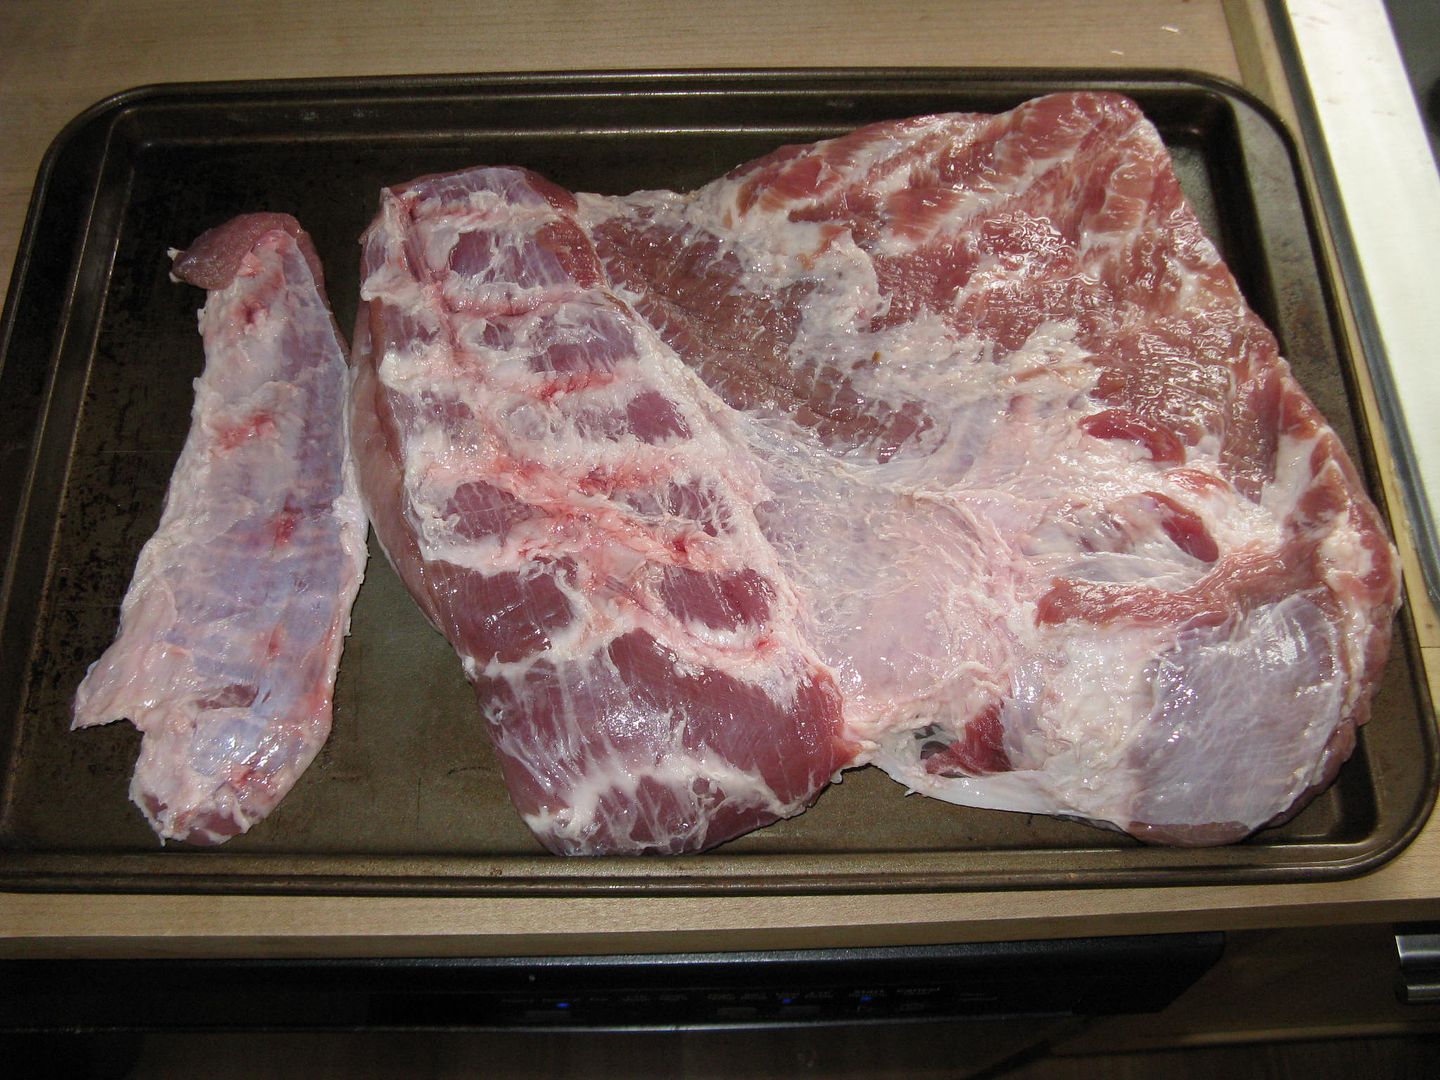
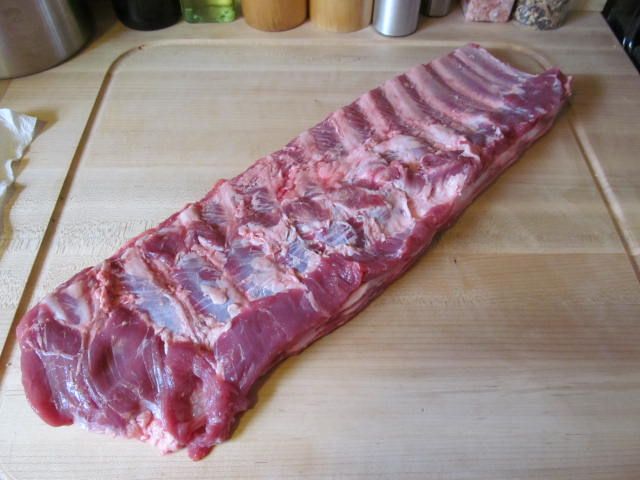
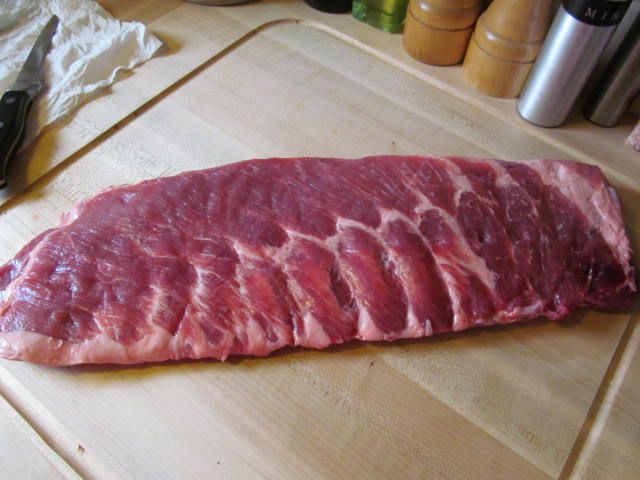
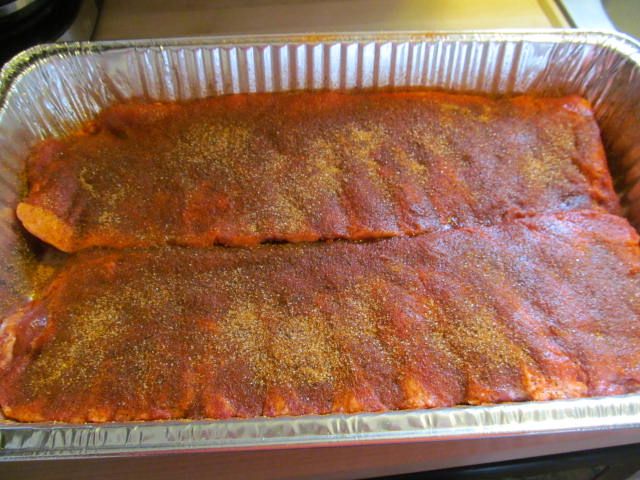
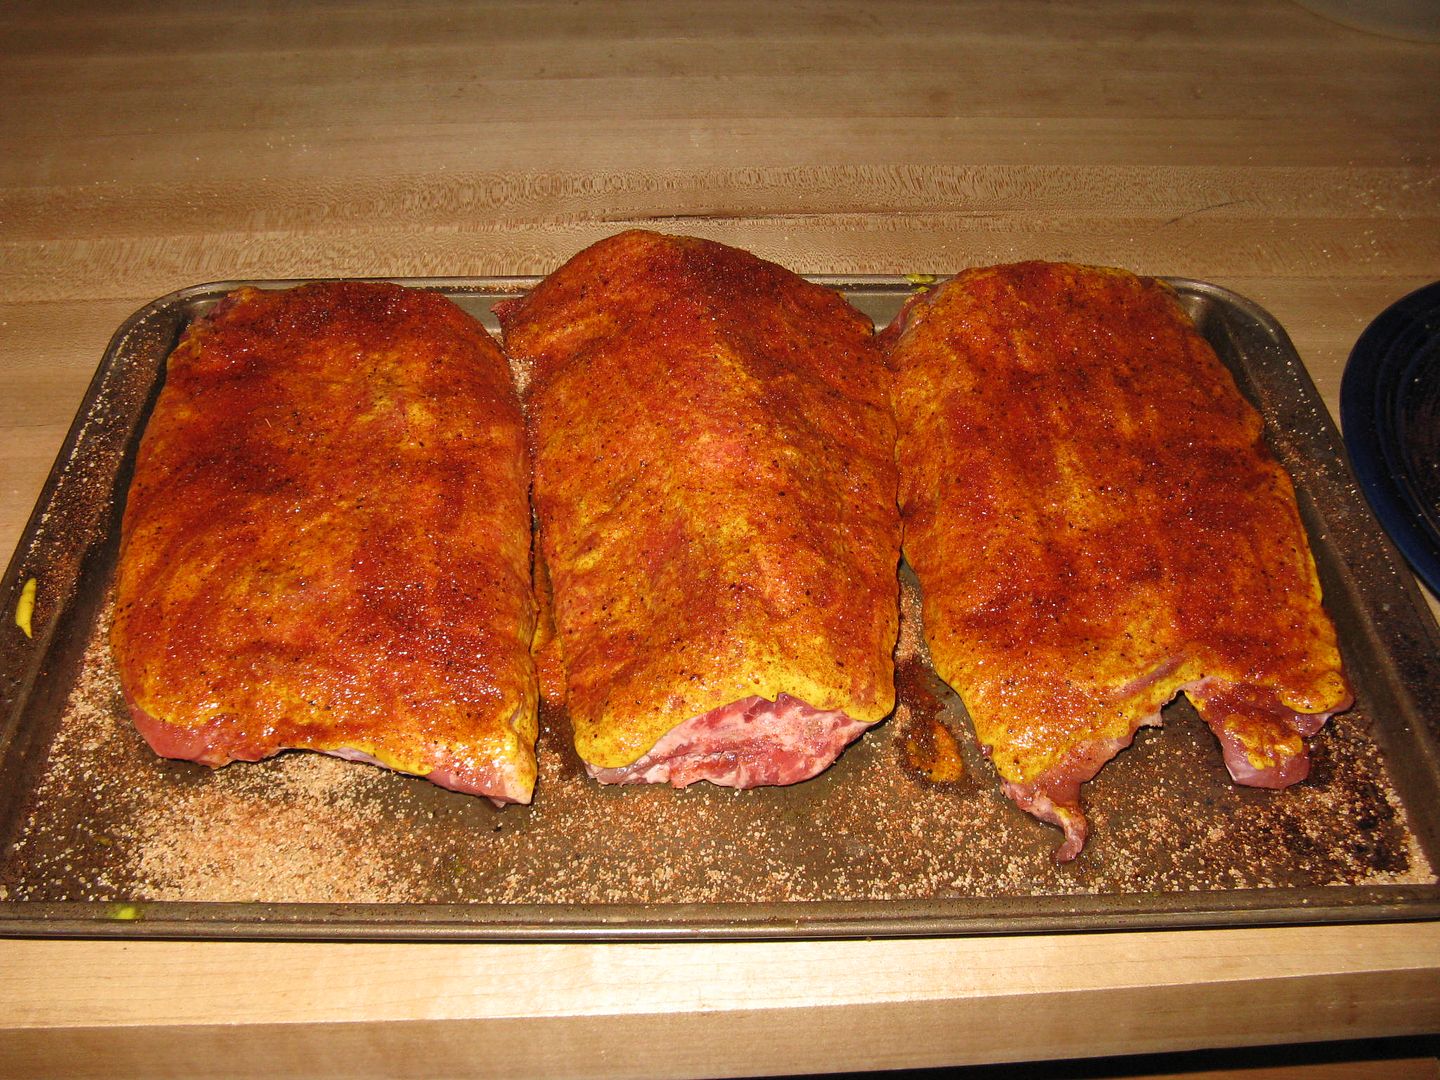
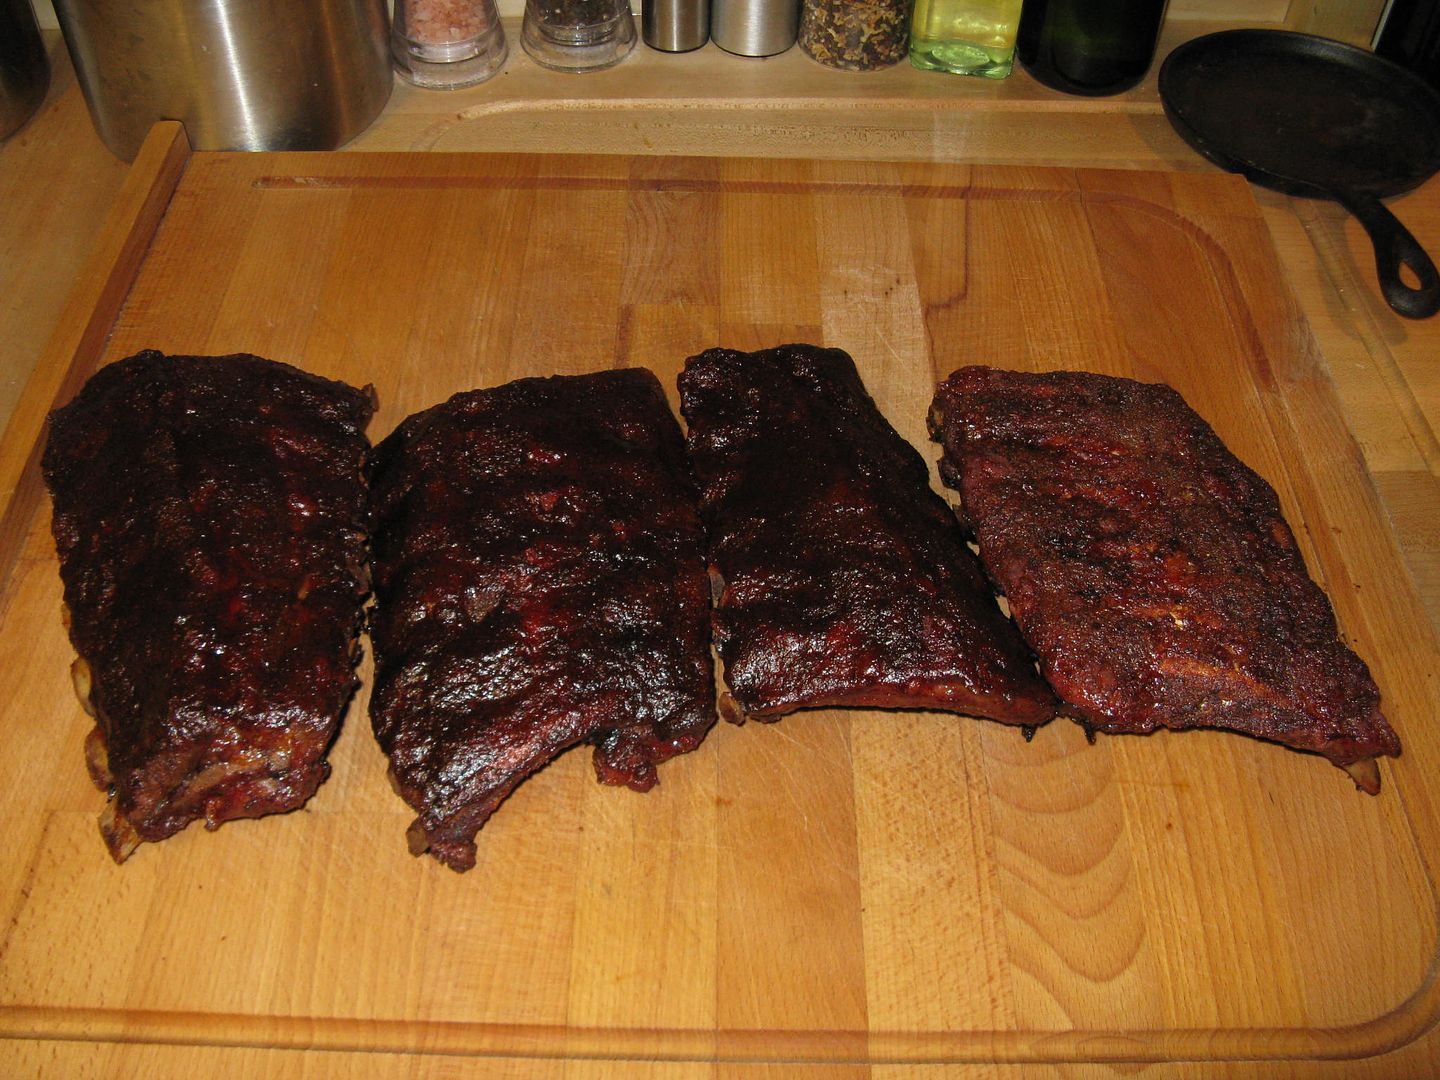
As you can see, we picked up some beautiful looking St. Louis spares from our butcher, Dave's Country Meats in Valencia, PA.  We trimmed them up nicely and started with seasoning.

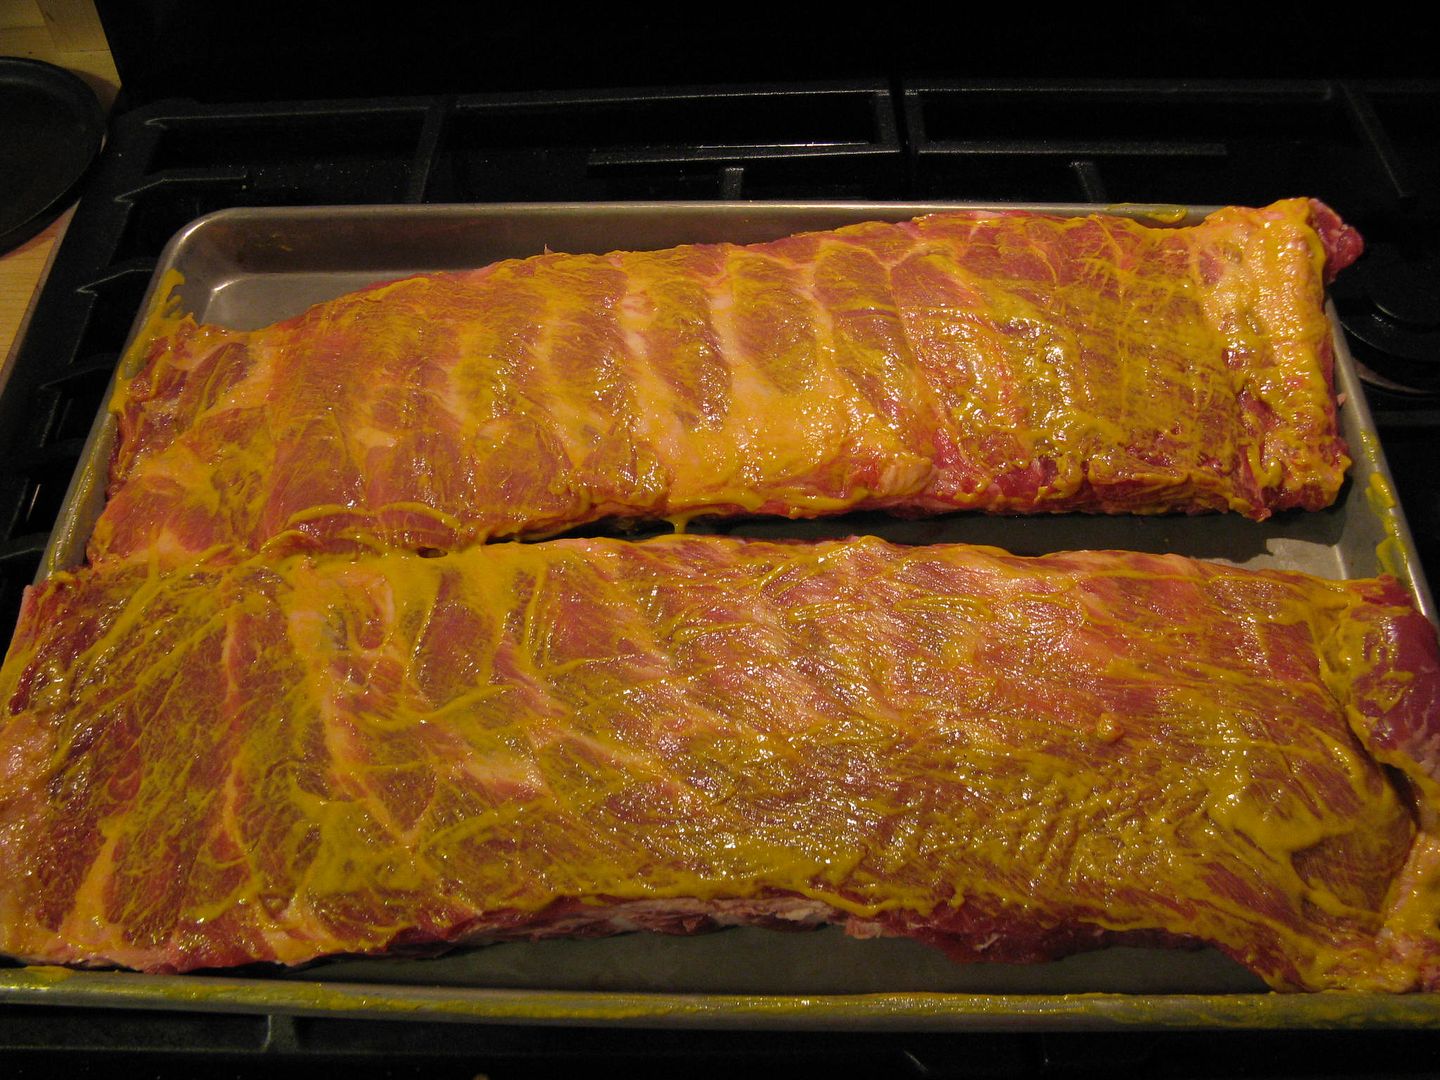
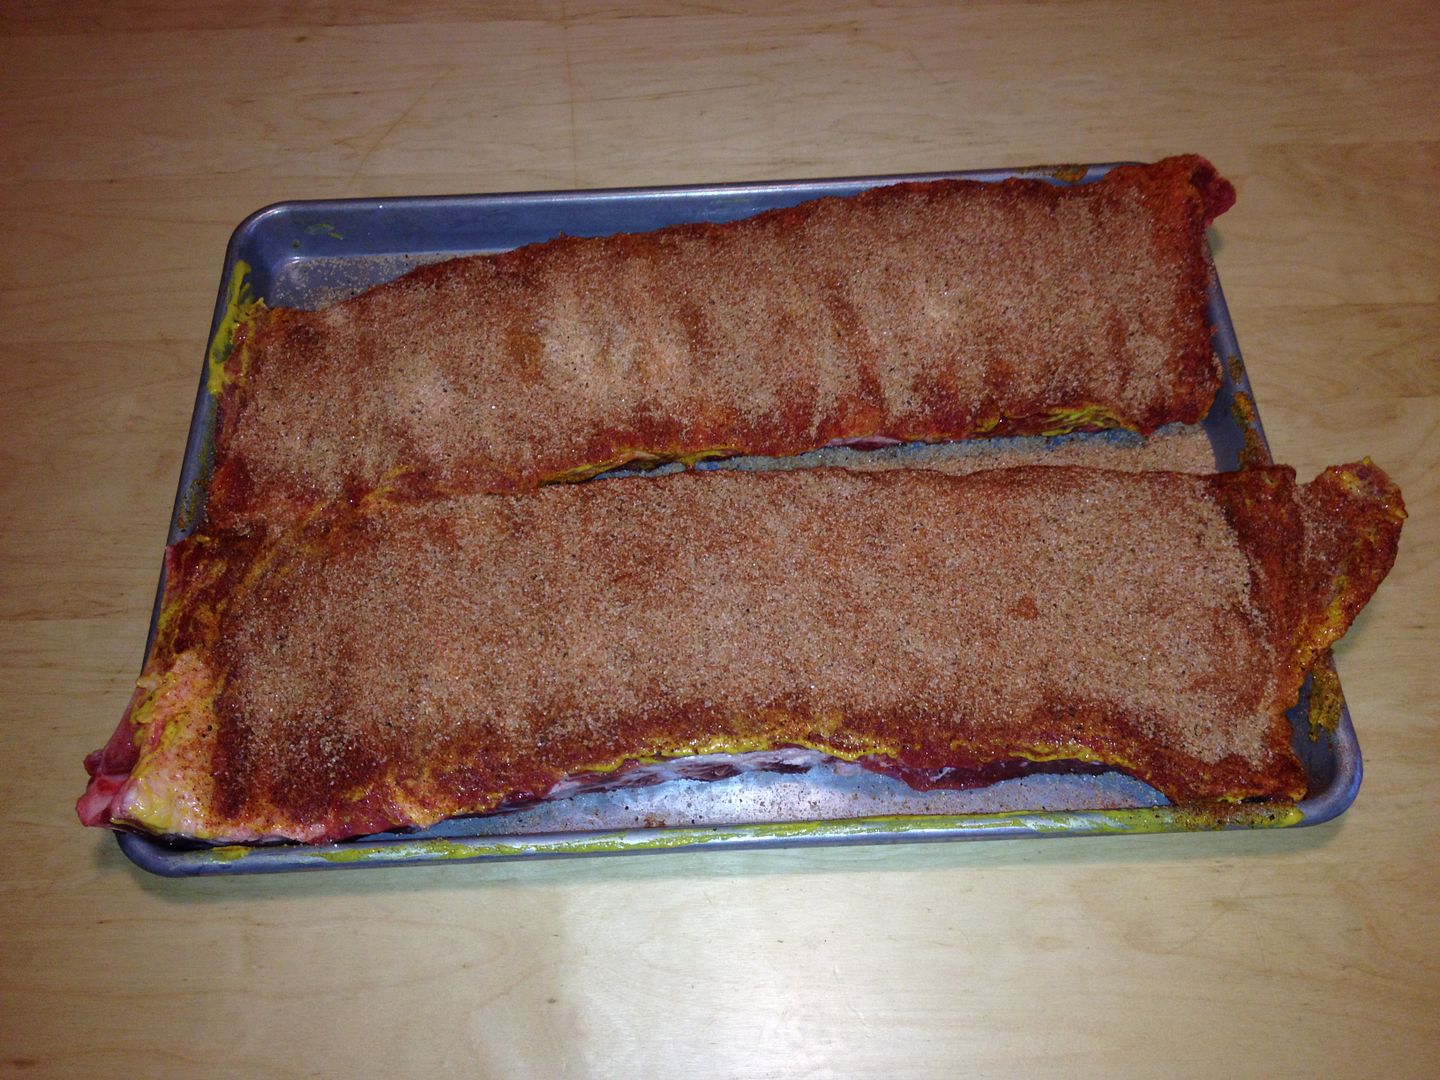
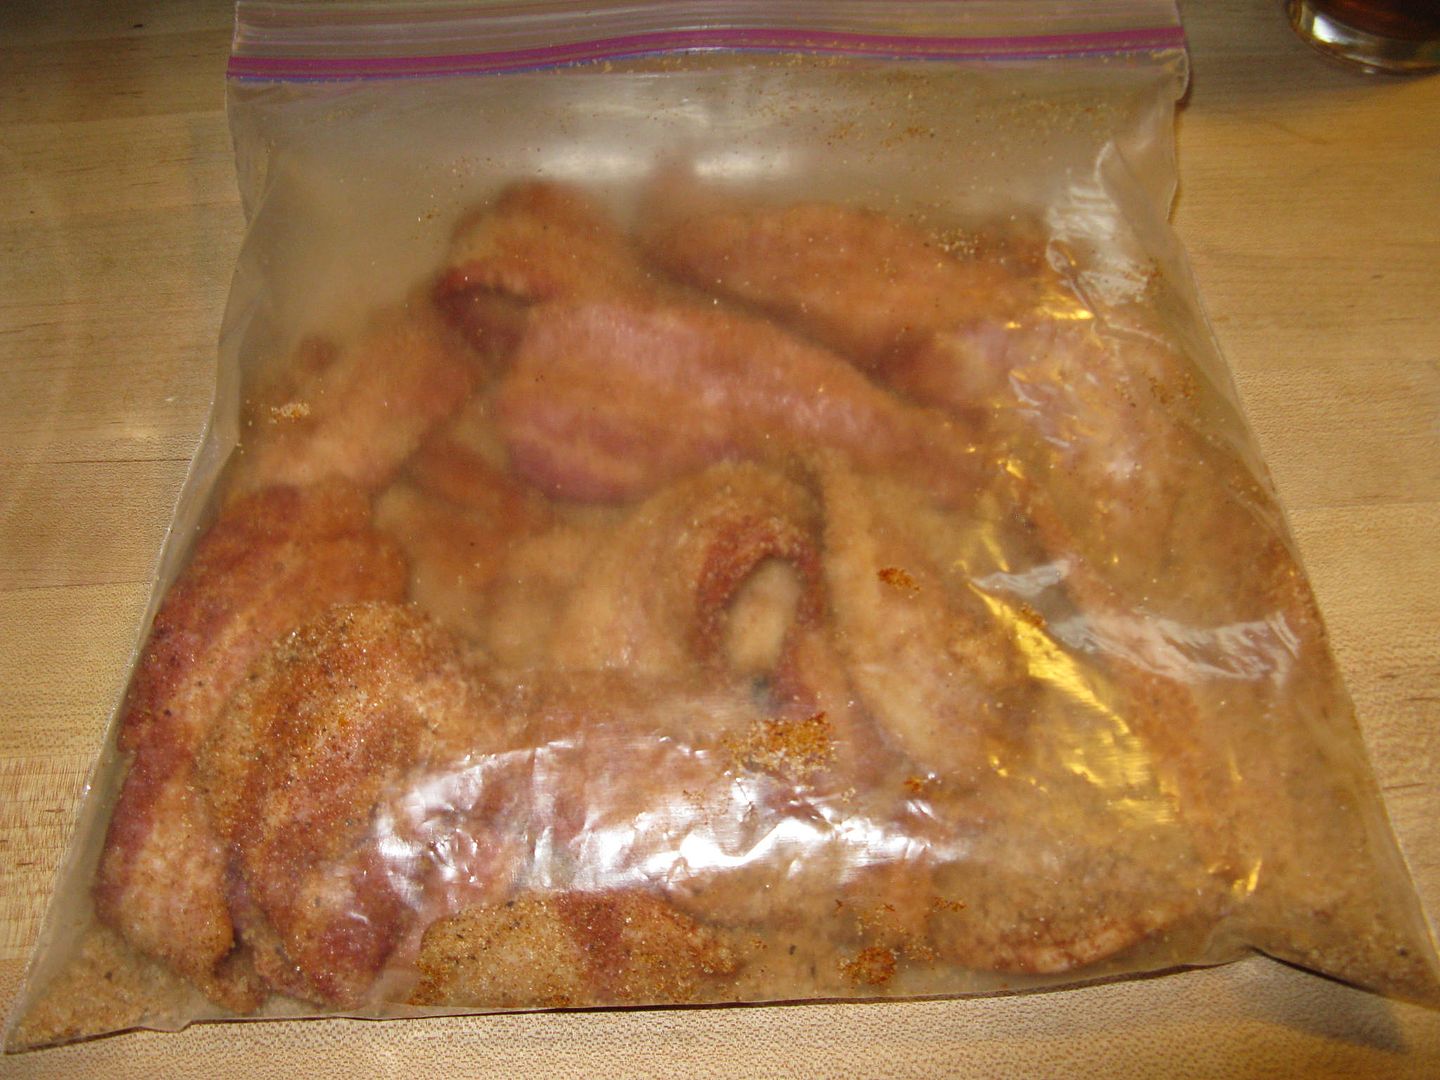
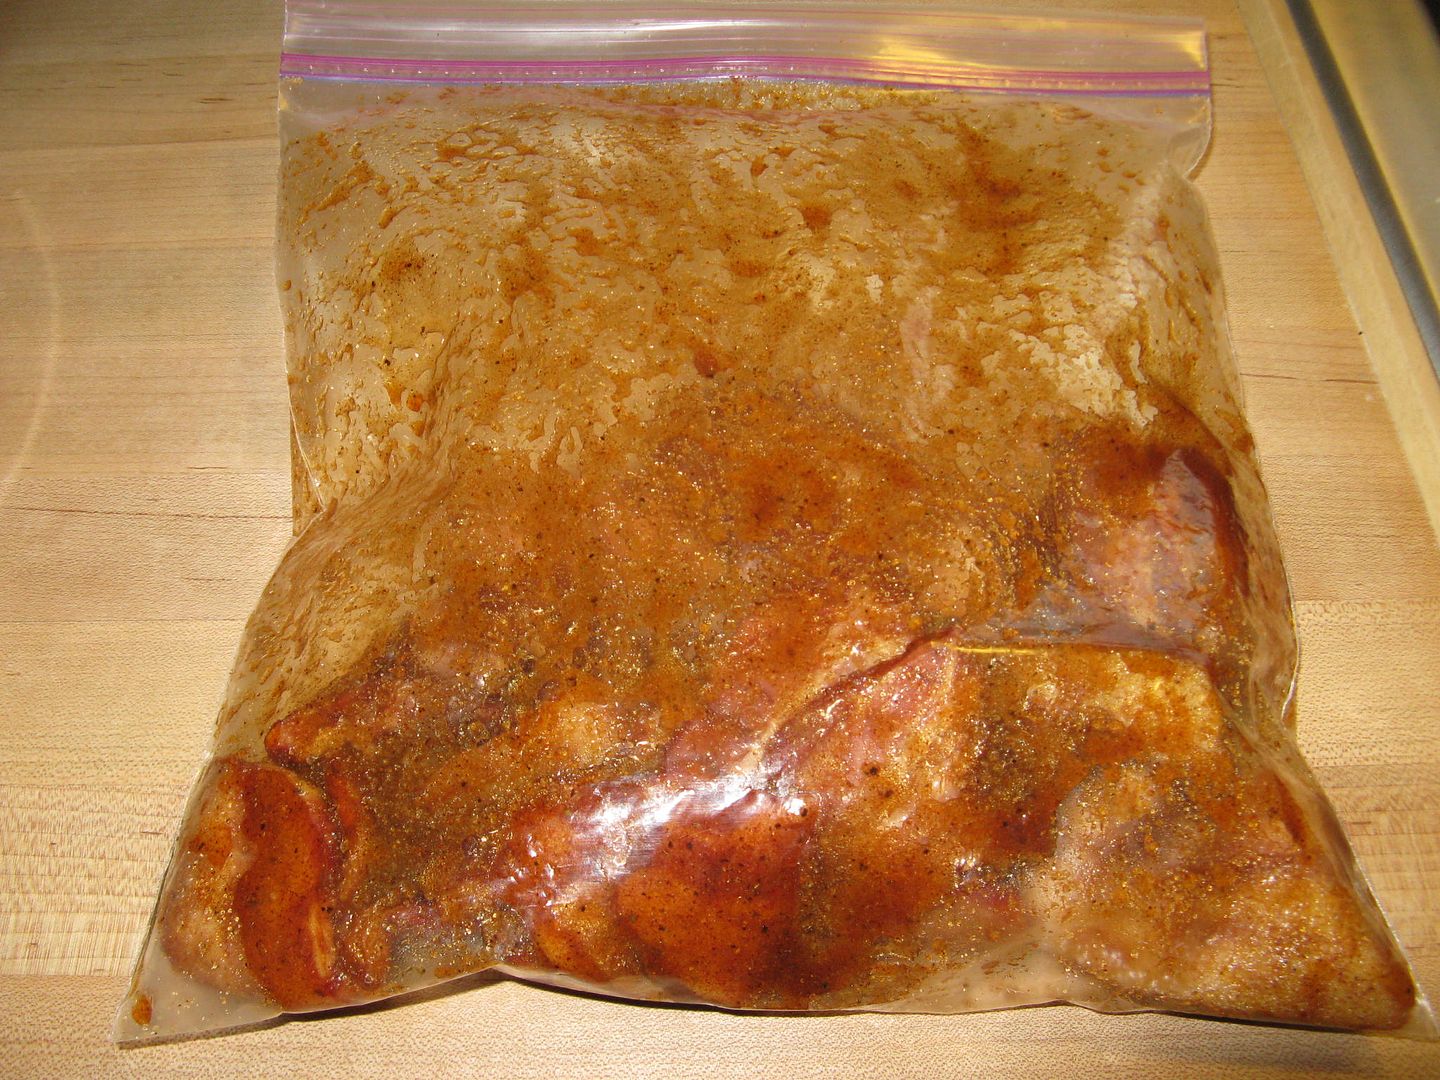
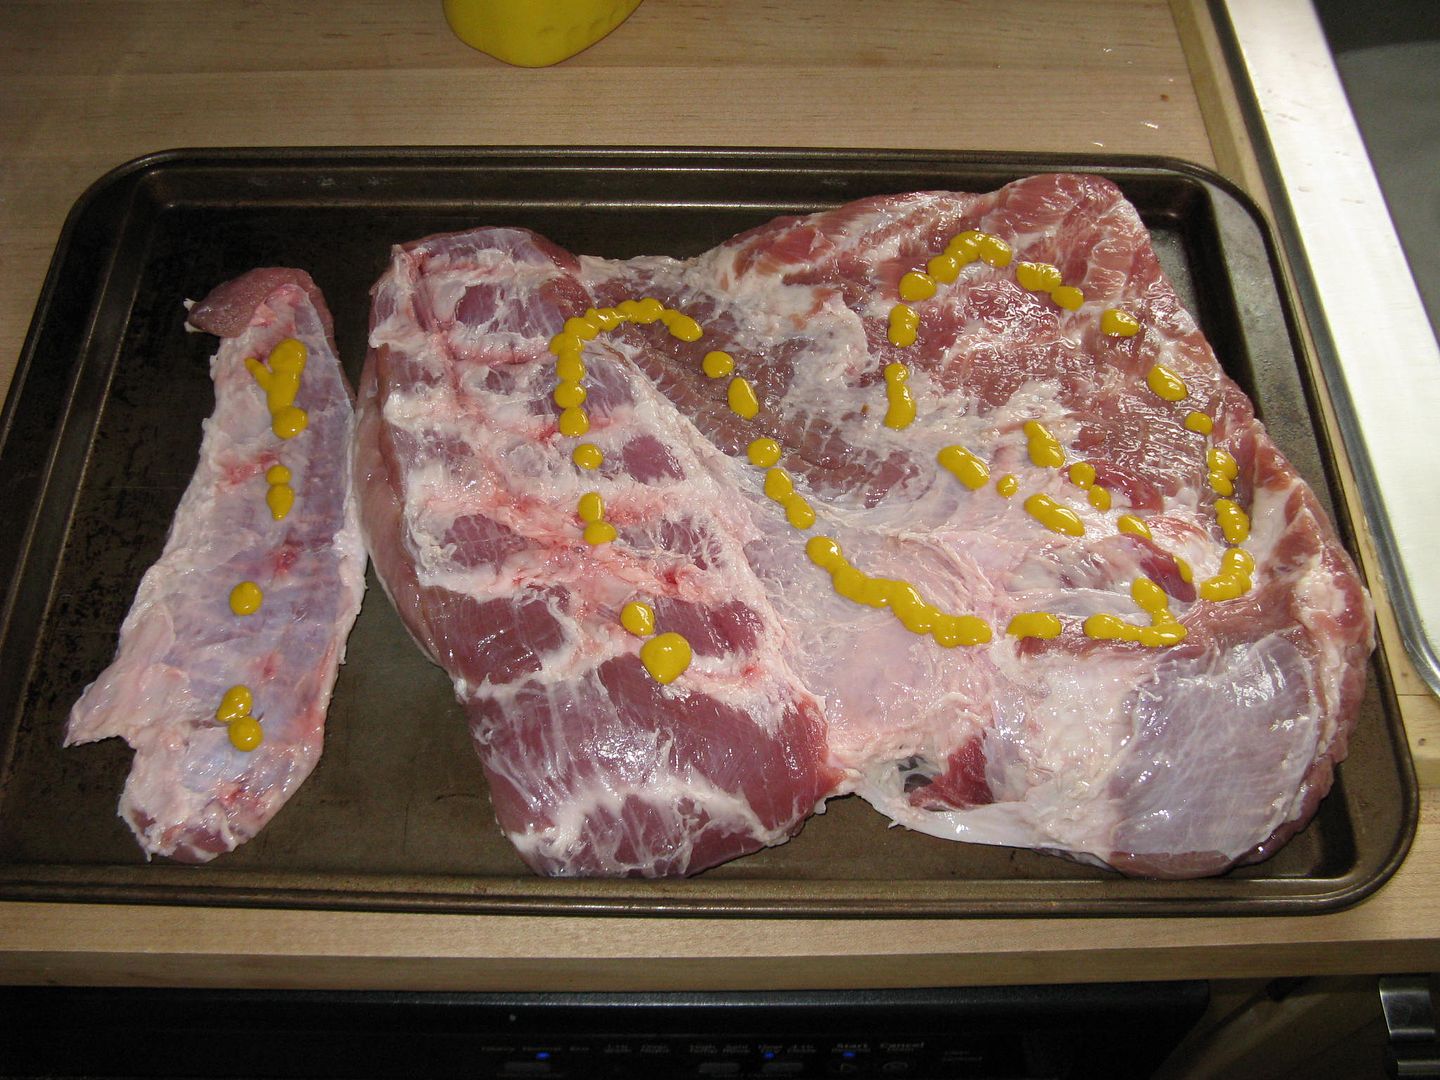
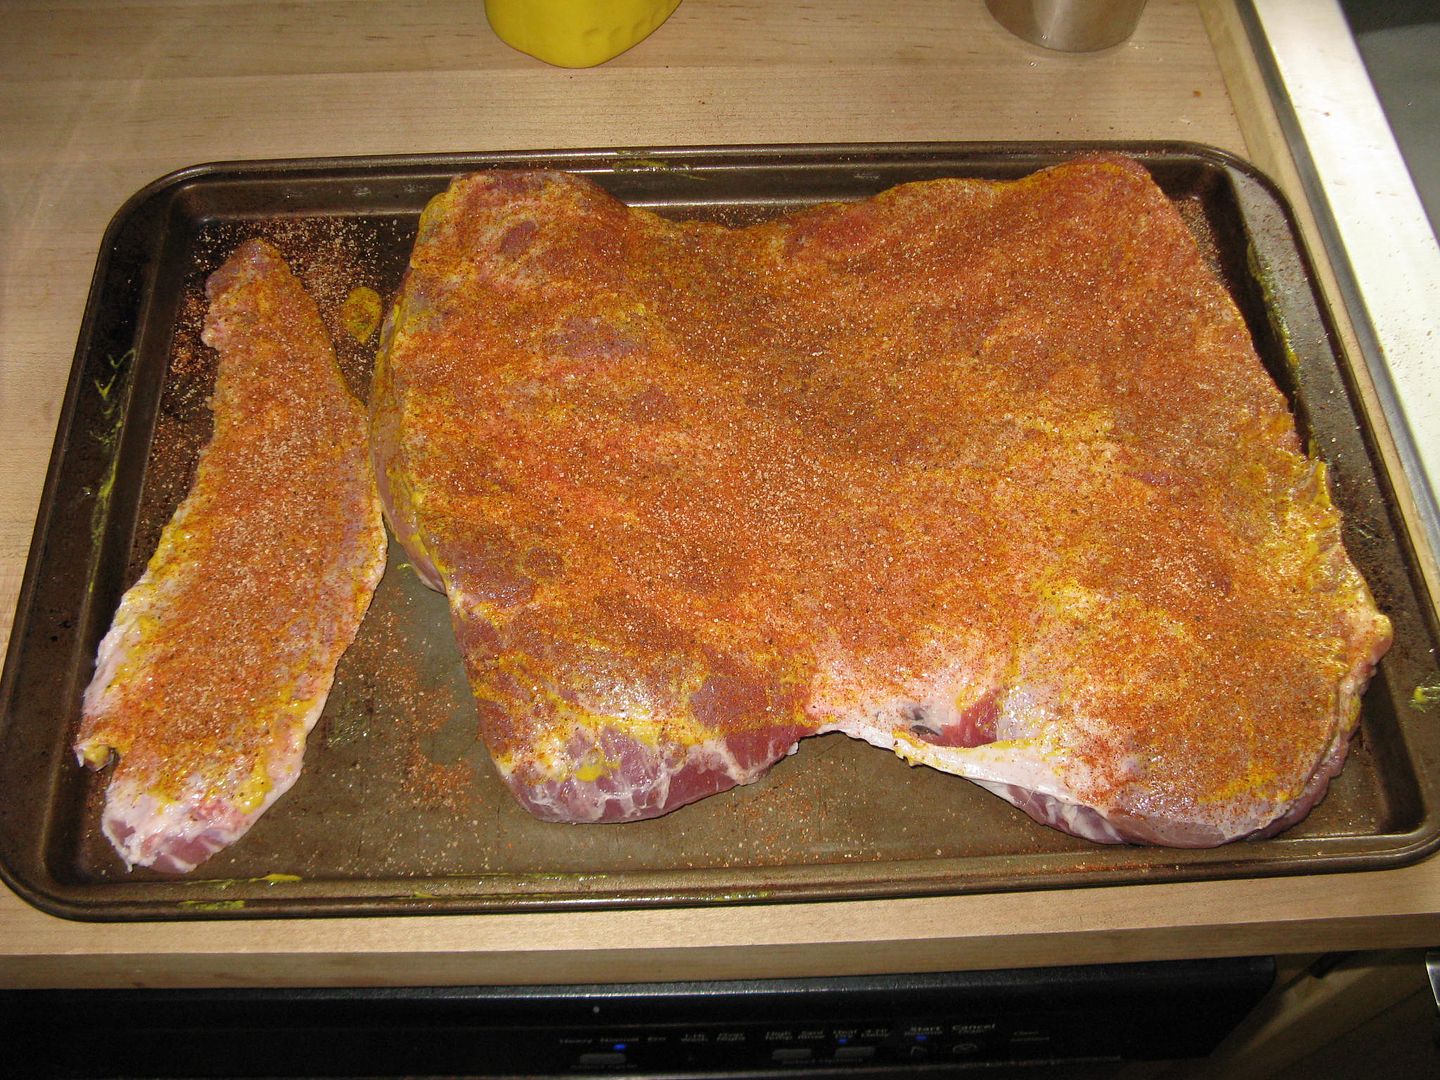
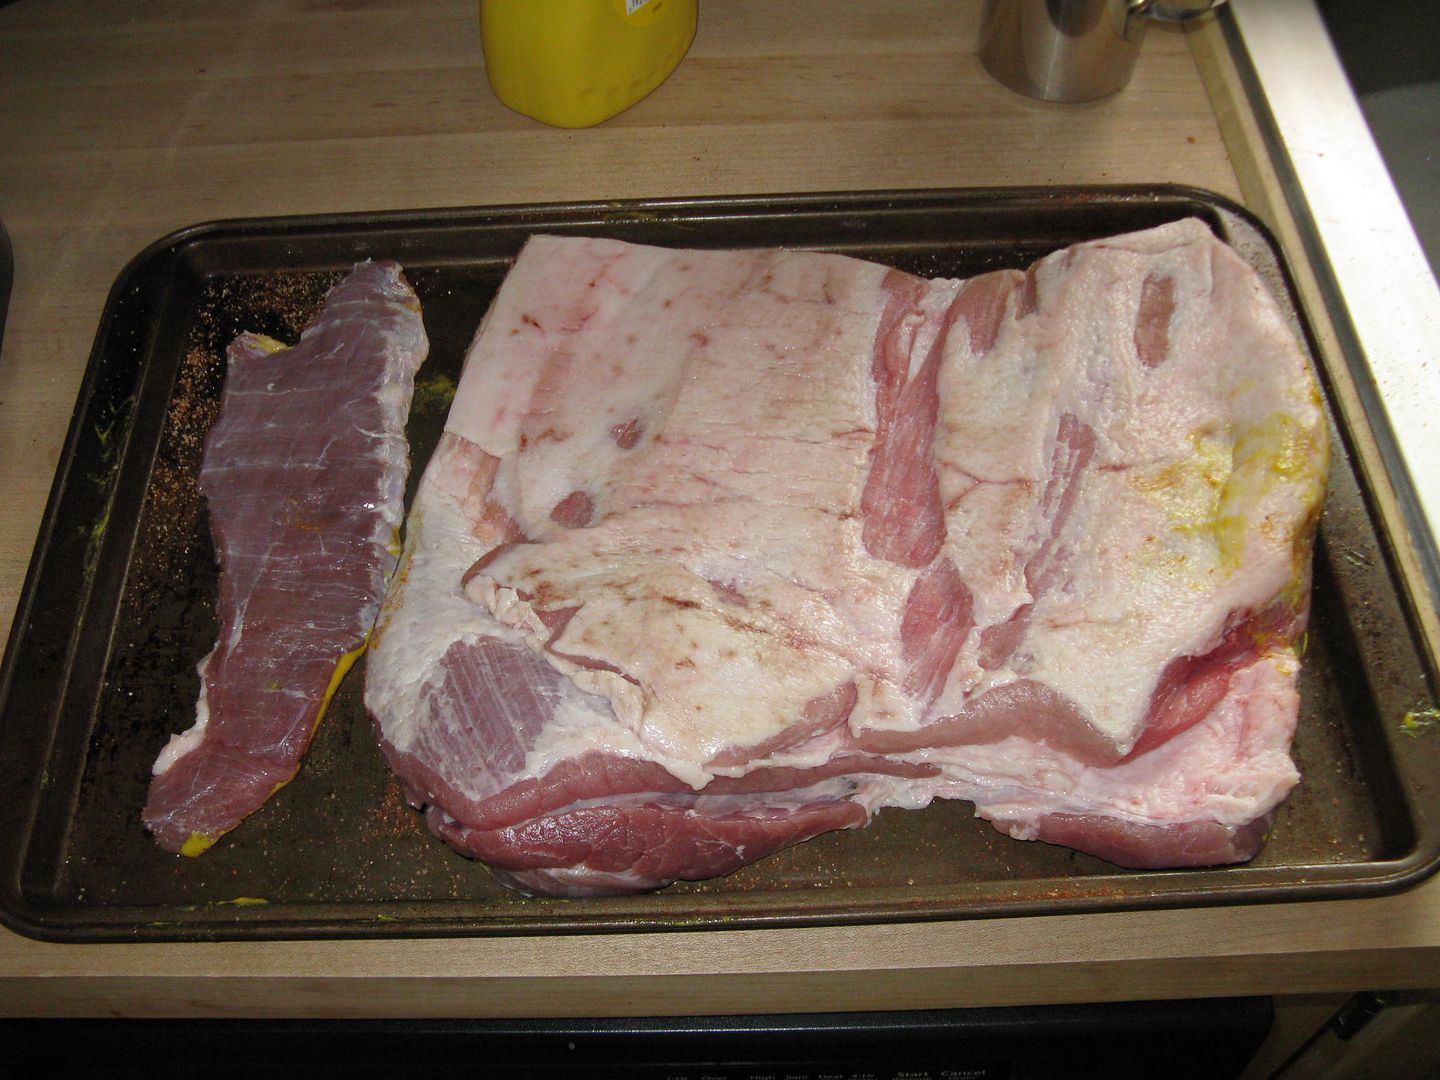
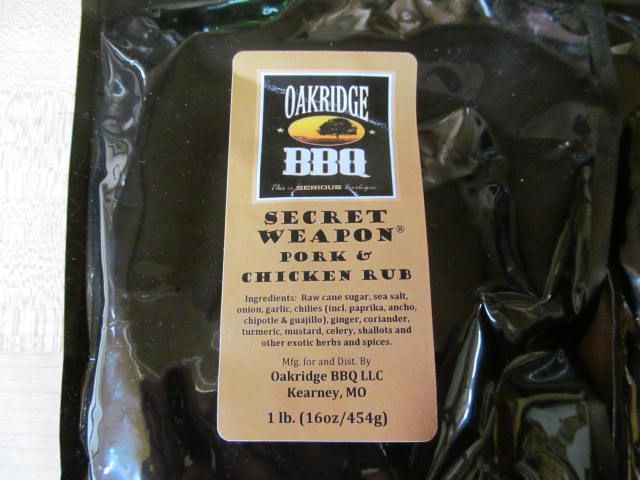
First, we slathered some yellow mustard on the front and back, then rubbed both sides with 1 cup of Oakridge Secret Weapon Chicken and Pork rub and 1/2 cup of turbinado sugar.  Then, we allowed the racks to sit and come up to room temperature while we brought the smoker up to 225 F.


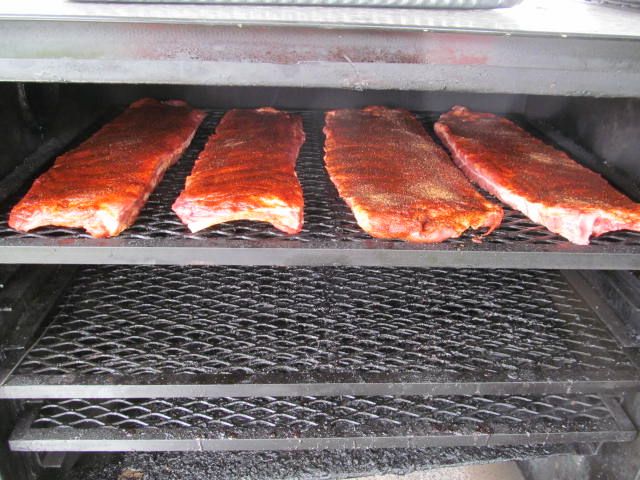
Ribs are our nemesis.  They kept us from at least a top ten at Oinktoberfest last September.  Most of the time, it is a combination of taste and tenderness.  One, they are not sweet enough.  Two, we have tenderness problems.  So, for this cook, I wanted to see how long it would take to get the ribs cooked without foiling.  I decided on a six hour cook time.  So, when the smoker was up to temperature, I put a mix of pecan, apple, and hickory in the ash pan, placed the ribs on the top rack of the smoker, and walked away.  After two hours, I added more wood.  After three hours, I rotated the ribs in the smoker.  Then, after five hours, I started my glazing:

1 cup of Blues Hog Regular
1/2 cup of honey
4 Tbsp of Blues Hog Tennessee Red

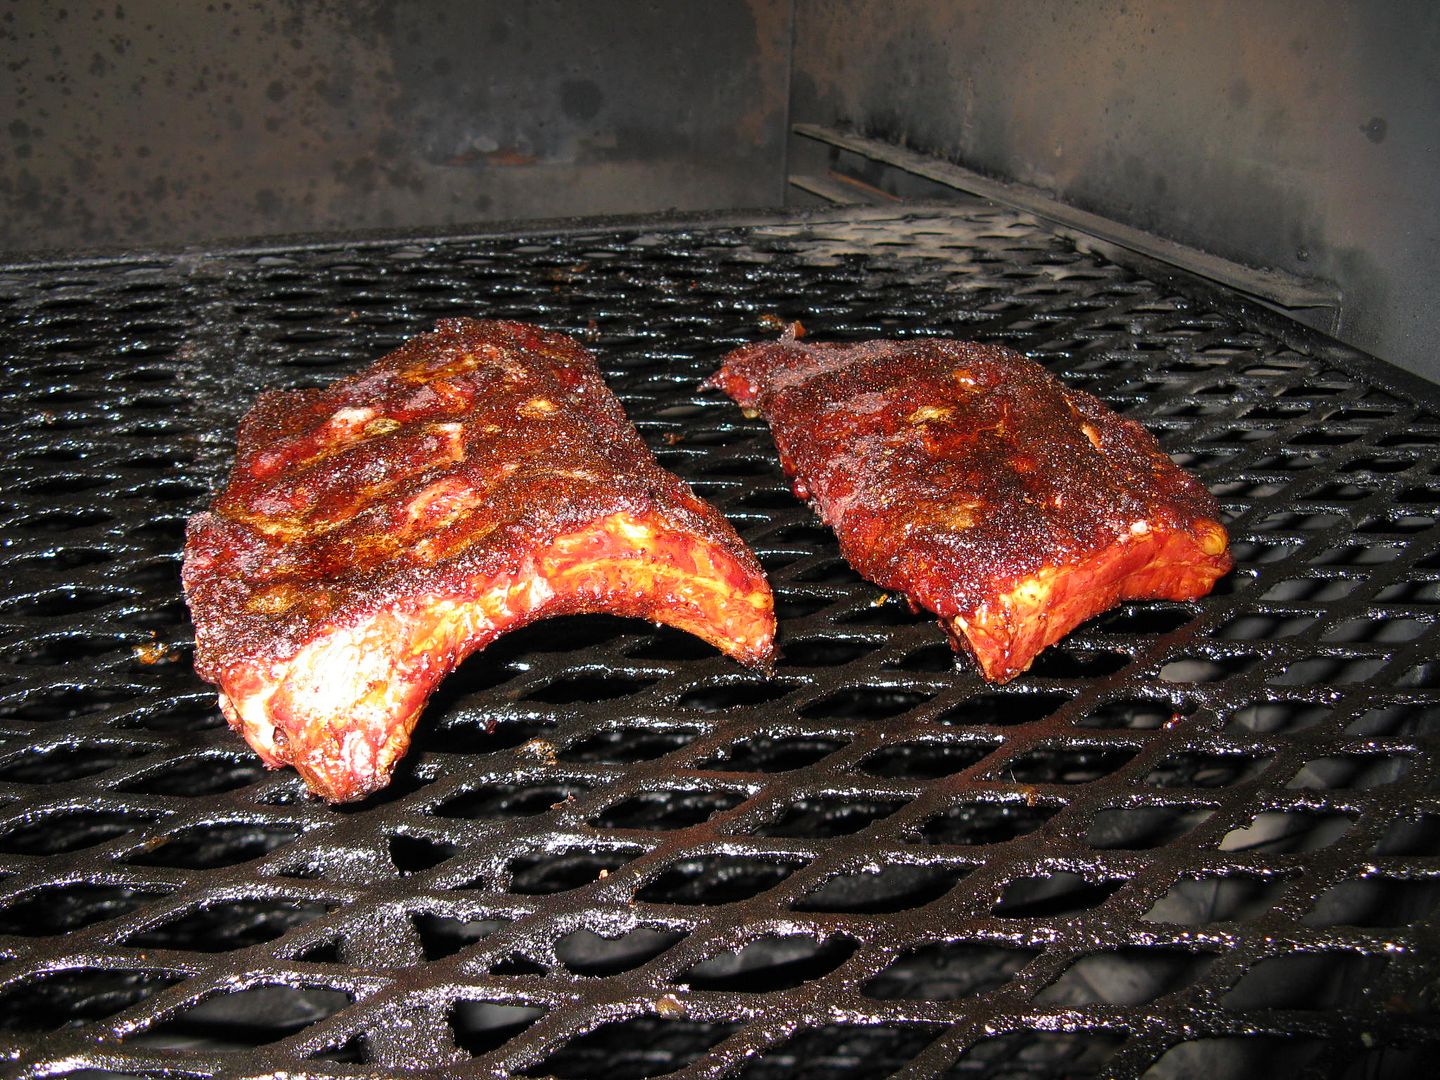
After the first application of sauce sat for 30 minutes in the smoker, I added a second coat and let the ribs go for 30 more minutes.  Then, I pulled them and let them rest for 15 minutes before slicing.
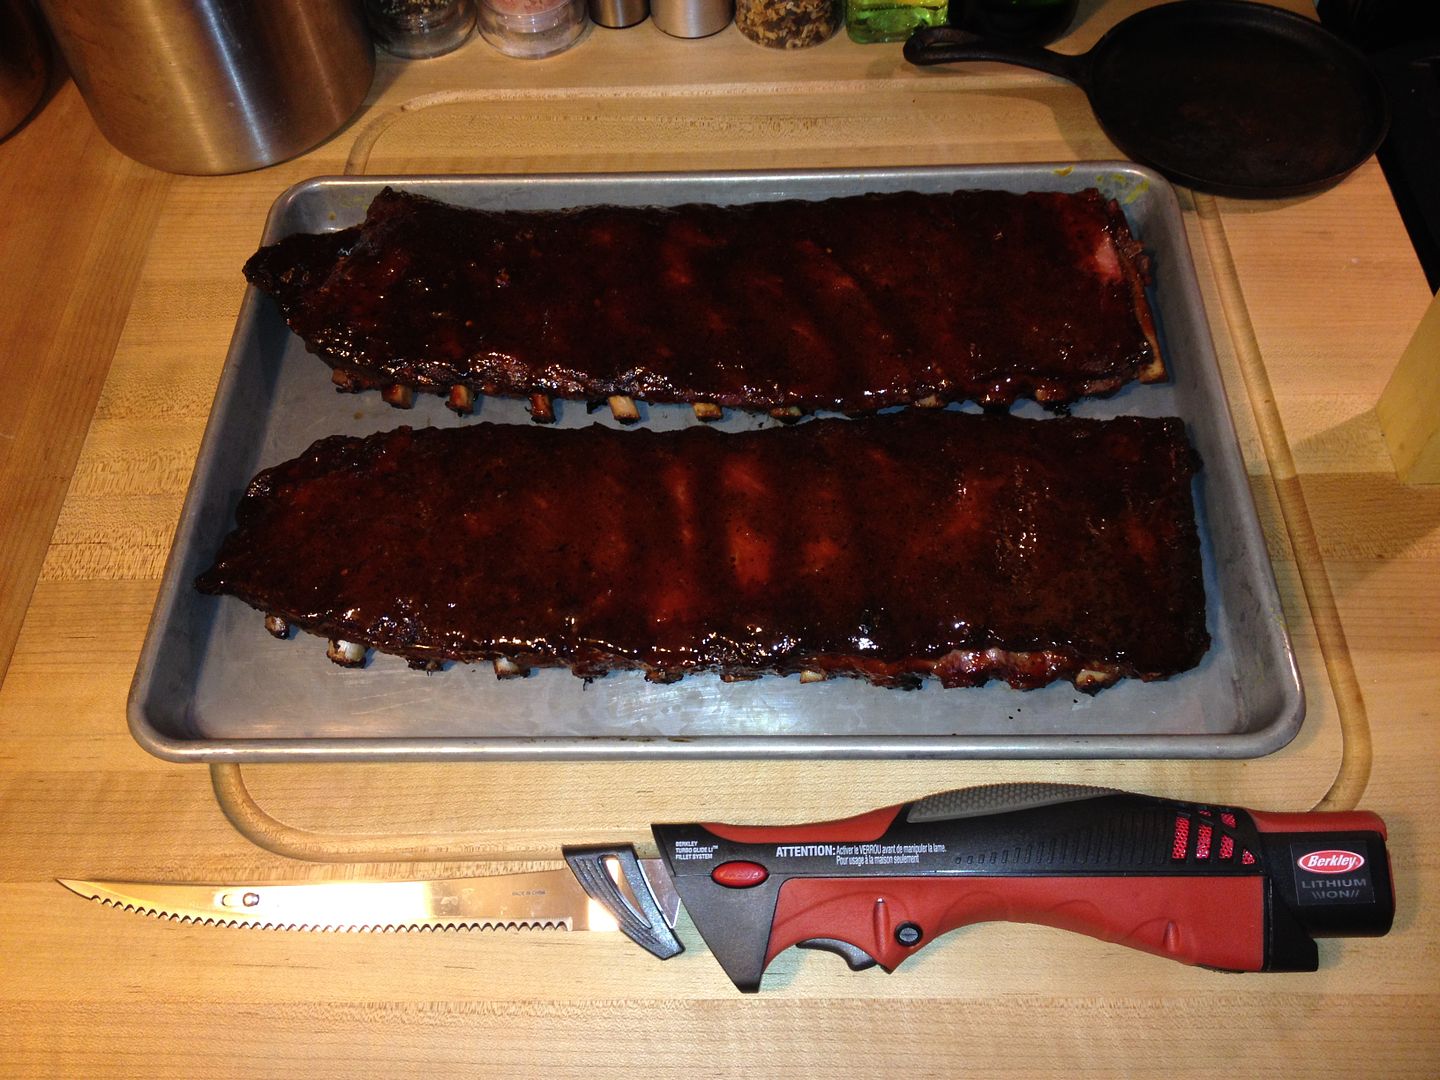

Chilebrown, does the knife look familiar?  Great call.  I love it.  But, I digress...

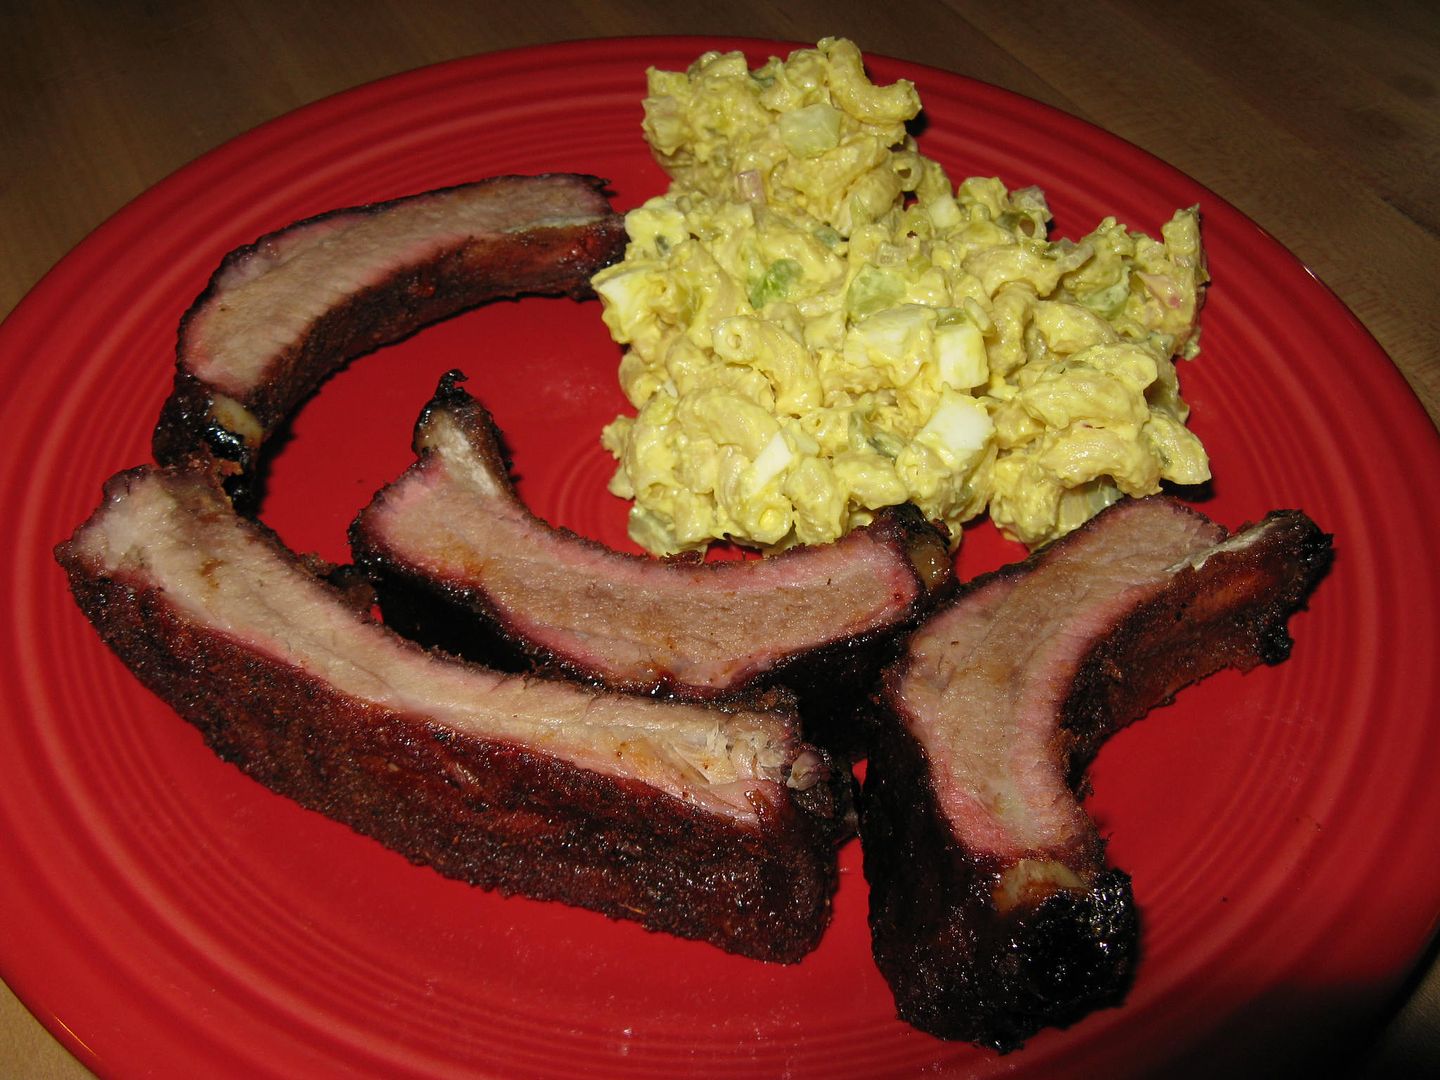
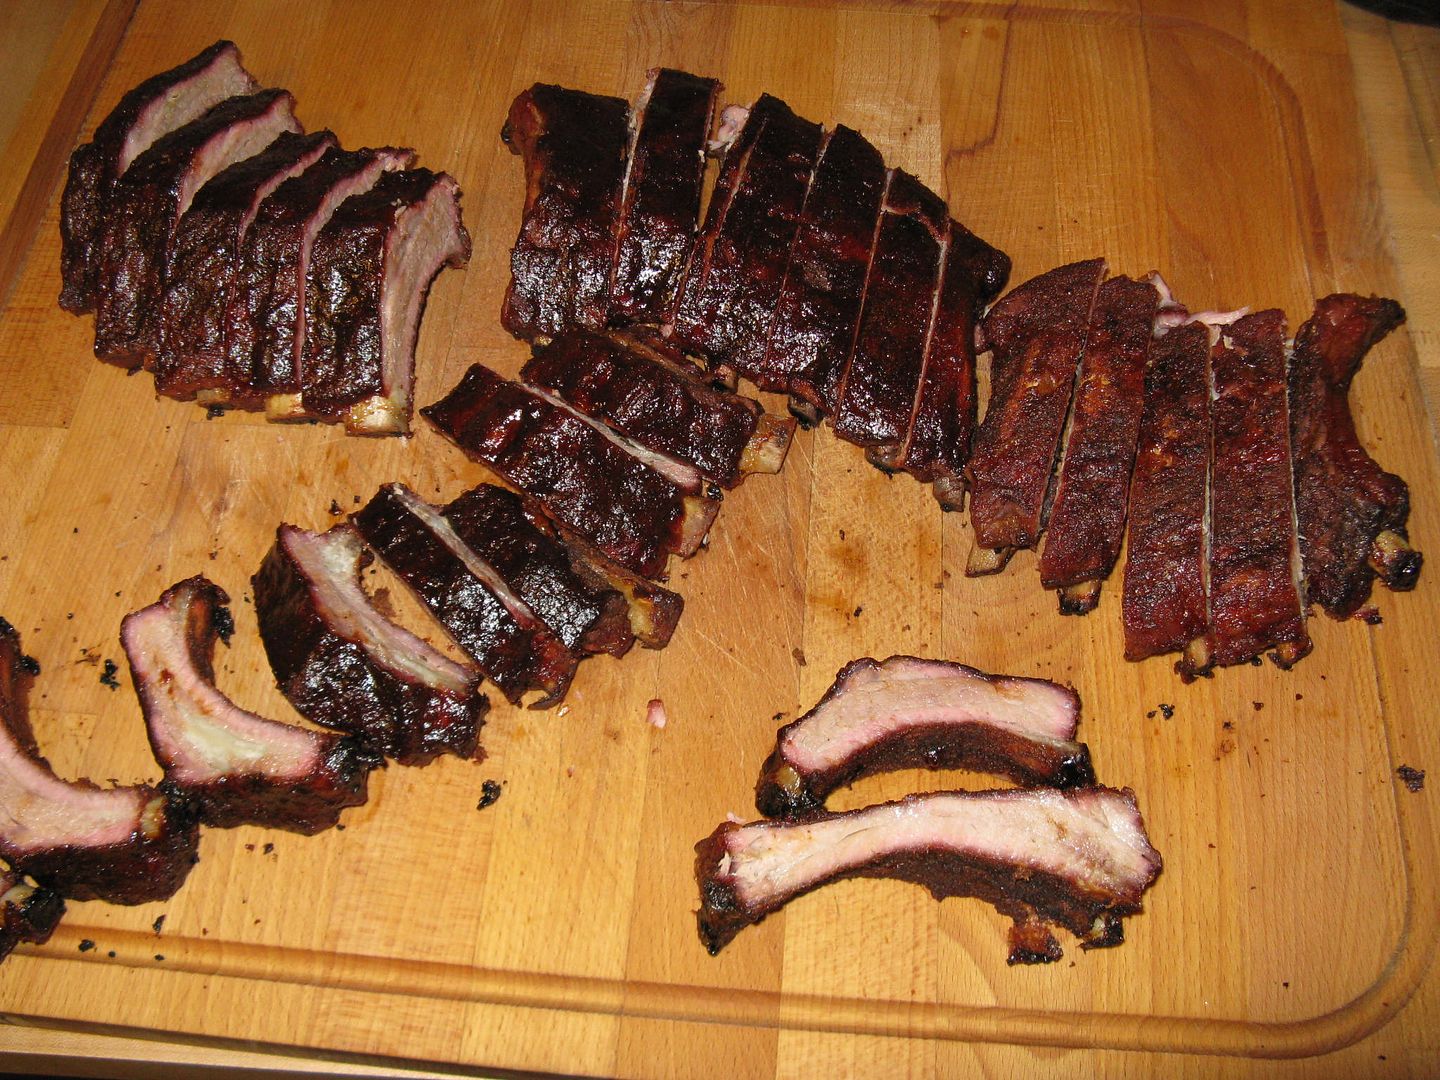
Here they were after slicing.


Nice, bite on the meat.
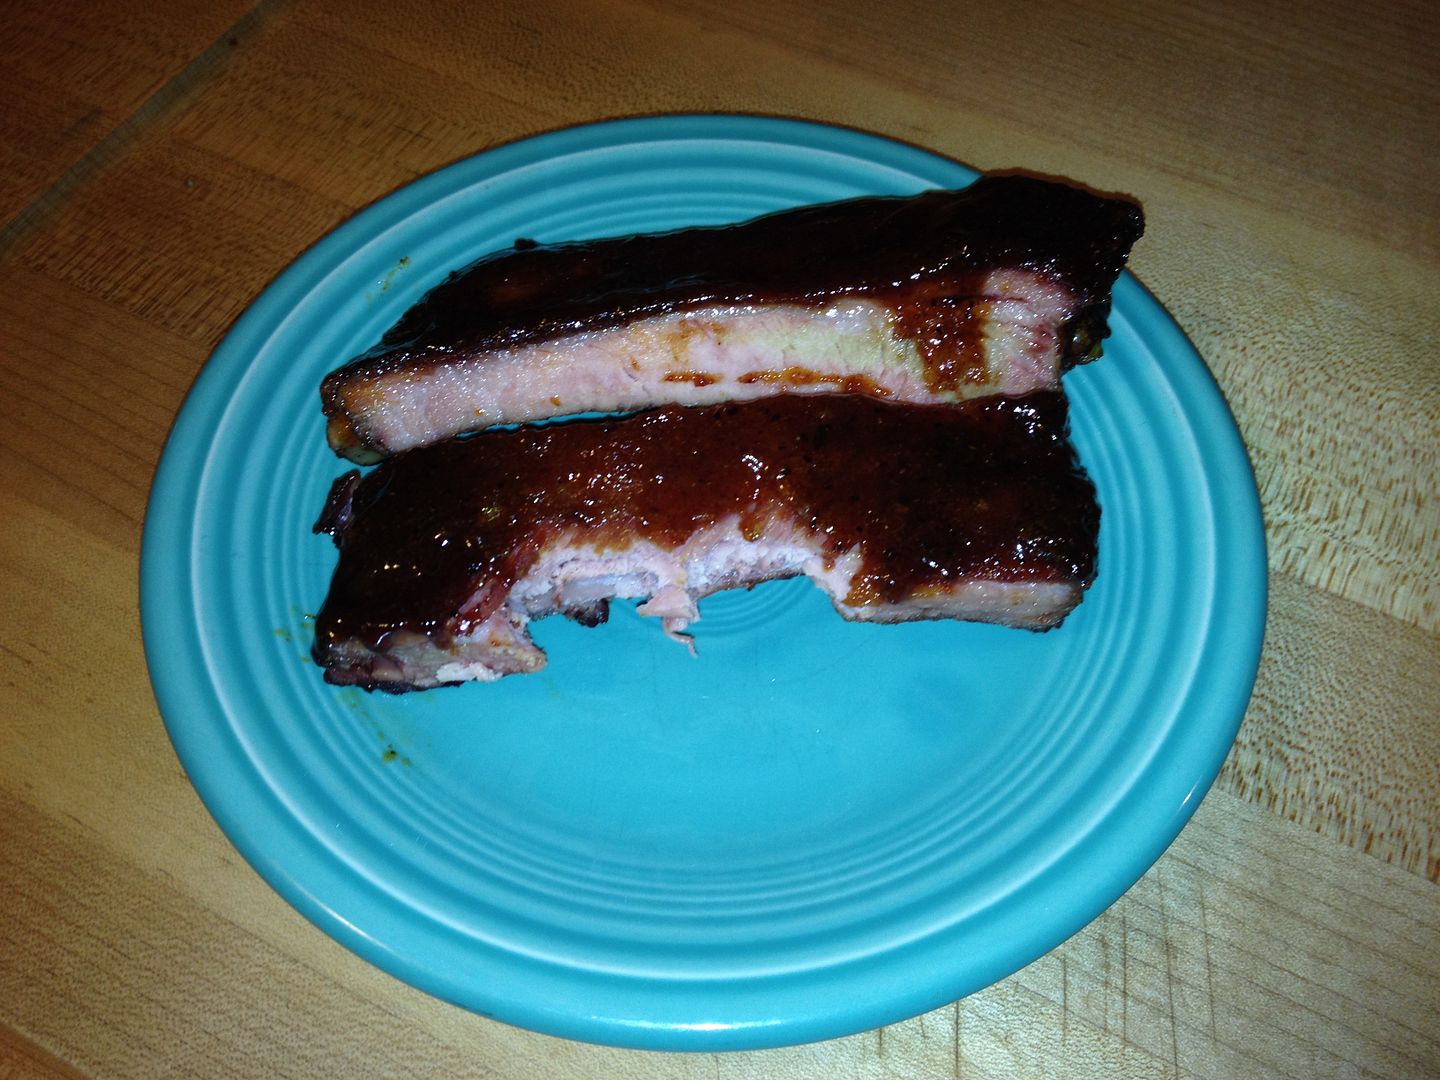

The flavor was there, but I do need to add a bit more sweet.  As for the tenderness, the ribs were good, but had just a bit too much tug.  Next time, I am going to cook for seven hours and see how they turn out.  

Thanks for stopping by,

Bill

Saturday, February 8, 2014

Pig Candy

You have seen it before.  You have the smoker fired up and friends over.  But, good BBQ takes time and your guests, no matter how hard they try, cannot live on beer alone.  What is a host to do to keep the hungry masses at bay?  I give you Pig Candy.

Pig Candy is the pitmasters term for candied bacon.  It is easy to make and loved by all.

So, what do you need?

Bacon
Brown Sugar
BBQ Rub

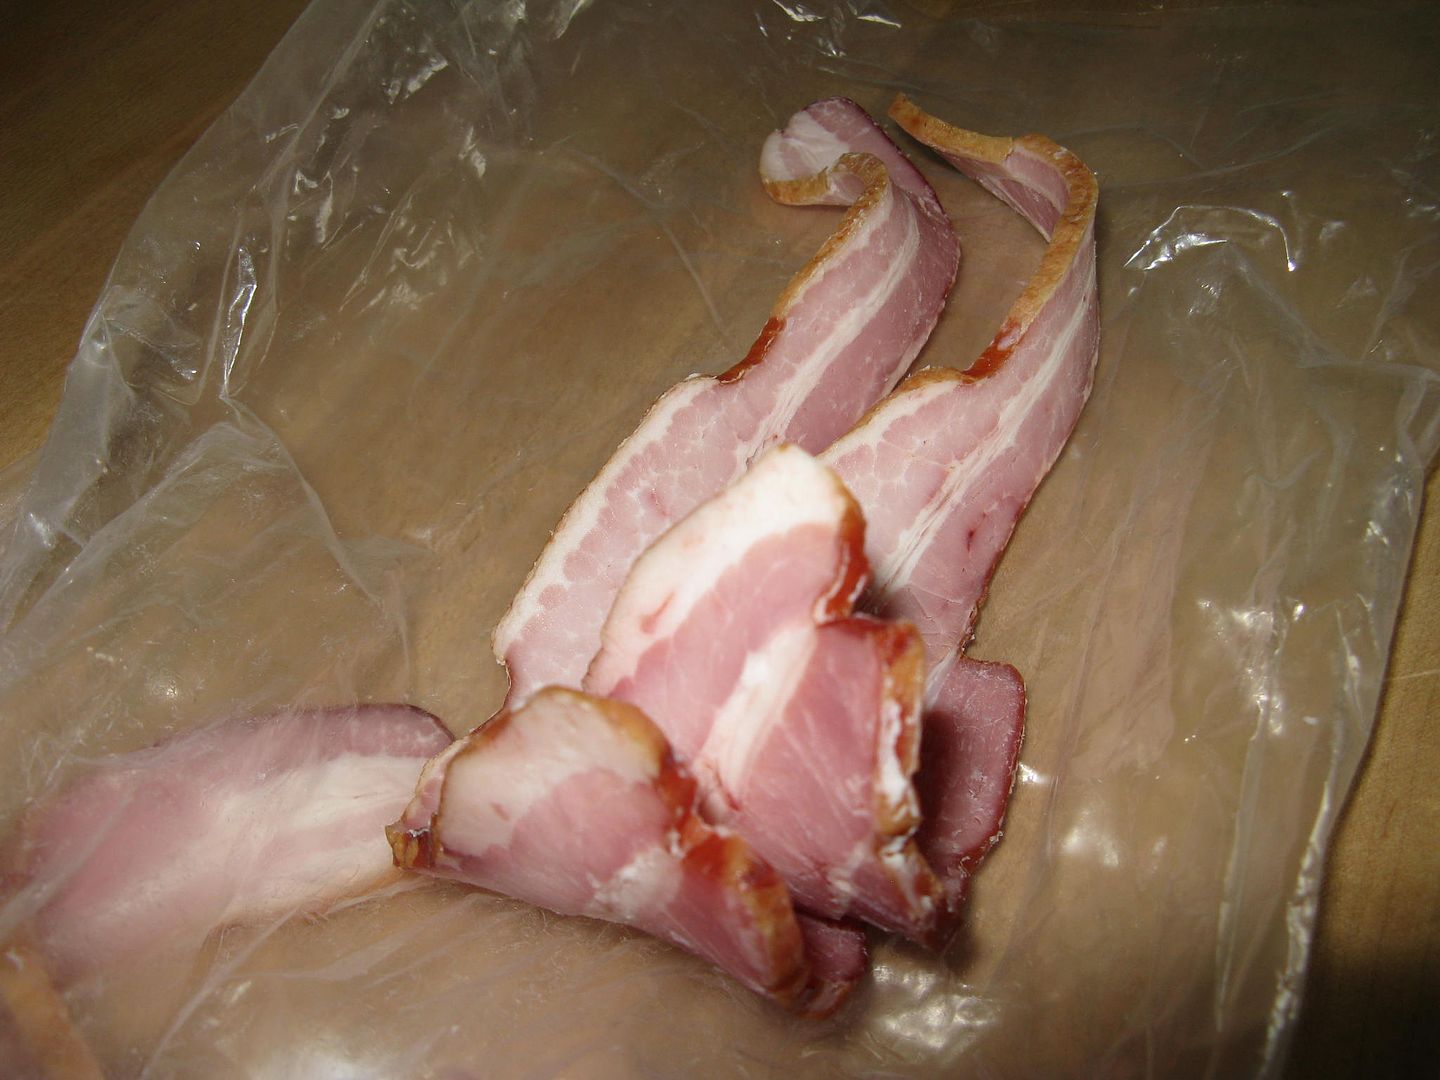
As for choosing your bacon, a thick cut is better.  It increases the meat to sweet ratio, is easier to handle, and doesn't fall apart during the kneading stage (more on that later).  We buy our bacon from our butcher, Dave's Country Meats.  the bacon is leaner than most, not too salty, not too sweet, and kissed lightly with hickory smoke.  This bacon has a nice thicker slice, between 1/8 and 1/4 of an inch.


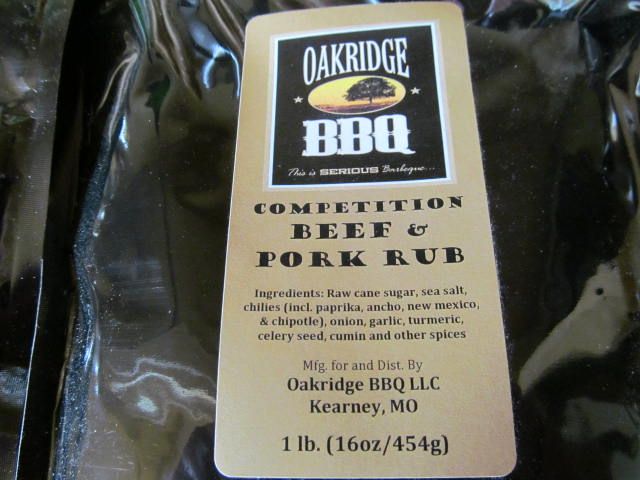
I took about a 1/2-3/4 of a pound of this beautiful pork product and placed into a plastic bag with 1/2 cup of brown sugar mixed with three tablespoons of Oakridge Beef and Pork rub.  I like this rub because it has a bit of a kick, but you can use whatever you have on hand.  Pig candy is actually a good way to get rid of that last little bit of rub in the jar.

At this point, I seal the bag with a lot of air inside.  Then, I shake it up to distribute the sugar and rub mix evenly across the bacon.  Then, I just put it on the counter and walk away for about 45 minutes.


After 45 minutes, the sugar and rub mix has started to pull the moisture from the meat, creating a gooey mess.  This is when you let the air out of the bag, seal tight, and start to knead.  You have to knead the bacon for about 10 minutes to ensure that the sugar rub mix is evenly coating the bacon.


Then, head out to the smoker and spread your bacon out on a rack to cook.  Cook times vary with the temperature that you are smoking at and the thickness of the bacon.  I was smoking at 225 F.  So this batch took about 1 hour.  At 250 F, it takes about 45 minutes and about 30 minutes at 300 F.

Pull the bacon from the smoker, put on a plate, and get out of the way before you get trampled in the stampede.


I have seen certified health nuts polish off half of a plate once they get a bite.  Slightly crisp bacon, sweet and savory, what is not to like.  Don't have a smoker?  Don't worry.  You can make this in your oven on a parchment paper lined cookie sheet.  You don't even need the parchment paper.  But, you will have the scrape the melted sugar off of the sheet at the end.  Maybe that is not so bad.

Thanks for stopping by,

Bill

Tuesday, January 28, 2014

Homemade Stuffed Cabbage Soup

I've been meaning to make this for awhile.  I have had a taste for stuffed cabbage, but didn't want all of the work.  So, in order to fight off the freezing temperatures outside, another cold weather meal:  Homemade Stuffed Cabbage Soup.

First, I started with my Mom's recipe for real stuffed cabbage, made some modifications, and turned it into soup.

Homemade Stuffed Cabbage Soup


1 lb Ground Pork
1 32 oz can of tomato sauce
1 32 oz can of crushed tomatoes
1 16 oz can of chicken broth
1 10 oz can of sauerkraut, undrained
1/2 of a medium head of cabbage, roughly chopped
1/2 of a large sweet onion, diced
4 garlic cloves, minced
2 Tbsp paprika
2 Tbsp brown sugar
1 Tbsp dried dill
2 tsp onion power
1/2 tsp allspice
1 cup cooked rice
1 bag frozen corn
Olive oil for sautéing
S&P to taste
Sour cream

First I sautéed the onion and garlic in a minimal amount of olive oil, along with a grinding of sea salt and black pepper, until translucent.


Then, I added the ground pork and sautéed until browned. Towards the end of the browning of the pork, I added the spices and cooked for five minutes longer while stirring frequently.


Once this was done,  I added the tomato sauce, crushed tomatoes, chicken broth, and sauerkraut, then brought to a boil.  Once boiling, I added the cabbage, turned down the heat, and let simmer for one hour.


After the one hour simmer, I added the cooked rice and frozen corn, and let simmer for 10 more minutes.  


I topped the soup with a small dollop of sour cream and a fresh skillet of corn bread on the side.


How was the soup?  Very good.  Much better than I thought it might be.  This recipe is a do over for sure the next time the thermometer drops outside.

Thanks for stopping by,

Bill

Saturday, January 18, 2014

Baby Back Ribs, the Way We Like Them!

All of you people that compete know what I am talking about.  Any rib that you make for a competition is not how you make them at home.  Who would take the time to foil with mysterious liquids that add flavor and butter (gasp) that help tenderize the meat and add rich flavor.  Not I.  We like a basic rib around here.  We also like baby backs over spare ribs.  Our butcher sells a nice meaty baby back.  So, we feel that we do not loose anything by using back backs versus a spare rib.

So, how do we make them?  Very simple.

First, we take our baby backs and remove the membrane from the back.  Then, we coat each side with simple yellow mustard and rub.  We like Oakridge Secret Weapon Pork and Chicken rub.


While the ribs are sitting, I bring the smoker to 250 F and add some hickory and apple chunks to the ash pan for our flavoring smoke.  The ribs go on the top rack, then I close the door and walk away for 3 and a half hours.  In the last 30 minutes, I very lightly sauce the ribs with our sauce of choice.  Since I am on a consolidation kick in the refrigerator, I used the last of our J. Wilbur Spicy Hickory for this cook.  Once the ribs have been sauced, I close the door and walk away for 30 minutes.  Then, we remove the ribs, let rest for 10 minutes, then slice.


We served these racks with a side of homemade macaroni salad.


What is the difference between these ribs and a rib for competition?  Well, competition ribs can be very sweet.  You are trying to impress a judge with one bite.  So, you have to load it up with flavor and usually flavor = sweet.  Sure, one overly sweet and candied rib is fine.  But, you would not sit down and eat a whole rack of these for dinner.  At least I couldn't.  Our ribs for home have a nice sweet heat with a thin layer of sauce.

Don't fret if you don't have a smoker.  You can make these in the oven.  You just won't have the smoky flavor that the smoking wood imparts to the meat.  By adding about 1/2 tsp of Liquid Smoke to your BBQ sauce will help add some smoke flavor.  Give them a try.  You won't be sorry.

Thanks for stopping by,

Bill

Wednesday, November 6, 2013

Baby Backs with J. Wilbur Rub and Sauce

Ok, I lied.  I did not take off the rest of the year from making traditional BBQ.  We had some contractors that were finishing up some repair work to the house after the hot water heater leaked and damaged about half of the house.  Over the time that they were here, they fell in love with our BBQ.  So, for their last day, I made some baby back ribs and took the opportunity to try out some new products from J. Wilbur.


A friend of mine from Seattle, Slow Smoke, sent me the above goodies to try.  He says that these are the preferred BBQ rub and sauce in the Pacific Northwest.  He also said they were a little on the spicy side.  So, with that warning, I tucked them away until after the BBQ season to try in some down time.  Here is our review.


Slow Smoke was right on with the spice level on the rub.  After the finger test, this rub started sweet and ended by grabbing your tongue.  I also liked the salt level: not too salty, just right.


The sauce had a really nice flavor.  It sort of reminded me of the molasses based concoctions that my mother came up with when I was a child.  The apple cider vinegar added depth to the flavor.  Contrary to the rub, this sauce starts with a kick and ends sweet and smooth.

So, I took some baby backs, pulled off the membrane and dusted with a healthy coating of rub.  I then set the ribs aside to come to room temperature while I lit the smoker and brought to 250 F.


No foil for these ribs.  I just smoked them for four hours at 250 F with some hickory in the ash pan.  Here is what they looked like after 3.5 hours, just before I glazed with the sauce.  I like the color and the sheen on these ribs.


Here they are after the sauce and 30 more minutes on the smoker.


Even nicer color with the sauce.

How were they?  Surprisingly, for the level of kick in the rub, they were nice and balanced.  Hope loved them and she does not like any heat on her ribs.  I would not use the rub in competition as there is too much of a kick for judges, but I will definitely be using this rub at home.  The sauce was even better than the rub.  I will definitely be trying this in mid-winter practices to see how it might improve our overall rib scores.

Thanks for the tip Slow Smoke!

Thanks for stopping by,

Bill

Tuesday, September 10, 2013

Pork Belly Burnt Ends

I've been wanting to try this one for awhile: making burnt ends with fresh, uncured, pork belly.  I was hoping to get a nice, thin layer of crispy skin with melt in your mouth pork flavor.  How did we do?  Well, here are the results.

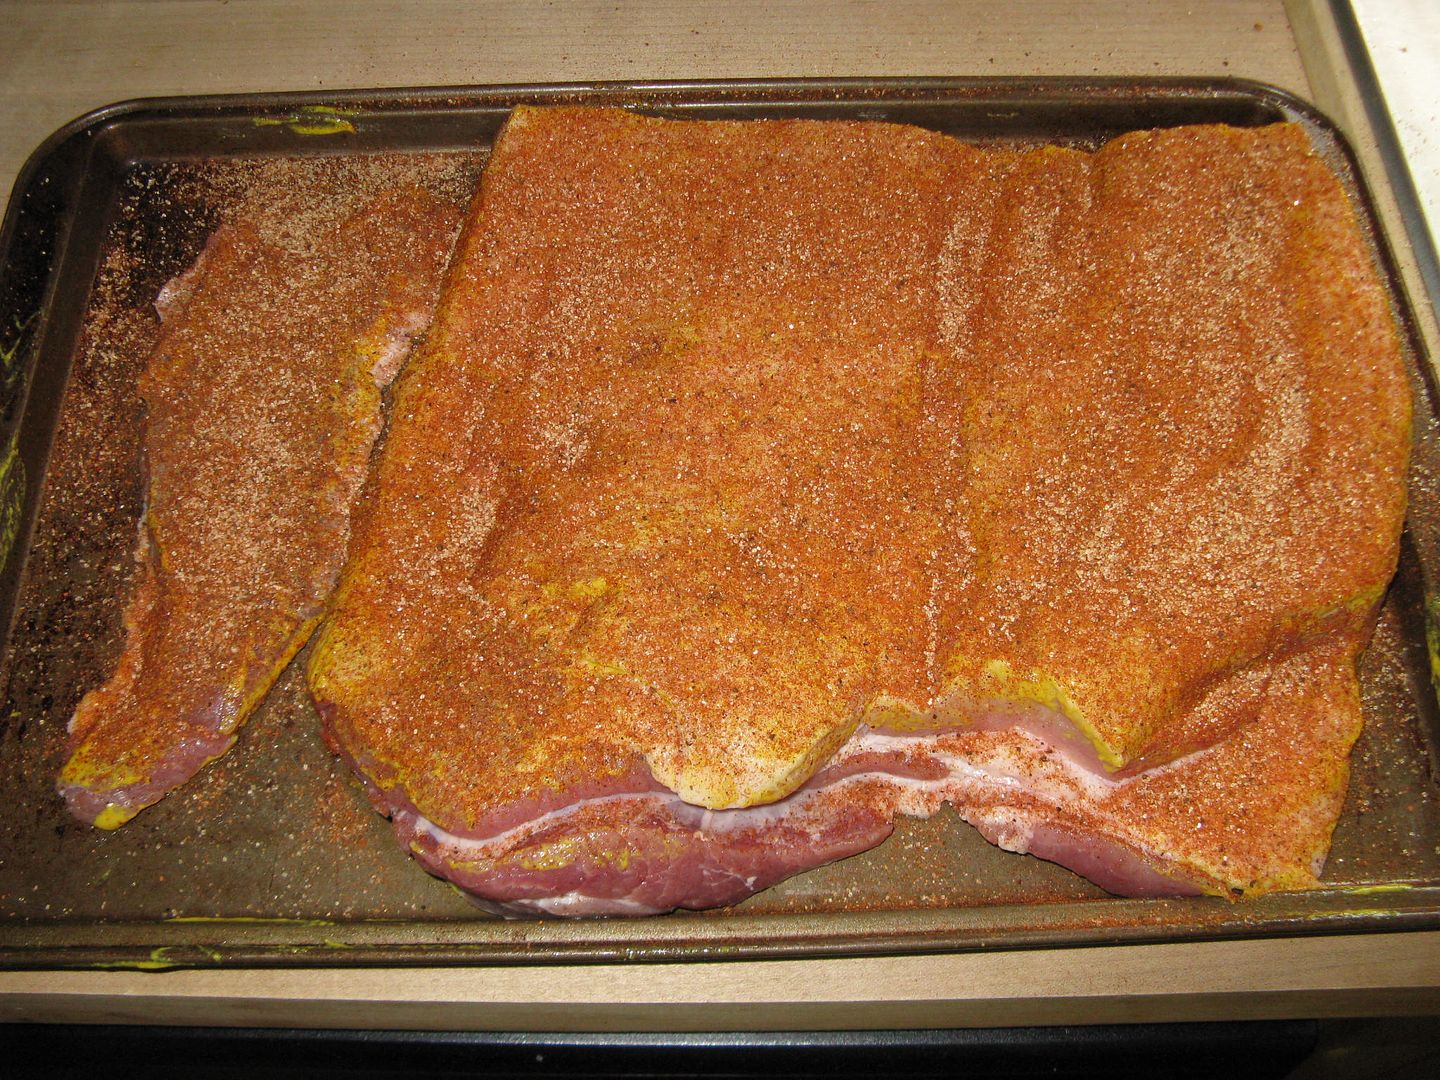
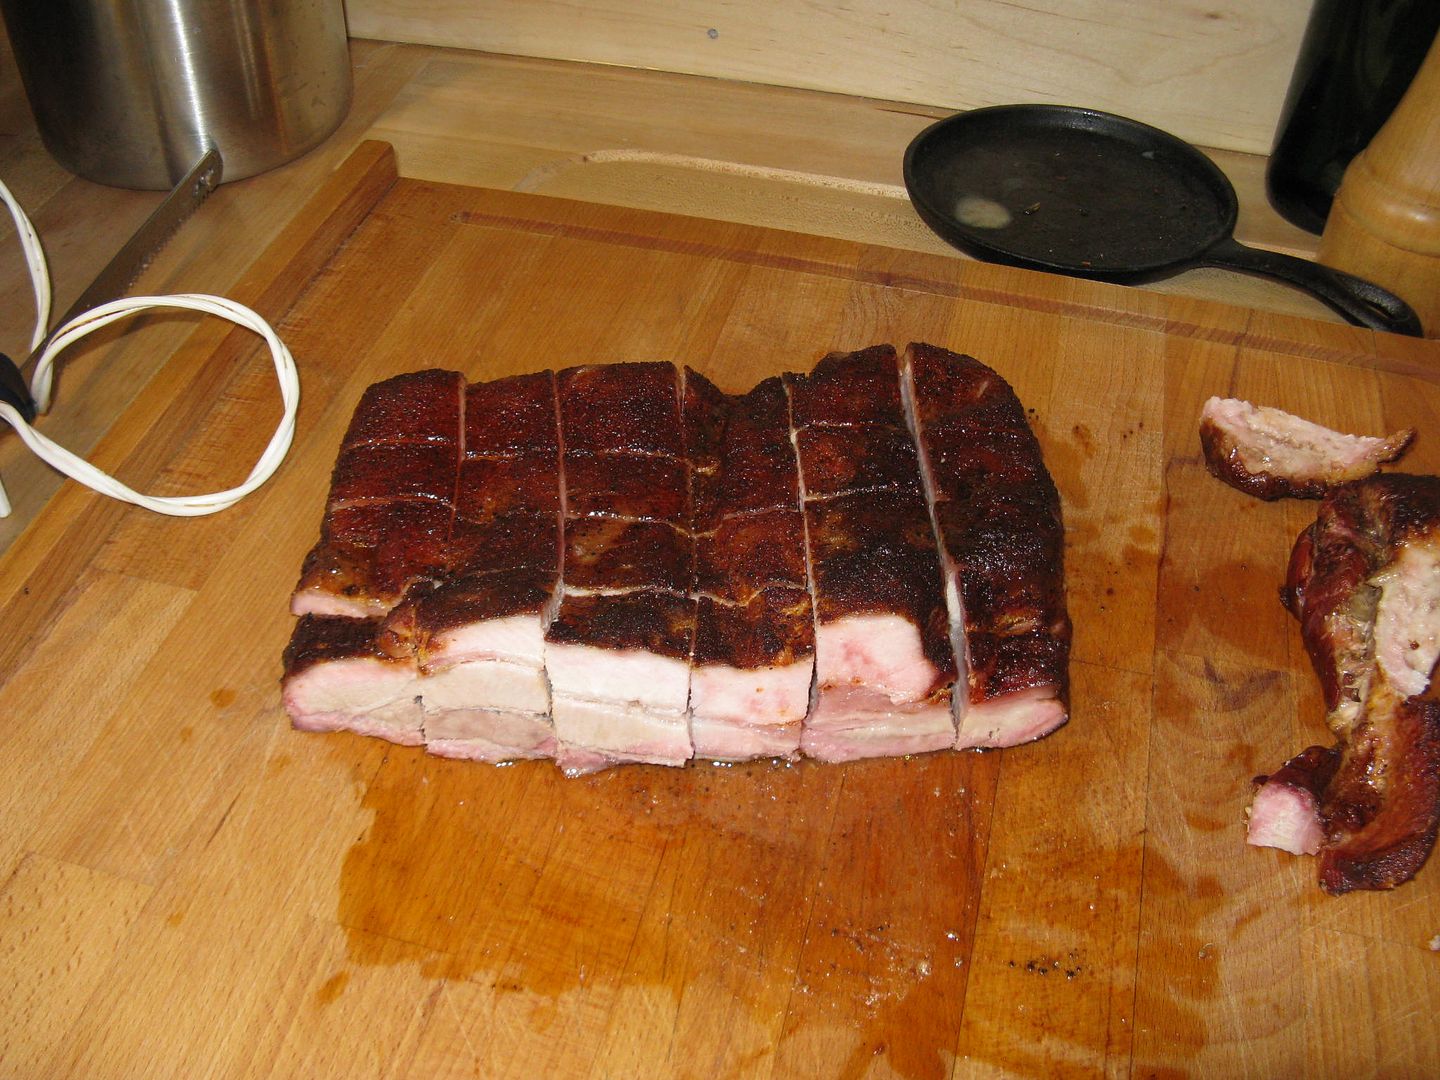
First, I took at pork belly that was about 3.8 pounds.  I trimmed the back to even out the meat.  Then I slathered in yellow mustard and dusted both sides with Oakridge Secret Weapon Pork and Chicken rub.


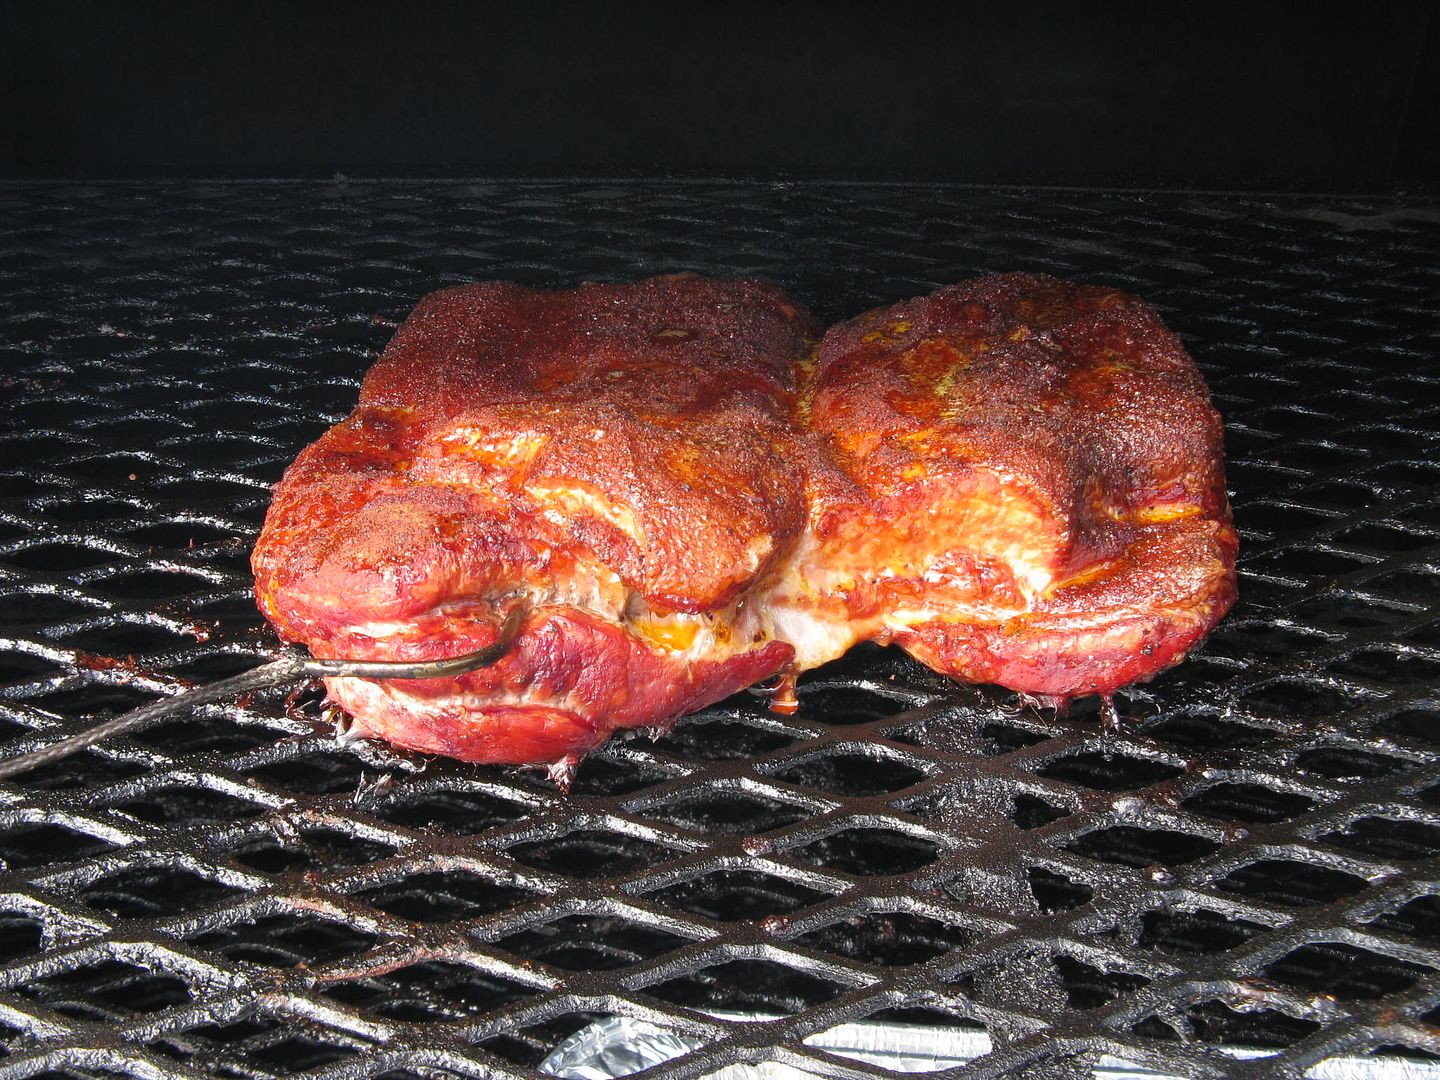
I then let the rubbed belly sit on the counter while I fired up the smoker and brought to 250 F for smoking.  For smoke flavor, I added apple, hickory, and pecan wood into the ash pan.  Once the temperature stabilized in the cooker, I placed the belly on the top rack and cooked until it reached 175 F internal temperature.  Then I placed in an aluminum pan and foiled tight. Here is what the belly looked like at 175 F, just before it went in the foil pan.  It took about 3 hours to reach this temperature.


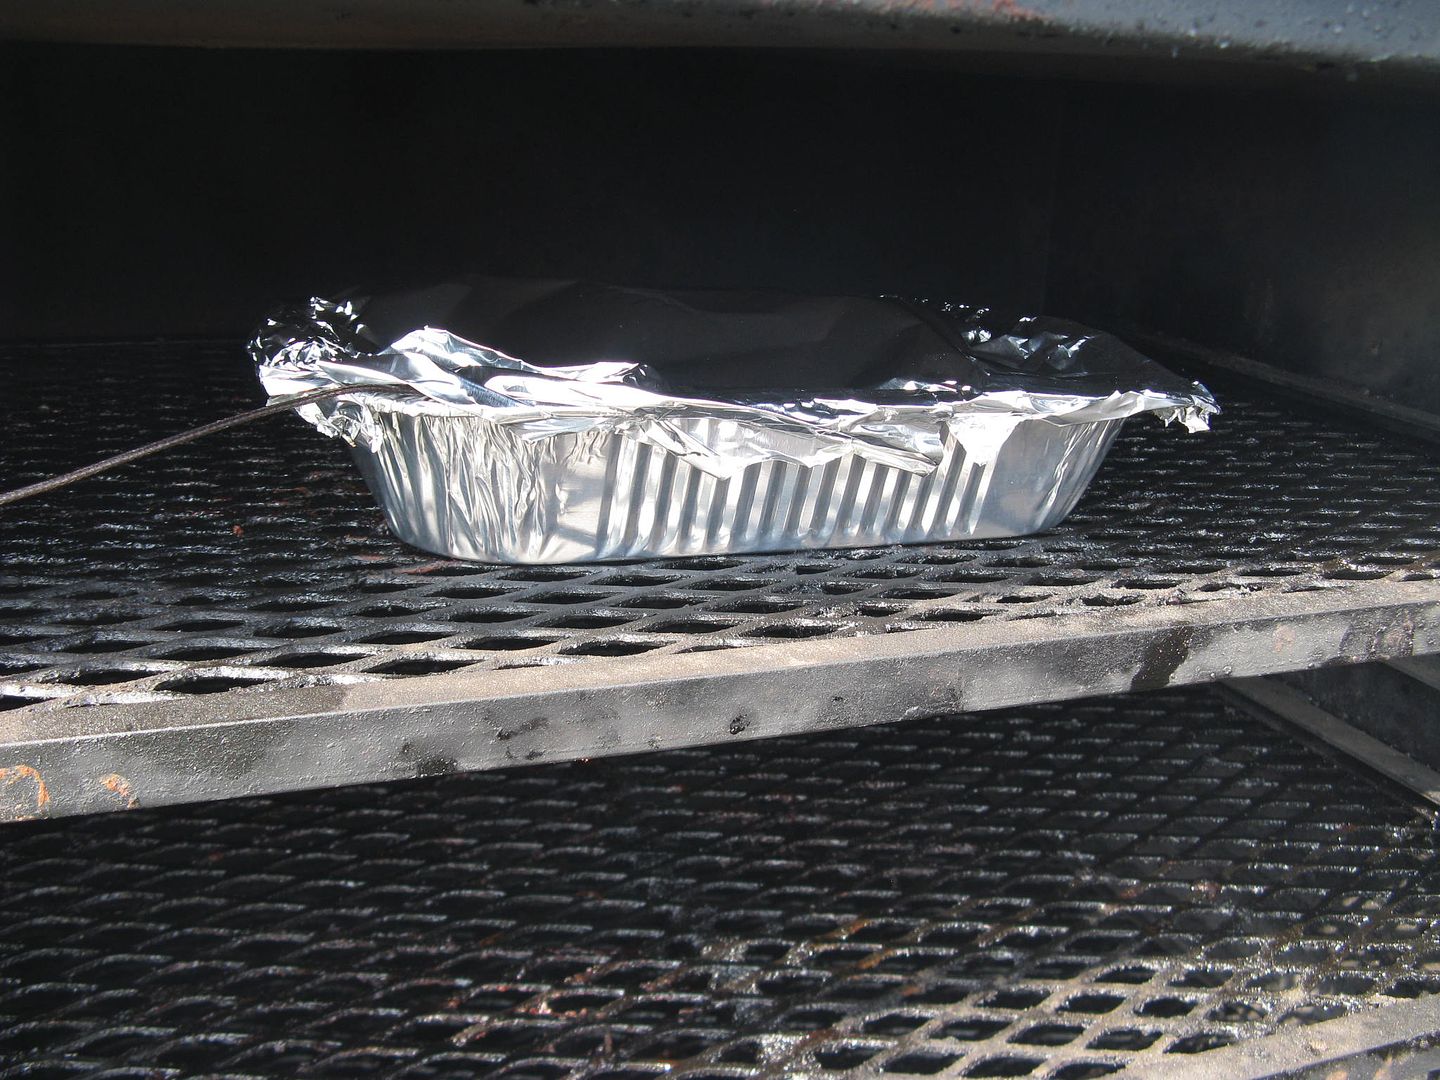
In the pan getting happy.


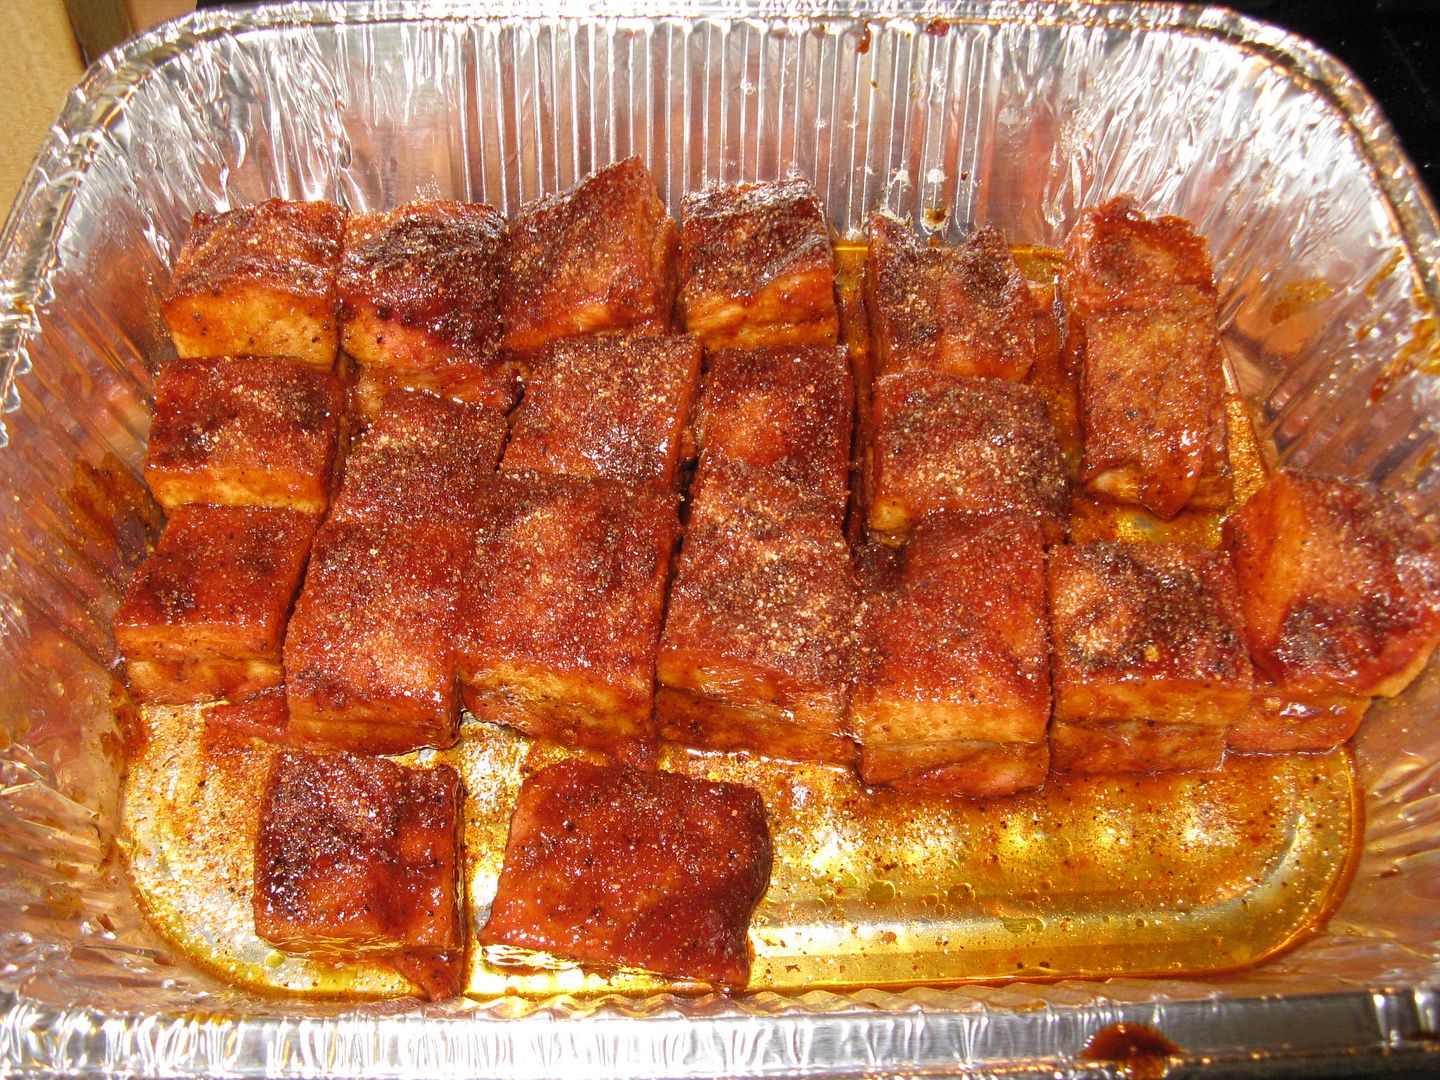
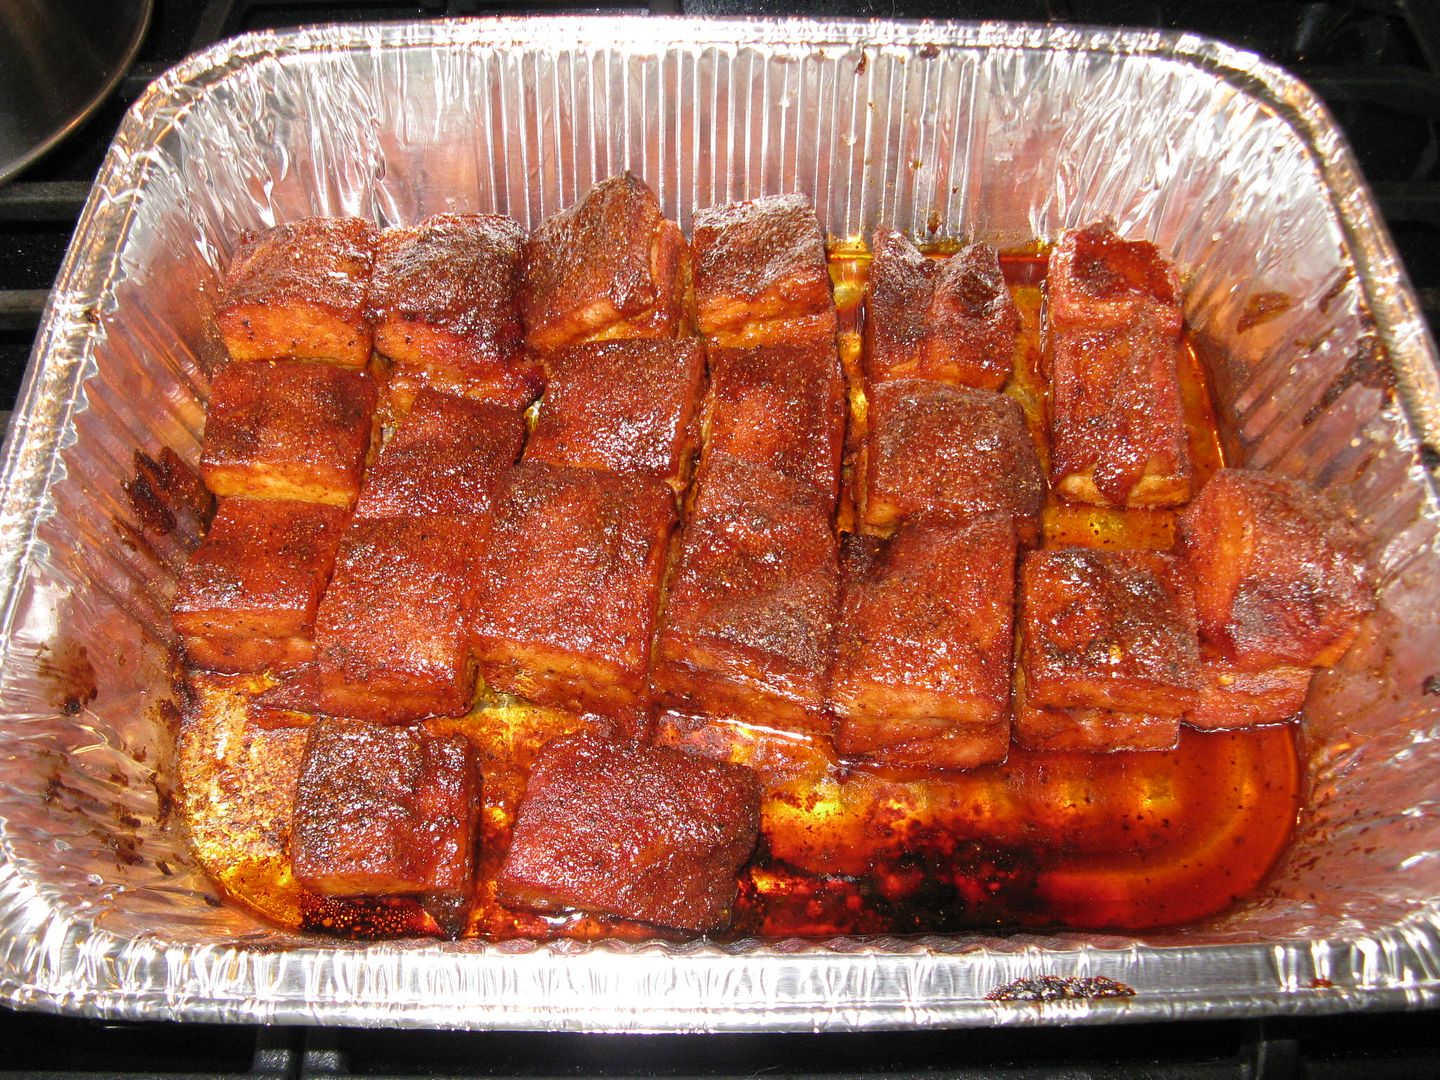
I then cooked until 195 F internal temperature, removed from the smoker, and let rest for 30 minutes.  After resting, I pulled from the pan and cut into one inch cubes.  Then, I dusted with more rub and added about 3/4 cup of Blues Hog Regular BBQ sauce with Blues Hog Tennessee Red.  Then, back into the pan and back on the smoker at 350 F for 30 more minutes.


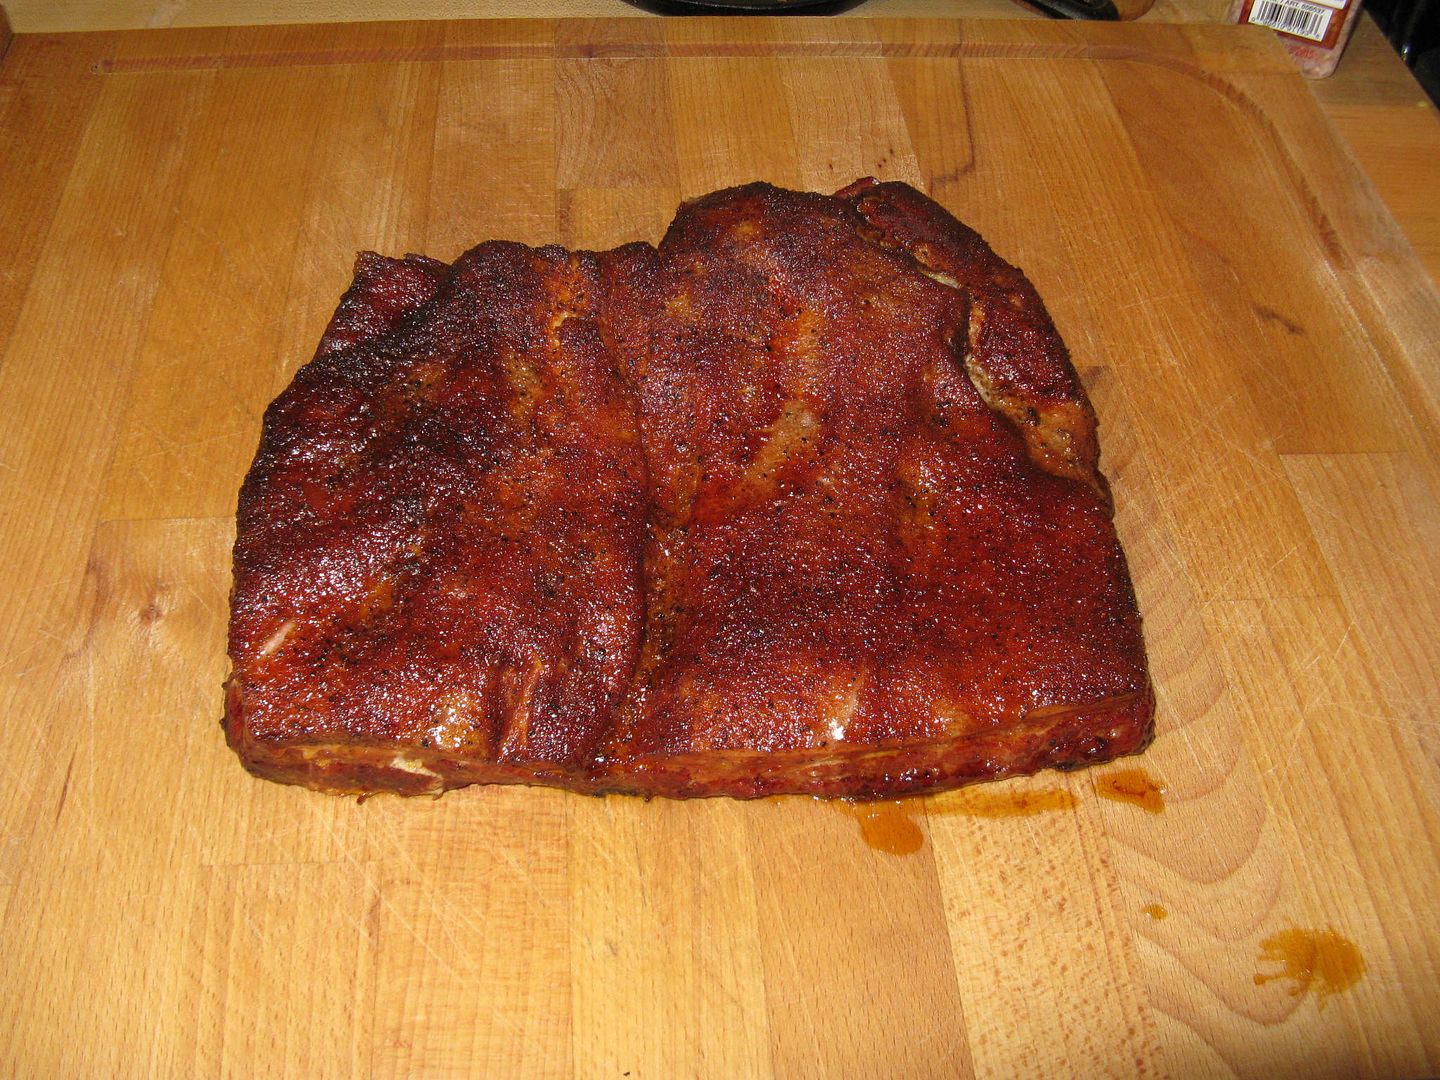
Here is what they looked like after 30 minutes at 350 F.


How were they?  Well, the taste was excellent.  The fat was slightly crisp, but not perfect.  Unfortunately, the meat was a bit on the tough side.  But, still good.  Just not that melt in your mouth texture and flavor that I was looking for.  After some research after the fact, I have found that you should take pork belly to 150 F for a nice tender piece of meat.  Next time, I will try the lower temperature when trying to make these burnt ends.  If anyone has any suggestions, please feel free to submit comments below.

Thanks for stopping by,

Bill
Sunday, September 8, 2013

Going Whole Hog

We have some down time until our next competition.  In a change of pace, someone cooked for us instead of us cooking for friends or the judges.  Yesterday, we were invited to an old fashioned pig roast.


The above cooker has been in action for over 20 years I am told.  Is is constructed of your basic home heating oil tank, cut long ways with hinges placed on the back to form the lid.  Wheels were added to one side to allow for ease of moving.  Notches were also cut in the lid to accommodate the spit and motor for turning the guest of honor.  There are two pans that run along the bottom of the cooker on each side that hold charcoal for cooking.  It is a simple, effective design for sure.  I think I might have to look for an empty metal tank to add to our BBQ arsenal.

Today's guest of honor was a pig, that after dressing, was 75 lb.


This specimen of pork perfection took about 8 hours to come to 170 F internal temperature.  As you can see, the skin was a perfect crispy golden brown.  I could not wait to start sealing pieces off of this beautiful looking hog.


Hope volunteered to help our gracious host, Jimmy, pull the meat from the pig for the starving guests.  Fortunately, I was wearing a t-shirt that was quite instructional for our pig pulling duo.


The head was removed and a pork pulling frenzy broke out.


This pig was liberally injected with a creole honey butter for added flavor and to ensure a moist, tender end product.  Hope was happy to report that there was not one piece of this pork that was dry.  I sampled from various parts of the hog and as advertised, the jowl meat was the most tender.  I also liked the crispy strands that came from the belly area of the hog.  The meat was placed in containers and lightly sauced with Sweet Baby Rays.  This was some of the best pork I have ever had.  We just might try one at home.

Thanks for stopping by,

Bill
Wednesday, July 24, 2013

Home Cured and Smoked Pork Chops on the Grill

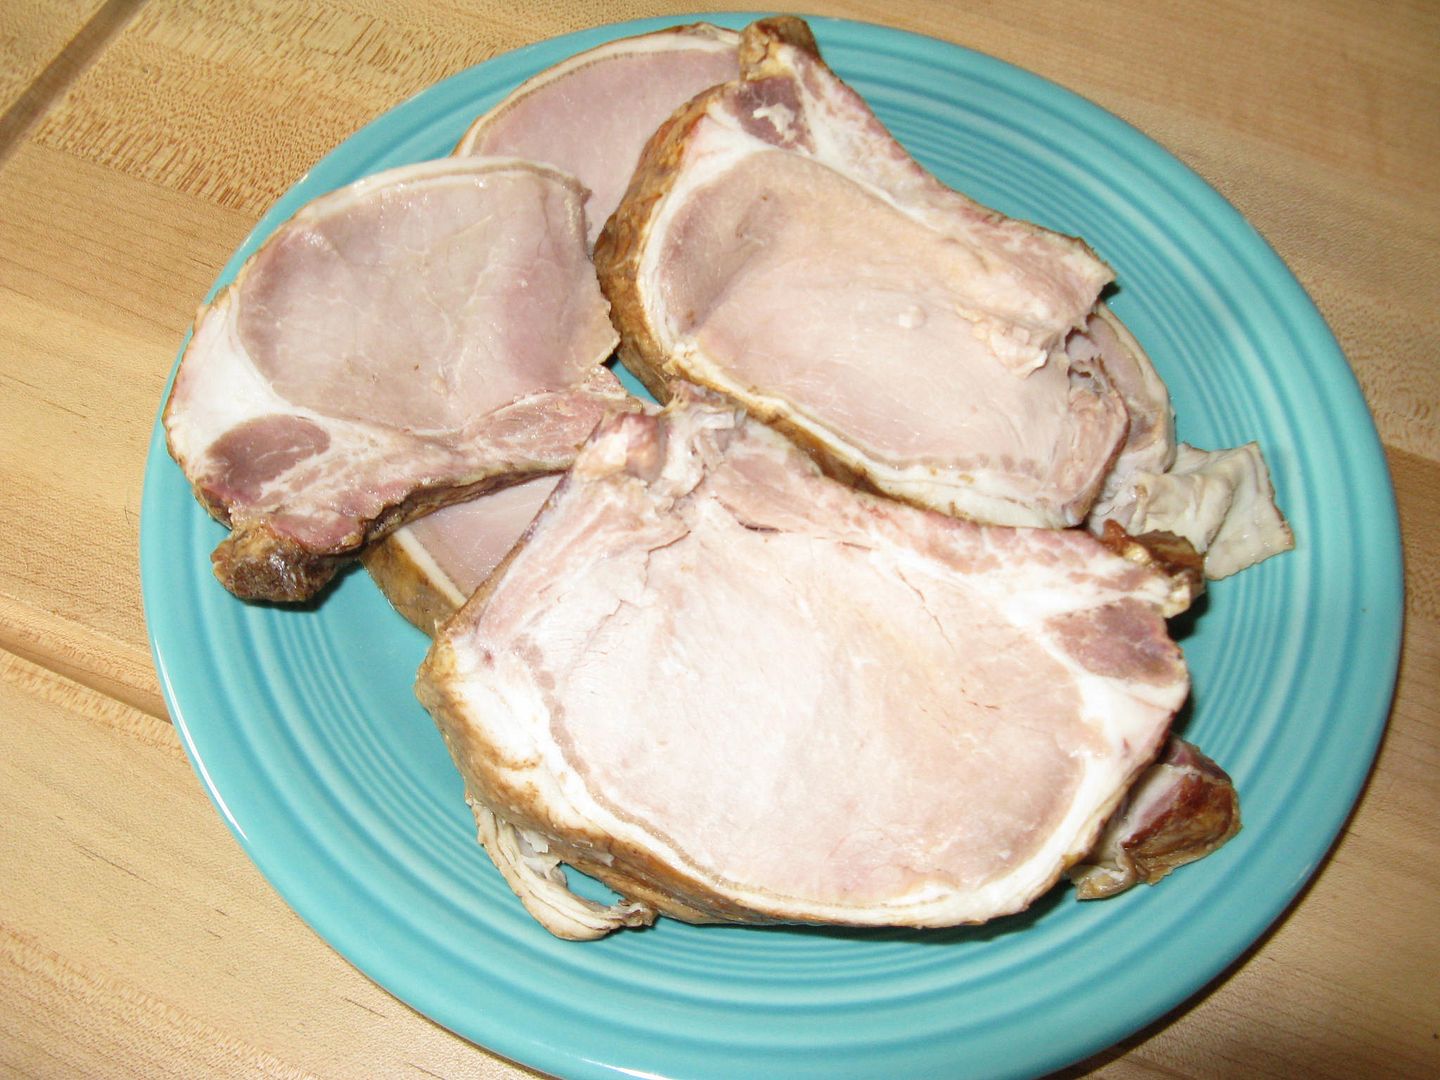
If you follow this blog on a regular basis and can remember back to January, I went on a home curing and smoking kick.  Ham, bacon, and pork chops.  The ham and pork chops were vacuum packed and frozen for later use.  Well, we grilled up some of the cured and smoked pork chops last week.  Here is how they turned out.


Thawed and ready to do.  I was really happy at how the color developed over the 7 months in the freezer.  The chops had a very nice hickory flavor right out of the package.


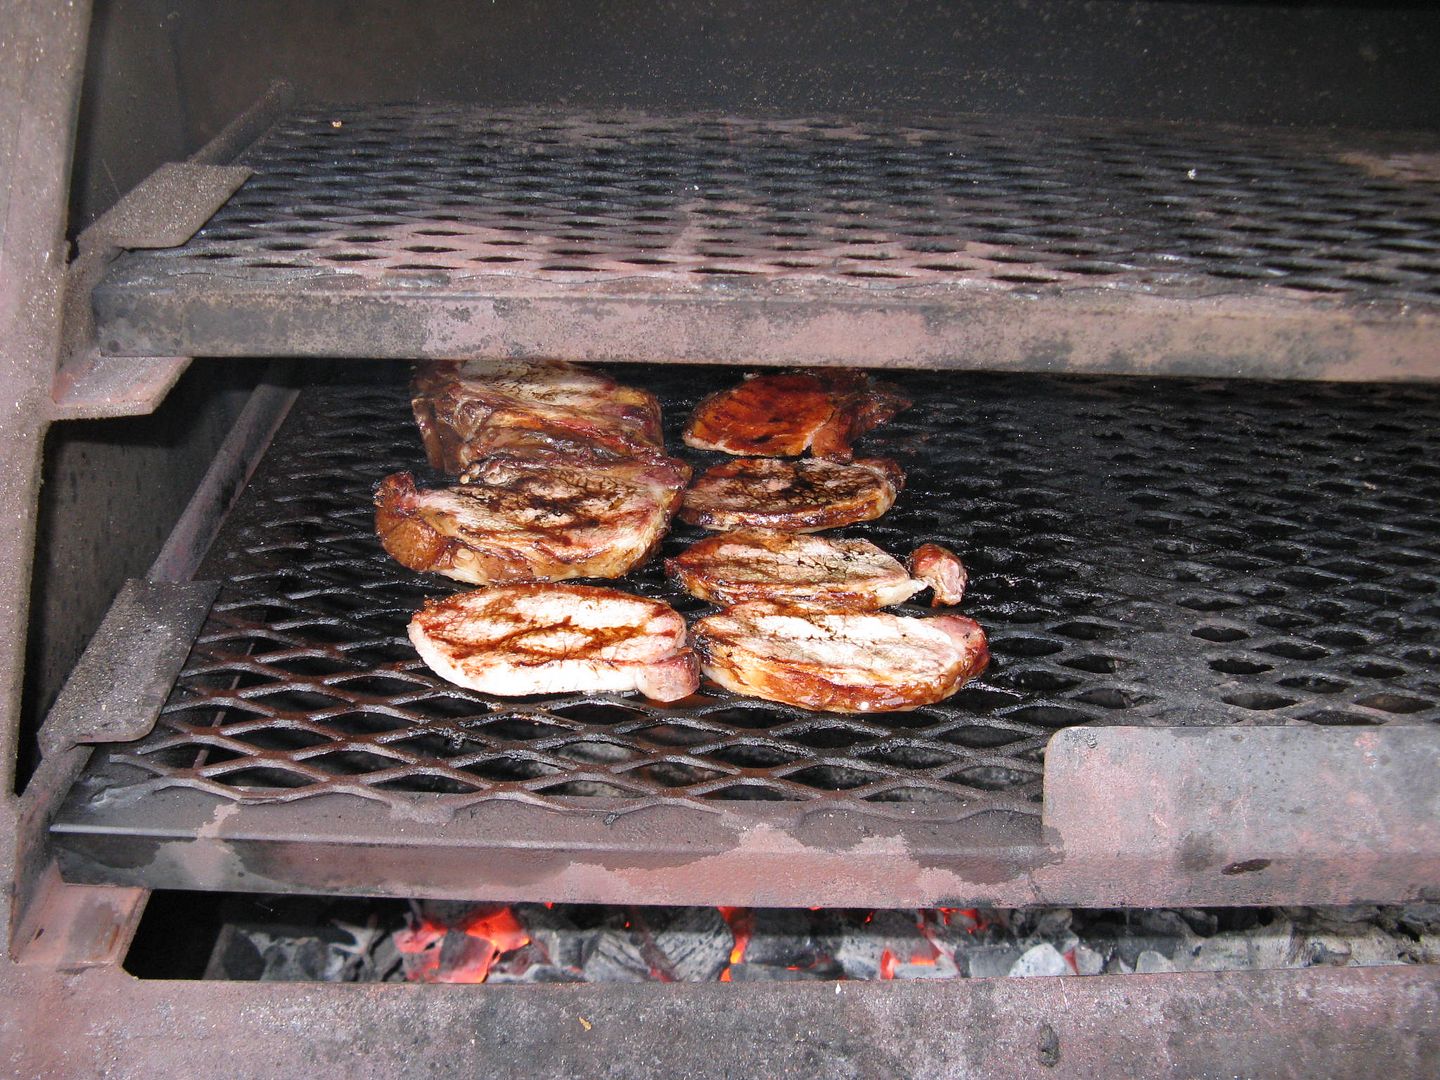
On a screaming hot grill.  About 5 minutes a side.  The smoke rolling out of the stack had an enticing, smokehouse hickory scent.  


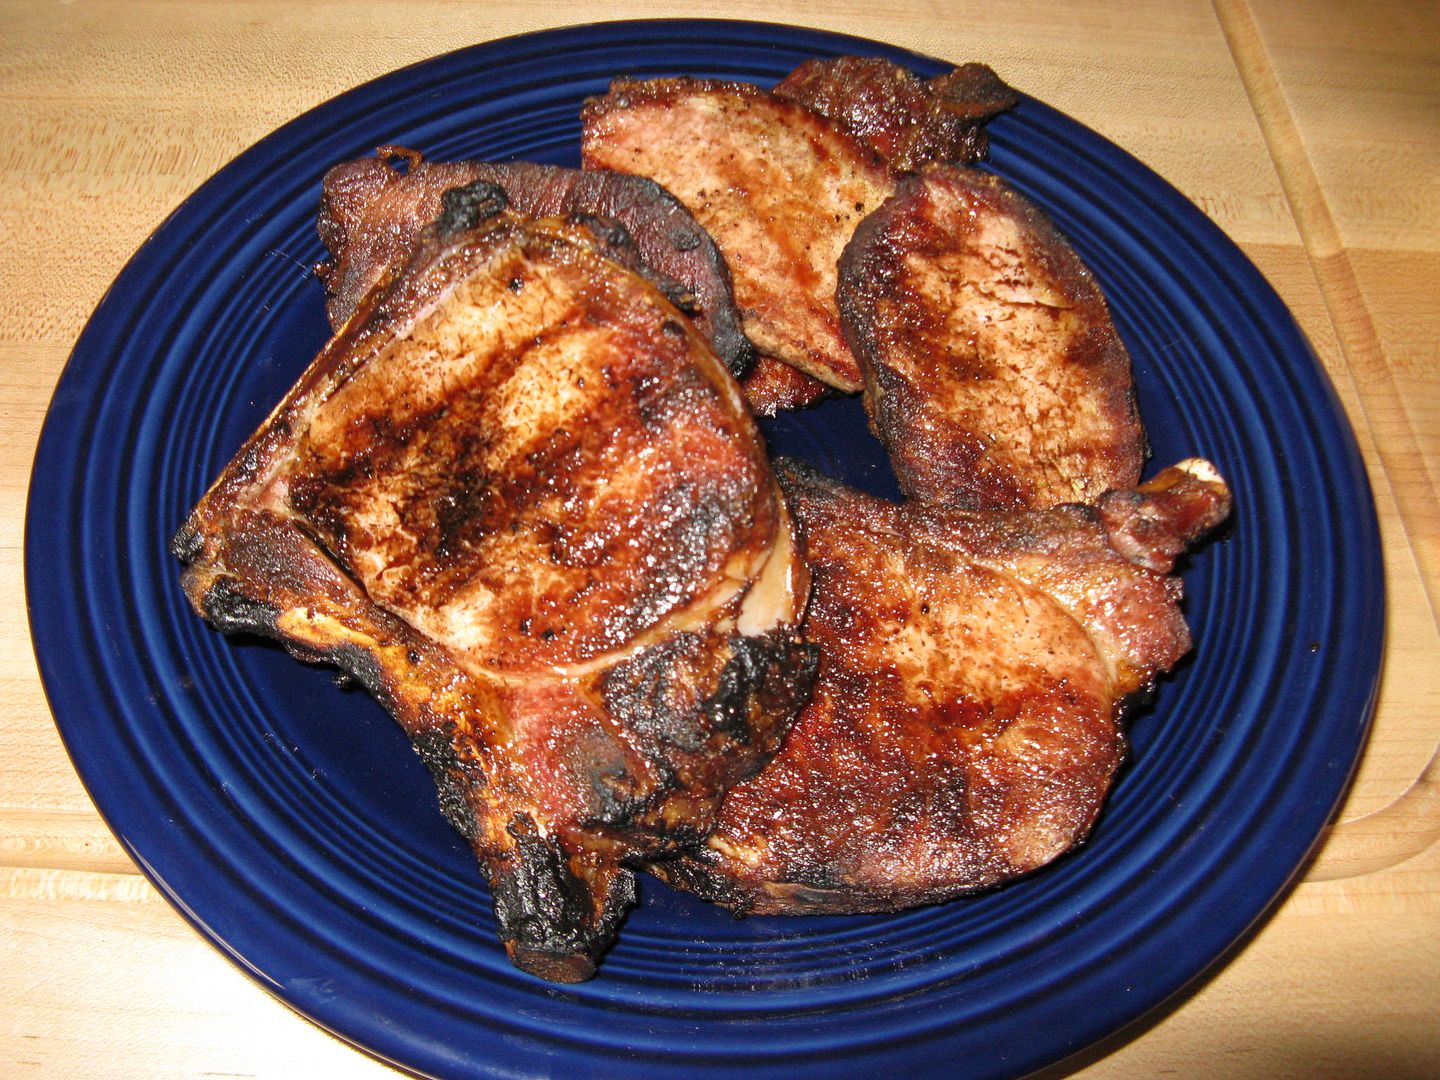
Done and ready for devouring.  How were they?  The crispy fat was especially nice.  Pork fat is always good.  But this fat and the meat around the fat had a nice bacon flavor.  It was a nice surprise.  The rest of the meat had a subtle had a nice subtle hickory flavor mixed in with hammy overtones.  I will be making this again for sure.

One issue was that some of the chops were a tad too salty.  I will rectify that in the future by soaking in ice water longer, perhaps overnight, to ensure that all of the salt is removed before smoking.  Other than than, these chops were better than any store bought smoked pork chop I have ever prepared.  

Thanks for stopping by,

Bill
Sunday, May 19, 2013

Penguin Ribs

Before you get all bent out of shape, no, we did not buy penguins from some black market, back street, exotic butcher that deals in spotted owl as well.  We just made a few racks of spares for our last practice and gobbled them up while watching a Penguin playoff game.  What goes better than ribs, beer, and playoff hockey?

Were were trying some different rub and sauce combinations.  We couldn't make a choice before, so this was sort of like a single elimination contest between our top four combinations.  What were the combinations?

1.  Oakridge Pork and Chicken rub, Franks Sweet Chili during foil time, Blues Hog Regular with Blues Hog Tennessee Red for the sauce.

2.  Oakridge Pork and Chicken rub, standard foiling technique, Blues Hog Regular with Blues Hog Tennessee Red for the sauce.

3.  Oakridge Beef and Pork rub, Franks Sweet Chili during foil time, Blues Hog Regular with Blues Hog Tennessee Red for the sauce.

4.  Oakridge Beef and Pork rub, standard foiling technique, Blues Hog Regular with Blues Hog Tennessee Red for the sauce.

I know, doesn't sound like a lot of variation, but there was.  The Oakridge Beef and Pork rub has an extra kick of heat that the Pork and Chicken rub does not.  Also, the Franks Sweet Chili sauce adds a nice level of sweet to the ribs, along with a nice chili flavor.

Trimming up the racks...


Rubbing my racks...


Just about ready for the smoker...


Gotta love that red color...


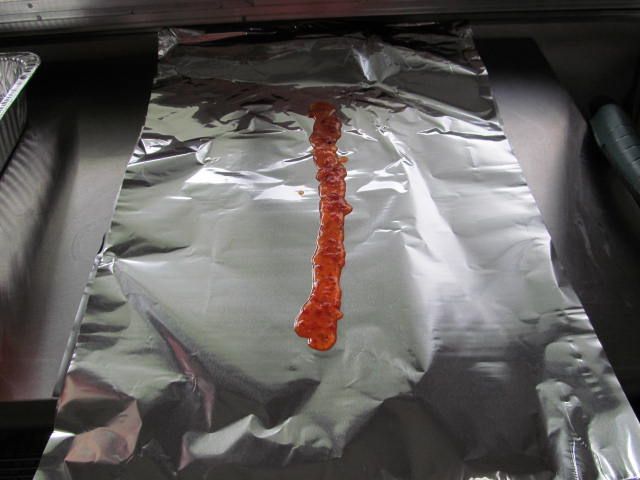
A little ribbon of Franks before the foil...


Finished product...


We cooked these spares at 235 F with apple, hickory, and pecan.  Three hours on the rack, one hour in foil, and one hour back on the rack with sauce for glazing.  Which combo won you ask?  Well, it was #3: Oakridge Beef and Pork rub, Franks Sweet Chili during the foil, Blues Hog sauce combo.  The very slight bite from the rub is balanced perfectly by the sweet from the Franks and Blues Hog sauce.  All throughout you get the undertone of chili that comes from the Franks as well.  A winner for sure.

Oh, who won the Penguin game?


Thanks for stopping by...

Bill