Search This Blog

Sunday, October 28, 2012

Ohio Smoked Meat and BBQ Festival 2012: Nelsonville, OH


Last weekend we entered our final competition of 2012: The Ohio Smoked Meat and BBQ Festival in Nelsonville, Ohio.  It gave us one final chance for some fun and to hone our recipes in KCBS competition.

We invited a few good friends to come and join in.  Jack from North Coast BBQ Smokers couldn't make it due to some unfortunate circumstances and our old friend Kelly couldn't make it because his wife said so ;), but Big Bob stepped up to the plate and performed admirably in the role of sous chef for the weekend.  He is hooked and would like to start his own team, but will settle for living vicariously through me and Hope...


Bob really was a big help (even though it doesn't look like it above) since Hope's wrist is hurt and she really can't do a thing in the kitchen right now.

Now, to the review:

Good:  We posted our highest point total ever, 603.999.

Bad:  That was only good enough for 33rd out of 36 teams.  But, the field was stacked with great teams trying to get points in the final event of the Ohio Triple Crown.

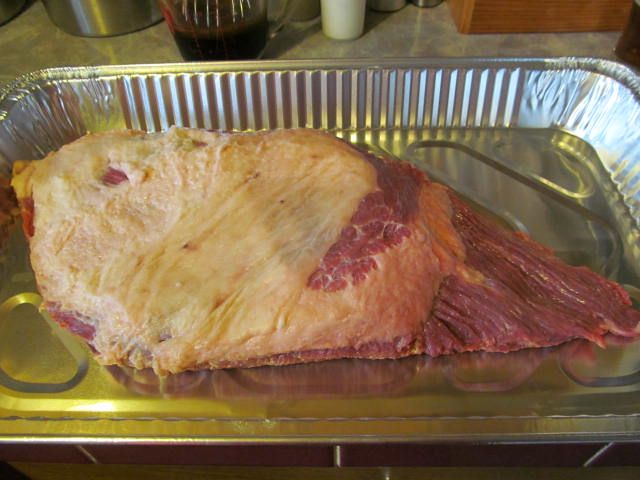
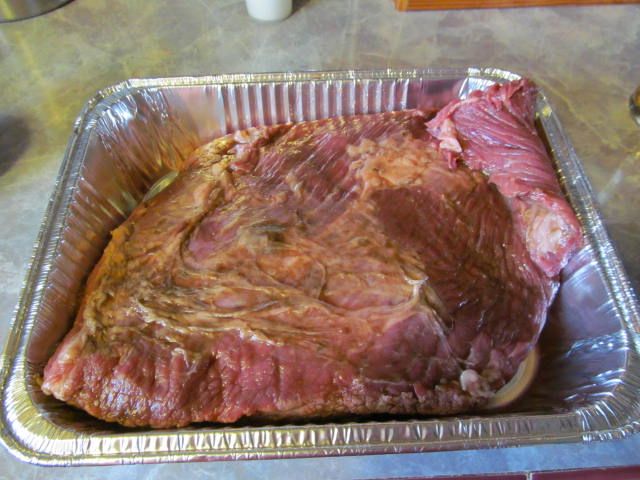
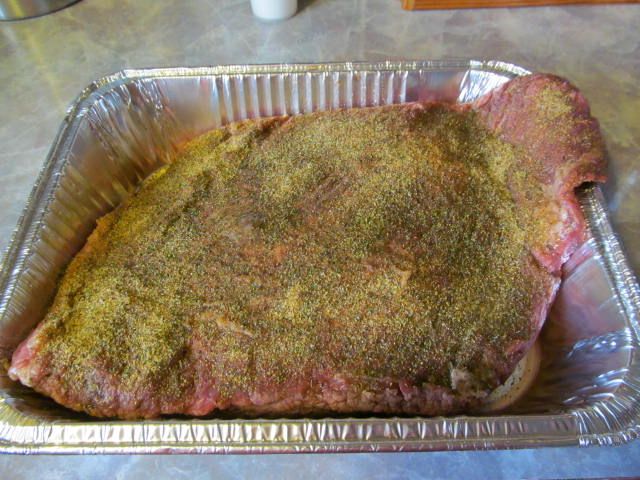
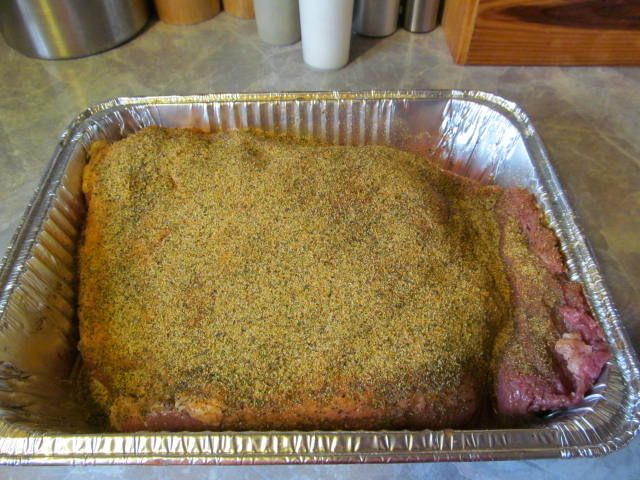
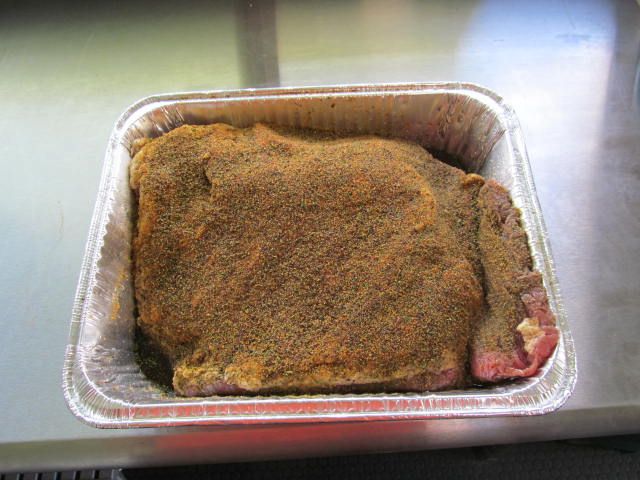
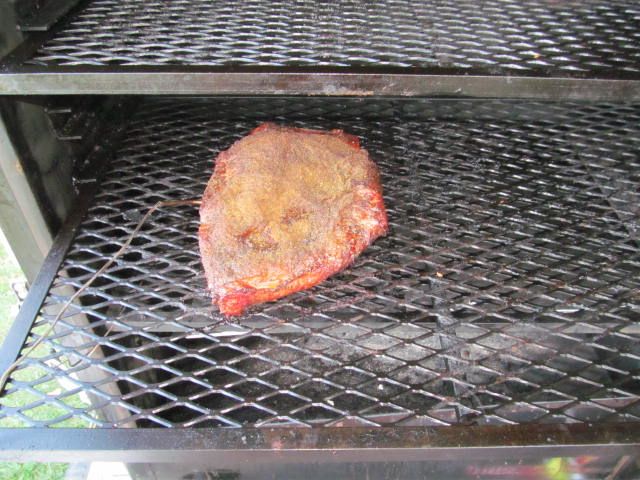
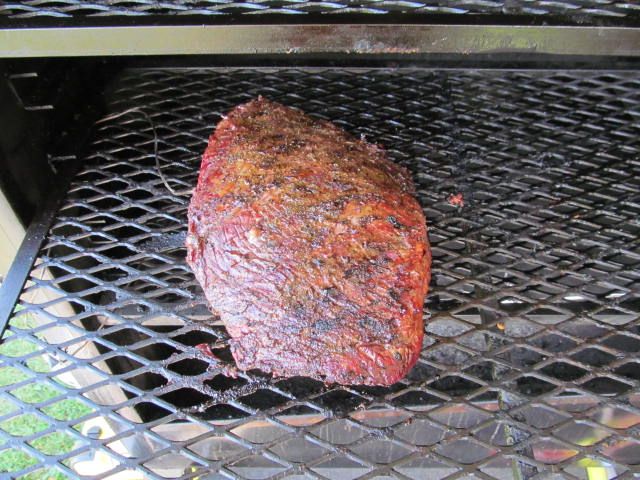
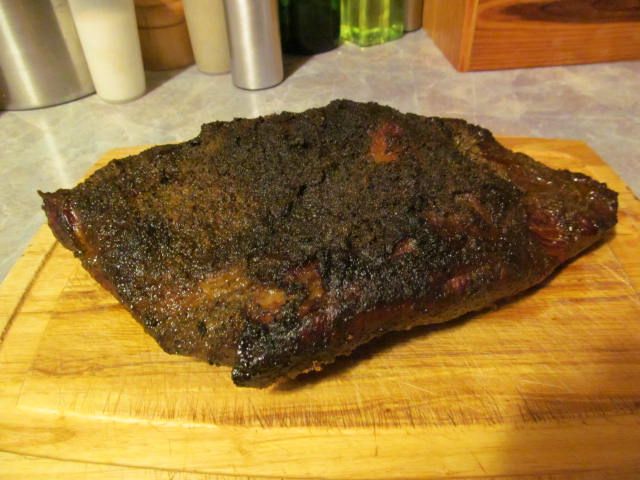
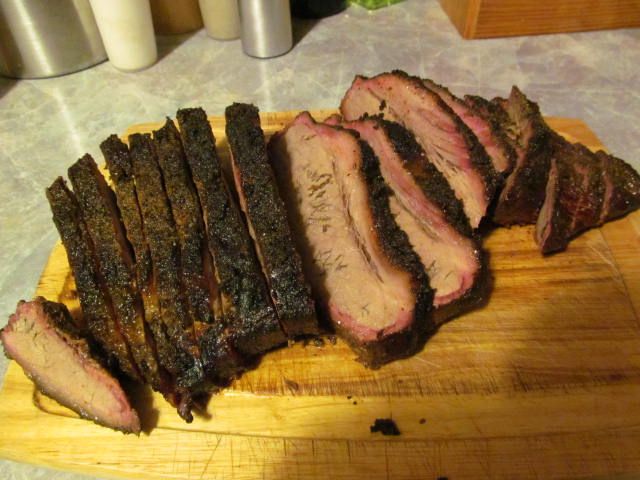
Good:  We really improved our brisket score, raising it by 30 points.  We are really headed in the right direction in this category.

Bad:  Ribs were dead last.  Funny, we thought they would be our best score.  We loved them.  But, it just goes to show you, you have to cook for the judges and not for yourself.

Good:  We are even more hooked and determined to improve our scores in 2013.

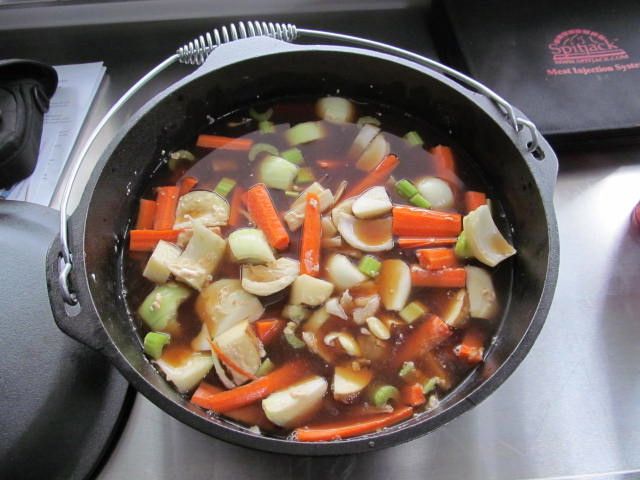
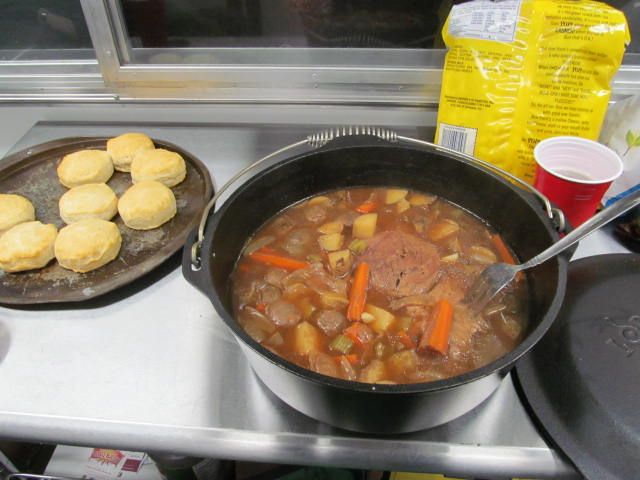
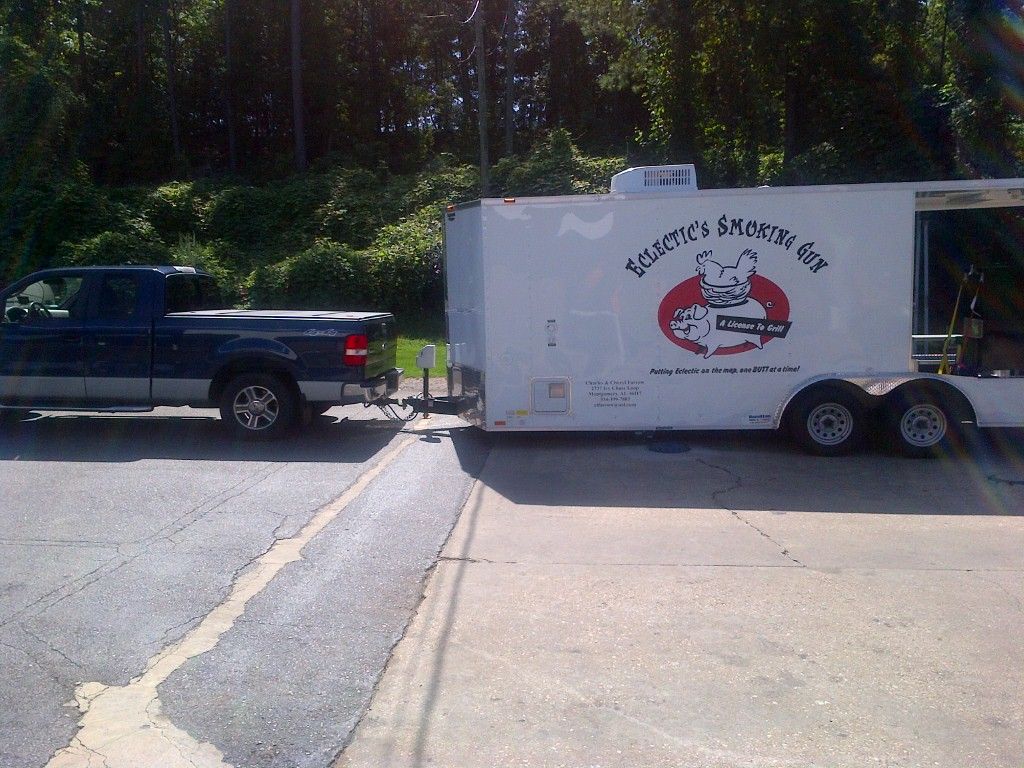
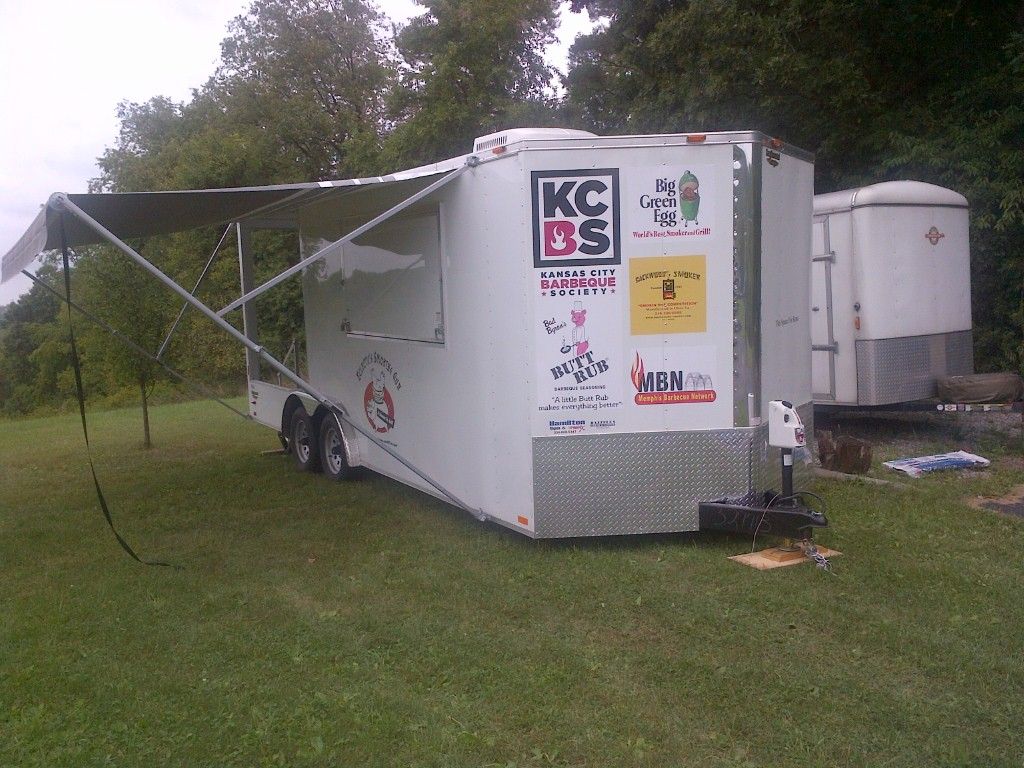
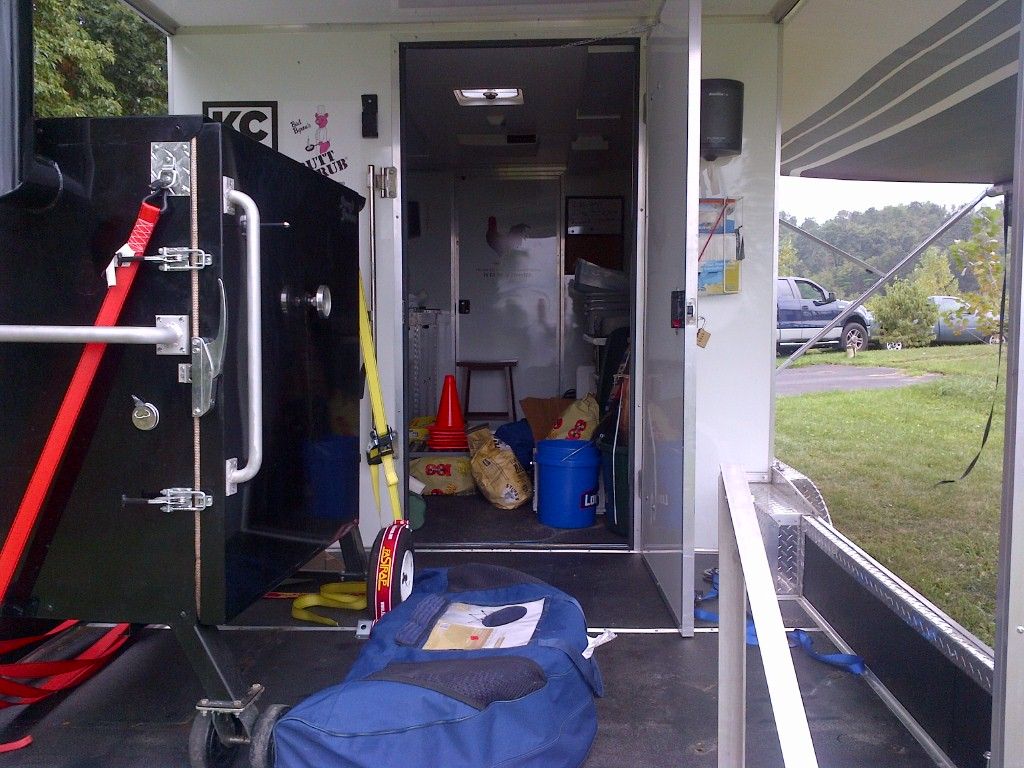
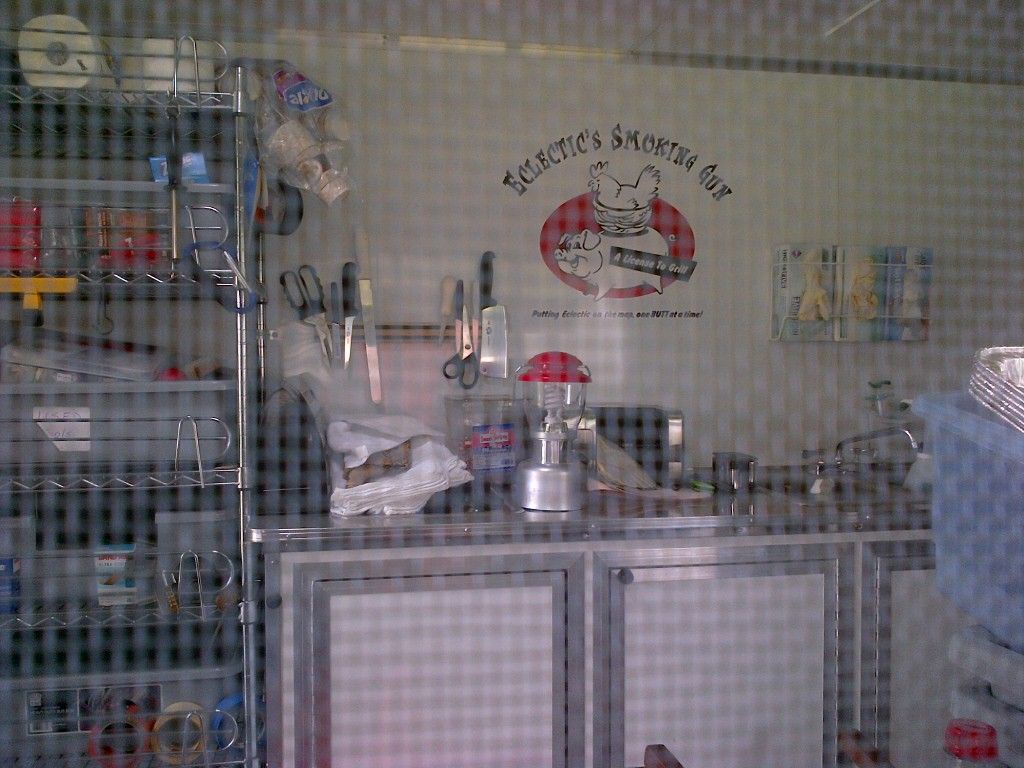
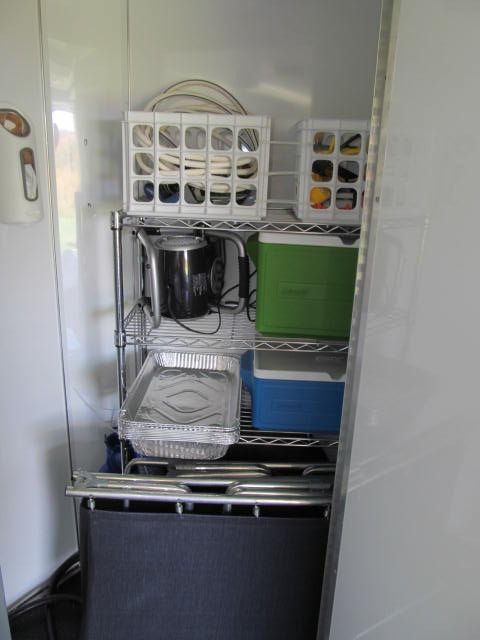
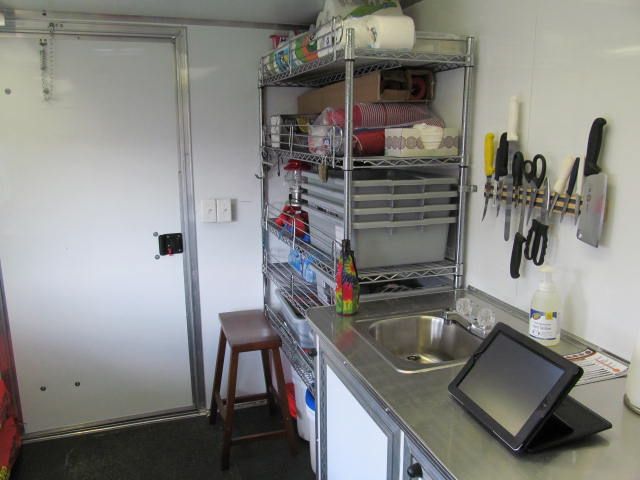
Here are some pictures from the rest of the weekend:


More to come later!

Thanks for stopping by...

Bill

Thursday, October 25, 2012

Breaking in my New Toy: Pot Roast Dutch Oven Style

Someone on the Stumps Forum posted a great sounding recipe for pot roast on a Stumps Smoker.  So, I used it as an excuse to buy the 9 quart Lodge Logic Dutch Oven and give it a spin at Nelsonville for dinner on Friday night.

Here is the recipe:

1 Chuck Roast.  This was a 3.5 pounder.
2 ribs of celery, diced.
4 potatoes, diced.
4 large carrots, peeled and diced.
3 cloves of garlic, minced.
1/4 cup of flour.
Enough beef broth to cover everything.  I used 2 quarts.

This is where it gets hard ;)

Throw it all in the dutch oven.


Cover it up.  Put in a 250 F smoker for 6 hours.
Make some biscuits (on the smoker as well)
Pull the dutch oven out of the smoker after 6 hours.  Pull the meat apart.
Serve.


After 4 hours I ramped the heat up to 350 F to speed up the cooking.  We were getting hungry.  After the ramp up, it cooked for 1 hour more, 5 hours total.

It was the perfect cold, rainy night dinner.  Veggies were still tender and the beef was pull apart good.

Some things I will do different:

Use 1/2 cup of flour to thicken a bit more.
Add salt to taste.

I also love the dutch oven.  Lodge Logic makes a great product for sure.

Thanks for stopping by...

Bill

Sunday, October 21, 2012

The New Rolling BBQ Fortress: The Dog House

Well, I guess you could say we jumped into the deep end late this summer.  We found a BBQ trailer for sale on the Internet and we decided to make the jump and purchase.  A friend of mine and I made the drive down to Alabama over Labor Day to pick it up...


Somewhere in Georgia...


Finally home and set up...


All the accessories...


So we cleaned it out, removed the decals, and put the Three Dogs decals on the side.  Here are some pics after this was done...


Front storage...


Back storage...


Work table...


All of the new decals...


A friend of ours has named the trailer "The Dog House."  I think it is going to stick.

This past weekend we went to the Nelsonville Smoked Meat Festival and competed in the KCBS competition.  Once I get the pics downloaded, we will post results and a review.

Thanks for stopping by...

Bill

Thursday, October 18, 2012

Just Plain Nuts...

Since my friend Mark showed me his smoked pecan posting, I have been experimenting with different types of smoked nuts.  I have found that smoking a nut is very simple and really makes your garden variety mixed nut something special.

For this day of experimenting, I used:

Raw Pumpkin Seeds
Raw Macadamia Nuts
Already roasted Kirkland Mixed Nuts from Costco

First, the nuts get a light coating of olive oil, thoroughly mixed, then placed into a single layer inside an aluminum foil pan...


Macadamia Nuts, ready for the smoker...

Then, I fire up the smoker and bring to a temperature of 250 F and place hickory wood in the ash pan.
The nuts then go into the smoker on the top rack...


Every 20 minutes I go out and mix the nuts in the pan to make sure they roast evenly and so they can get the maximum amount of smoke.

After one hour, I place salt to taste with sea salt and place hot into canning jars, then seal.  As the nuts cool, the jars will seal, keeping that smoky goodness locked into the nut...


Left to right: Macadamia Nuts, Pumpkin Seeds, and Mixed Nuts.

Quick, simple, and much cheaper than if you by a can of smoked nuts at the store.  Give them a try.  Your friends, family, and co-workers will love you for it...

Thanks for stopping by...

Bill

Saturday, October 13, 2012

Chicken Breasts in Secret Church Grandmother Marinade

A friend of mine who grew up in Buffalo turned me on to the marinade that Church Grandmothers would marinade chicken in for fund raiser dinners.  It is a marinade called Chiavetta's.  It is made with lots of vinegar, salt, and a blend of spices that every Church Grandmother has sworn to take to their grave.  The marinade adds a nice tangy taste to chicken and makes even the biggest steroided up chicken breast tender and moist.  I don't smoke my chicken that has gone for a swim in this marinade.  Grilling only.

First, I marinade the breasts overnight in a plastic bag and pull them out to air dry for about 15 minutes...


Then, a nice dusting of Weber Canadian Chicken rub...


Then, I place on a grill that is regulated for about 400 F.  The chicken goes on indirect heat.  After 30 minutes, I rotate the chicken to place the other side toward the fire.  Then after 30 more minutes, they get 2 minutes, skin side down right over the coals for a final crisping of the skin...


Tender and juicy on the inside.  Crispy goodness on the outside.  If you live in the Buffalo area or can get some of this marinade, you should give it a try.

Thanks for stopping by...

Bill

Monday, October 8, 2012

Saturday Brisket, Santa Maria Style

Well, we picked up a nice brisket for some practice this weekend before our last competition.  It was a nice five pound flat that required minimal trimming...


First, I injected with 1/2 cup of Moore's Marinade, 1/2 cup of beef stock, and 1/4 cup of canola oil.  I injected in a grid pattern with my Spitjack injector gun set for #3 on the dial...


After injecting, the brisket received an even coat of Oakridge BBQ Santa Maria rub.

Bottom...


Top...


Then, I covered with foil, put the pan in the refrigerator, and let the brisket get happy over night.  Total happy time was about 12 hours.

After happy time...


Then, onto the smoker at 250 F with hickory wood in the ash pan, fat side up...


After three hours, I flipped with the fat side down until the internal temperature reached 165 F.

After the flip...


Once the internal temp hit 165 F, I placed the brisket in a pan with 1 cup of beef stock, covered with foil, and placed back in the smoker until the internal temp hit 195.  Once the brisket hit 195 F, I wrapped the pan in towels and let rest in a cooler for three hours.  The brisket needed 7 hours to get to 195 F.  So, total time, with resting, was 10 hours.

Here is a picture after removing from the foil...


Sliced...


Yes, I know.  Some of the slices are a bit thick.  It was late, I was tired, and I didn't feel like digging for the electric knife.  What I can tell you is that the flavor was outstanding.  Not as tender as I would have liked, but tender enough.

I can't rave enough about the Oakridge BBQ Santa Maria seasoning.  I loved the package from the sampler pack so much, I went out a bought a pound.

I also reserved the Au Jus for later.  I am going to experiment with that later this week.  I'll report back then.

Thanks for stopping by...

Bill

Monday, October 1, 2012

Another Installation of Cooking for Novices: Italian Style Grilled Chicken with Italian Rice

Well, chicken for dinner yesterday.  We didn't feel like the usual BBQ or marinade, so I decided to try something different.  It was quick, simple, and tasty.

First, the marinade:

1/4 cup olive oil
1/4 cup red wine vinegar
1 Tbsp Italian Seasoning
3 garlic cloves, minced.

Whisked it all together and poured over some chicken legs and breasts in a plastic bag.  I let marinade for about 3 hours, flipping the bag whenever I walked by...


I lit the charcoal and brought the grill to about 400 F and placed the chicken away from the heat.  After 30 minutes I rotated the chicken and let cook for another 30 minutes, 1 hour of total cooking time.  Then I pulled them off the grill and let rest for 5 minutes.  As you can see, nice and golden brown...


As the chicken was cooking, I made some Italian Style Rice for a side.  Here is a link to the recipe.  I am not sure when turmeric became an Italian spice, but it was good none the less.

Final results...


The chicken was tender and juicy with a good Italian and garlic flavor.  The red wine vinegar added a nice tart taste that was not over powering at all.  The nice was a good compliment.  Creamy with a hint of spice.  I will be making this again for sure.

Thanks for stopping by...

Bill