Search This Blog

Showing posts with label Blues Hog BBQ Sauce. Show all posts

Tuesday, September 30, 2014

Boneless Beef Short Ribs the Old Fashioned Way

As luck would have it, I was shopping for a few things at Costco the other day.  As is the usual MO at Costco, I was drawn in by the meat case.  What's this?  Do I spy a package of beautiful looking beef short ribs winking at me?  Why, yes I do.  The sirens song made me pick up the package and deposit it in my cart.  Damn you Costco!  So, as I wondered through the store, picking up what I needed and a few more impulse buys, I kept intact my streak of not getting out of that terrible place for less than $100 and drove home.  During the drive home I mulled over how to cook those beautiful ribs.  I settled on a blast from the past, grilling.

Growing up, as a young, budding grill master, I had no idea when smoking meat low and slow was.  Ribs, both beef and pork, plus chicken, were par boiled (gasp!) by my mother.  Then, I took the plate of cooked meat and finished it up on the grill with a little sauce.  Oh my, how I have come a long way.  Occasionally though, I love the taste that a grill imparts to smoked meat.  So, with a few changes, off to the grill I went.


What you see above are two whole boneless beef ribs, cut in two.  Diet you know.  The marbling was beautiful.  I was going to go simple here.  Two of them I sprinkled with Oakridge Black Ops Brisket rub and the other two I seasoned the way I would a steak: sea salt, fresh ground pepper, and granulated garlic.


As I waited for the meat to come to room temperature, I fired up the grill, taking care to keep the coals off to one side.  When the coals were ready, I threw a chunk of pecan wood on top.  Once the pecan was burning nicely, I brought my ribs out and started cooking.


I placed them on indirect heat and closed the lid.  The temperature was about 350-400 F inside.  At this point, I walked away and came back after 30 minutes.  A quick check with the thermometer showed that these ribs were ready for step two: a hot sear.


When cooking beef ribs, there are two trains of thought.  Pull at 165 F, rest, then eat.  Or, push through to 195 F.  At the lower temperature, you get a chewier product.  At the higher temperature, you end up with something a little more tender.  Don't get to far past 195 F, or you will end up with pulled beef.  I like them either way, but I was in the mood for tender tonight.

At this point, I lightly sauced the BBQ rubbed ribs with Blues Hog Tennessee Red.  The steak seasoned ribs left naked.  I then moved the ribs to direct heat for a quick sear.


The Devil Dog Ellie Mae was waiting on any grilling mishaps.


The ribs were seared about two and a half minutes a side.  Just long enough to caramelize the sauce and put a nice char on the steak seasoned ribs.


This dinner took me back a bit in time.  Moist, tender, and juicy.  I need to try this method with some pork ribs sometime soon.

Thanks for stopping by,

Bill

Saturday, July 26, 2014

Grilled BBQ Steelhead

We love salmon around here.  Especially steelhead salmon.  There is an added flavor to steelhead that you just don't have with salmon.  Perhaps it is because it is milder and a bit fattier in my opinion.  Lucky for us we can buy it at Costco for $5.99 a pound when on sale and it is reasonably priced when not on sale.

We try and eat steelhead about once a week.  But, as I am sure most of you have experienced, you get bored with the same foods prepared the same way, week after week.  So, this past week, I decided to experiment with our steelhead.  Off to the R&D labs.

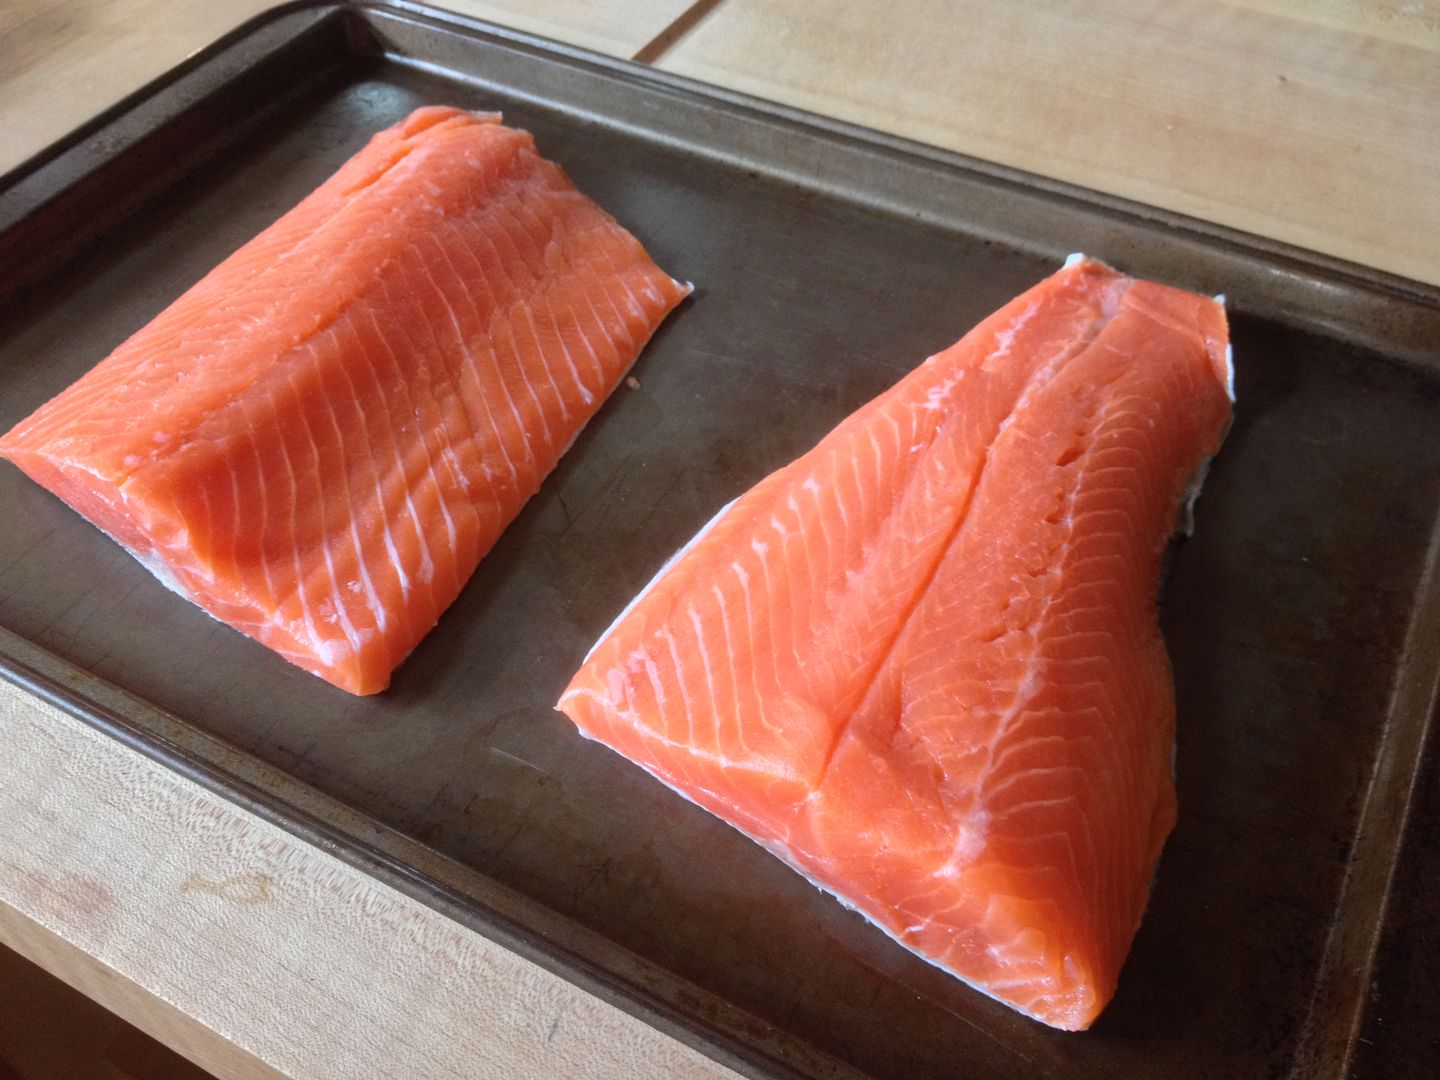
After thawing our steelhead, I rinsed well and patted dry.


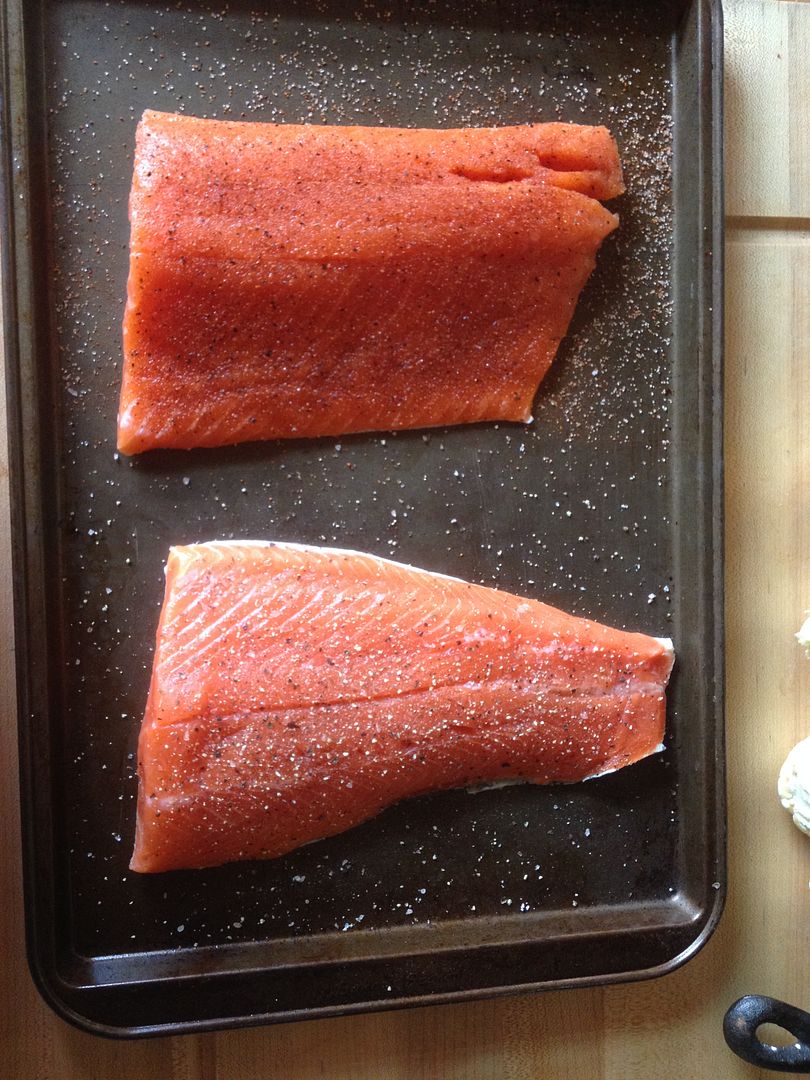
Then, I put a thin coating of Oakridge BBQ Game Bird and Chicken rub on my fillet and let sit on the counter top for the rub to form a liquid crust.  Don't get heavy handed with your rub application.  you do not want to over power the flavor of the fish.  You just want to compliment the flavors.


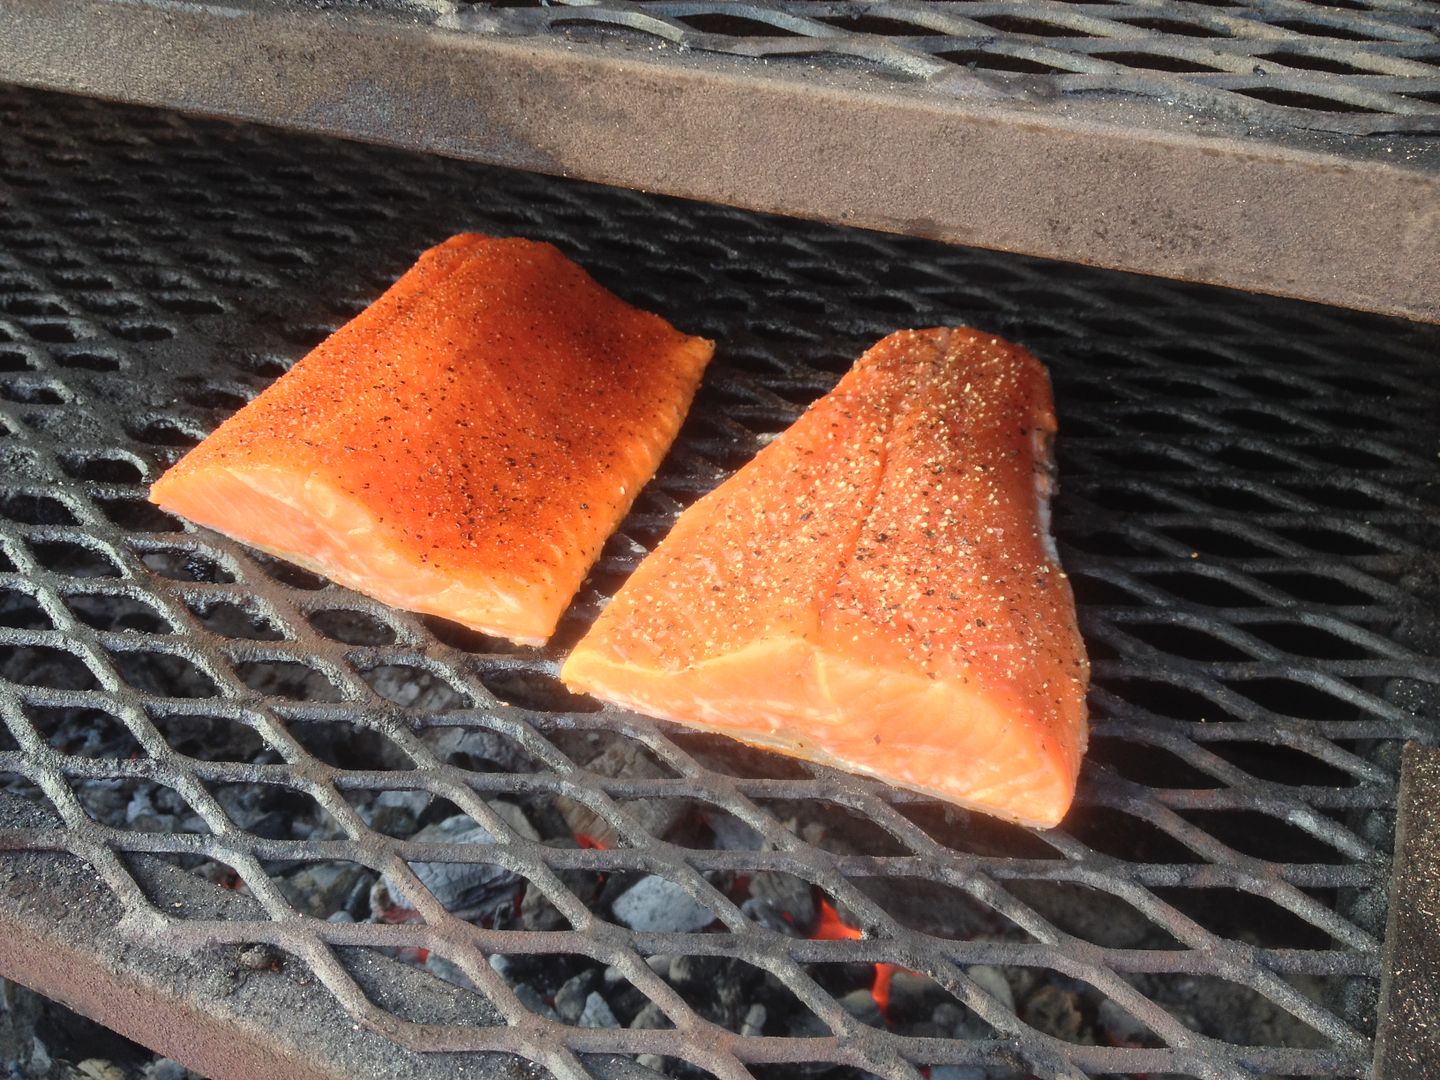
Then, I fired up the charcoal grill.  When ready, I placed the fillets on direct heat.


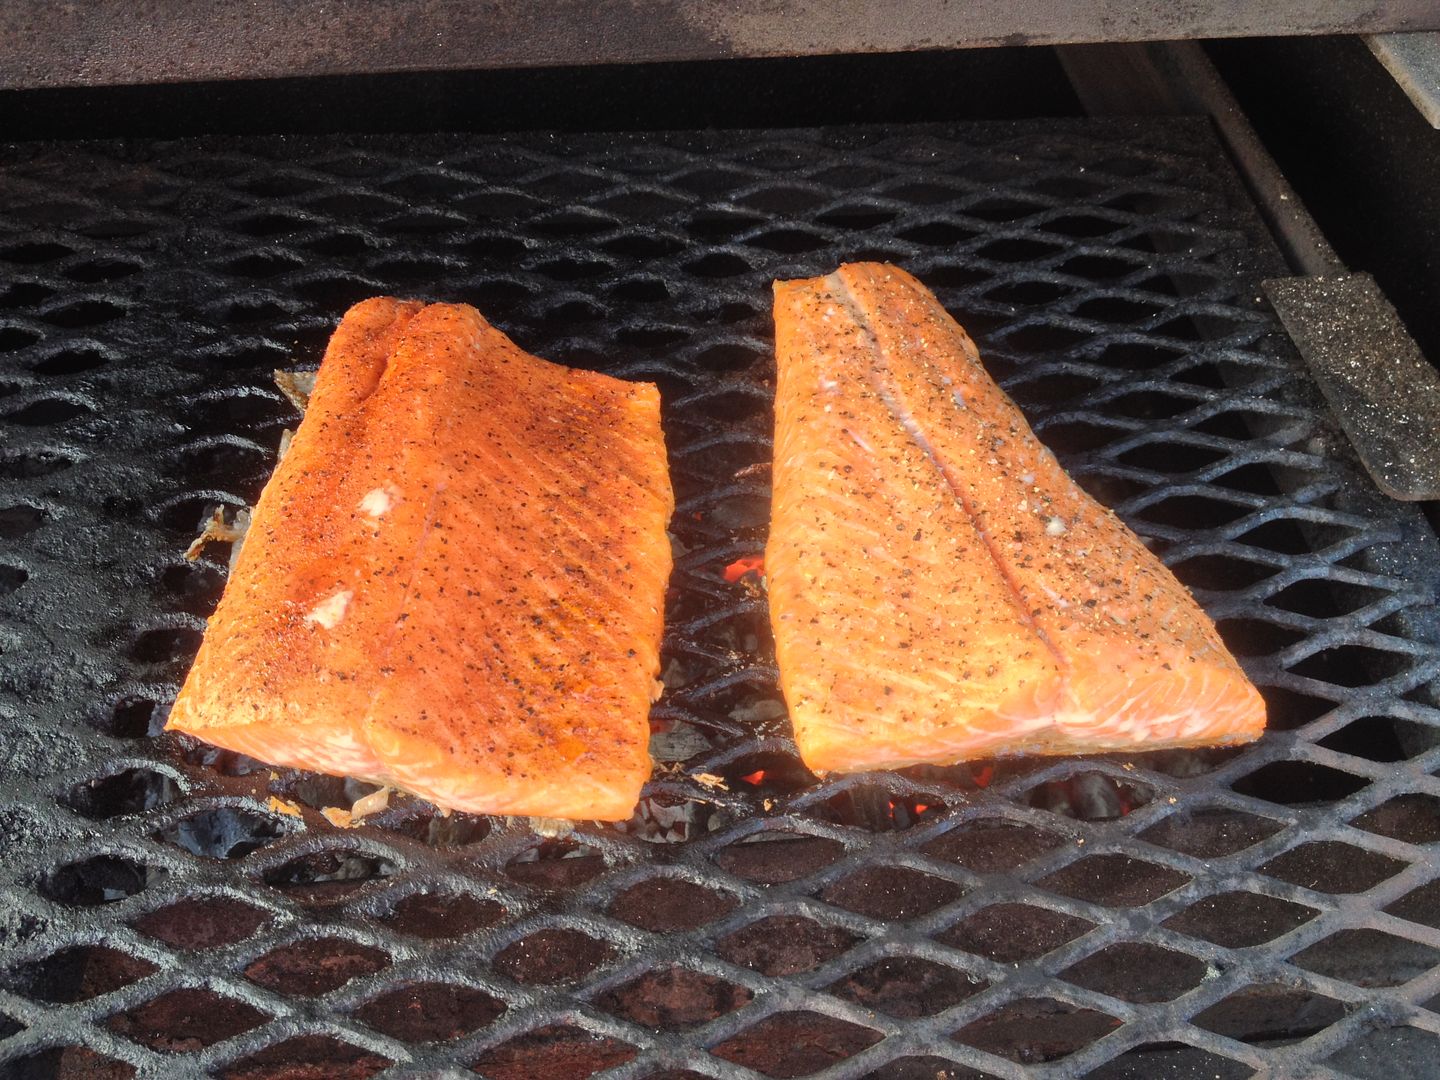
When the fat starts to come out of the meat, that is the first indication you are almost done.


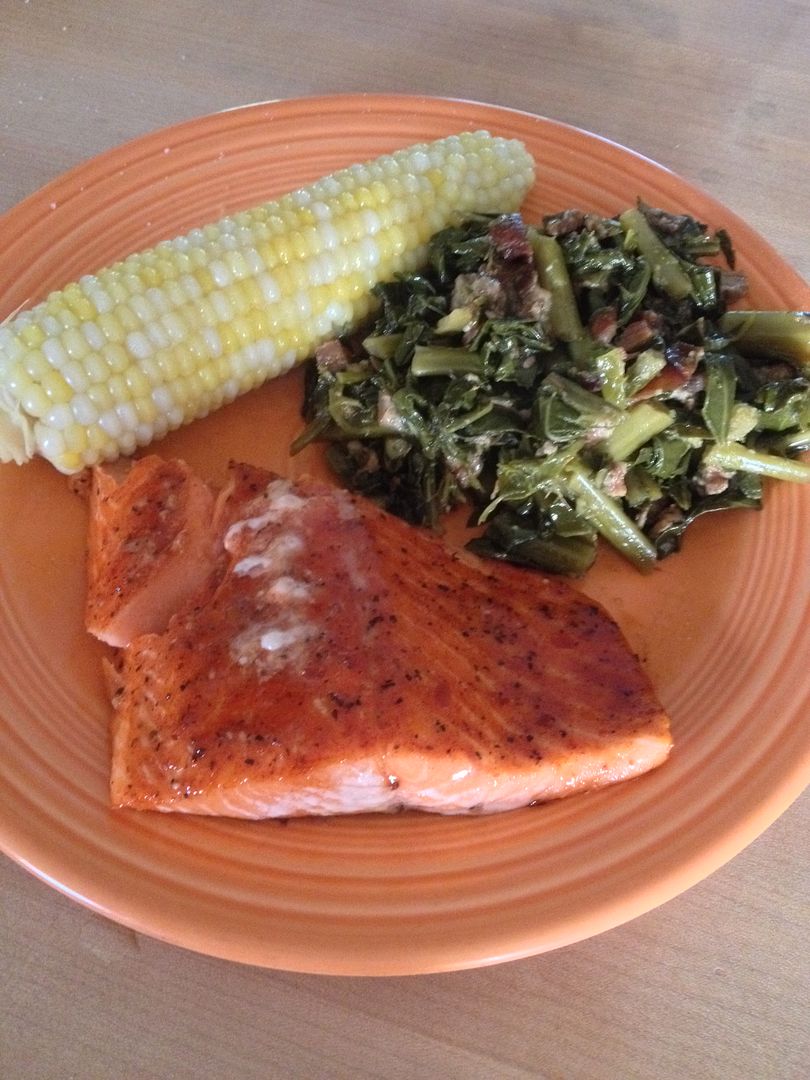
I applied a very thin coating of Blues Hog Tennessee Red BBQ sauce to my fillet.  Any BBQ sauce will work.  I would suggest one with a higher vinegar content such as the Tennessee Red.  The acidity cuts through the fattiness of the steelhead.  I brushed the sauce on the fish, closed the lid, and came back five minutes later.  Done!

I served with fresh corn on the cob and collard greens.  More on the greens later.  Ours are just about ready to pick in our garden.


BBQ pairs well with steelhead.  The flavors of the rub and sauce go well with this meaty fish.  If you are bored with the same old fish, give this a try.

Thanks for stopping by,

Bill
Saturday, May 17, 2014

Smoked Spam: The Great American Mystery Meat

Over Mothers Day weekend, I was looking for a quick appetizer idea.  A quick bite before the steaks were put on the grill.  Preferably, it would be something I could throw on the smokers as I was burning out the built up gunk on the inside before our next competition.


So, I took a quick inventory of the kitchen shelves for something quick, easy, and that would be good.  Low and behold, look at what I found.


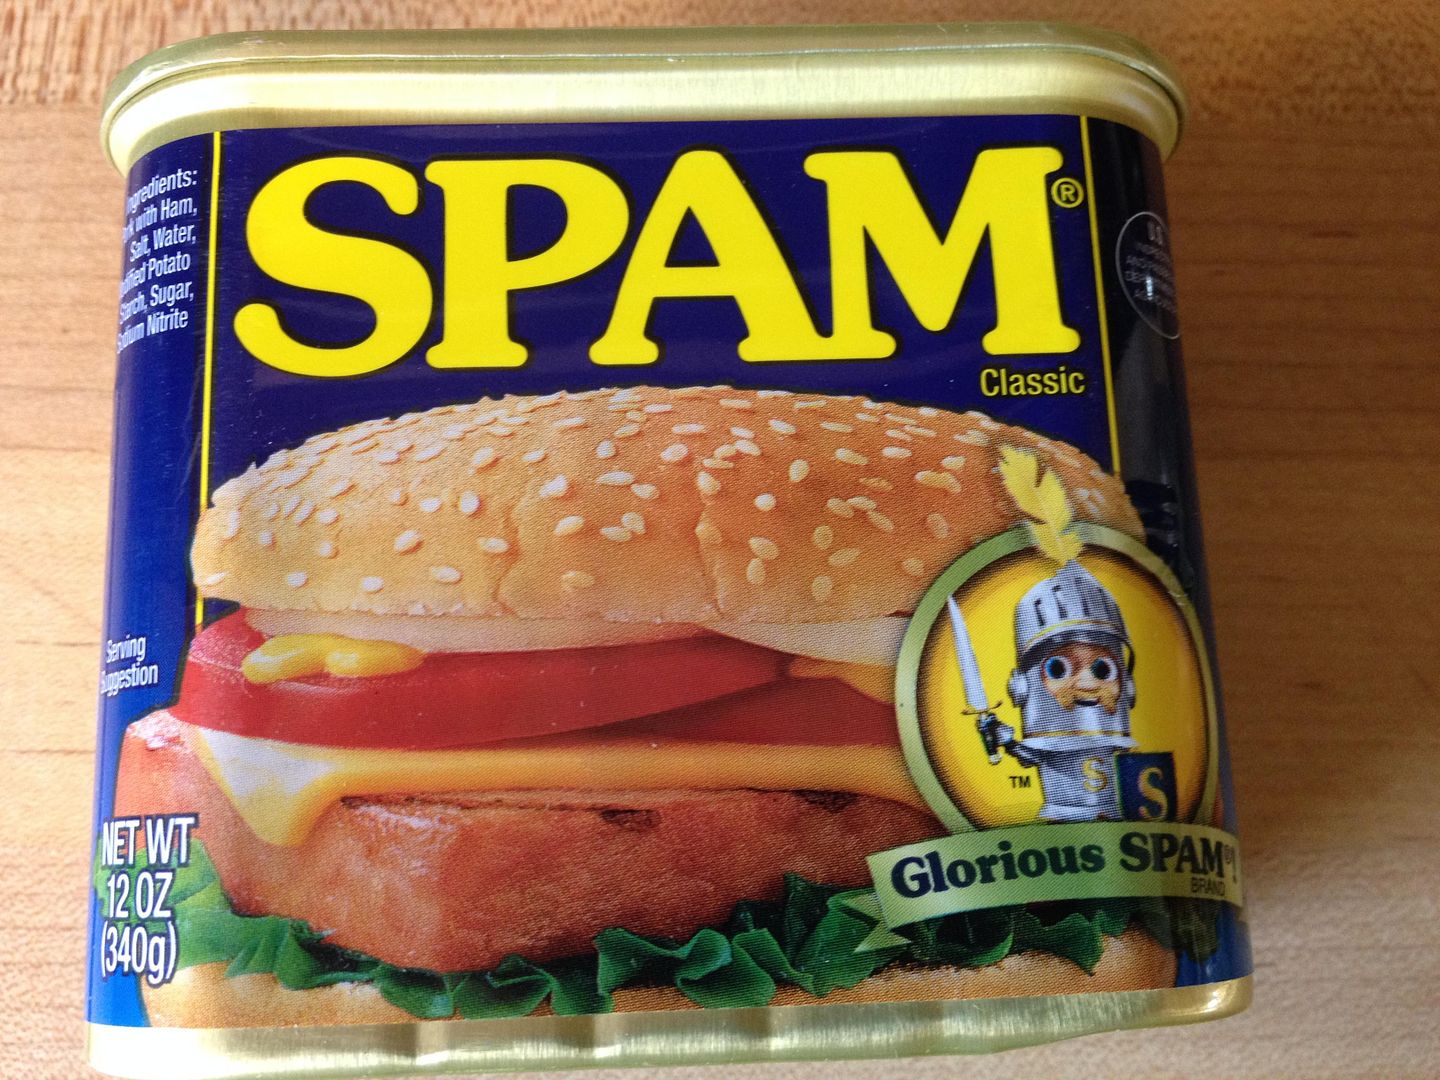
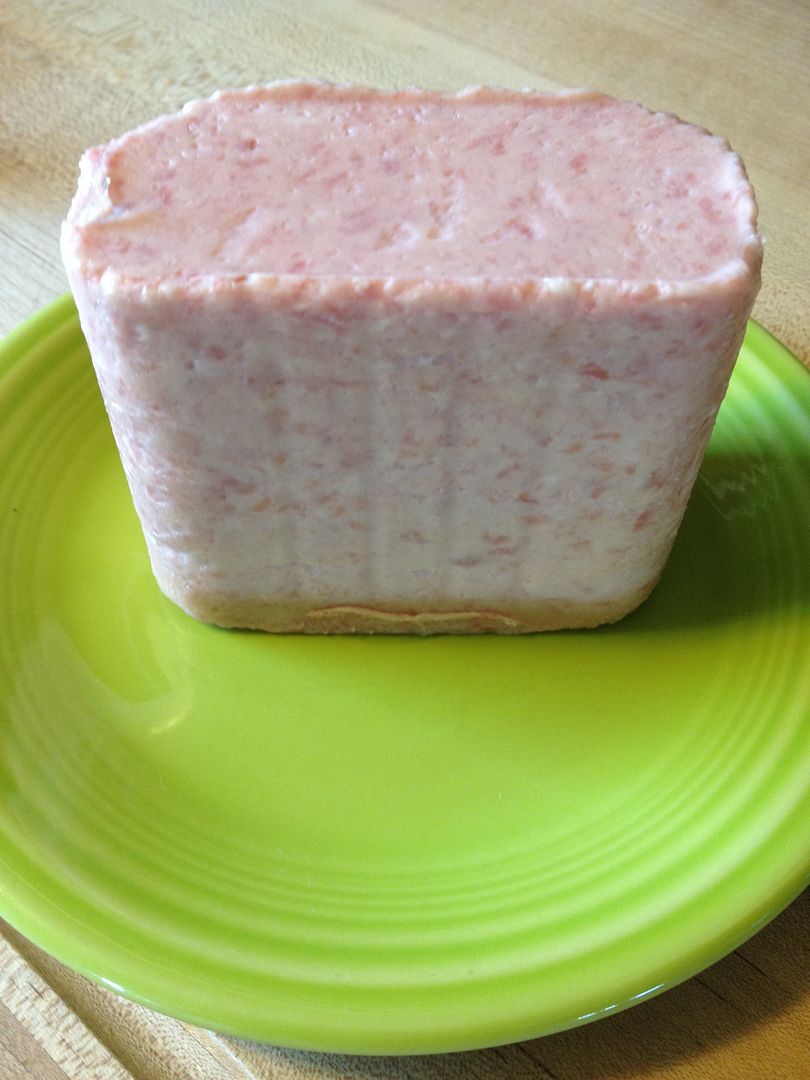
Spam, that mystical, mystery meat from our childhood.  I had a lot of bologna and chipped ham sandwiches back in my childhood days, but occasionally Mom would slide in some Spam, or Spam's first cousin, Treat.  For those of you who do not know what Spam is, here is a quick summary of Spam.

Basically, Spam is spiced, canned ham.


I seem to remember the outside being encased in gel?  Is this a kinder, gentler, lower fat Spam now?Anyway, some joke that Spam is made from leftovers from the pig after processing.  Lips, hooves, everything but the oink.  My Mom usually pan fried slices and served on squishy white bread with sliced onion, perhaps a tomato, American cheese, and mayonnaise.  Others pan fry and serve with eggs.  I decided to try and elevate this premium ham product and go the smoked route.

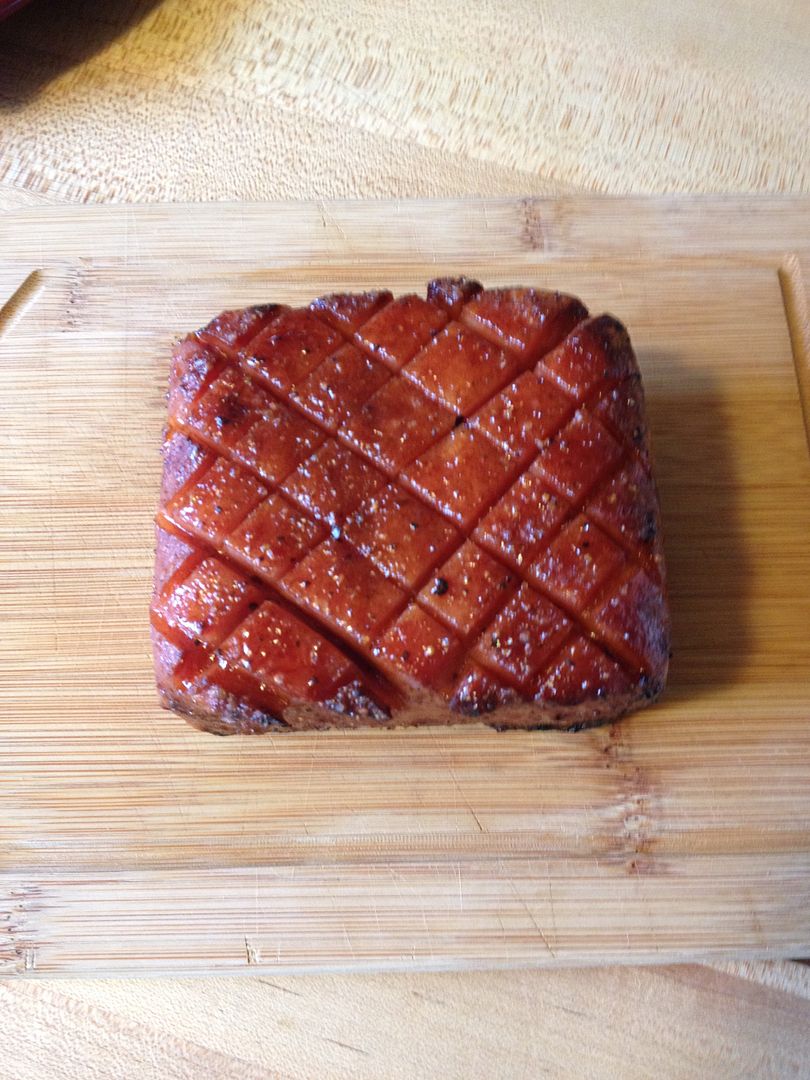
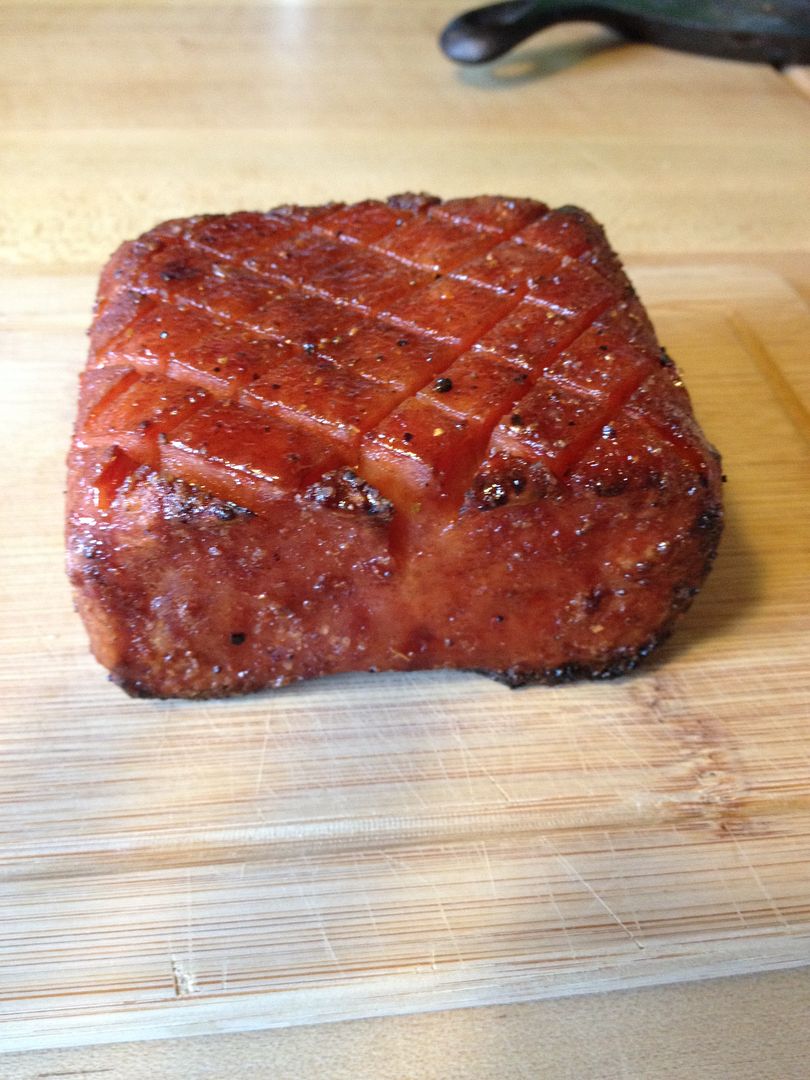
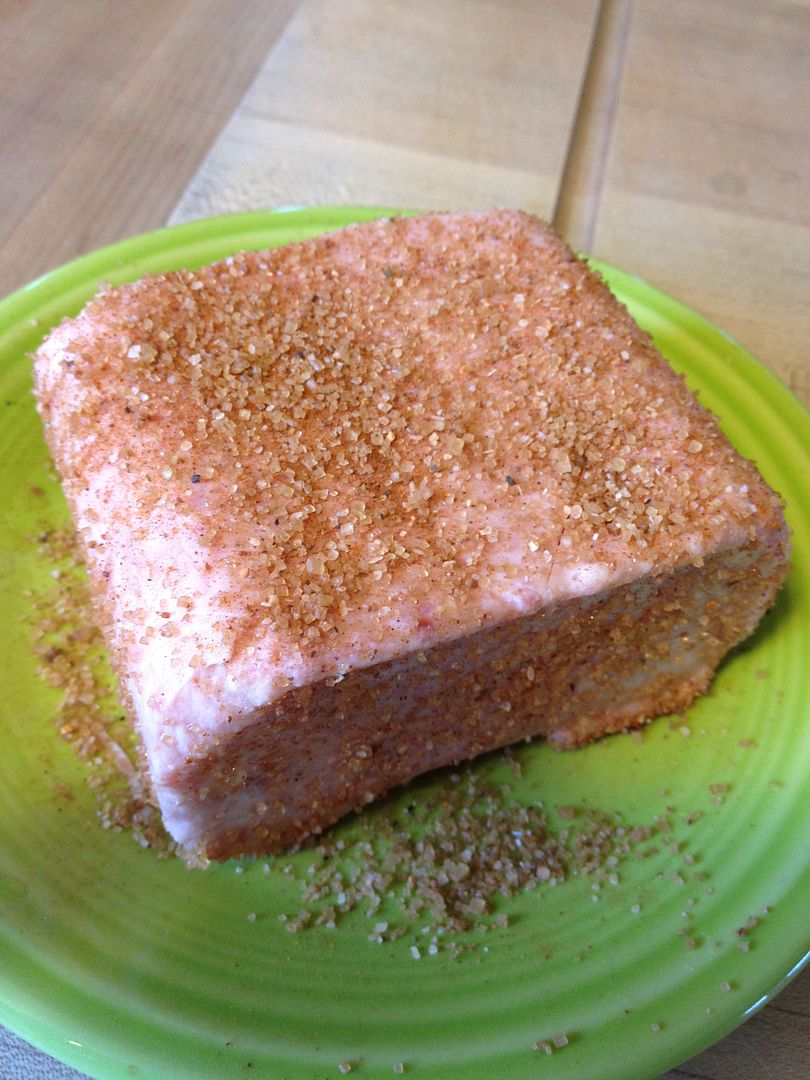
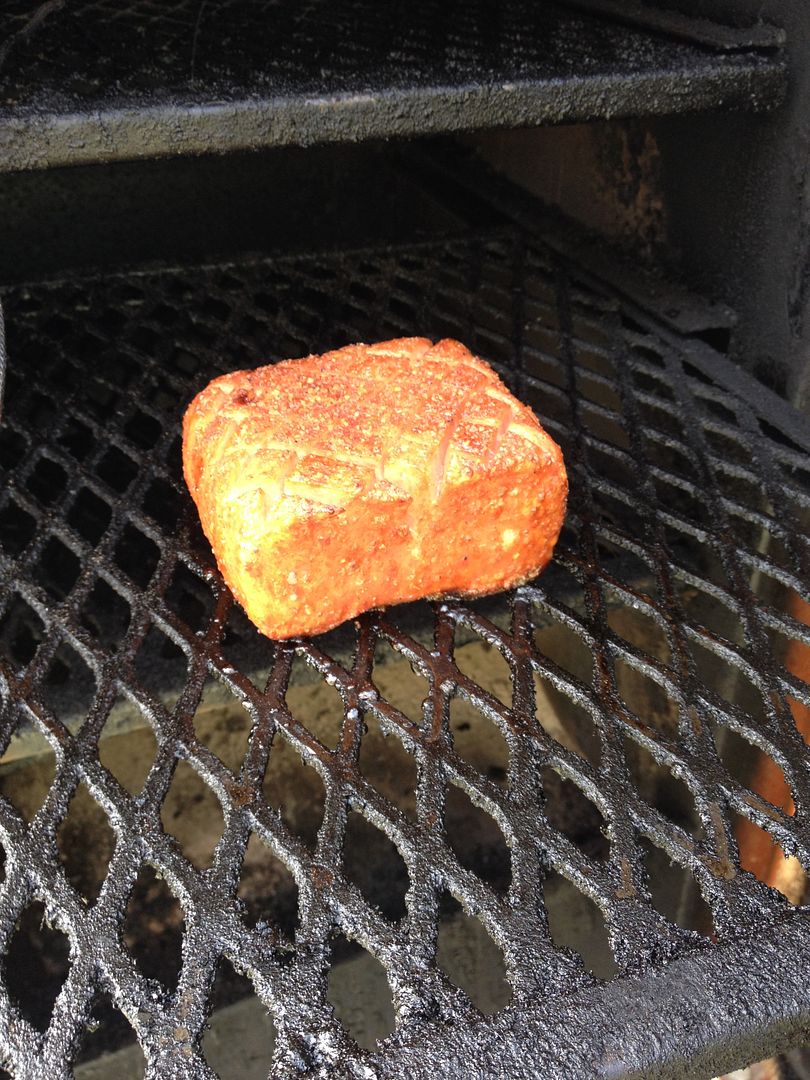
So, I took the "fillet" of processed ham goodness and scored the top with crisscross knife slices.
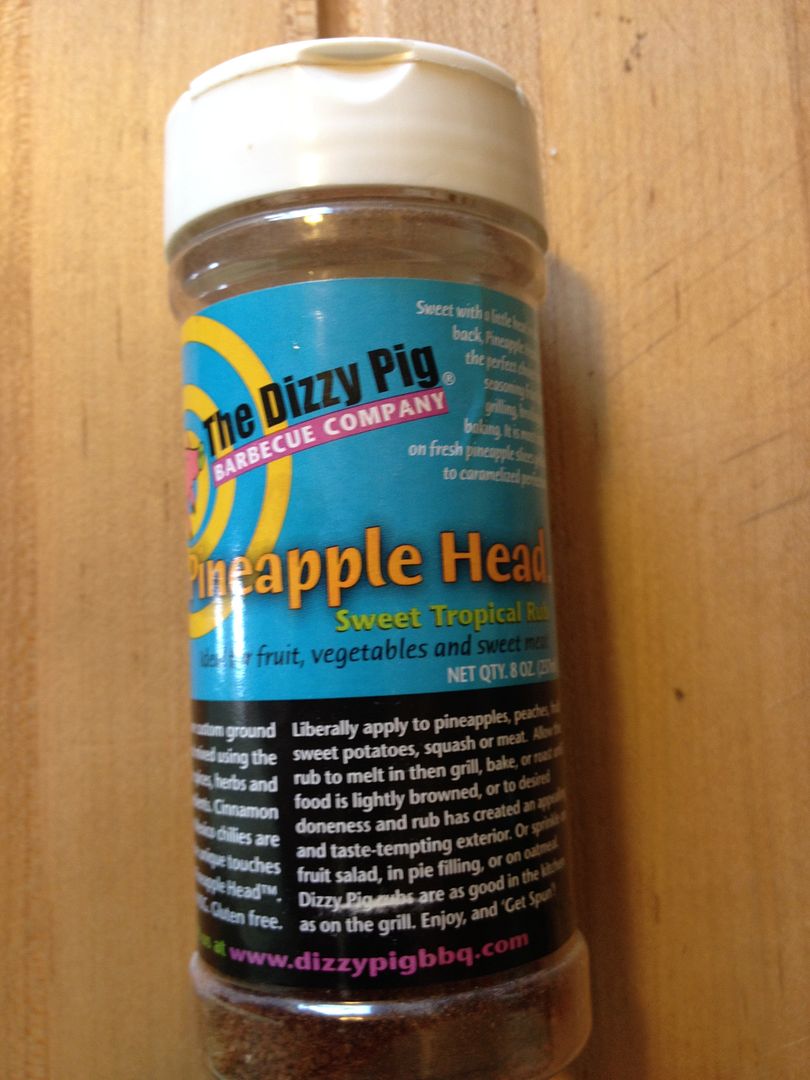
Then, for the rub, I dusted all sides of the Spam with a liberal coating of Dizzy Pig Pineapple Head rub.


Hawaiians serve their Spam with grilled pineapple garnish, so why not a pineapple rub?


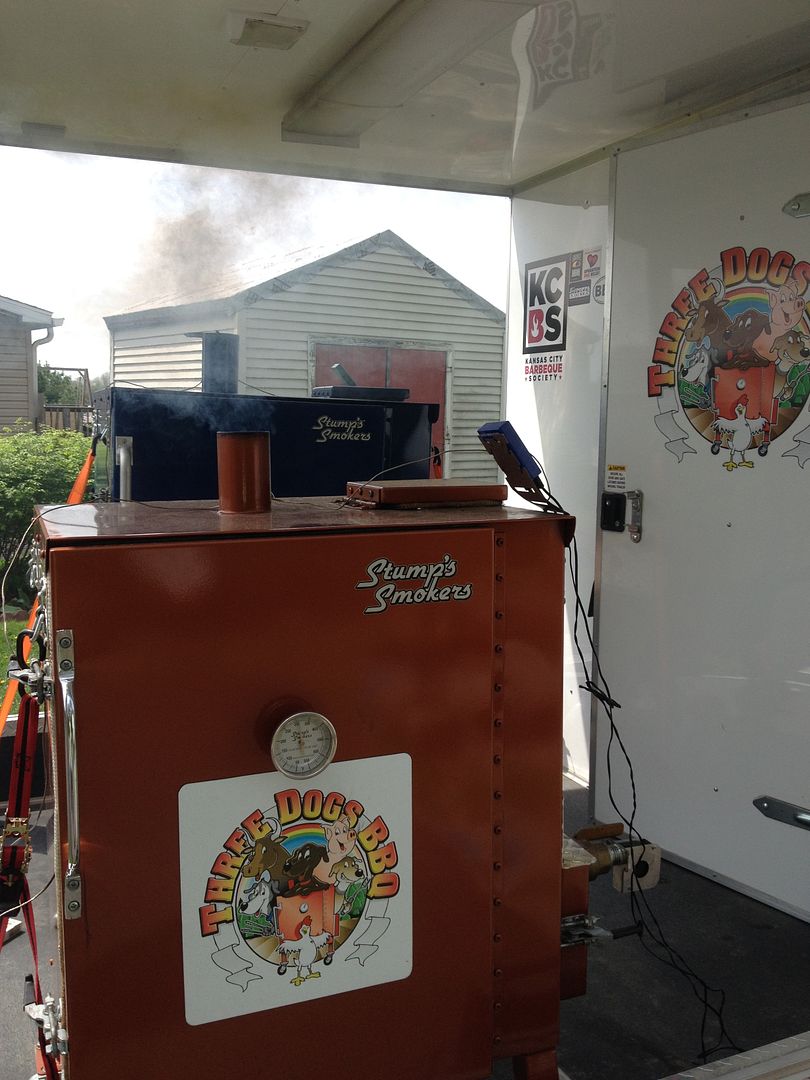
Then, I placed the Spam on the top rack of our smoker at 350 F with a piece of hickory wood in the ash pan for some smoke.

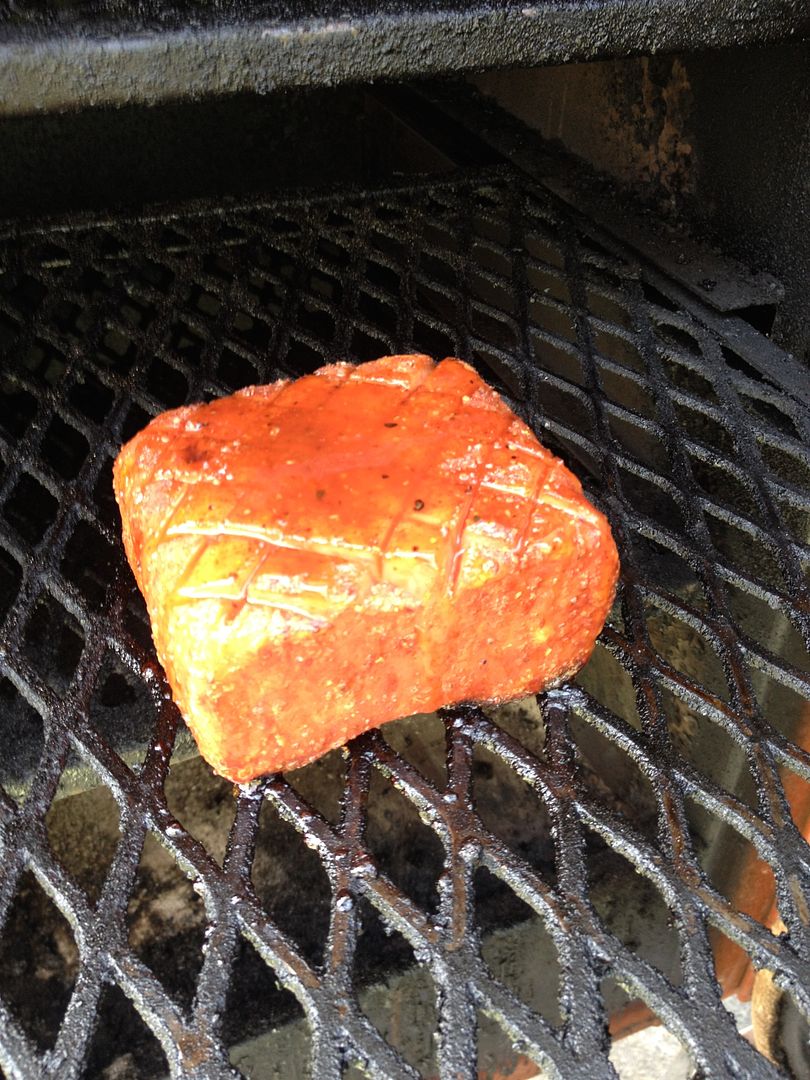
Thirty minutes later, the rub was forming a nice crust on the outside and the scored cuts were opening up, making this hunk of Spam look like a premium ham.


At this point, I squirted some Blues Hog Tennessee Red BBQ sauce on the top to glaze our Spam.


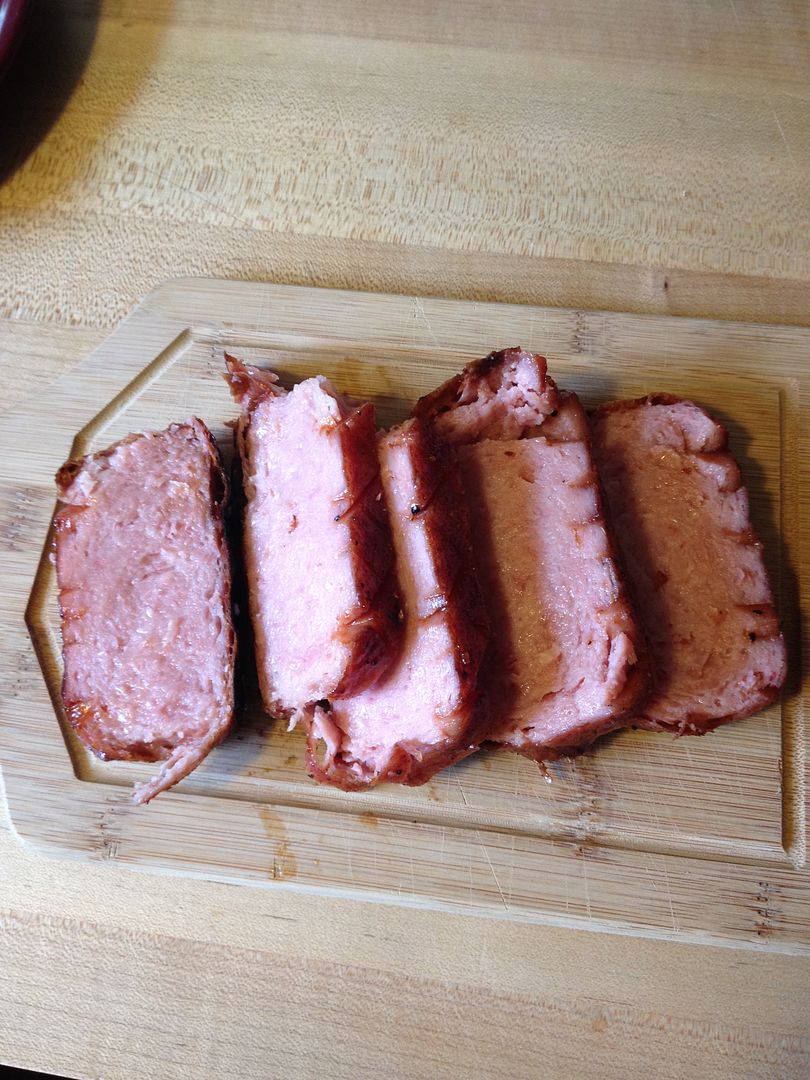
After adding the BBQ sauce, I let our appetizer cook for 15 more minutes to set the glaze.  Then, removed from the smoker, and let it rest for 10 minutes before slicing.


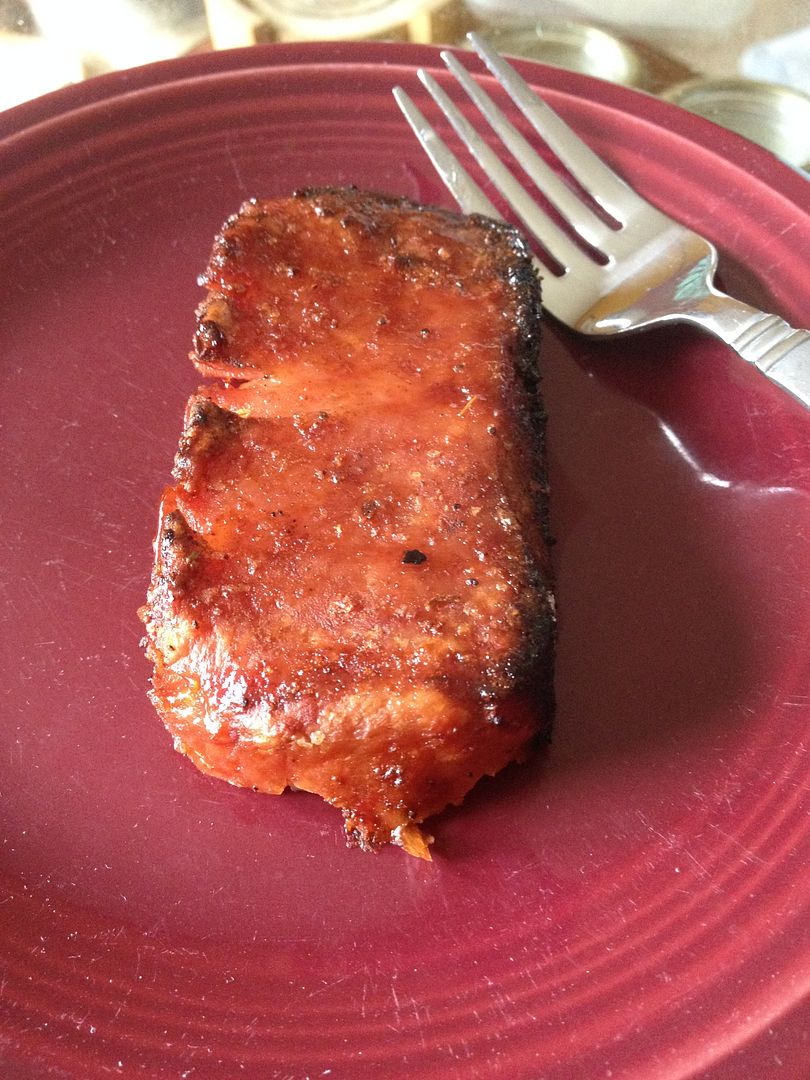
How was it?  Surprisingly good.  The heat added a nice crispy crust on the outside.  The pineapple rub and tangy BBQ sauce provided this piece of Spam with a nice acidity to counteract the fattiness of the Spam.  One negative was that I forgot how salty Spam was.  Overall though, it was good.  This is not your Mothers Spam.

Don't be afraid, don't turn up your nose.  Embrace your childhood memories and give this recipe a try.

Thanks for stopping by,

Bill
Tuesday, April 22, 2014

Brisket Burnt Ends: A Canvas for a Hearty Omelette

We are always looking for new and creative ways to deal with leftover BBQ.  This weekend, after our last practice cook for the upcoming competition season, we had a decent amount of burnt ends left over.  So, I was wondering, what can I do with these?  While they are tasty eats the next day, I was looking for something different.  After scouring the refrigerator for ideas, the contents of the frig spoke to me.  Omelettes...

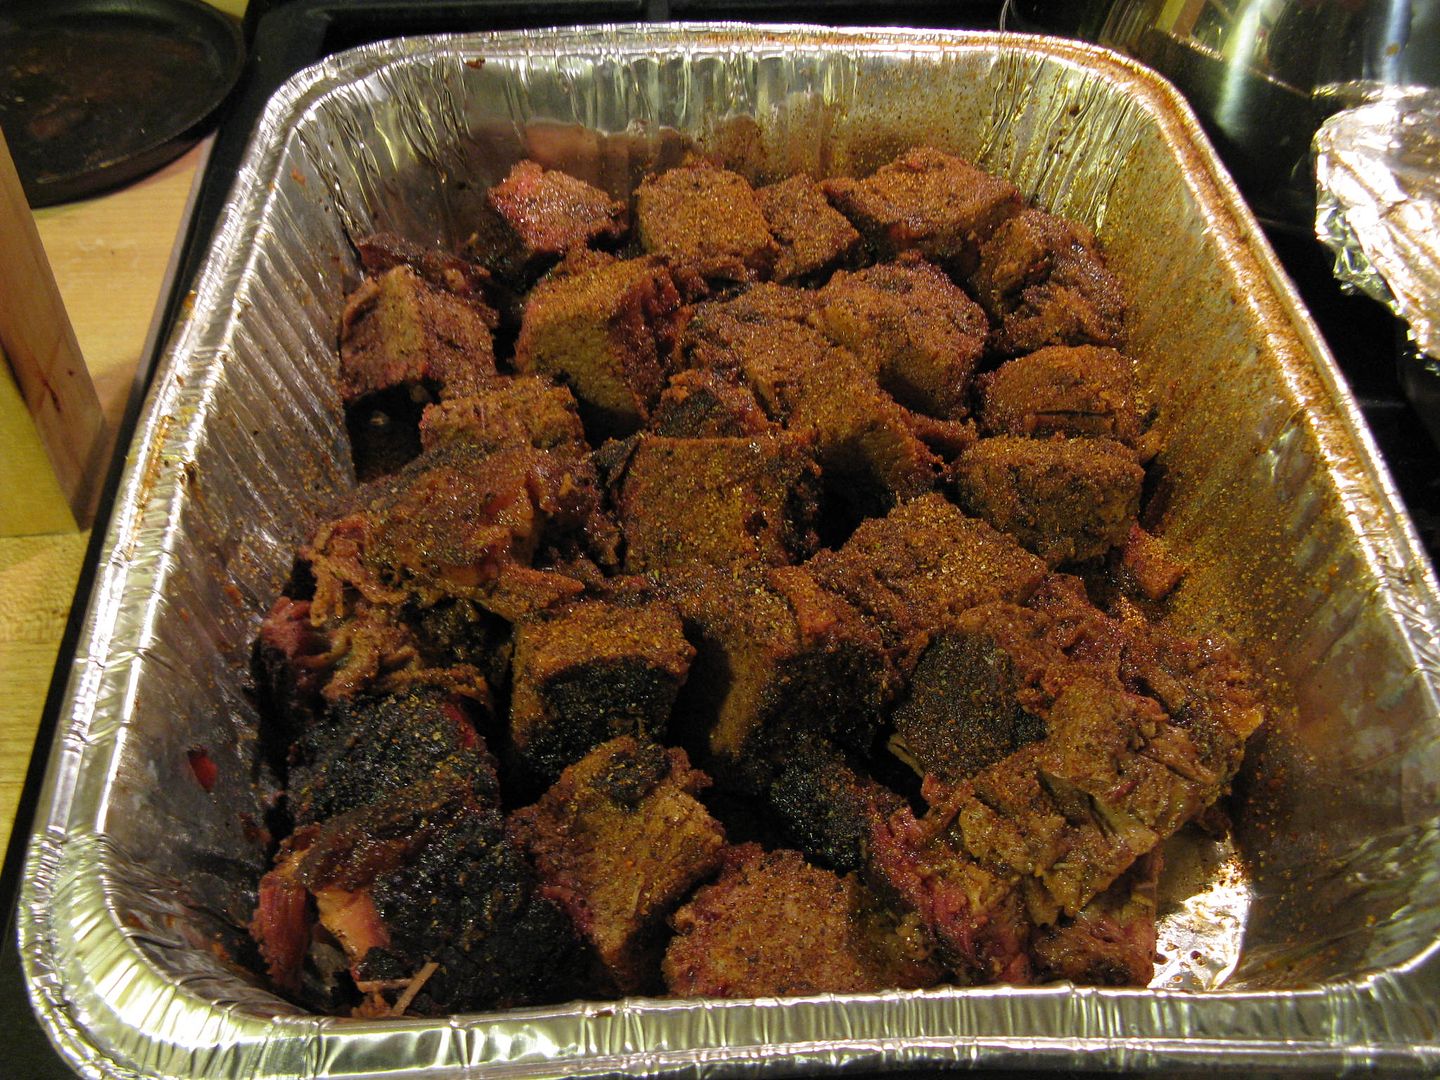
For those of you who don't know what a burnt end is, let me tell you.  A burnt end is the fatty end of the brisket (the point).  Once the brisket is cooked, the point is removed from the flat and cubed into 1/4" pieces.  The cubes are seasoned with more rub, then either BBQ sauce or the au jus from your brisket cook is added to the cubes in a pan.  Once mixed up, the pan is placed back into your smoker for another 15-30 minutes so that the rub and sauce/au jus can set and make a nice, crispy bark.   They are the best part of the brisket in my opinion.


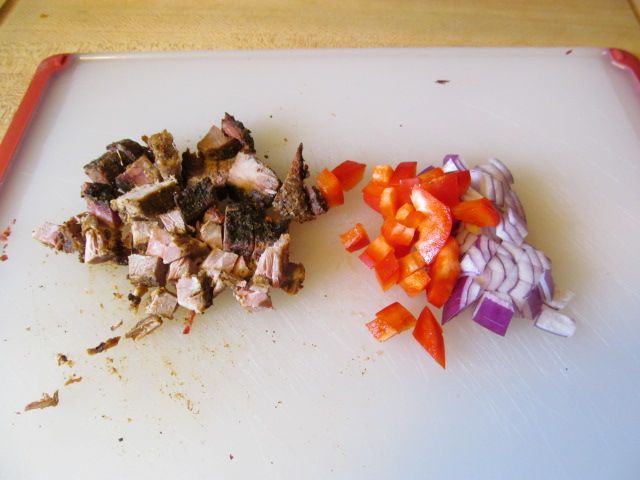
To start, I cubed some burnt ends, along with some red onion and sweet red pepper.  As an afterthought, I added one fingerling potato, finely diced.


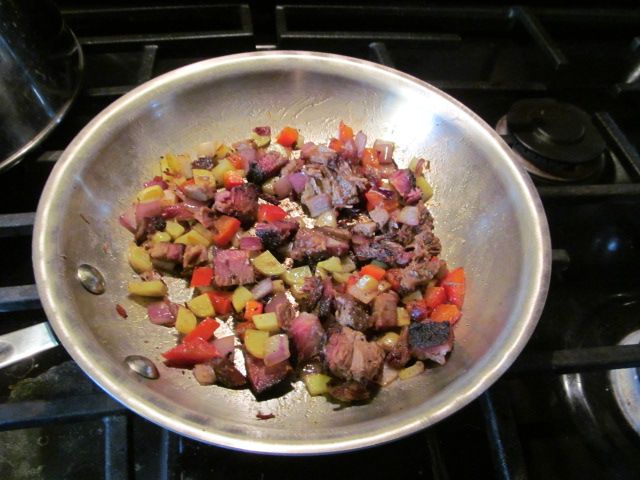
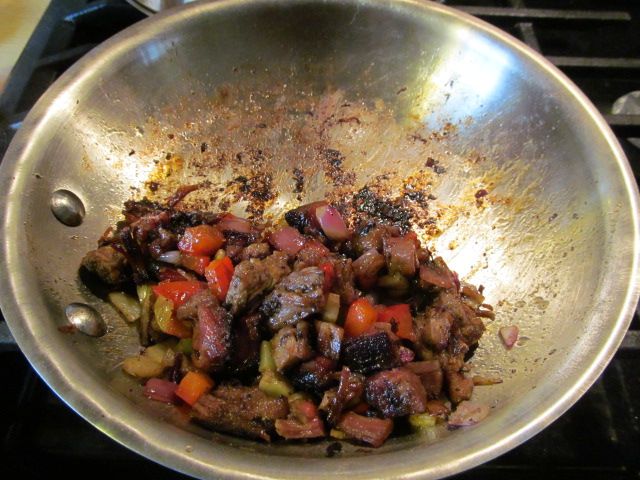
I place the above into a sauté pan with just enough olive oil to prevent sticking and to promote caramelization of the pepper and onion.  I sautéed on low for about 10 minutes, stirring occasionally, until I had the level of caramelization I desired.


I removed from the heat and added one tablespoon of Blue Hog Tennessee Red BBQ sauce for a bit of tangy flavor.  Then, I set aside.


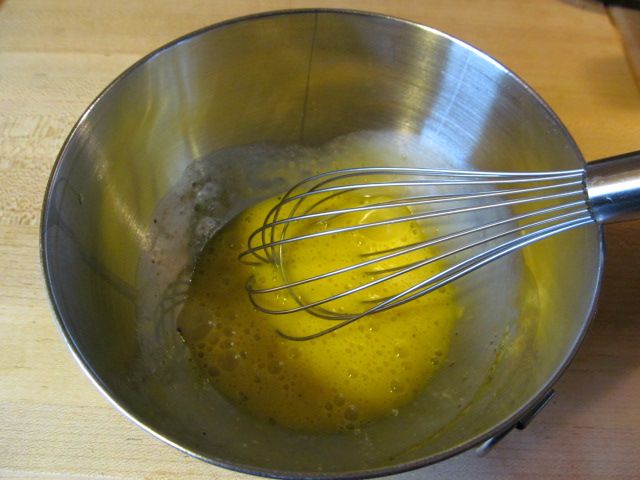
Next, I whisked two eggs and seasoned with salt and pepper.


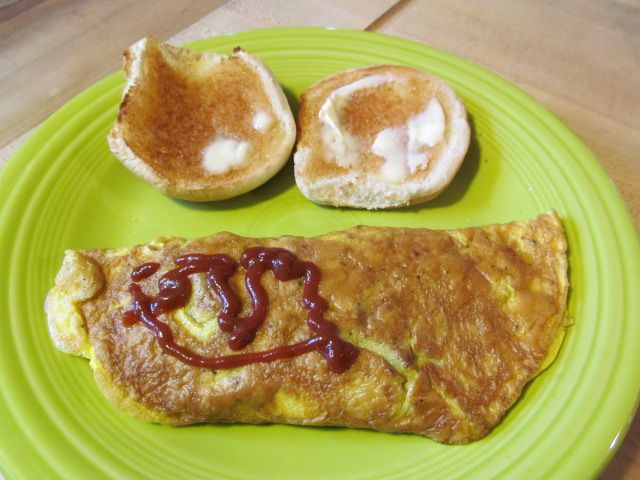
Add your beaten egg to a heated pan that has been sprayed with cooking spray.  Once the egg starts to firm up, add your burnt end filling and top with the cheese of your choice.  Flip your omelette over in half, then flip the half over to finish cooking the other side.

I served with sriracha sauce on half of my omelette for a little spice.


Breakfast for dinner is the best.  This was outstanding.  The burnt ends mingled nicely with the caramelized onion and pepper.  The Blues Hog added the right amount of acid as a counterbalance to the fat in the beef.  Finally, the potato added just the right amount of crunch.  I would highly recommend that if you have some leftover burnt ends in your future to give this a try.

Thanks for stopping by,

Bill
Wednesday, April 2, 2014

Smoking a Duck: Don't be Afraid of the Quack

A week ago or so, Hope was off for a week visiting old friends.  So, along with the youngest, we took the opportunity to throw some pieces of meat on the smoker that we cannot do when Hope is around. These types of meat would be those that fall into the "Too Cute to Eat" category.  Our first experimentation was with a smoked duck.

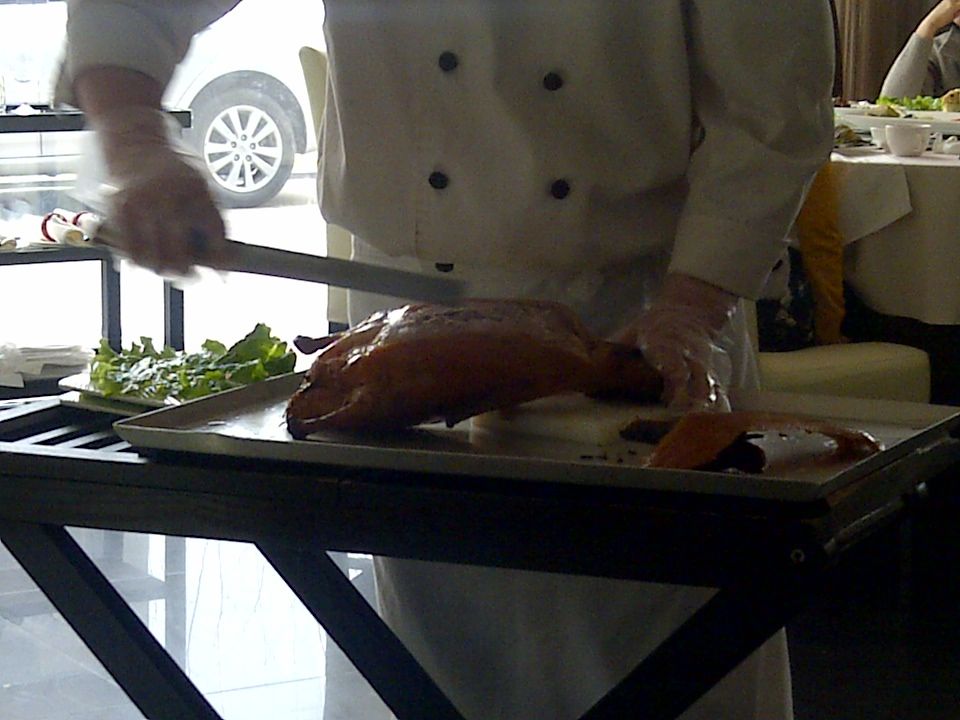
Duck, cooked perfectly, is a treat.  The best duck I have ever had was at a restaurant in Beijing that specialized in Peking Duck.  Roasted to perfection, juicy on the inside, crispy on the outside, and sliced thin.  Served with steamed buns, vegetables, and dipping sauces, it is a culinary delight.


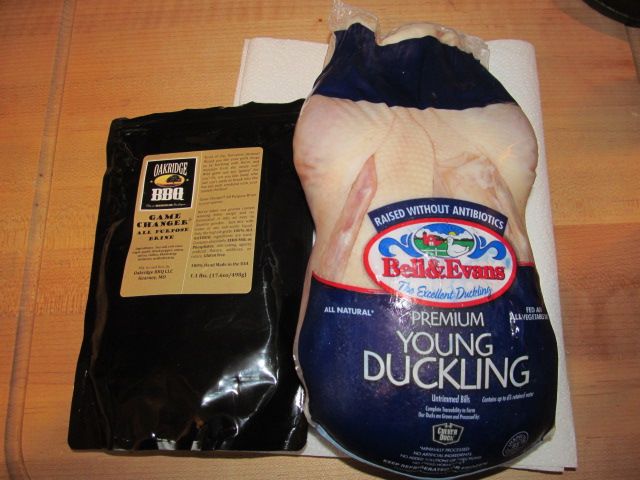
So, off to the store for a nice, farm raised duck.


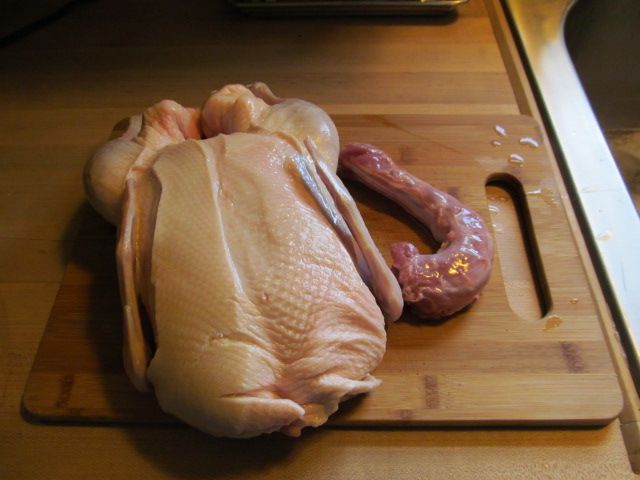
I took the young duckling out of the package, removed the neck and liver from the cavity, rinsed well, patted dry, then placed into a batch of Oakridge Game Changer Brine for a six hour swim.


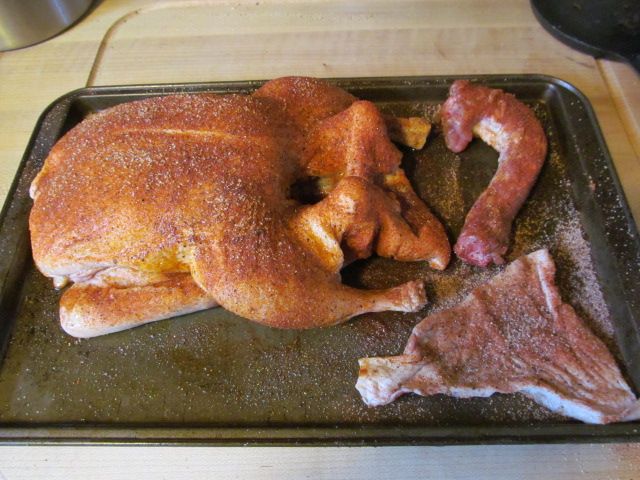
After the brining, I rinsed the duck and patted dry.  Then, I massaged olive oil all over the outside and sprinkled some Oakridge Game Bird and Chicken rub all over the skin and inside the body cavity.


Just a quick note on the rub.  I love the smell and flavors with this rub.  Chilies, onion, and garlic are balanced perfectly with coriander and mustard powder.  Good stuff.  Just the right amount of sweet heat.  I highly recommend with any game bird or your stand issue yardbird.

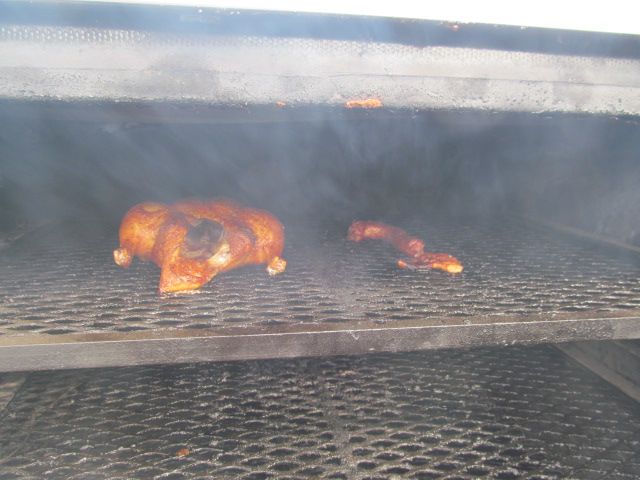
I brought the smoker to 350 F and placed some pecan and apple wood in the ash pan.  Then the duck went on the top rack.  Here it is after an hour on the smoker.  The smell was intoxicating.


Once the temperature in the thigh was at 155 F, I glazed with the following:

1/2 cup of Blues Hog Tennessee Red BBQ sauce
1/2 cup of orange juice
1 Tbsp of Soy Sauce
1 tsp of sesame oil
Heat to a simmer and reduce until it starts to get thick.  I was going for Asian/American BBQ fusion.

I brushed on the duck twice in the last 30 minutes of cook time so that the glaze could set.  Then, I pulled the duck at 160 F and let rest for 15 minutes.


How was it?  The rub was great and paired nicely with the sauce.  The meat was tender and juicy and not as fatty as people say duck can be.  I think that cooking on an open rack allowed the fat to drain while cooking.  The skin was not as crispy as I would have liked.  The next time I will poke the skin liberally and scald in hot water.  This is recommended to help promote crispy skin.  My biggest issue was with the amount of meat.  The duck was quite bony and did not yield as much meat as a chicken of the the same size would yield.  This duck was only enough for two.  If you had more people for dinner, you might be cooking a chicken.

Overall, the taste was great.  I am looking forward to smoking another one of our feathered friends.

Thanks for stopping by,

Bill
Tuesday, March 25, 2014

I've Got a Bone to Pick with You...

As a matter of fact, I have a few dozen bones to pick with you.  Time for some rib practice for the upcoming season.


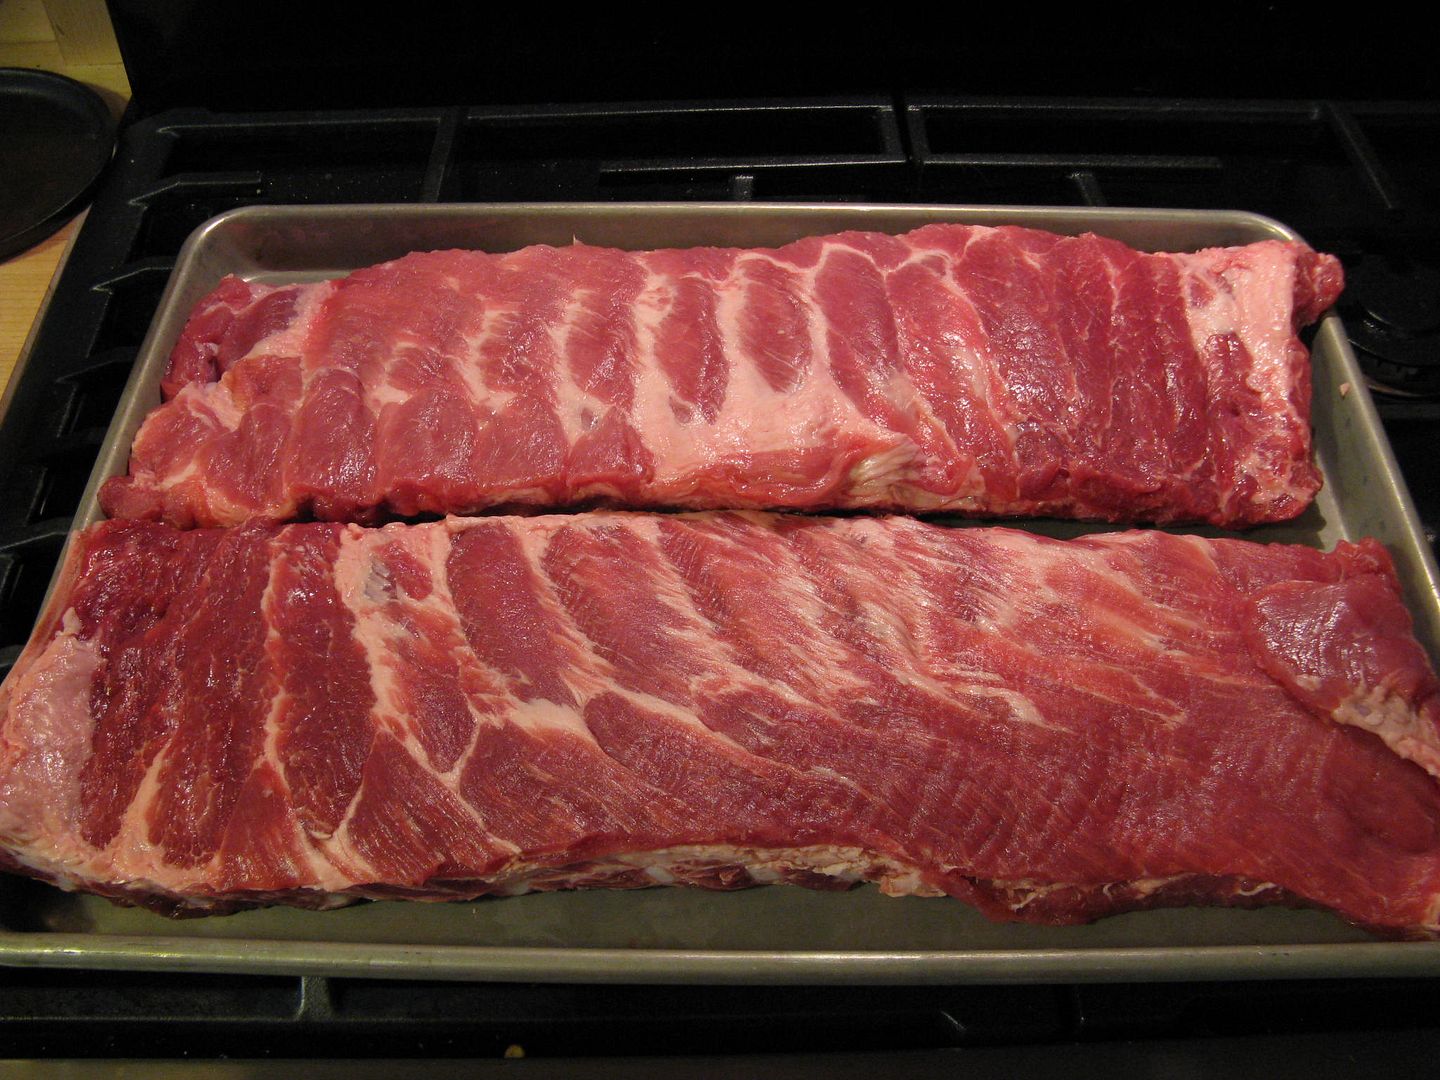
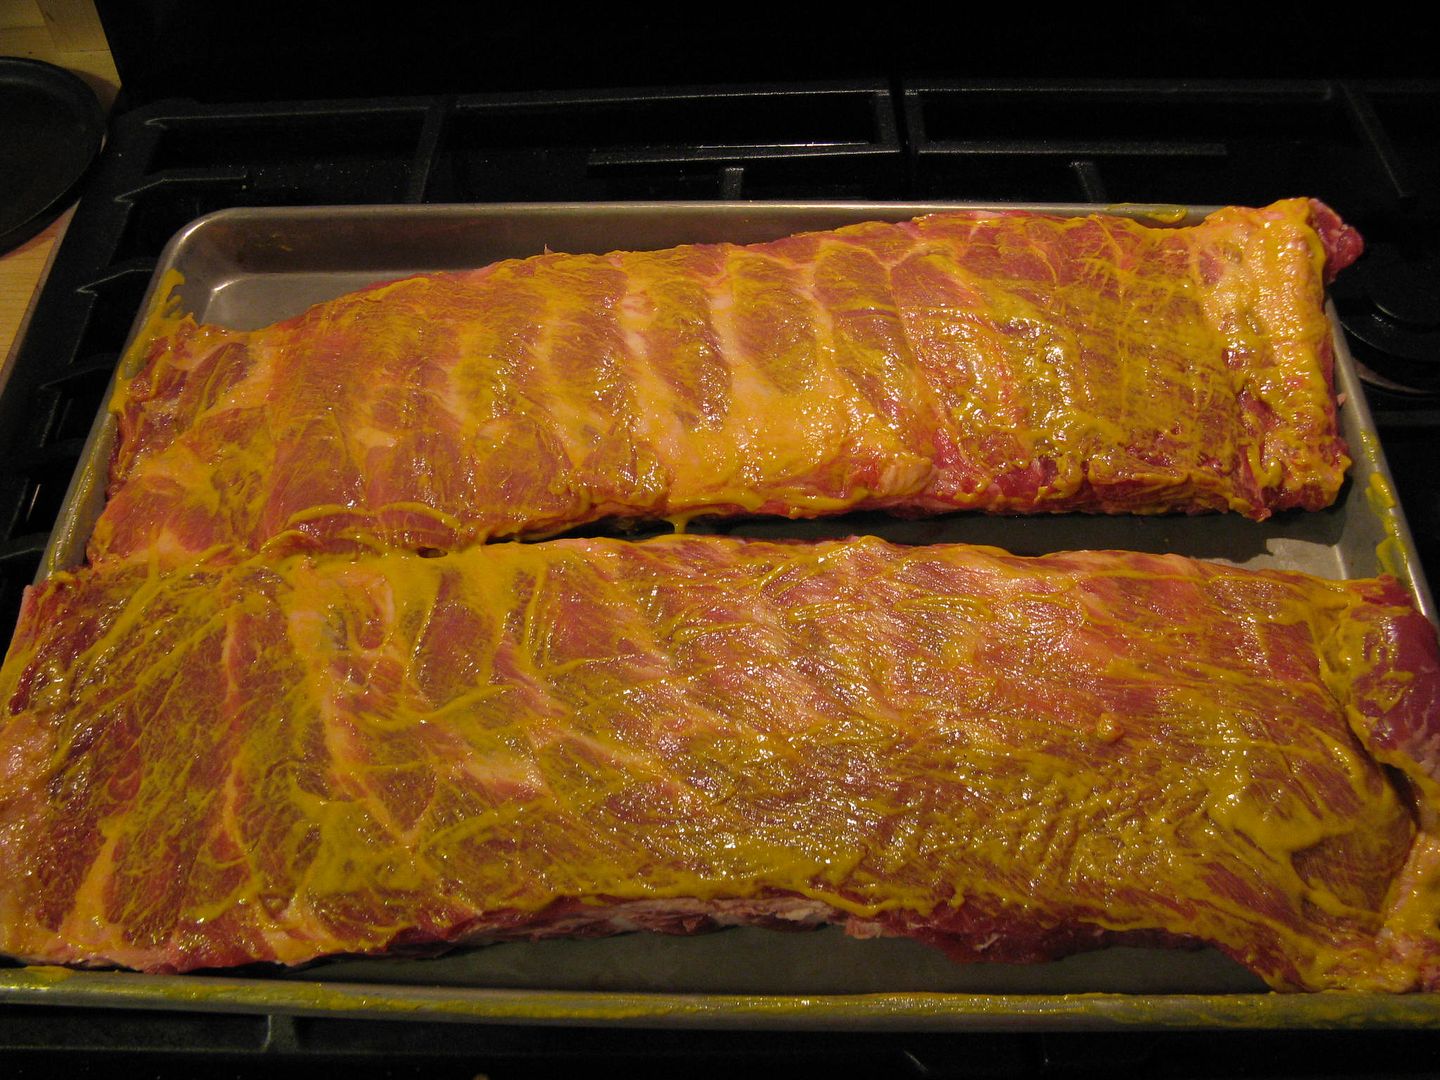
As you can see, we picked up some beautiful looking St. Louis spares from our butcher, Dave's Country Meats in Valencia, PA.  We trimmed them up nicely and started with seasoning.

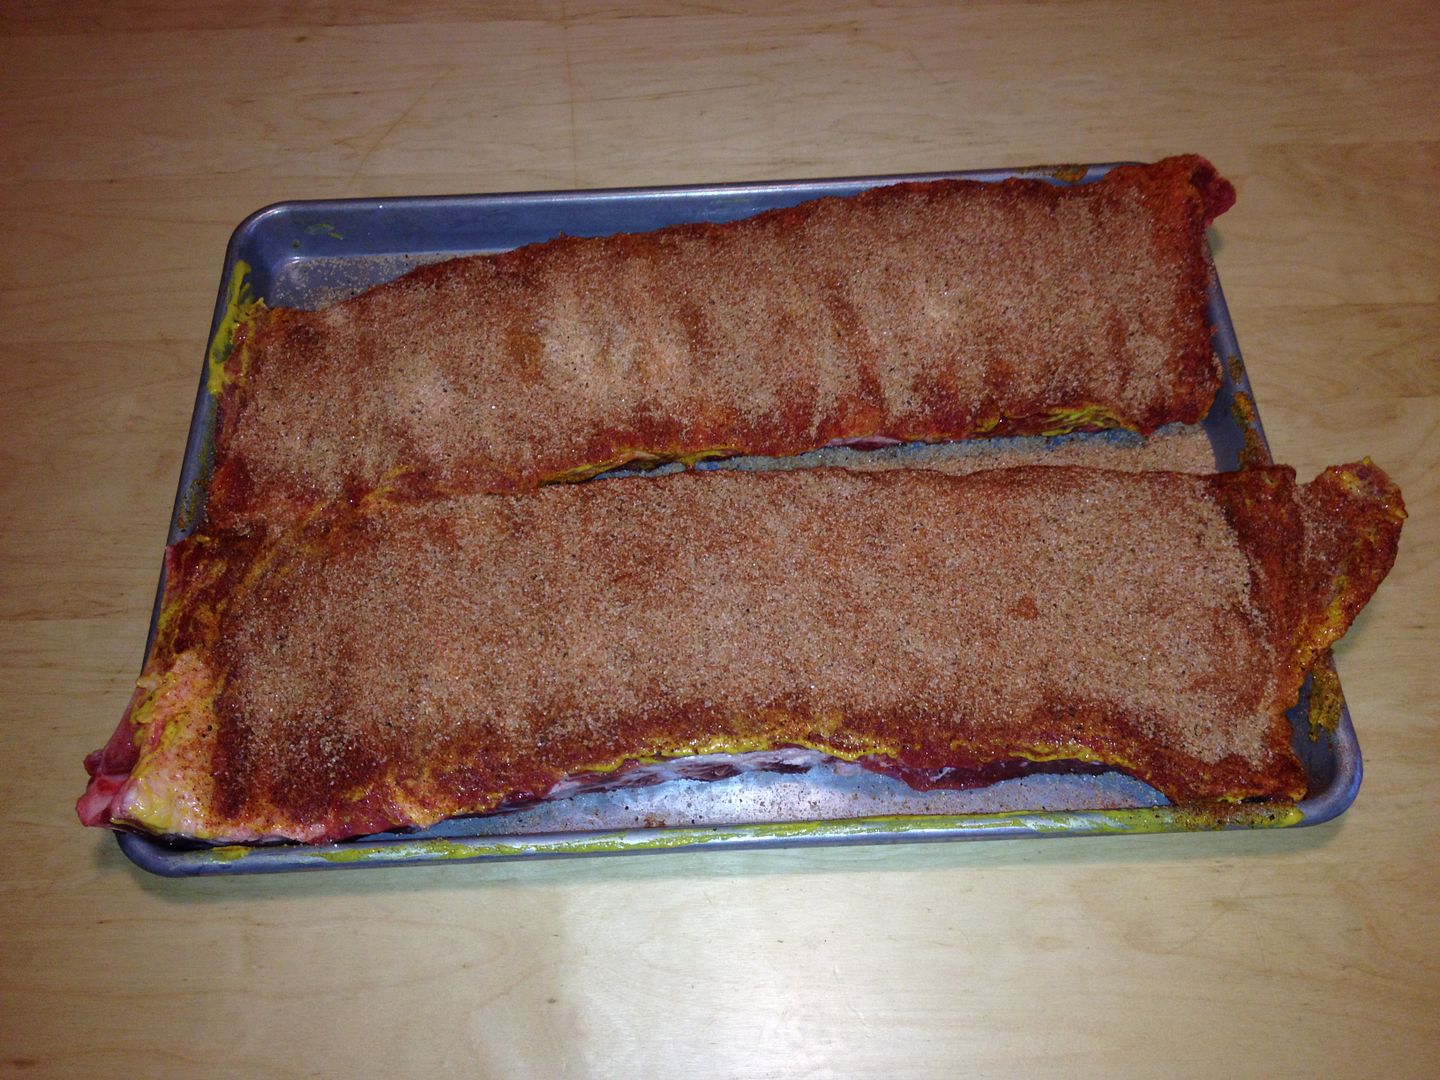
First, we slathered some yellow mustard on the front and back, then rubbed both sides with 1 cup of Oakridge Secret Weapon Chicken and Pork rub and 1/2 cup of turbinado sugar.  Then, we allowed the racks to sit and come up to room temperature while we brought the smoker up to 225 F.


Ribs are our nemesis.  They kept us from at least a top ten at Oinktoberfest last September.  Most of the time, it is a combination of taste and tenderness.  One, they are not sweet enough.  Two, we have tenderness problems.  So, for this cook, I wanted to see how long it would take to get the ribs cooked without foiling.  I decided on a six hour cook time.  So, when the smoker was up to temperature, I put a mix of pecan, apple, and hickory in the ash pan, placed the ribs on the top rack of the smoker, and walked away.  After two hours, I added more wood.  After three hours, I rotated the ribs in the smoker.  Then, after five hours, I started my glazing:

1 cup of Blues Hog Regular
1/2 cup of honey
4 Tbsp of Blues Hog Tennessee Red

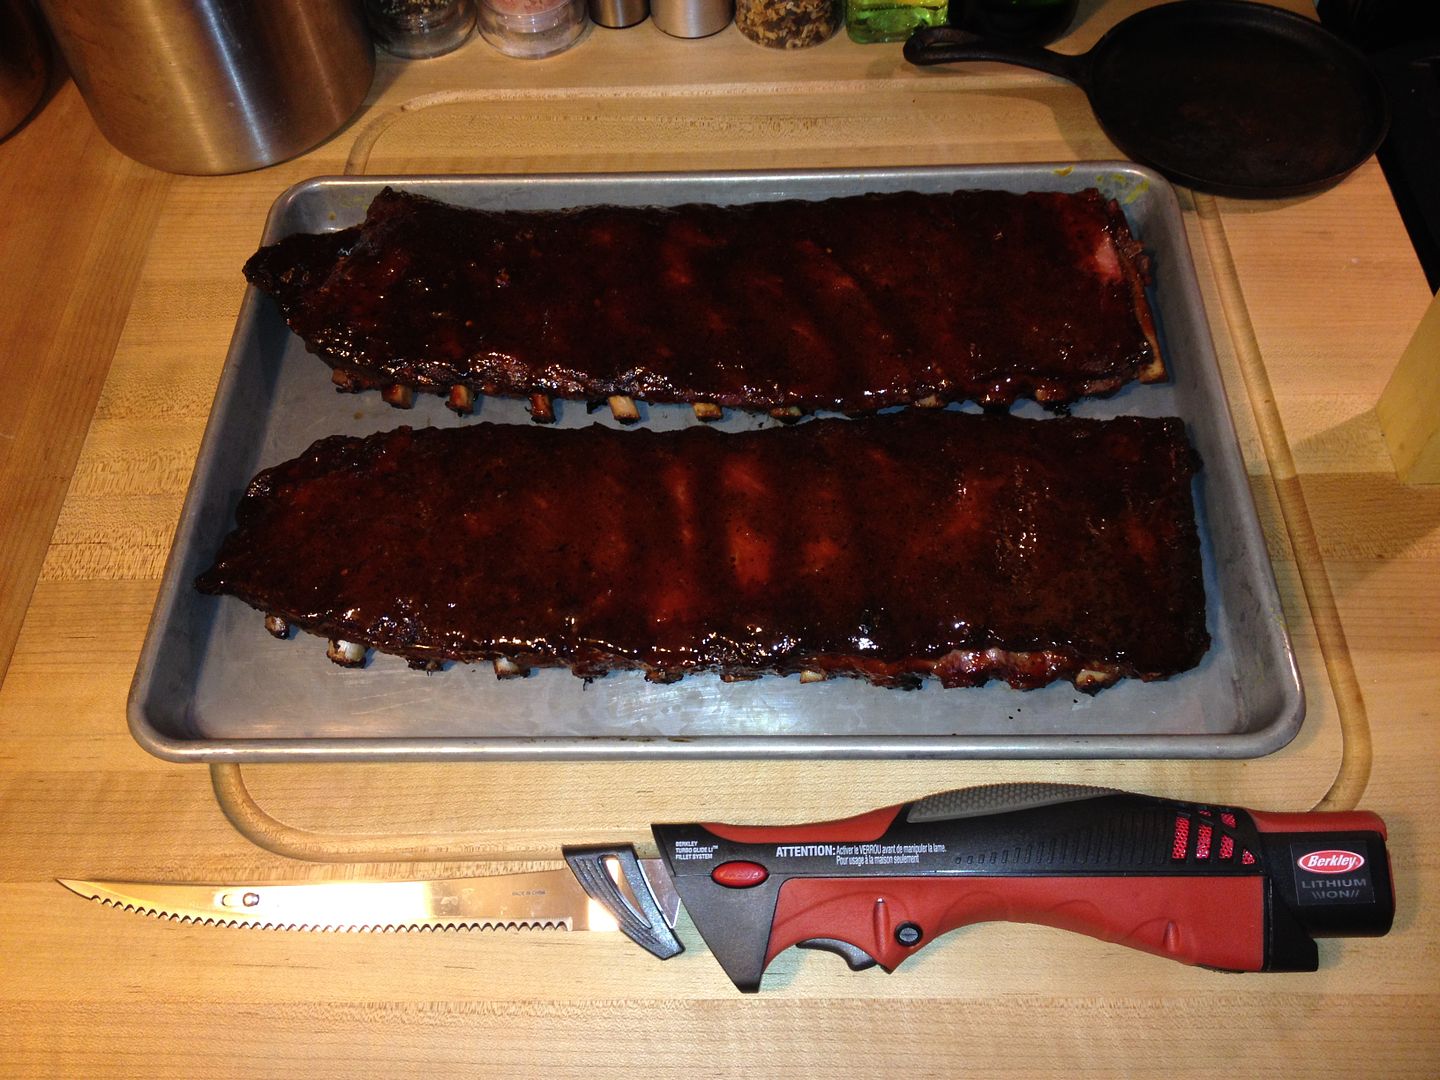
After the first application of sauce sat for 30 minutes in the smoker, I added a second coat and let the ribs go for 30 more minutes.  Then, I pulled them and let them rest for 15 minutes before slicing.


Chilebrown, does the knife look familiar?  Great call.  I love it.  But, I digress...

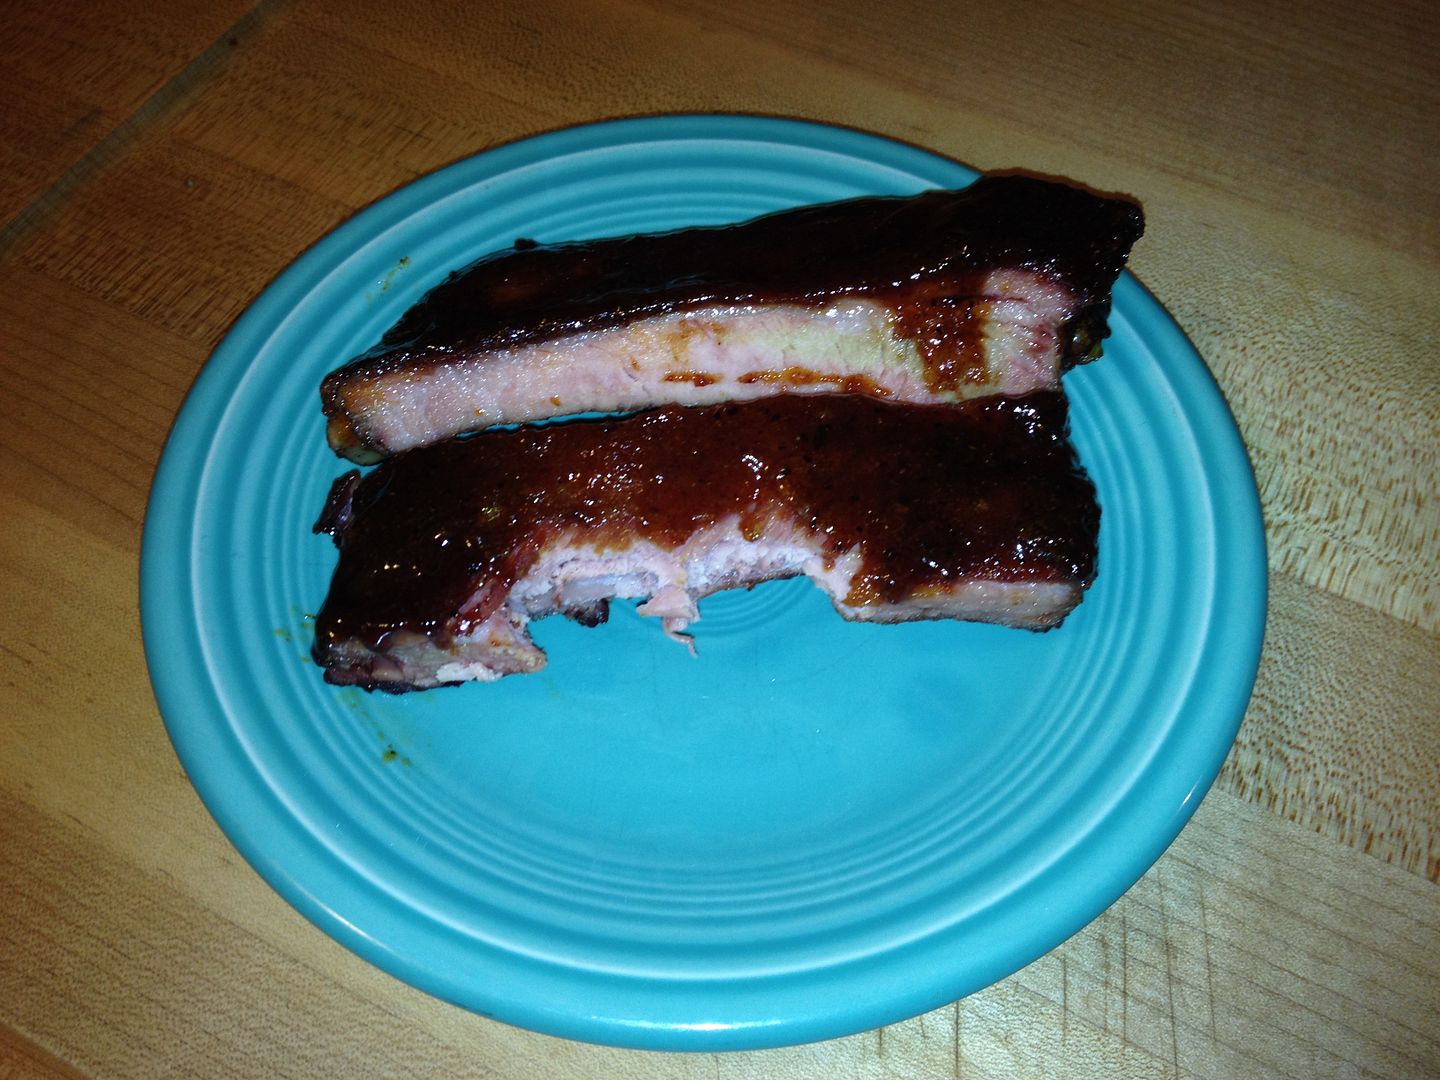
Here they were after slicing.


Nice, bite on the meat.


The flavor was there, but I do need to add a bit more sweet.  As for the tenderness, the ribs were good, but had just a bit too much tug.  Next time, I am going to cook for seven hours and see how they turn out.  

Thanks for stopping by,

Bill
Tuesday, September 10, 2013

Pork Belly Burnt Ends

I've been wanting to try this one for awhile: making burnt ends with fresh, uncured, pork belly.  I was hoping to get a nice, thin layer of crispy skin with melt in your mouth pork flavor.  How did we do?  Well, here are the results.

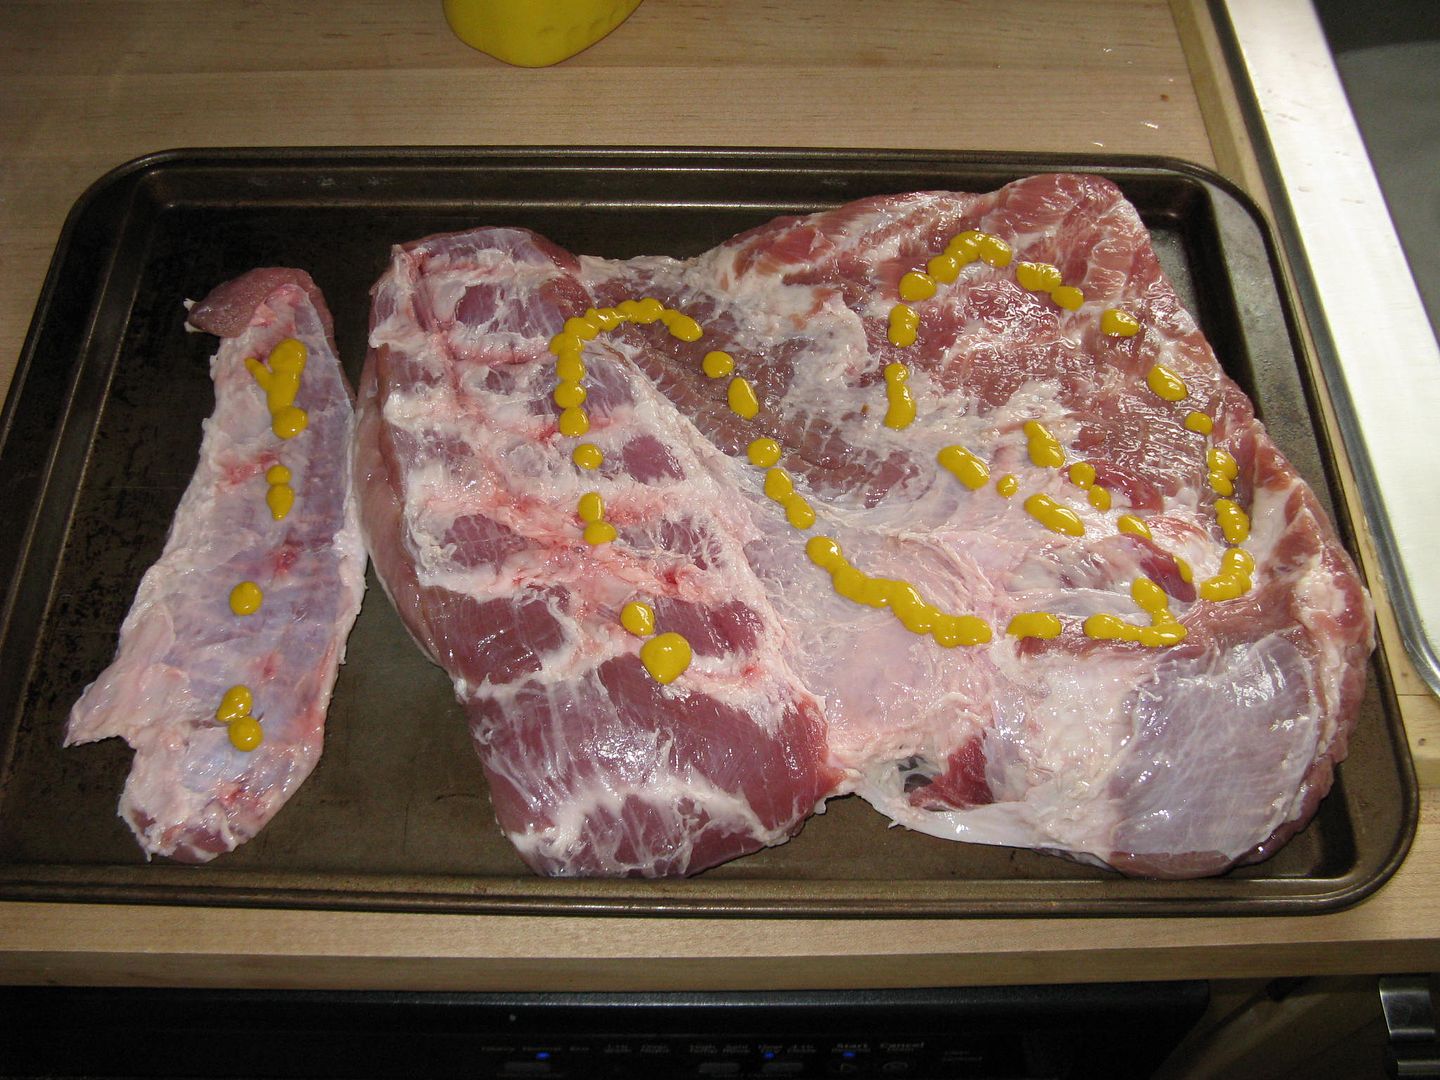
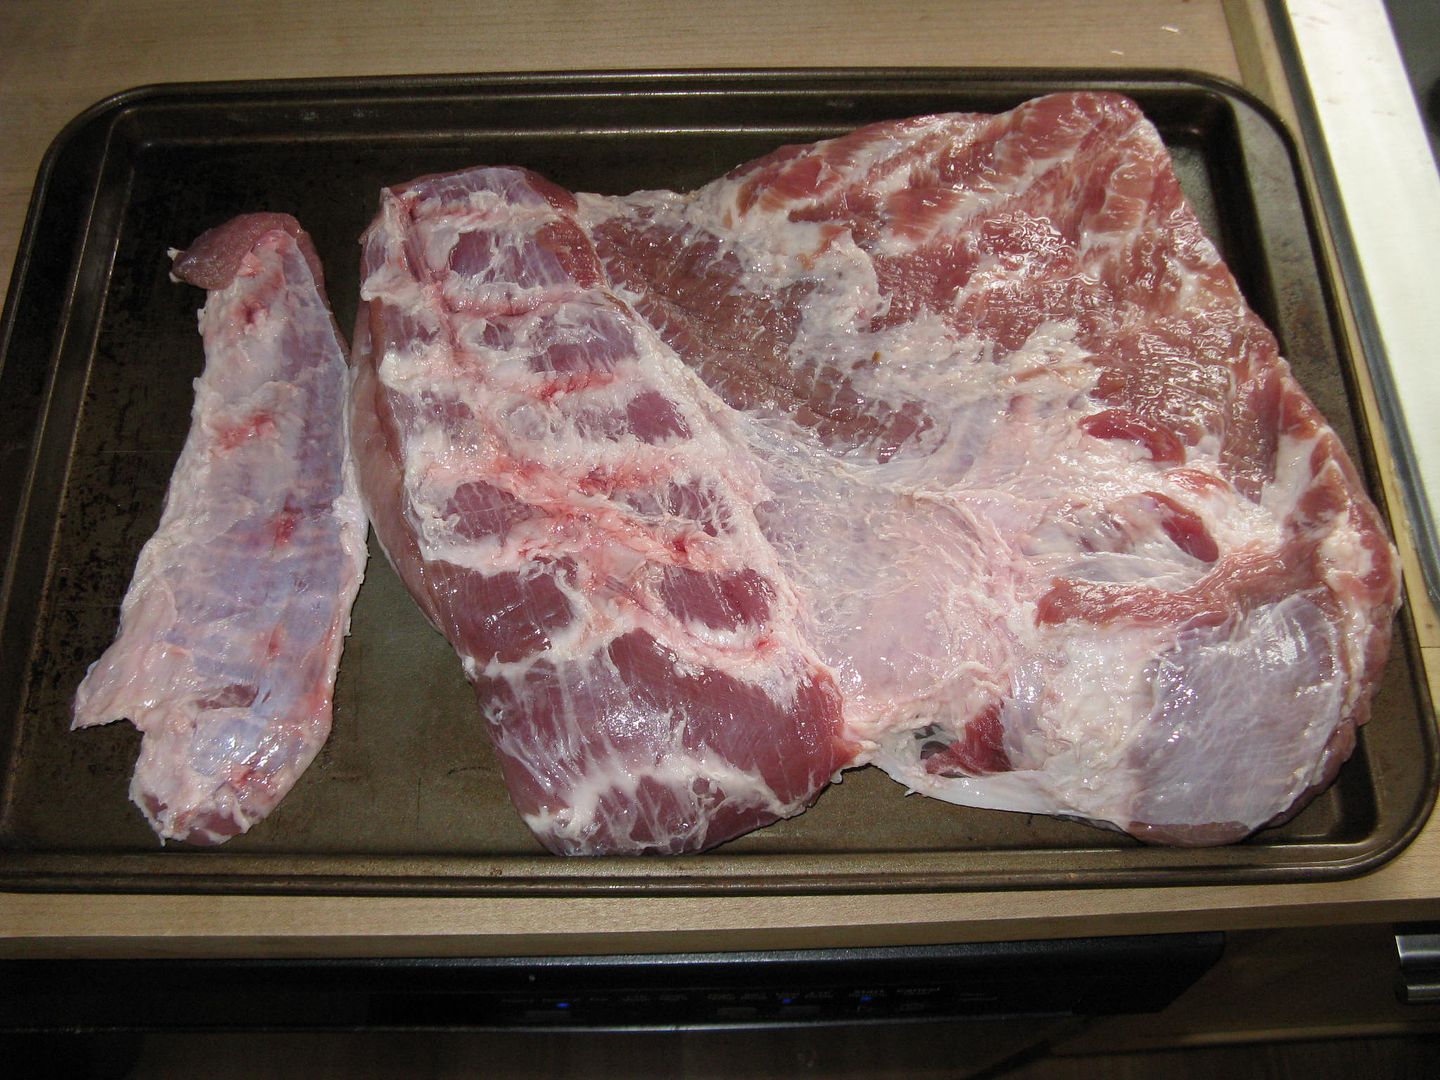
First, I took at pork belly that was about 3.8 pounds.  I trimmed the back to even out the meat.  Then I slathered in yellow mustard and dusted both sides with Oakridge Secret Weapon Pork and Chicken rub.


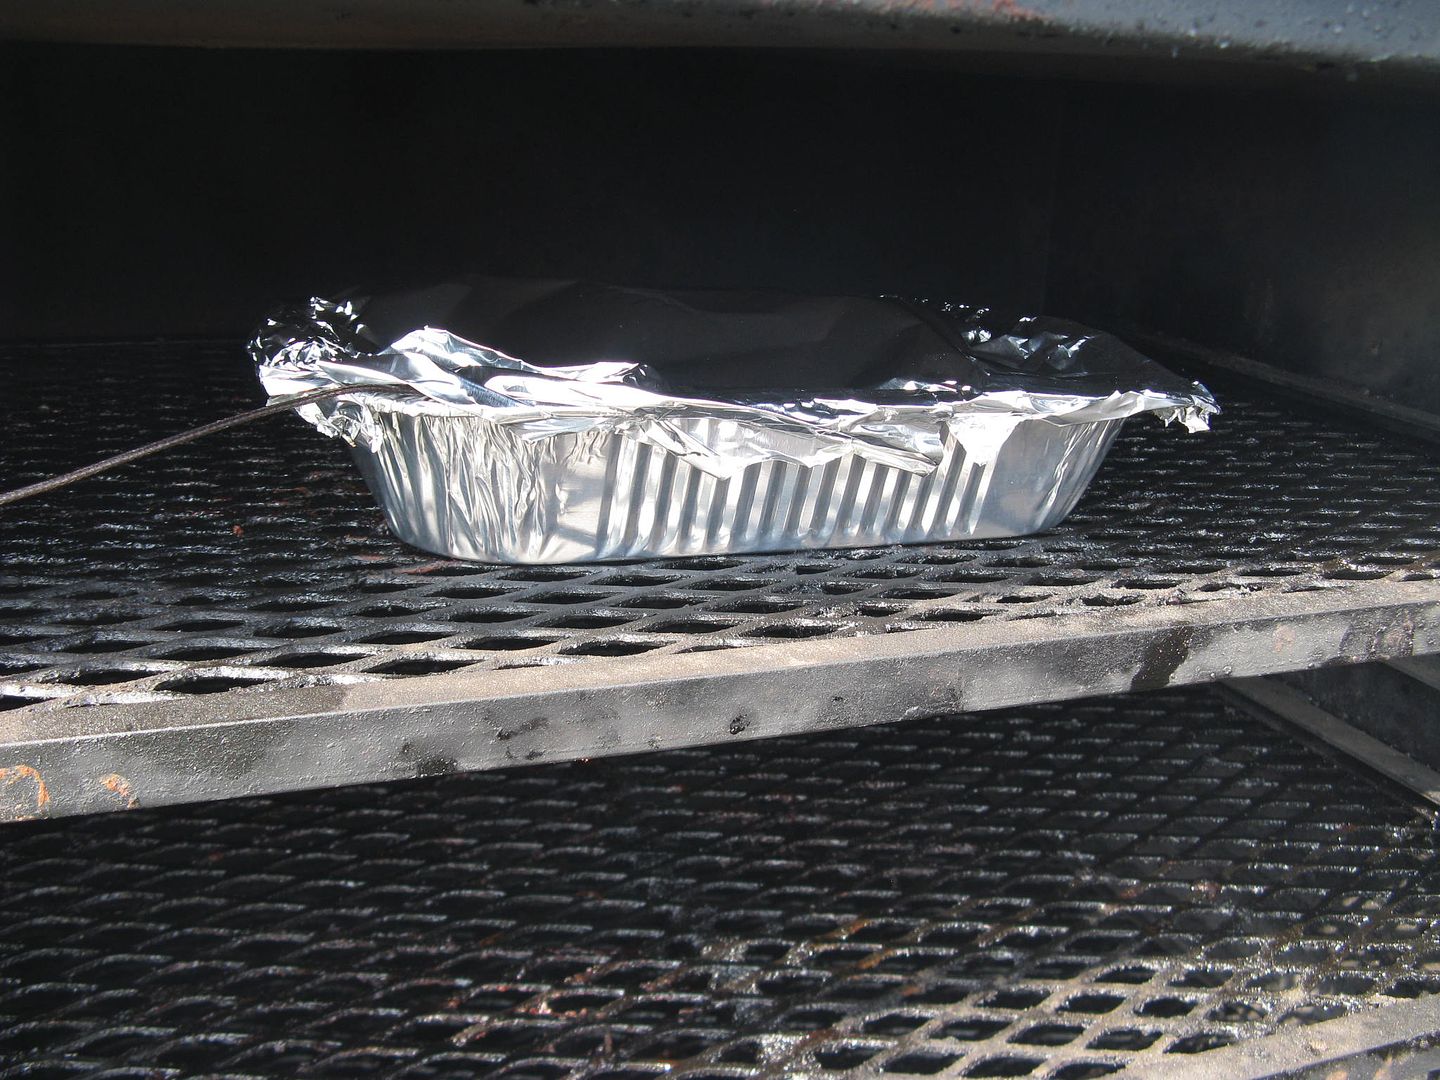
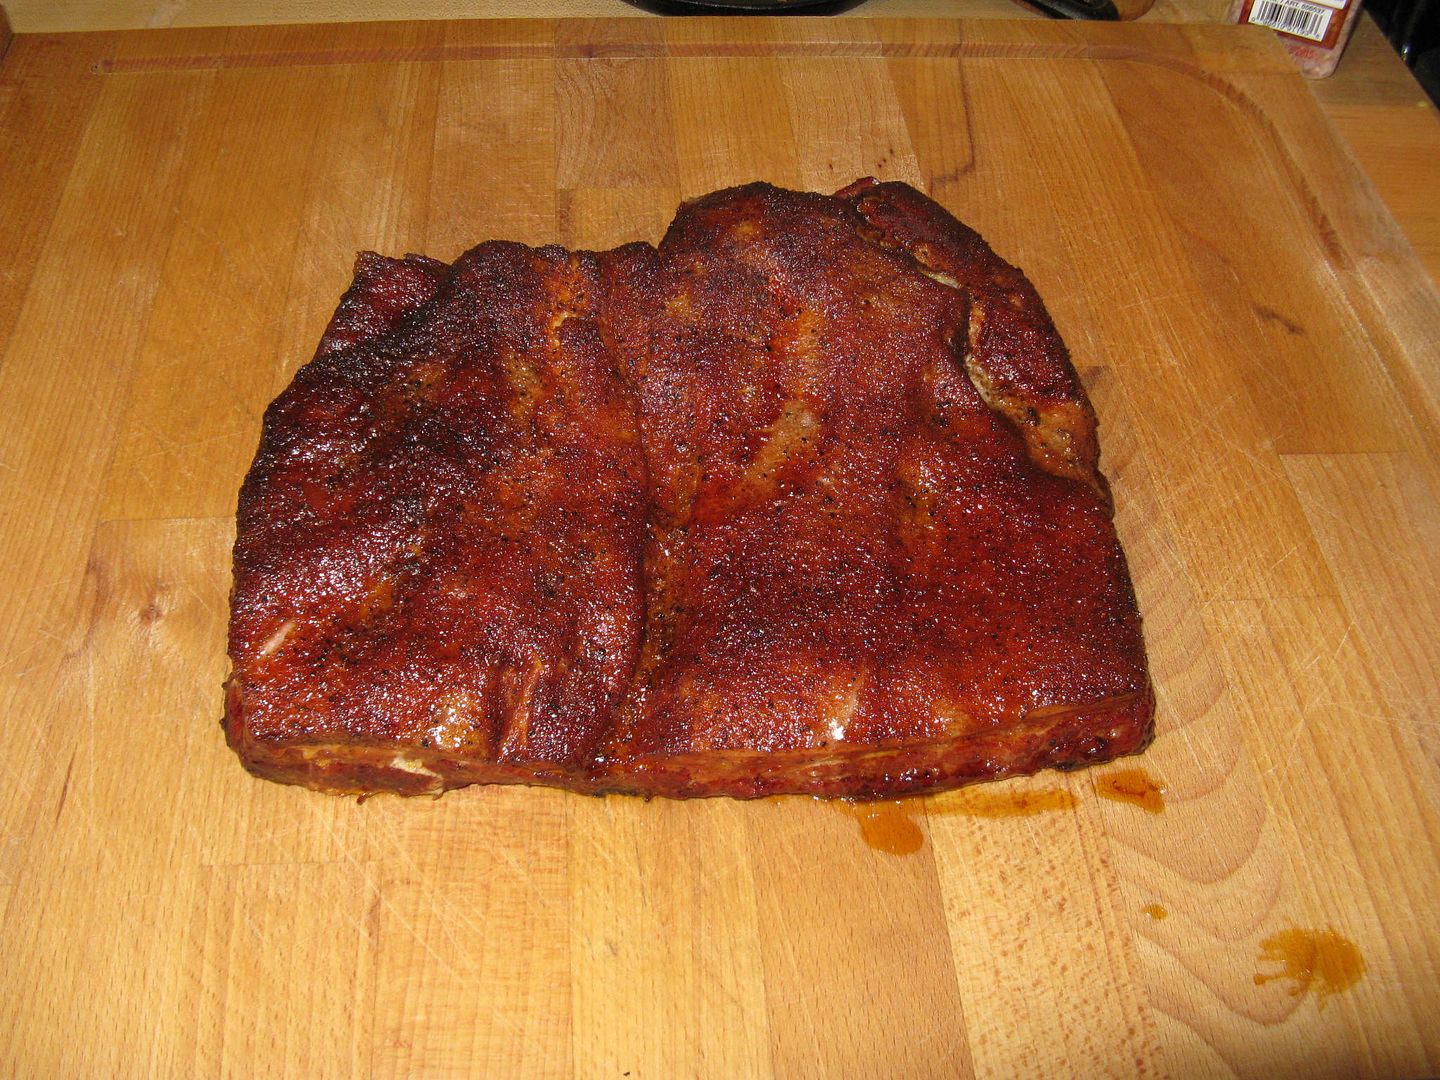
I then let the rubbed belly sit on the counter while I fired up the smoker and brought to 250 F for smoking.  For smoke flavor, I added apple, hickory, and pecan wood into the ash pan.  Once the temperature stabilized in the cooker, I placed the belly on the top rack and cooked until it reached 175 F internal temperature.  Then I placed in an aluminum pan and foiled tight. Here is what the belly looked like at 175 F, just before it went in the foil pan.  It took about 3 hours to reach this temperature.


In the pan getting happy.


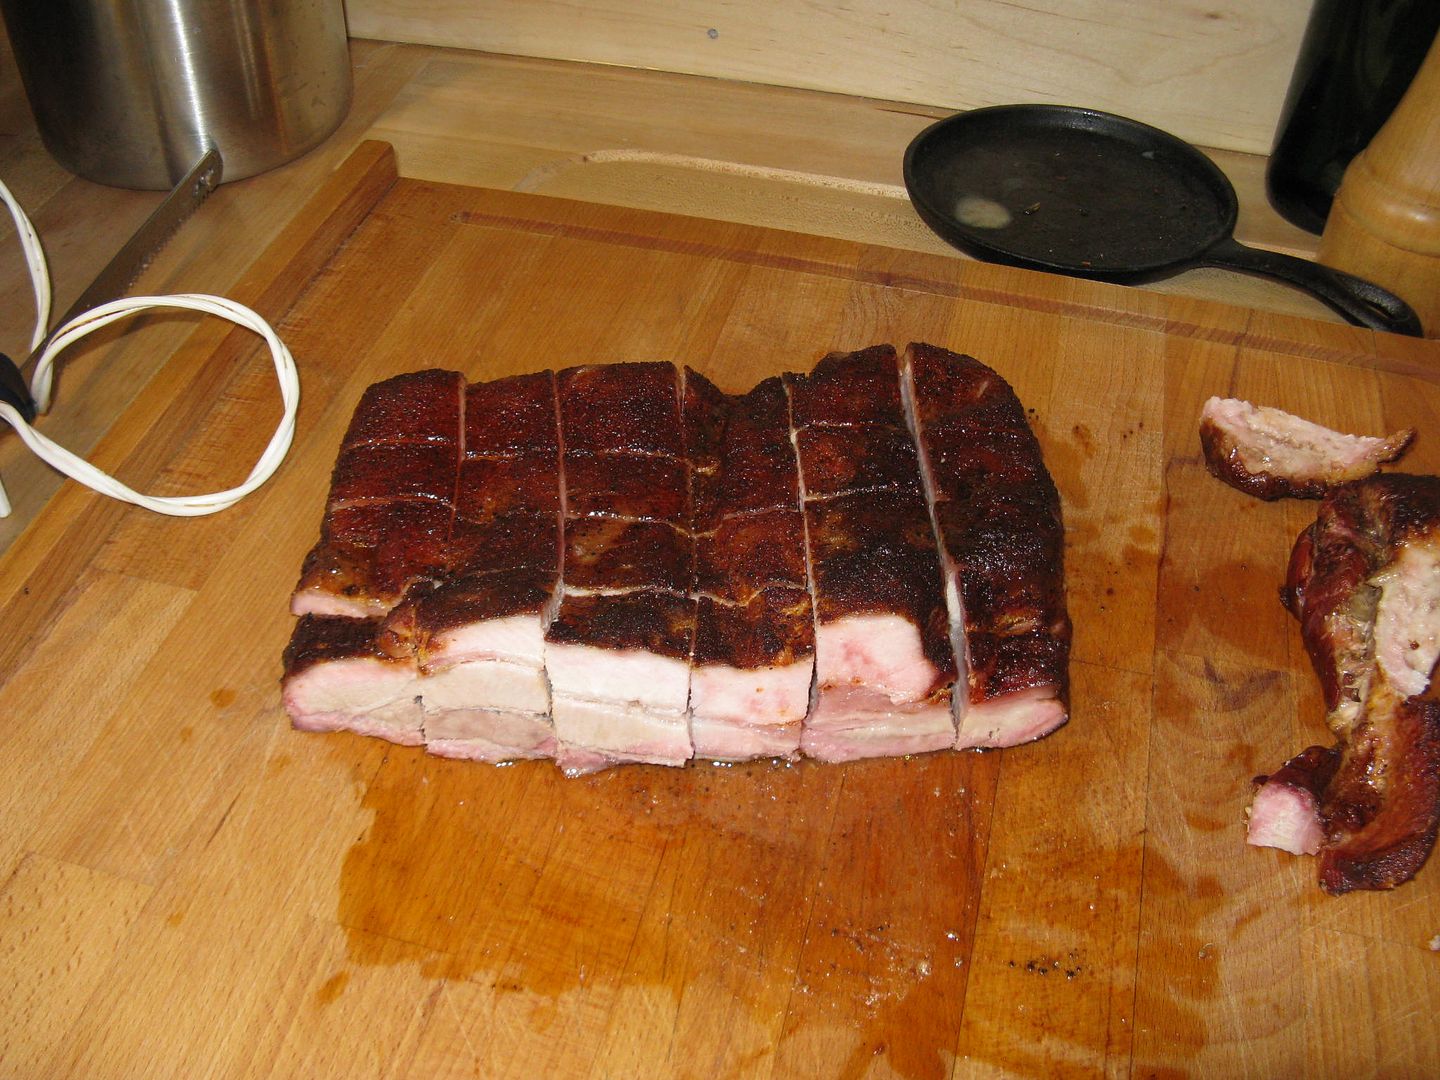
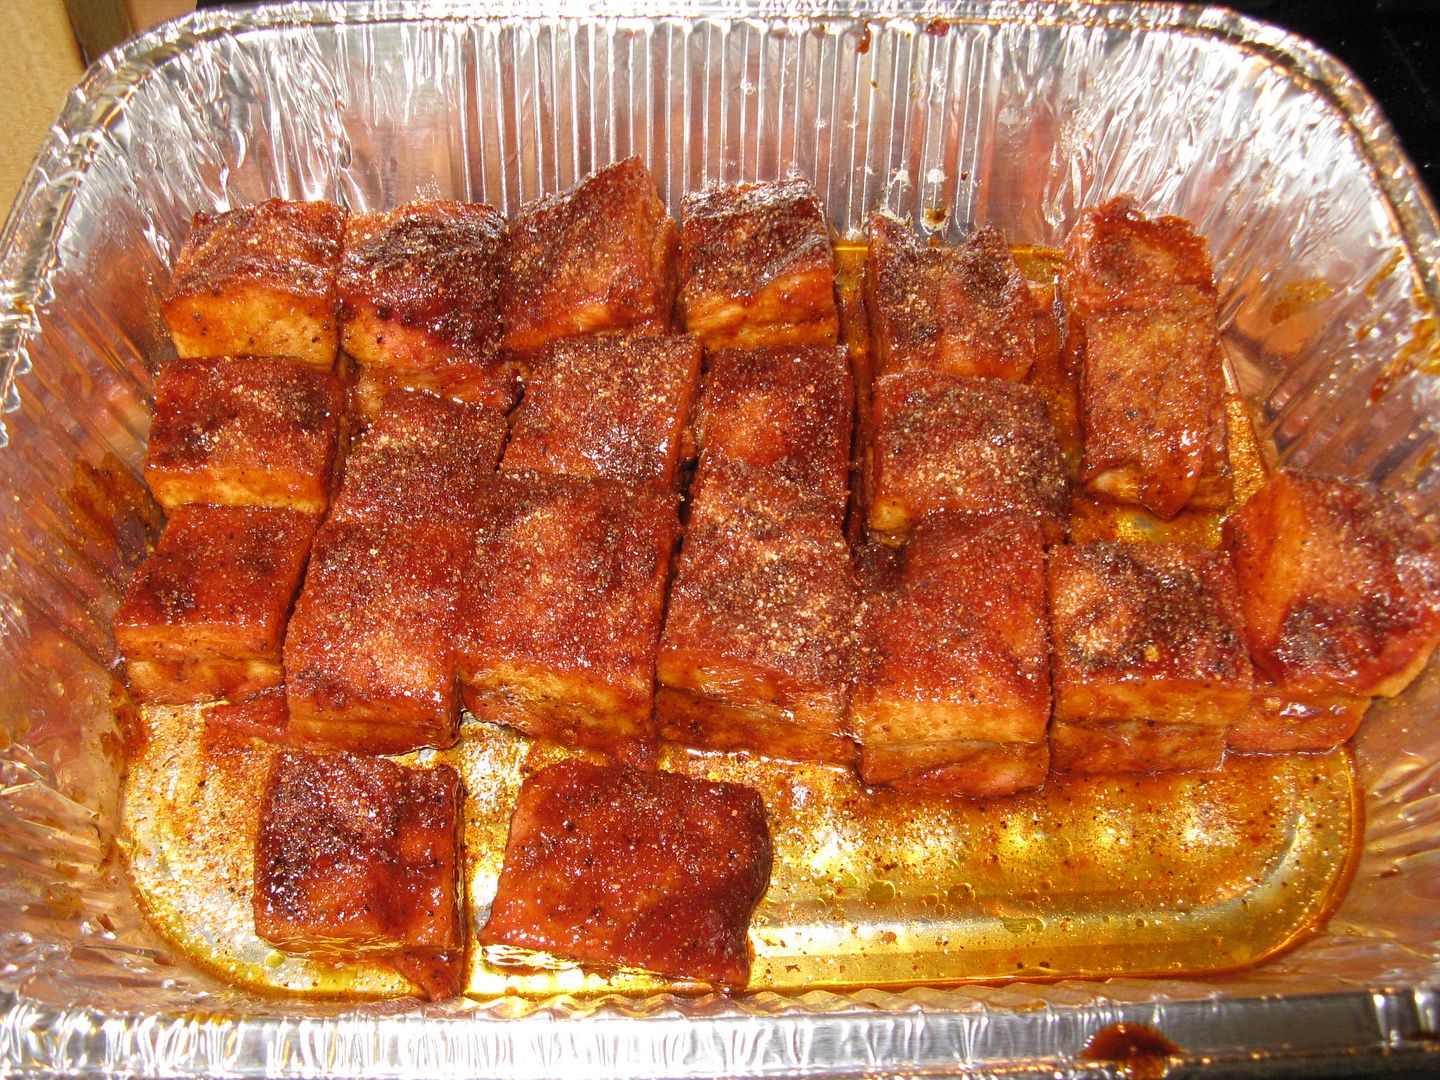
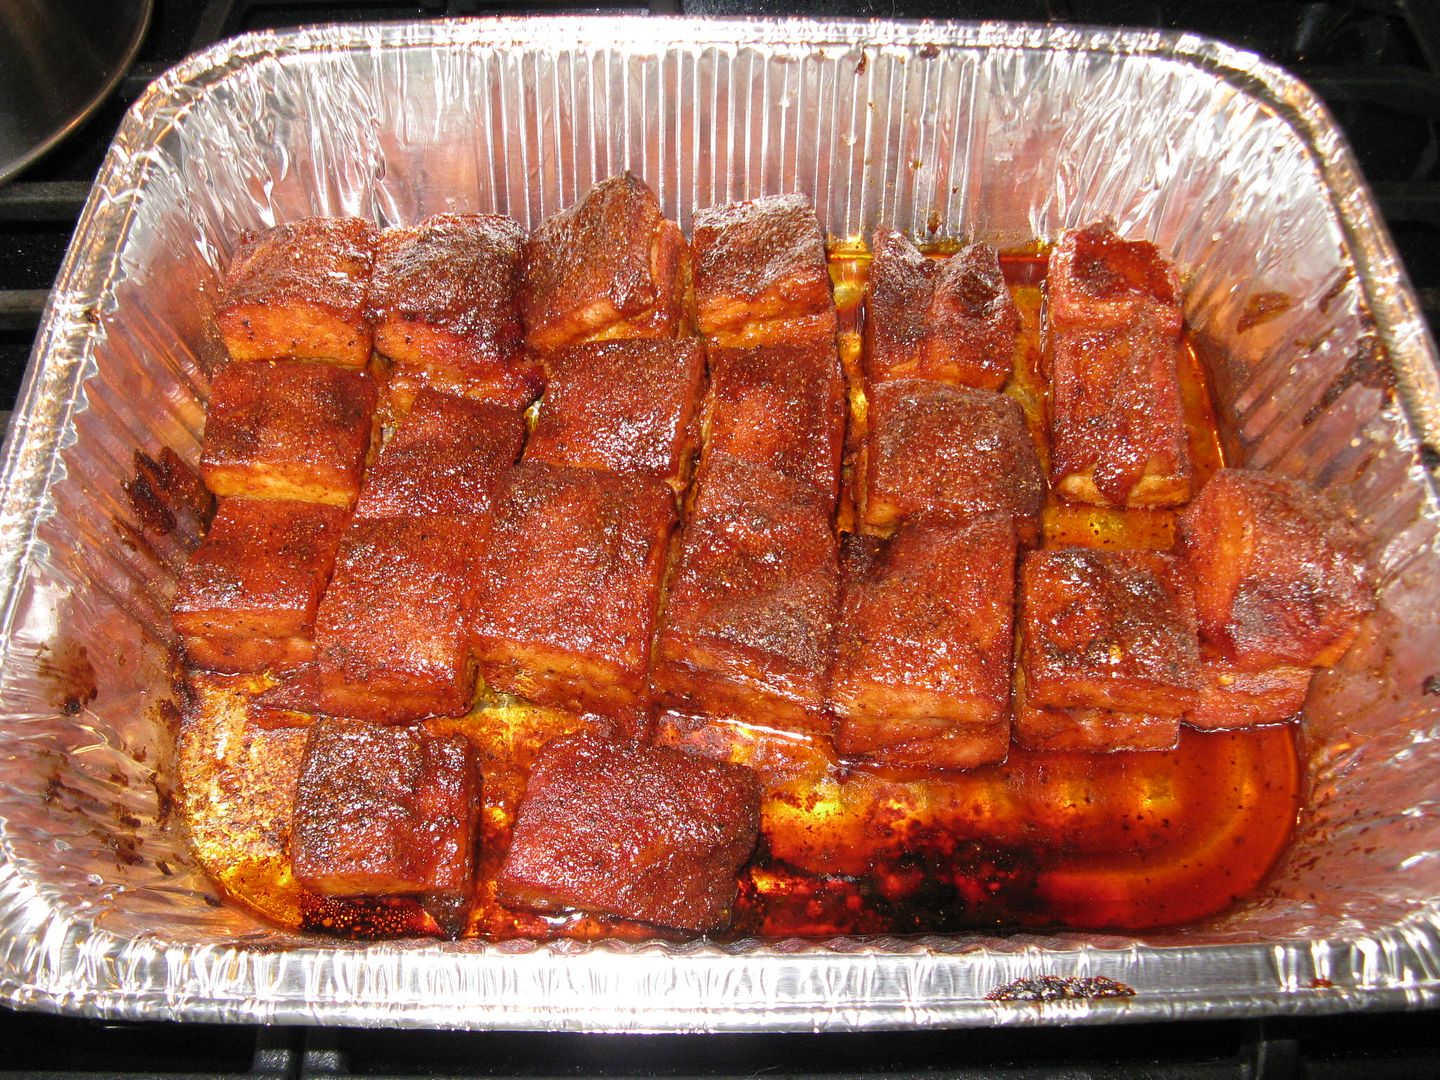
I then cooked until 195 F internal temperature, removed from the smoker, and let rest for 30 minutes.  After resting, I pulled from the pan and cut into one inch cubes.  Then, I dusted with more rub and added about 3/4 cup of Blues Hog Regular BBQ sauce with Blues Hog Tennessee Red.  Then, back into the pan and back on the smoker at 350 F for 30 more minutes.


Here is what they looked like after 30 minutes at 350 F.


How were they?  Well, the taste was excellent.  The fat was slightly crisp, but not perfect.  Unfortunately, the meat was a bit on the tough side.  But, still good.  Just not that melt in your mouth texture and flavor that I was looking for.  After some research after the fact, I have found that you should take pork belly to 150 F for a nice tender piece of meat.  Next time, I will try the lower temperature when trying to make these burnt ends.  If anyone has any suggestions, please feel free to submit comments below.
Thanks for stopping by,

Bill