
Most of you in the smoking and grilling world will agree. 65-75% of the BBQ gadgets you see for sale do not live up to even the most average of expectations. But, when you find one in the 25-35%, the feeling of success is great. Isn't it? I have had my eye on a Kettlepizza pizza oven for quite awhile now. But, I was hesitant to pay the $149 for the base model fearing this would go the way of the majority of BBQ gadgets. Last month though, I saw the basic set: oven insert, thermometer, and aluminum pizza pan, on sale for $99 with shipping. Time to pull the trigger.
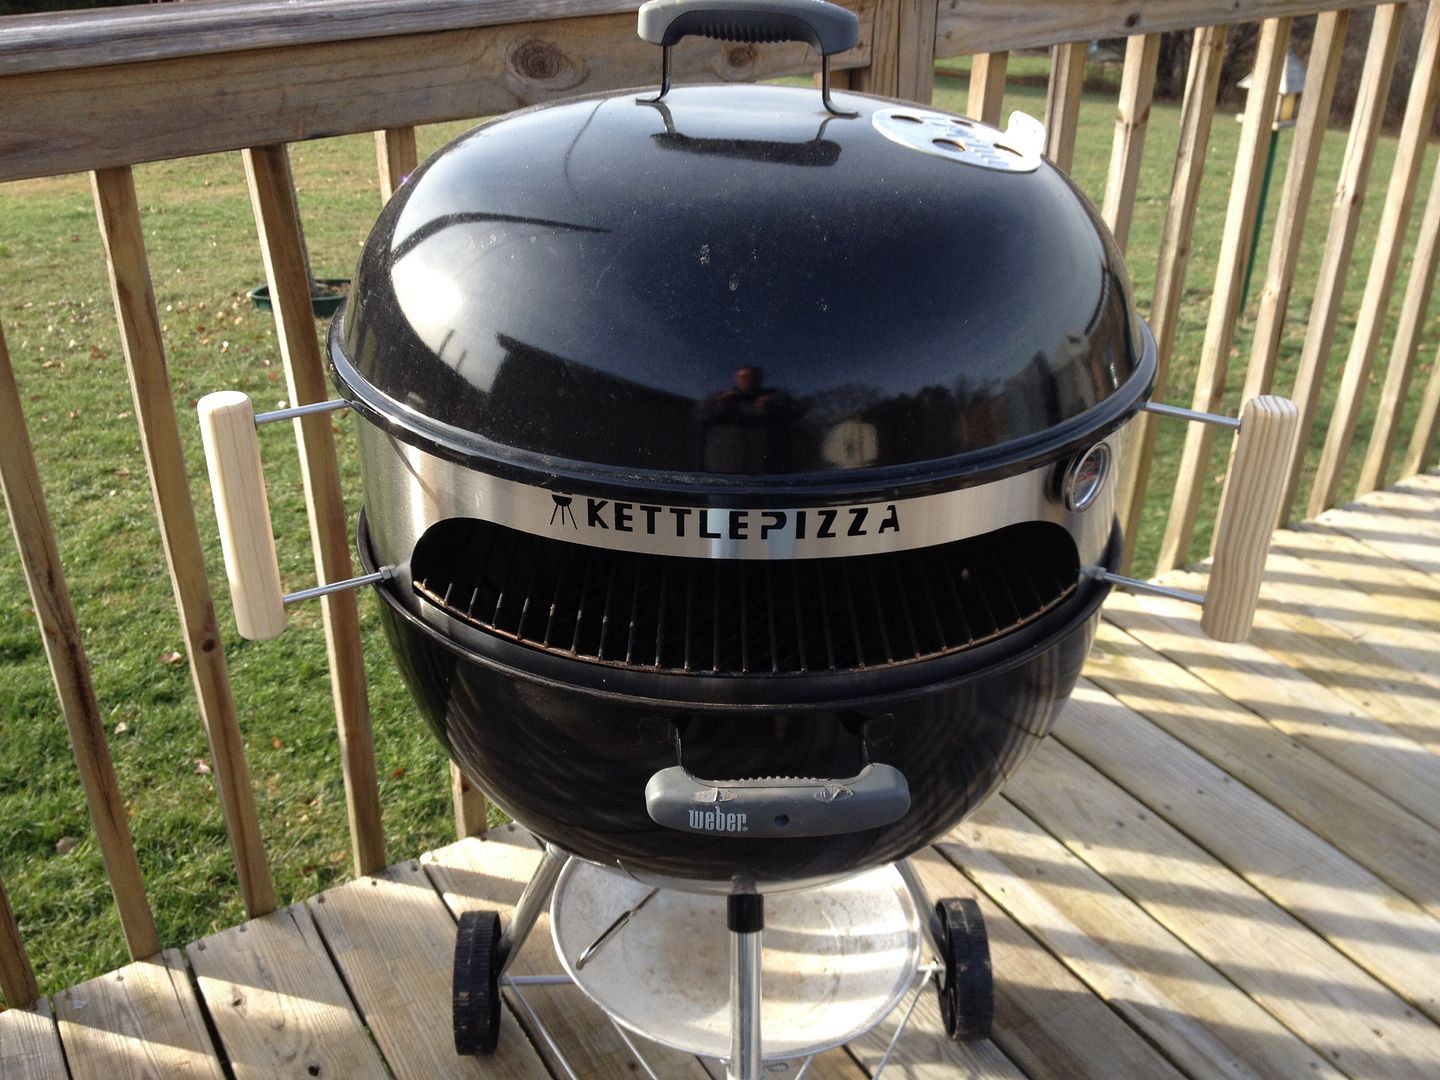

The Kettlepizza oven is just a stainless steel insert that you place on top of your Weber kettle grill. Minimal assembly took about 10 minutes and it will fit either the 18 or 22 inch Weber kettle grills. Once assembled, the grate from the grill is placed into the insert and the grill dome is placed on top of that. There is a thermometer for monitoring your "oven" temperature and an opening in front so that you can slide your pie inside for cooking. You can either cook your pizza in the aluminum pan or slide it onto a pizza stone from a pizza peel.
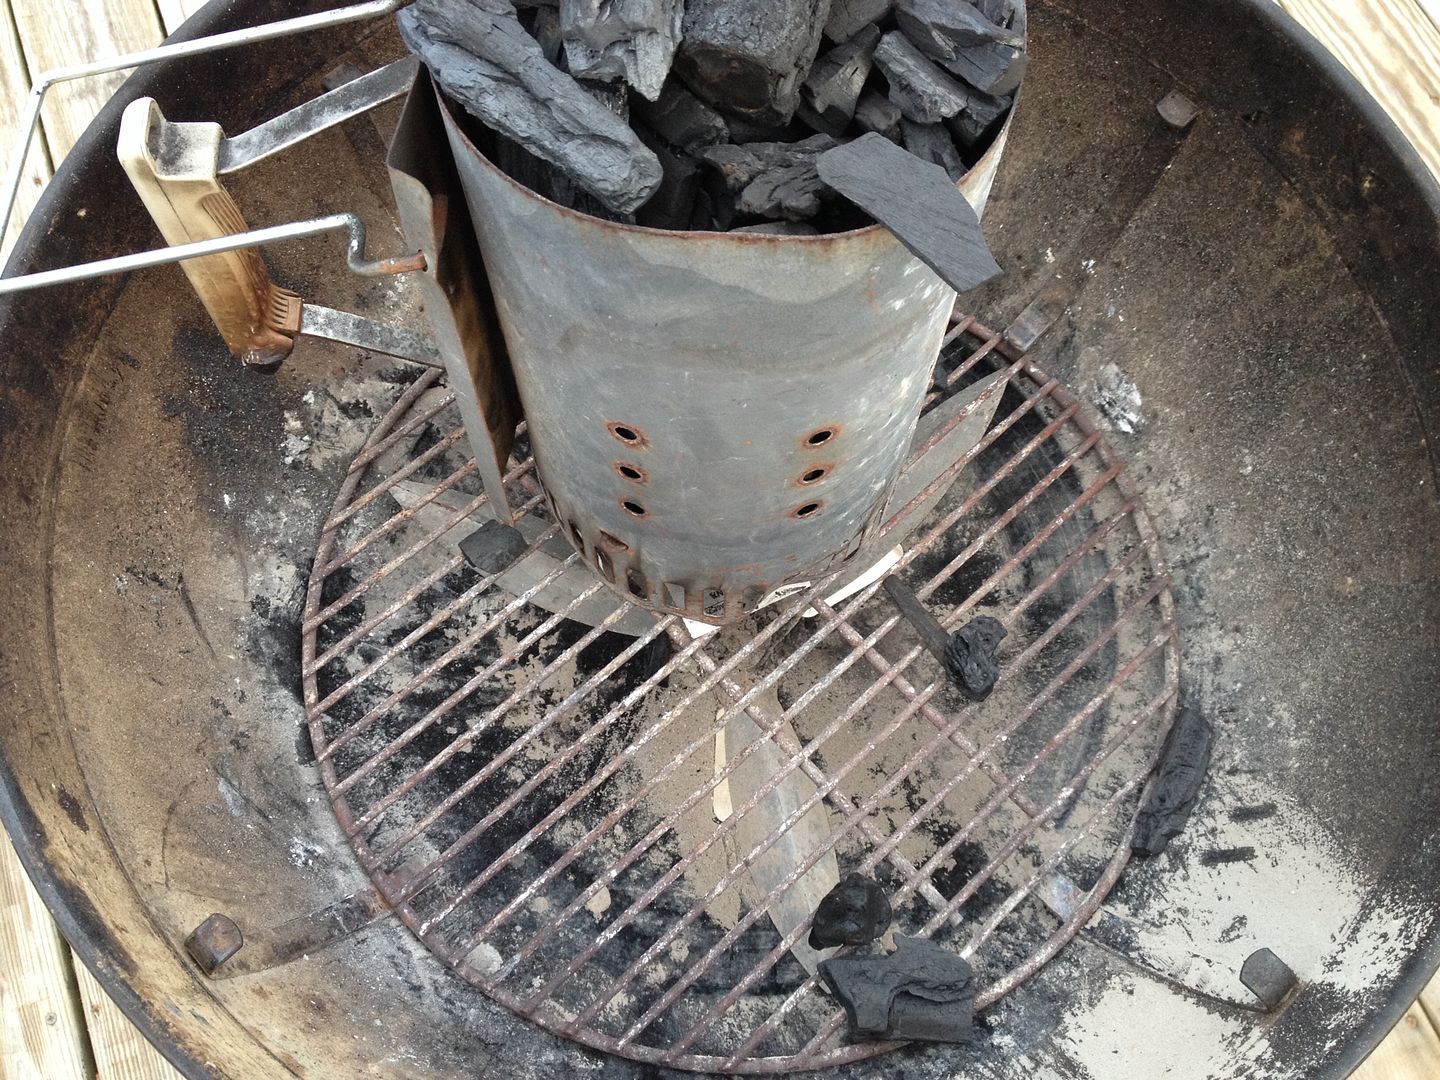
For your heat source, the instructions state to light one chimney of charcoal, then spread in a semicircle in along the back half of the grill. Then, splits of wood are placed on top of the coals so that the heat inside the grill gets up to or above 700 F.
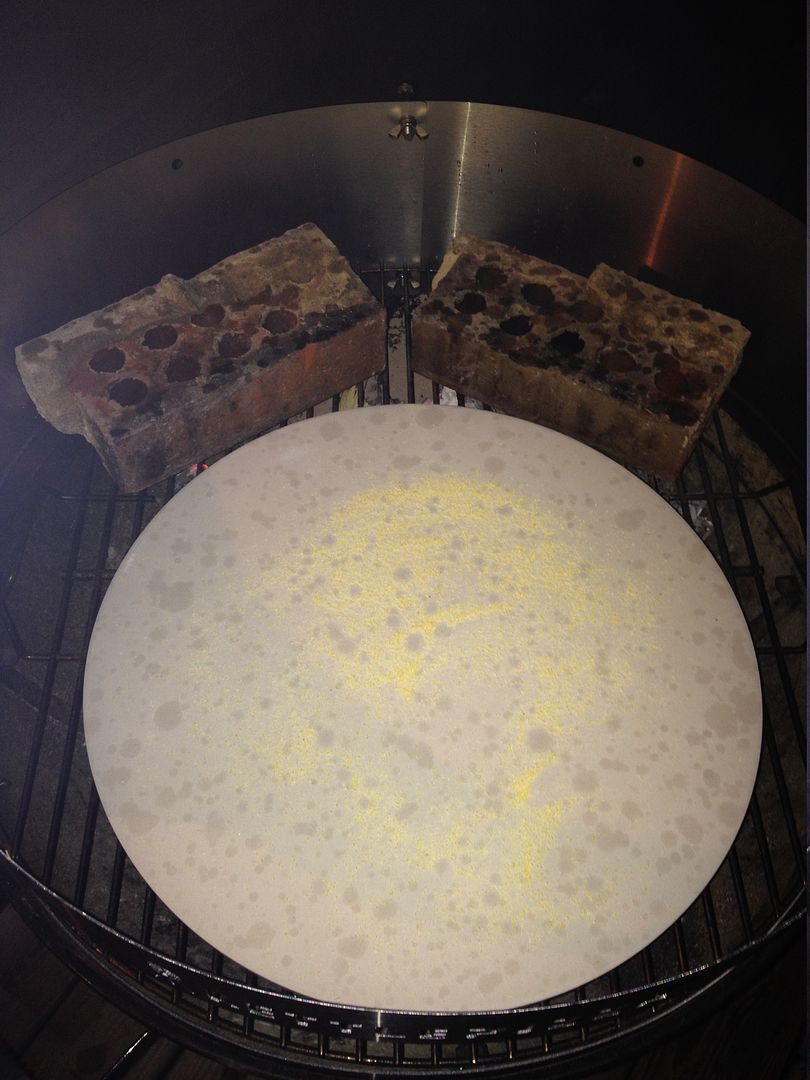
I chose to use the pizza stone/pizza peel method. It was also suggested by a BBQ friend to place one or two bricks above the fire and behind your cooking stone to help distribute the heat. So, once I had added the wood to the fire, I placed my stone on the grates along with two bricks, placed the insert on the grill, and covered with the lid to the grill.
I also tossed some corn meal on the stone, as suggested, to aid in sliding the pie off of the peel. Yes, it was raining out. My luck.
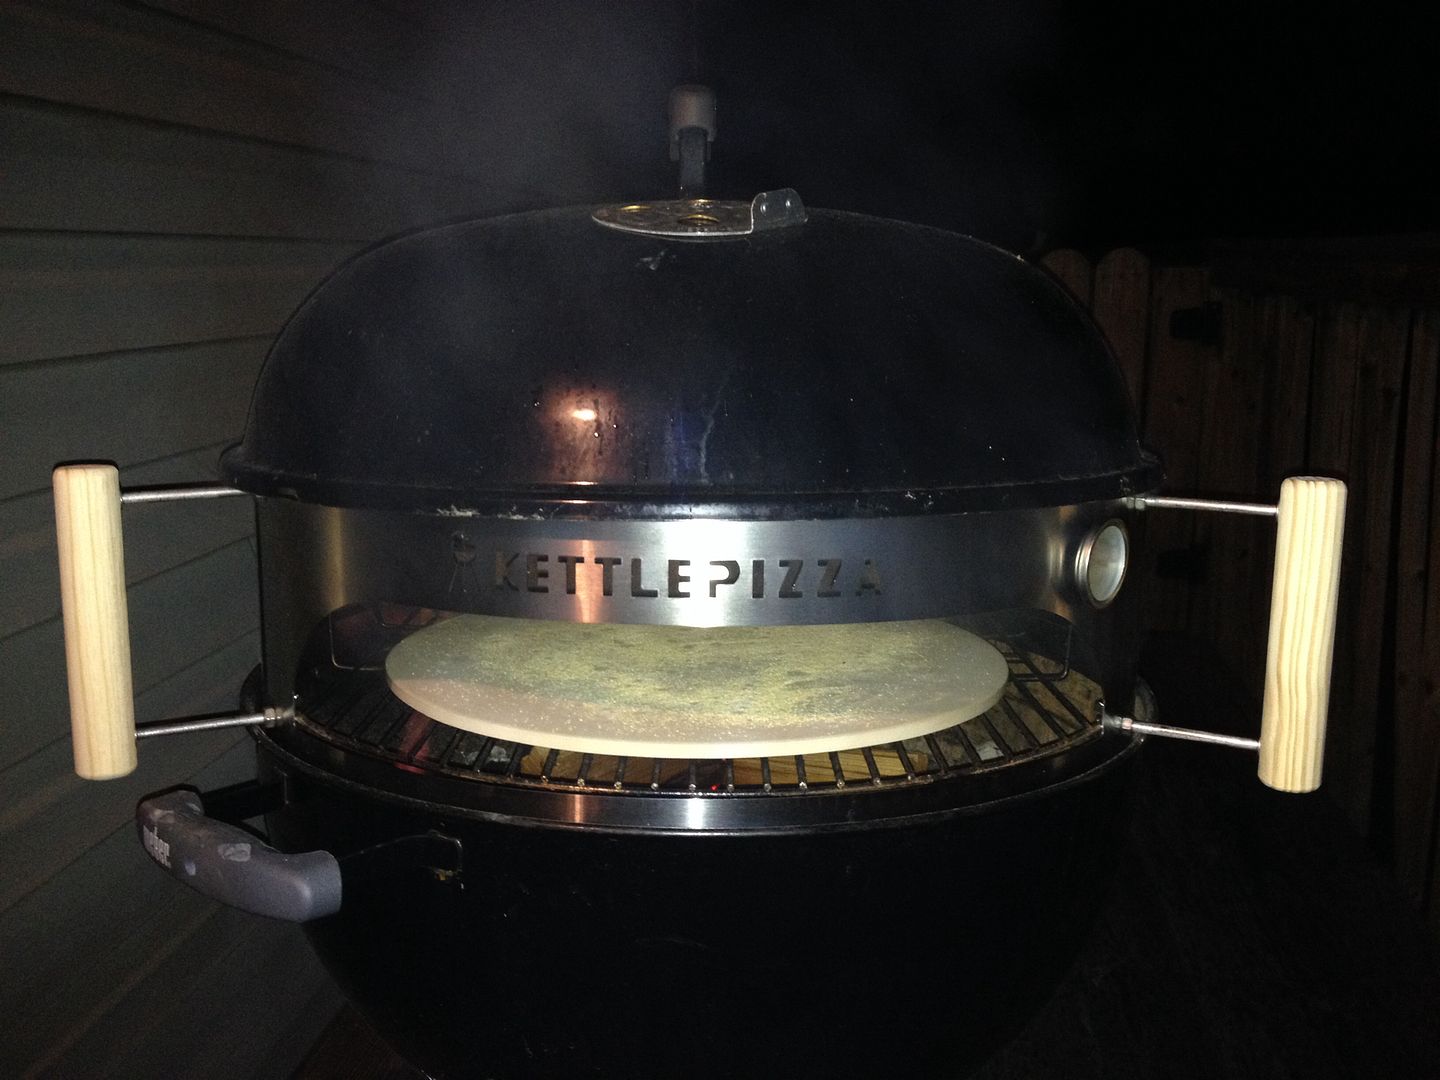
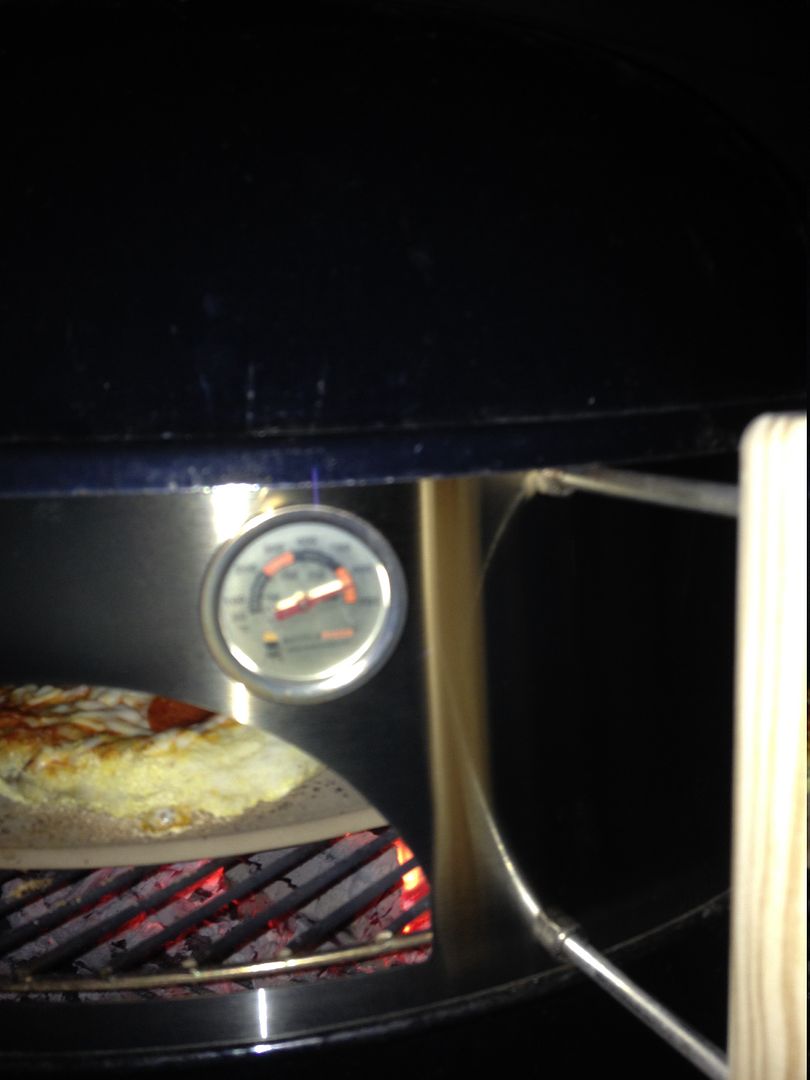
According to the instructions, within 15-20 minutes, I should have a temperature between 600-700 F inside the "oven", hot enough to cook a pizza within four minutes. I was not disappointed. The picture is a bit blurry, but as you can see, right in the middle, 650 F. I even had it pegged at 700 F+ at one point.
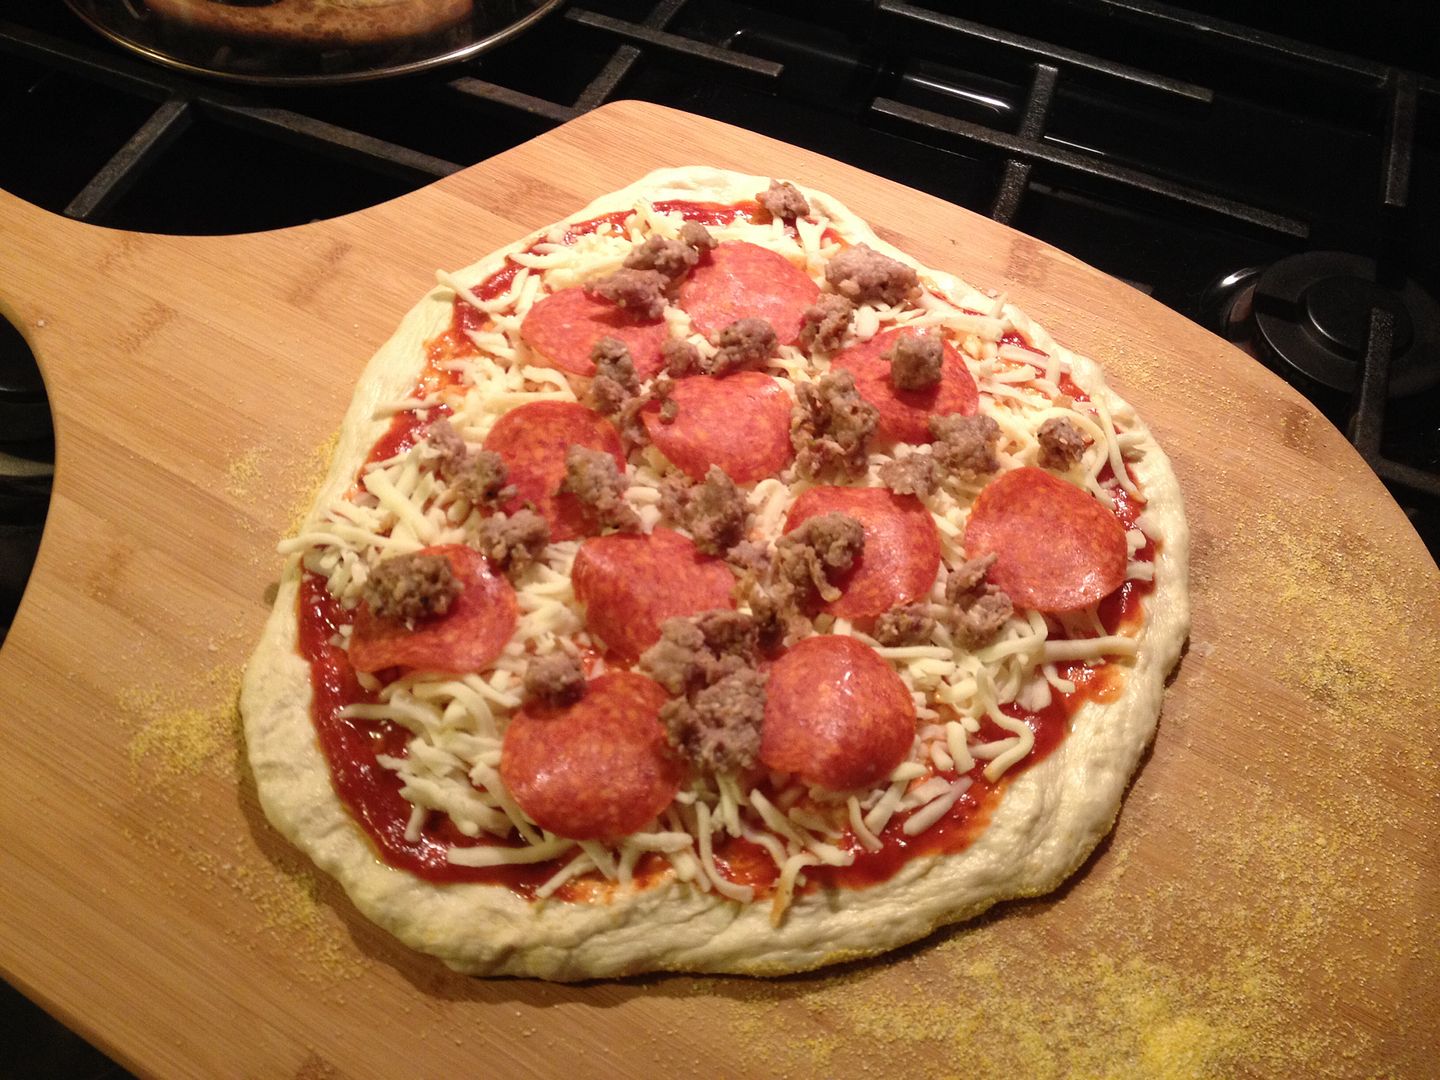
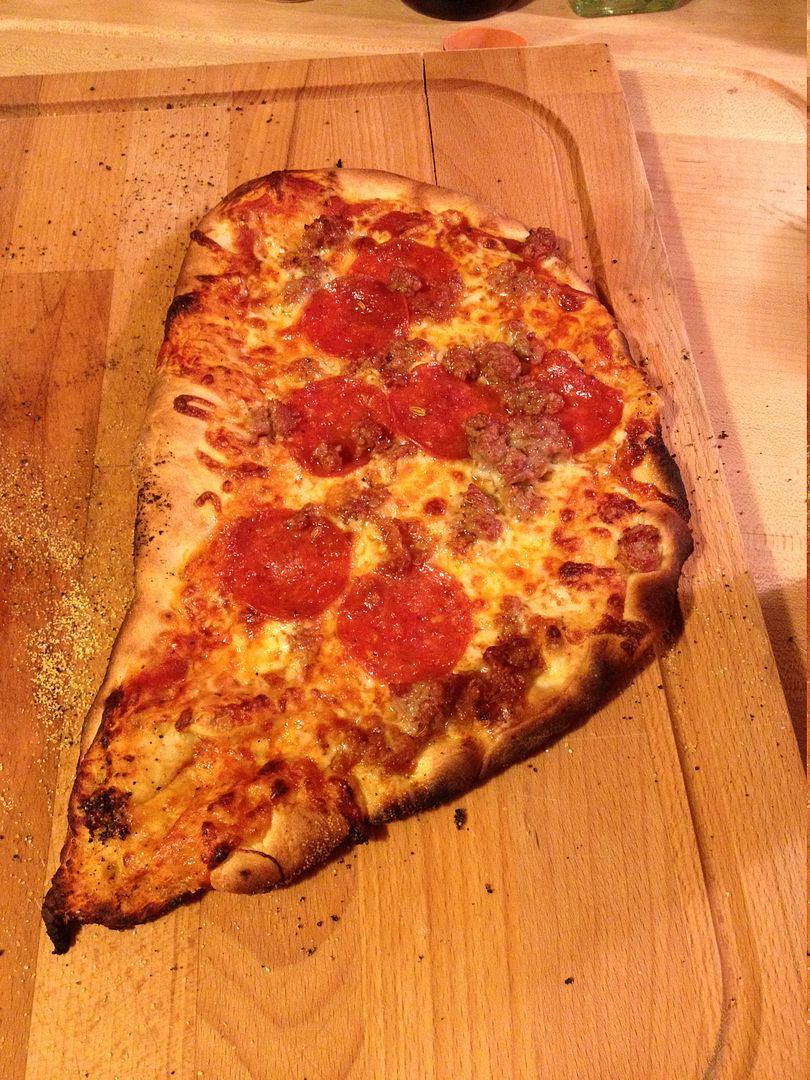
So, time to slide in the first pizza. Unfortunately, I made the dough (Hope usually does) and it was a bit sticky. So, the pies did not slide off of the peel easily. That is the explanation for the ugly looking pizza shapes. Rest assured, when Hope made the dough, it slid right off of the peel and onto the stone. But, I digress.
Once at temperature, the directions say to place the pizza on your stone, then rotate 180 degrees after two minutes. Then, after two more minutes, your pie is ready to remove and eat. How did this toy work? I am glad to report that it met and exceeded my expectations. After two minutes the crust was firm enough to turn with ease. I would suggest doing so with BBQ tongs if you are not experienced with a pizza peel as I. Then, when pulled after four minutes, the pizza was perfect.
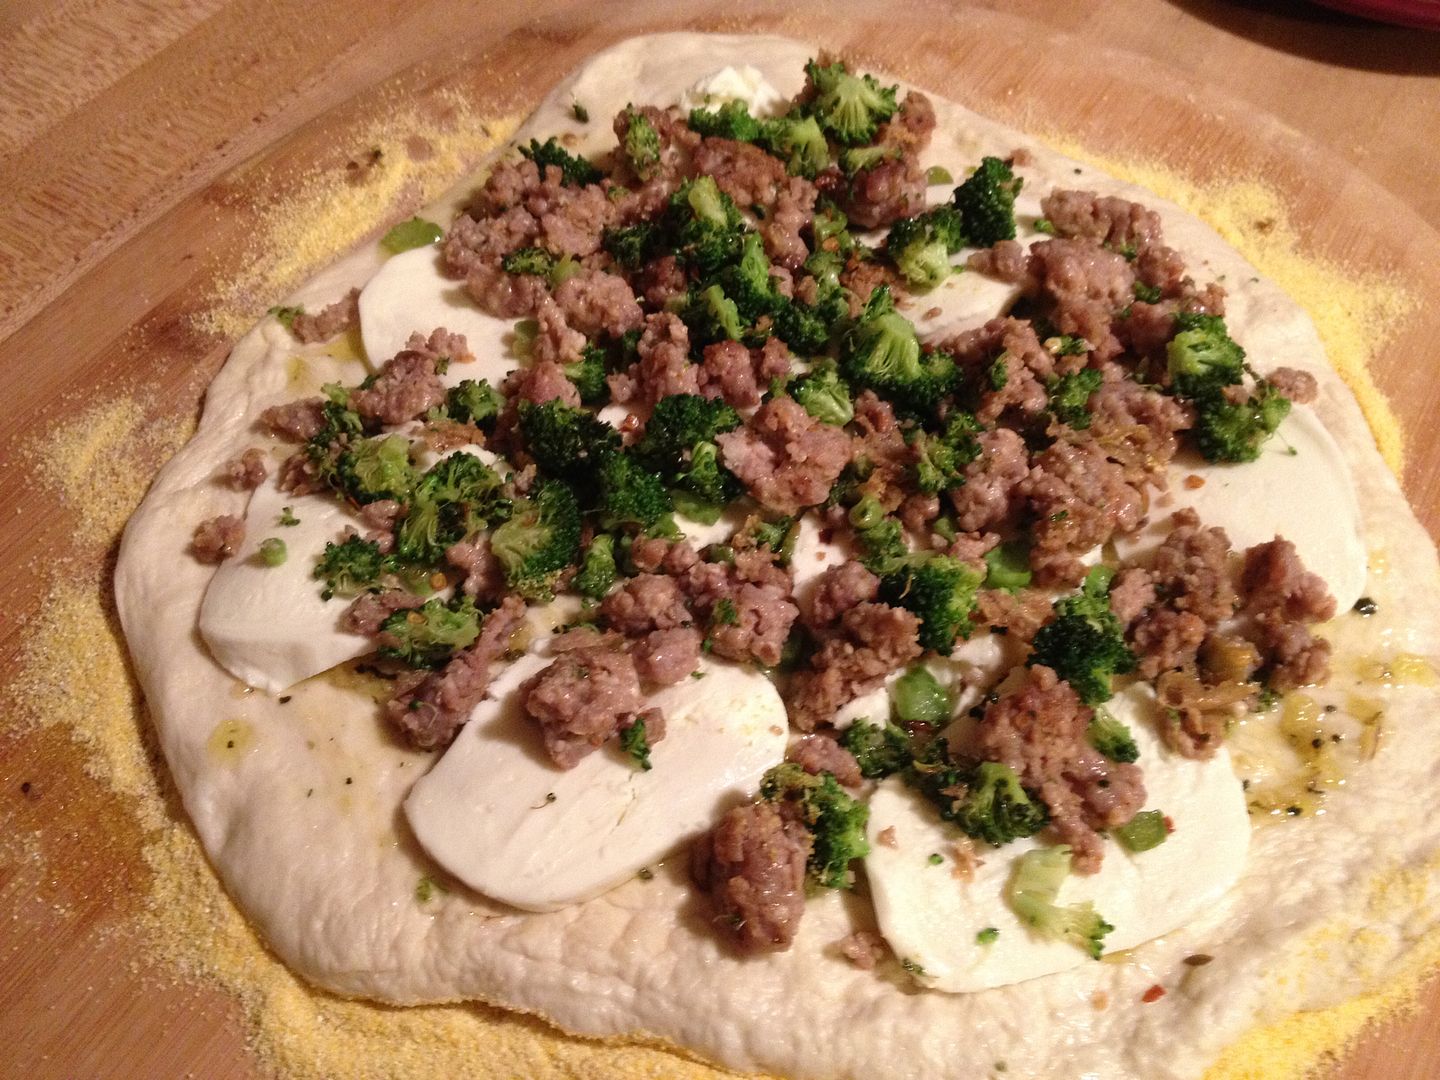
Before:
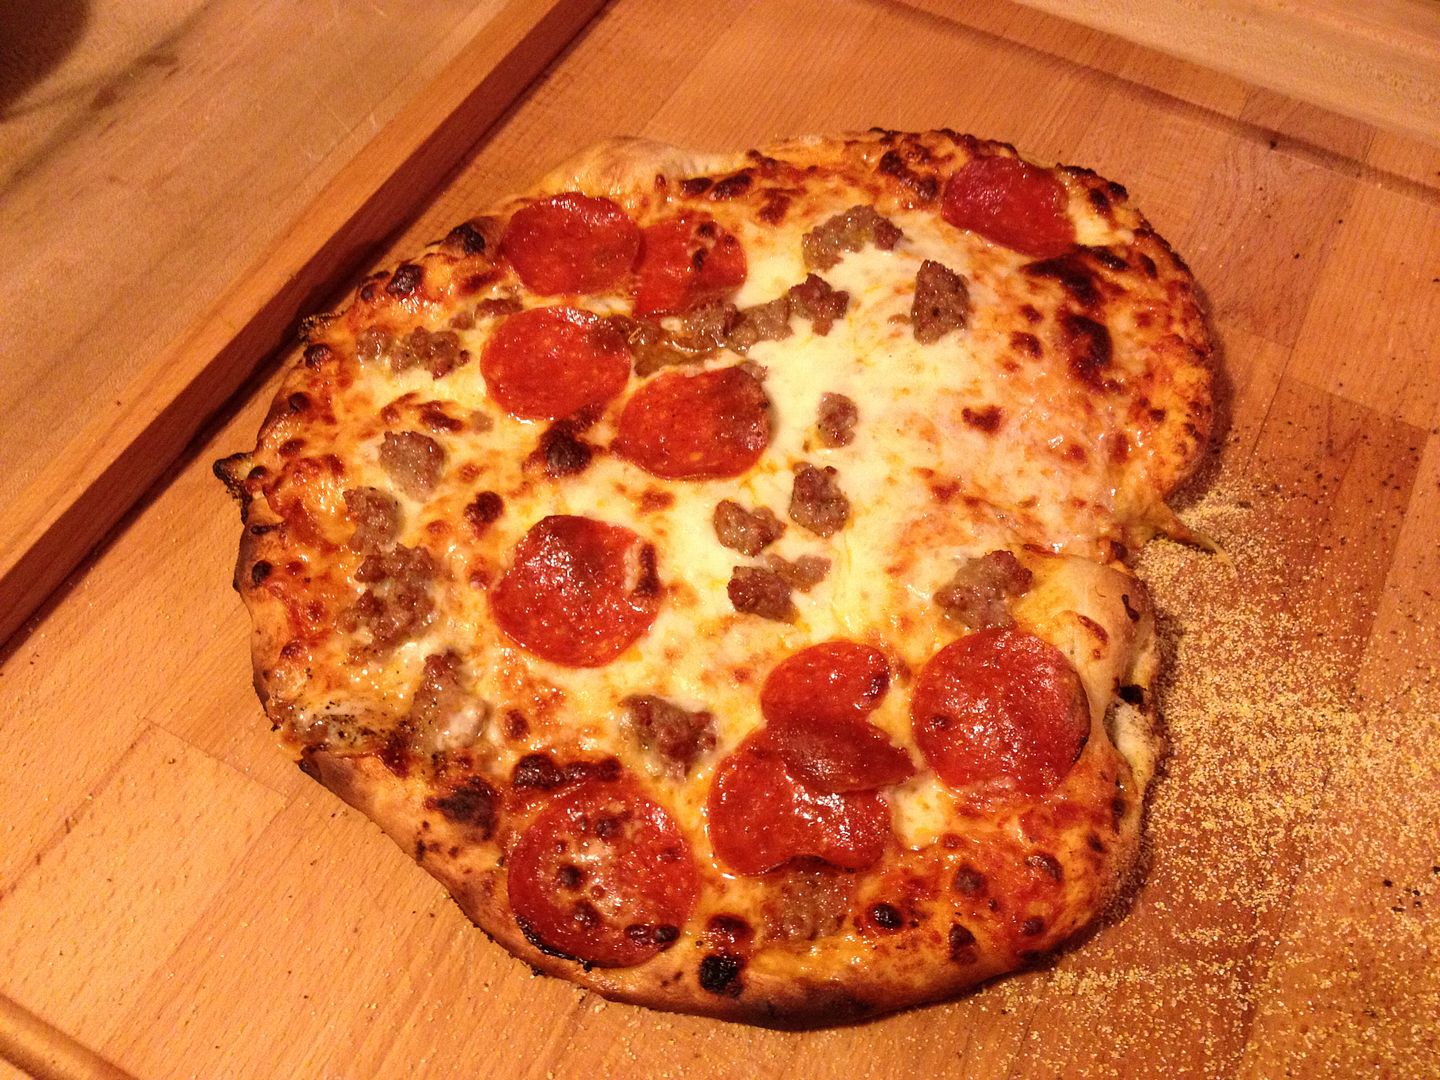
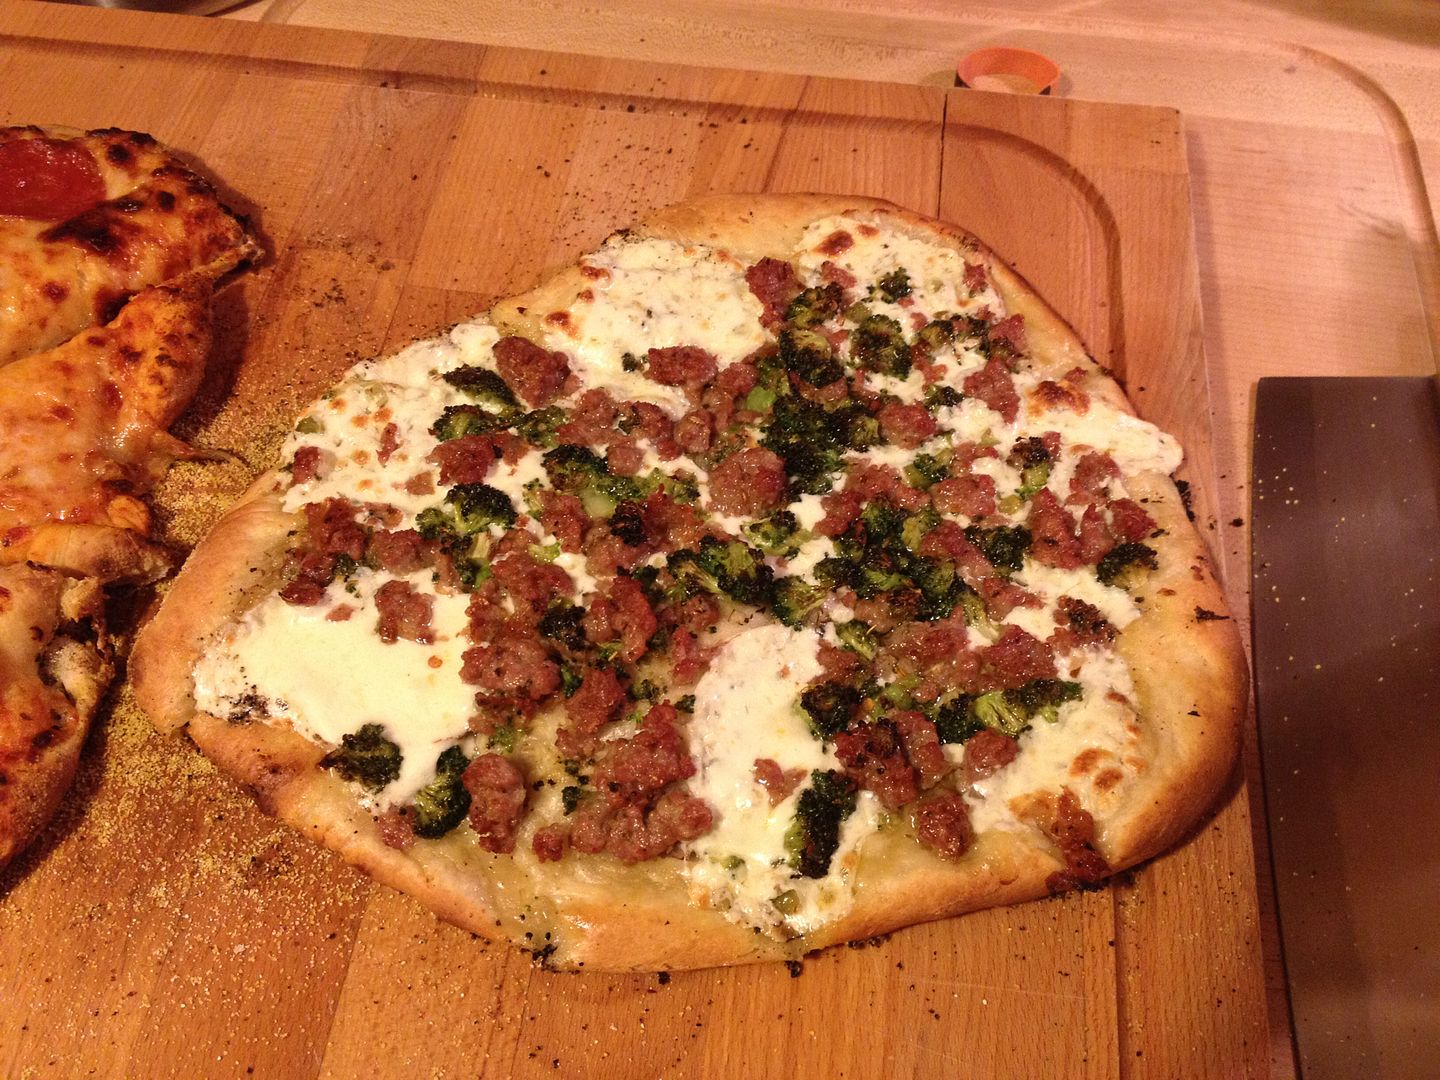
After:
Perfect, brick oven style pizza. Crispy crust, brown and bubbly cheese. Outstanding!
I would highly recommend this product. Kettlepizza has many models that can include pizza stones and pizza peels. The base model is $149, but you can find deals out there. Keep an eye out on the Internet. This product is worth the $149 for the base model if you like good pizza. We got a steal for $99. In the future, we will not be cooking pizza any other way in the Three Dogs household.
Thanks for stopping by,
Bill
Where was this nifty device when I was constructing a small building called a wood fired pizza oven? Very nice!
ReplyDeleteIt is nifty for sure Rikk. Best money we have ever spent on a grilling gadget yet!
DeleteHave you tried the pan yet and is the pan for a deep dish style?
ReplyDeleteThank you so much for this report, I'm excited and can't wait to do pizza on my chicken cooker. Pictures make my mouth instantly water no joke. Love wood fired pizza, great report great pictures.
Hutch, I am trying the pan next time. I'll post a pic of the pan. It will allow thin crust and thick, but not deep dish. Perhaps a cast iron skillet?
DeleteThanks for posting such a thoughtful review, Bill.
ReplyDeleteThanks Jim. I hope it helps with your decision.
DeleteAre we having fun yet? I am not sure who suggested corn meal on the stone. As you probably found out the corn meal will just burn. The corn meal is supposed to go on the pizza peal underneath your dough to help it slide off. I use flour instead of cornmeal with my beehive. Have fun.
ReplyDeleteI will have to try the flour Chilebrown. The cornmeal did become a tad scorched, but did not ruin the flavor. How do you think a calzone would work?
DeleteI am sure a calzone would work. Do you make stromboli? Here on the West Coast nobody makes or knows anything about stromboli..The flour is only to prevent sticking on the pizza peal. Flour will burn too.
DeleteI would say that Stromboli is big around here. Most pizza places have that and calzone.
Delete