Search This Blog

Friday, November 22, 2013

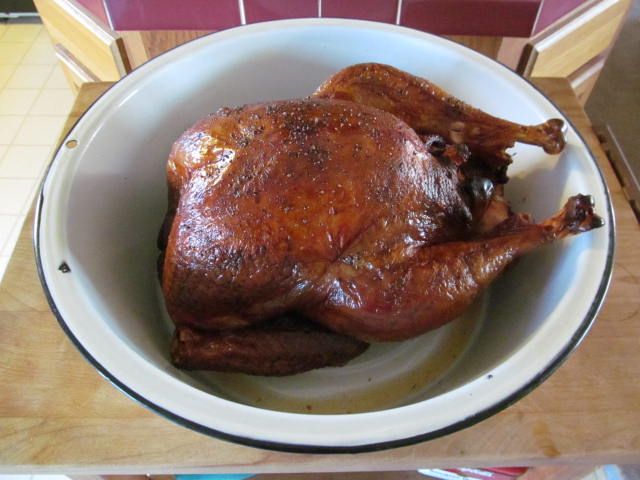
Thanksgiving Turkey Idea

Last year I experimented with a smoked turkey that turned out to be the best turkey I have ever made.


So, I thought it would be a good idea to post the recipe again as a service to those looking for some Thanksgiving ideas.

Here is the brine recipe:


Here is the link to the method for cooking the turkey:


If you are looking for some ideas, I hope you find this recipe helpful.  

Thanks for stopping by (and Happy Early Thanksgiving),

Bill

Wednesday, November 20, 2013

Grilled Round Steak Chili

Well, frost was on the pumpkin last weekend and it was time to make something warm for dinner and lunches during the week.  Amazingly, I realized that I did not make chili last year.  So, I decided to rectify that problem.

Usually, for a meat source I use ground round, or sometimes leftover brisket.  This time, I decided to use grilled round steak that my butcher had on sale.  I rinsed, dried, and seasoned both sides with Montreal Steak Seasoning.


I fired up the grill and got it screaming hot.  Then, I just grilled the steak until it had some nice grill marks, about 3 minutes a side.


When done, I brought it inside and let it rest while I prepared everything else.


Here is my base chili recipe.  It usually changes each time I make it, but this is the base:

Base Chili Recipe

1 Small Onion, diced
1 Bell Pepper, diced
2 Jalapeño Peppers, sliced
2 Tbsp Minced Garlic
2 Tbsp Olive Oil
2 Tbsp Chili Powder
1 Tbsp Brown Sugar
1 Tbsp Onion Powder
1 Tbsp Ground Cumin
1 Tbsp Granulated Garlic
1 can ea Dark Kidney and Black Beans, do not drain
1 13 oz container of Crushed Tomatoes
1 15 oz can Tomato Sauce
1 15 oz can of Water
1 16 oz bottle of Hot Picante
1 12 oz beer.  No Crudweiser here.  We use Yeungling Lager (full bodied, brown, complex flavors)


Sauté the onion through the minced garlic in the olive oil.  I do so on low heat so that I start to get caramelization.


When the peppers and onions are where you want them, add the dry ingredients, stir well, and continue to sauté for about 1-2 minutes.  The olive oil and heat will activate the natural oils in the spices bringing out their flavors while simmering.


Then, add the rest of the ingredients and raise the heat to bring to a boil.


While this mixture was heating, I cubed the round steak and added to the simmering pot.


I simmered with the lid cracked so that the chili would reduce and thicken.  For me, I am happy after about three hours of simmer time.


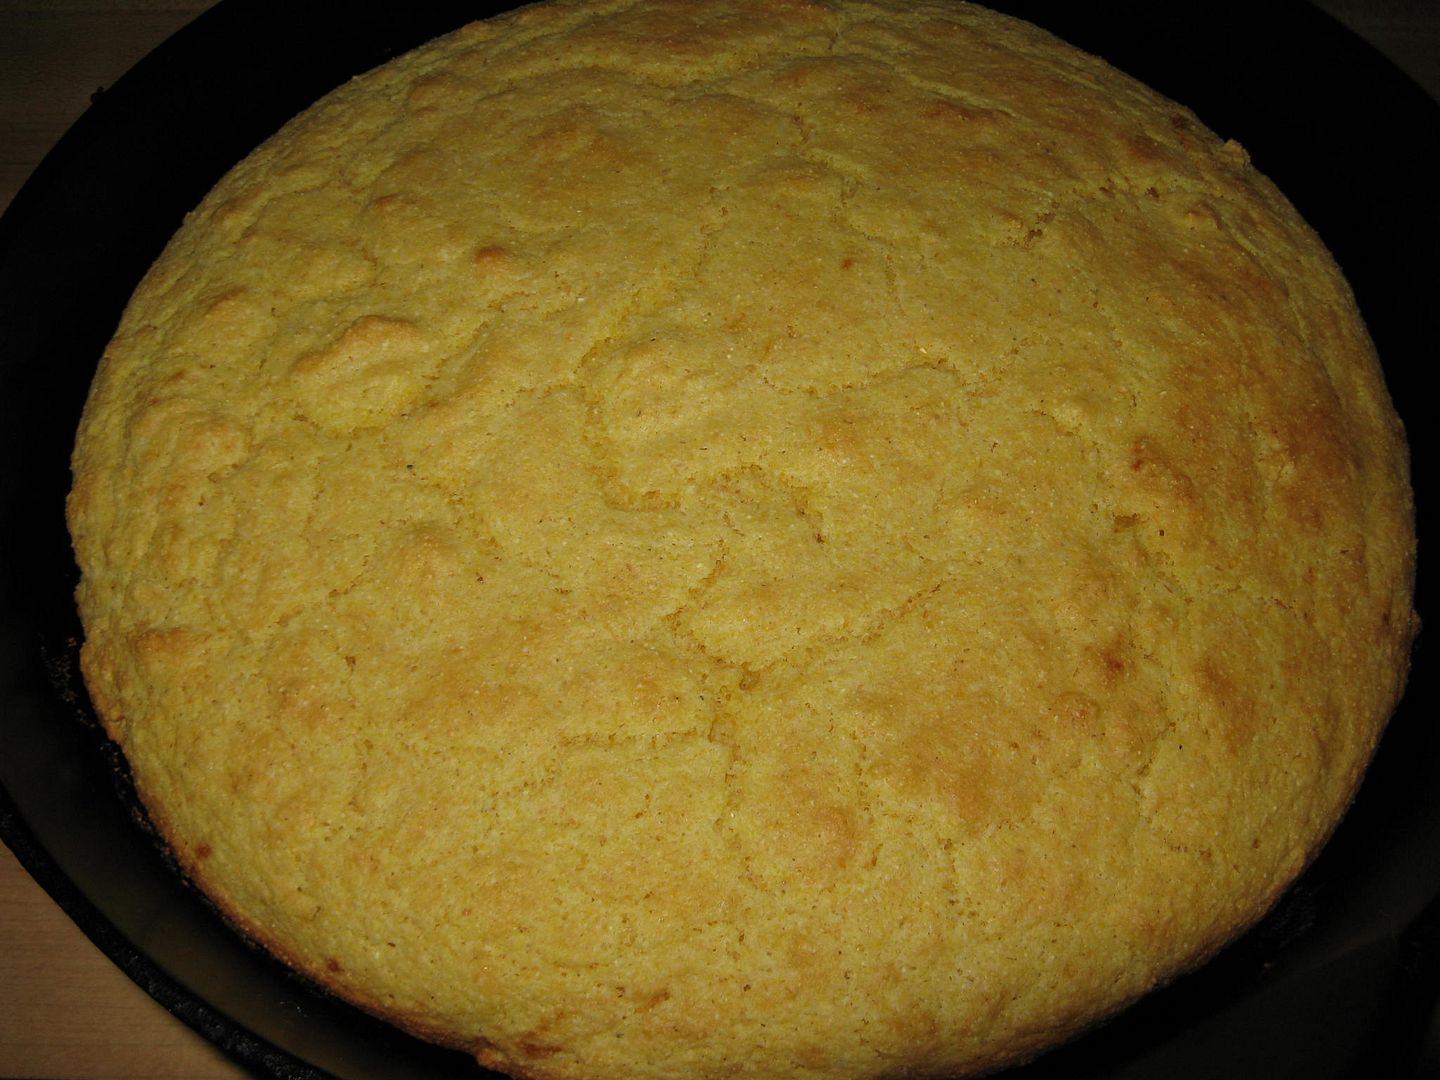
I always serve me chili with a skillet of homemade corn bread.


Chili toppings are a personal thing.  I top mine with cheese, diced onion, a dollop of sour cream, and some crushed tortilla chips.


This is a nice stick to your ribs meal on a cold day.  I can't wait to make my next pot.  Every pot of chili is an experiment in flavor.

Thanks for stopping by,

Bill

Friday, November 15, 2013

Smoked Short Rib Pot Roast

I had a request a few weekends ago to make my Smoker Pot Roast.  Here is the base recipe:

1 Chuck Roast.
2 ribs of celery, diced.
4 potatoes, diced.
4 large carrots, peeled and diced.
3 cloves of garlic, minced.
1/4 cup of flour.
Enough beef broth to cover everything.  I used 2 quarts.

But, as I am prone to do, I mixed it up this time.  Here are the changes:

3 x Beef Short Ribs instead of chuck roast for the meat.
1/2 cup of flour to thicken it up a little more.

Here is the method and results.

First, I trimmed the fat off of the short ribs that was easily trimmed.


I then seasoned all sides with salt, pepper, and granulated garlic.


Looking for scraps...


Then, onto the top rack of my smoker at 250 F with two pieces of pecan in the ash pan.  Then pull after one hour.


While the short ribs were getting happy in the smoker, I prepared the veggies.  I prefer a coarse chop and dice for my pot roast.


Add the flour and mix.


Add the broth and stir until smooth and incorporated.


Pull the ribs from the smoker, place in the broth, and cover.  Cook for five hours at 250 F.


Come back five hours later, remove lid, and stand back as the herd comes to graze.


Hope actually took the time to pull the meat from the bones.  Believe me, it was fall off of the bone good.  Adding an hour of smoke time to the beef really put this "pot roast" over the top.  Also upping the flour by 1/4 cup thickened the both to the perfect consistency.  This turned out to be a great Sunday dinner on the first real cold weekend of the fall.

Thanks for stopping by,

Bill

Monday, November 11, 2013

Grilled Garlic, Thyme, and Rosemary Wings on the Pizza Stone


I've been wanting to try this recipe for a while.  I have noticed that some pizzerias with wood fired ovens are roasting their wings inside their pizza ovens on the stone base.  The wings come out with a slight smoky flavor and nice a crisp, just the way I like them.  One benefit is that you get the crisp without all of the added fryer fat.  I have toyed with building a pizza oven at home, but it looks a bit complicated and a too much work for the occasional use.  So, I thought I would experiment with my pizza stone on a screaming hot grill.  For this batch, I decided to try for some nice Italian flavors: garlic, rosemary, and thyme.

First, I took about 1/3 of a cup of olive oil, the juice of one lemon,  then added 1 tbsp of minced garlic, 1 tsp each of rosemary and thyme, plus a healthy grinding of sea salt and pepper.  Then, I whisked it all together and let marinade in the refrigerator for about six hours.


When I was ready to cook the wings, I fired up my charcoal grill and placed my pizza stone inside while it was heating up.  Remember to put the stone inside the grill as it is warming up.  If you put a cold stone in a hot grill, you run the risk of cracking your stone that you have so loving worked over the years to season properly.


I placed the wings on the stone and started to experiment.


I was shooting for 10 minutes a side.  But, they were not cooking to my satisfaction.  I was starting to get nice caramelization and crispiness.  So, I moved the stone above the coals and started eyeballing the cook process.  Overall, it did work about to about 7-10 minutes a side.  Be careful, I was getting some spattering.

Ultimately, here was my process.

1.  Place pizza stone on direct heat.  I piled up the coals and reached 500 F in the grill.
2.  Place wings on the stone.  Watch for spatter.  Look to flip between 7-10 minutes.
3.  Cook 7-10 minutes more after the flip.
4.  Move wings to indirect heat to bring to 165 internal, if needed.

The final product was outstanding.


The crispiness was spot on and the meat was juicy and tender.  I wanted more flavor, but I will work on the marinade the next time we make these.  Overall, this was a successful experiment.

Thanks for stopping by,

Bill