Search This Blog

Sunday, March 24, 2013

Weekend in Hong Kong, Part 1 of 2

As you may have seen in prior posts, I am fortunate (or unfortunate, depending on how you see it) enough to be able to travel for work.  Earlier this month, I spent a week in India and a week in China with a weekend in Hong Kong sandwiched in between.


My weekend started with an escape from New Delhi on a redeye that left at 1:50 am and arrived in Hong Kong around 8:30ish am.  I took the Airport Express into town and the shuttle to my hotel.  I had a ton of e-mail to go though and some work to catch up on over the day on Saturday.  But, I was determined to go on an Asian culinary adventure and to purge my body of Indian food and spices.  Don't get me wrong, I like Indian food.  But, it all tastes the same after six days and it comes in three colors; red, brown, and green.  Besides, I love Asian flavors.  Something you may have also seen by tooling around the Three Dogs BBQ blog...

So, I got a shower, put on a t-shirt and shorts (I was loving the warm weather), and grabbed a quick lunch.

First off were some Asian Spring rolls.  Filled with spring onion, cabbage, and carrot.  Wrapped in a won ton wrapper and served with soy-plum dipping sauce, this was an excellent way to start satisfying my Asian cravings.  Besides, you are looking at the first fresh vegetables that I had had in over a week. Amazing what you crave when it is not readily available...


I finished up my lunch with a plate of Singapore Noodles...


Onions, carrots, cabbage, green onion, been sprouts sauteed with garlic, rice vermicelli, curry powder, soy sauce and char siu pork (think Asian style ham).  This is an Asian medley that I can eat any day of the week.

I then retired to my room in anticipation of my evening out with some friends.

The evening started with a ride on the Star Ferry from Kowloon to Hong Kong Island...


Once on the main island, it was a short subway ride and walk to our dinner venue.  Along the way, there were a ton of farm markets on each corner selling fresh fruits and vegetables.  I forget how much I miss our farm markets in the off season...


I don't have pictures of dinner, but my friend, who is from Hong Kong, took me to a smoked goose and crab shop that him and his family have been going to for years.  We were served a plate of thinly sliced smoked goose with an Asian vinegar dipping sauce that was heavenly.  We also had local crab, sauteed baby spinach and other assorted vegetables.

The seafood was incredibly fresh.  How fresh?  See for yourself...


With my belly full, I went back to my hotel and prepared for round two on Sunday...

Thanks for stopping by...

Bill

Wednesday, March 20, 2013

KCBS Rib Practice

In our never ending quest to improve our scores, we tried some new techniques for our spare ribs.  What did we do this time?

1.  Used Dukes Dirt rub.
2.  Spray with apple juice after two hours on the cooker.
2.  Foiled after 3 hours in two ways:  One with just apple juice.  One with apple juice and Franks Sweet Chili Pepper sauce.
3.  A modified 3-2-1 method.  It was more of a 3-1-1 method.  We have found that 2 hours in foil overcooks the ribs.
4.  Lower cook temperature of 235 F.
5.  1 cup of Sweet Baby Rays mixed with 1/4 cup of honey for our glaze.

Here are the results:

Here they are after 3 hours, just before the foil.  I love the nice red color that the Dukes Dirt gives to the ribs...


Franks Sweet Chili sauce on the foil...


Placed meat side down and sprayed with apple juice...


Wrapped and ready for the cooker...


Back on the cooker for 1 hour...


Out of the foil and ready for glaze...


All glazed up.  I applied the glaze and put back on the cooker for one hour...


Bottom line review?  It was a dead heat.  Half of the taste testers loved the ones without the Franks Sweet Chili sauce.  Half loved the ones without.  Hope and I couldn't make our minds up either.  This will require more testing before the season starts to pick our recipe for 2013.

Thanks for stopping by...

Bill

Sunday, March 17, 2013

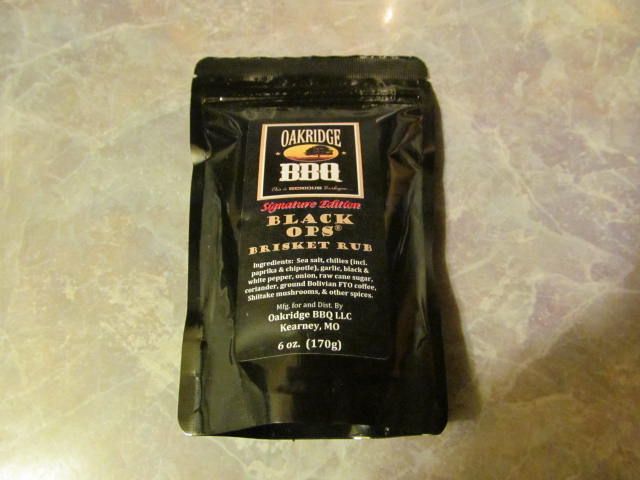
KCBS Competition Practice, Brisket. Part 4 of 4, and a Product Review, Oakridge BBQ Black Ops Brisket Rub

Three down, one to go.  Brisket.  Up until Nelsonville last October, brisket has been the category that we have done the worst in by far.  I have made some great brisket at home.  But in competition, we have been lacking.  But, mid-season last year, we did a little research and some talking with some fellow teams and changed up what we were doing.

The two biggest changes we made that improved our score were:

1.  Changed our rub.  We went to Oakridge BBQ Santa Maria Rub.
2.  Strained our juices, separated out the fat, and dredged the brisket slices through the au jus before putting in the box.

These two steps added an average of 30 points to our brisket score.

So, over the winter, we are trying a new Oakridge product, Black Ops Brisket Rub...


Upon opening the package, we knew this was not your standard brisket rub.  The aromas were rich and complex.  The finger test was not a disappointment.  Coffee and shitake mushrooms are just two ingredients that add a complex flavor to any piece of beef.  Enough of the rub for now, here are the details on our practice session...

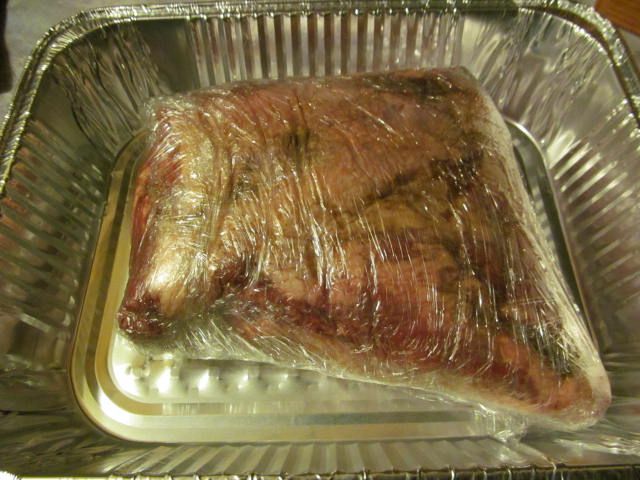
Hope went to the butcher and purchased a nice 4.5 lb brisket flat.  It was trimmed nicely with a thin layer of fat on the top.  We injected with a mix of soy sauce, Worcestershire sauce, and beef stock.  Then, we wrapped in plastic wrap and placed in the frig for some overnight happy time...


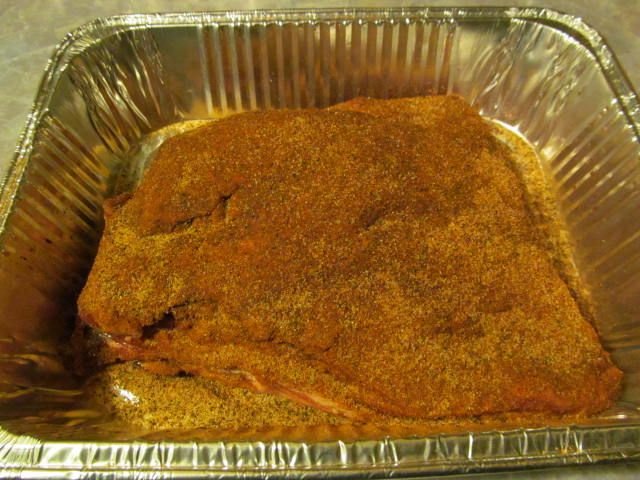
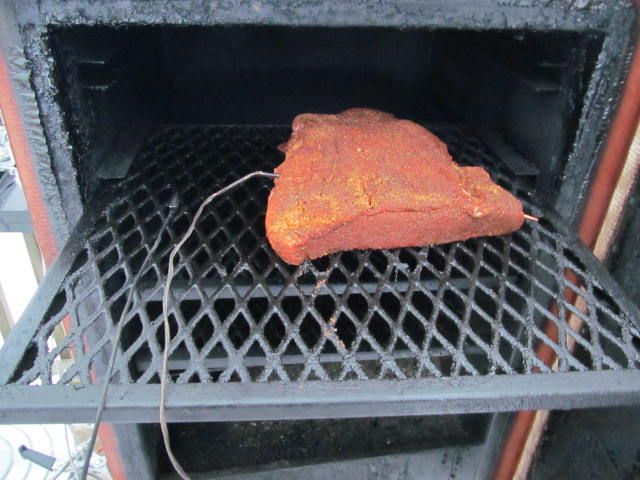
In the morning, I fired up the smoker and brought to 250 F.  While this was happening, I pulled the brisket out and applied a liberal coating of the Black Ops Brisket Rub...


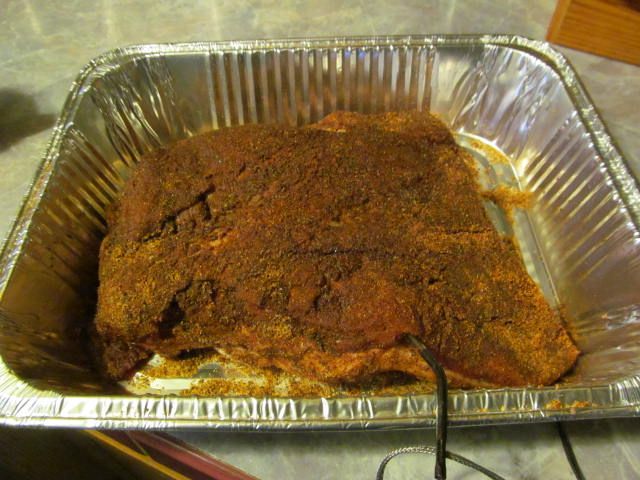
I allowed the brisket to sit on the counter for 2 hours for the rub to moisten and the brisket to come to room temperature.  Then, I placed some pecan in the ash pan of the smoker and placed the brisket on the second rack down on my smoker...


I also placed a toothpick (bottom right corner on the brisket) into the brisket perpendicular to the grain so I would know which way to slice when done.

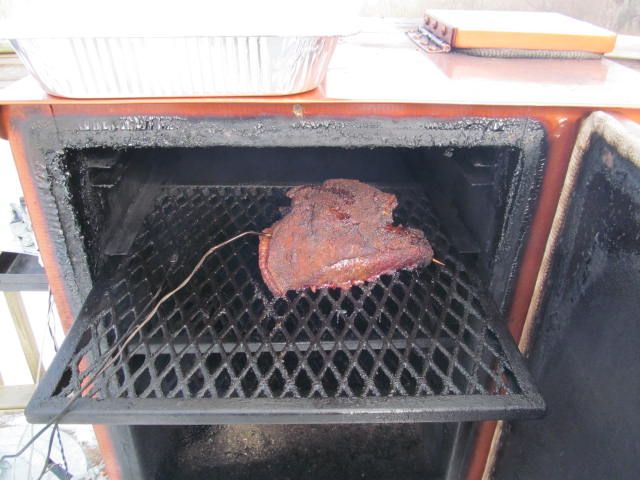
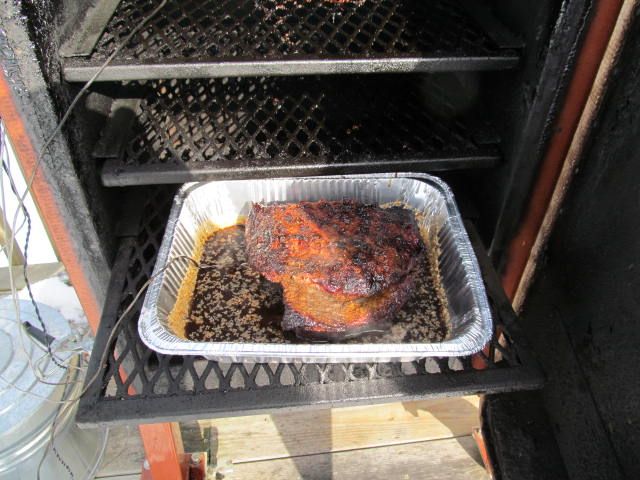
I then cooked the brisket until the internal temperature reached 175 F, then I placed in a foil pan with some of the reserved injected and covered with foil.

Brisket at 175 F before the pan...


In the pan...


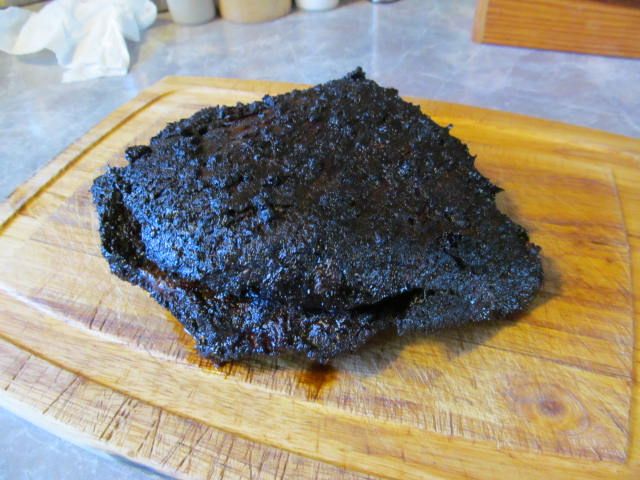
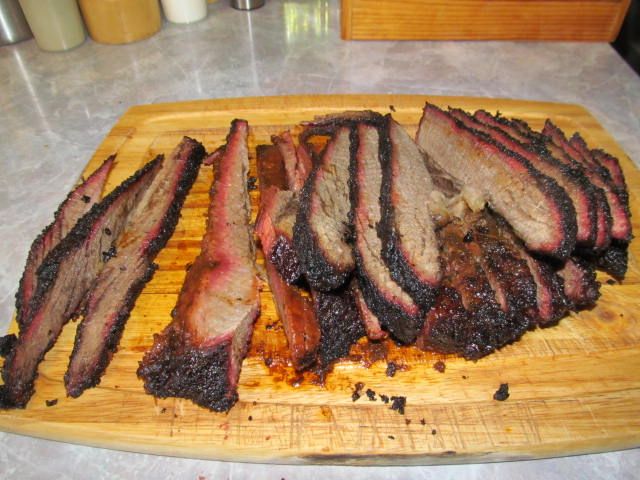
Once covered in foil, I cooked until an internal temperature of 195 F.  The temperature probe was sliding into the brisket like butter in about 80% of the meat.  Now, we usually place the brisket in a cooler with towels to rest for two hours.  But, we were hungry and it was late.  So, I only let the brisket rest for 30 minutes on top of the stove sitting in the pan.  When you do pull the pan out of your cooker, crack the foil to release the steam.  This will give the bark a chance to set up.  And set up it did.  Look at this beautiful bark.  It was the best bark I have ever produced on a brisket...


I sliced and dipped in some of the strained au jus.


My impression?  For the first time, I made something at home that I thought was trophy worthy in competition.  The Black Ops Rub was made for beef.  The rub made an outstanding bark.  The flavors of the rub mingled with the au jus and the natural flavor of the beef producing an outstanding taste.  I am sold!

Bottom line:

Brisket needs to rest at least two hours.  While the flavor was outstanding, it was not quite as tender as I would like.

Oakridge BBQ Black Ops Brisket Rub gets 4 stars out of 4.  While their Santa Maria rub is a outstanding product, the Black Ops rub is superior!

Thanks for stopping by...

Bill

Saturday, March 9, 2013

KCBS Competition Practice. Pork Butt. Part 3 of 4, and a Product Review, Dukes Dirt Rub

Ok, you have two boxes turned in.  You are half way home and you are really in the groove.  Time to dissect your pork butt for turn in at 1 pm.

Overall, pork butt is the easiest category in KCBS.  At least it is for us.  Here is what we are trying in this experiment:

1.  A new injection mix: apple juice, Worcester sauce, and soy sauce.
2.  A new rub, Dukes Dirt.
3.  Lower cook temperature: 235 F vs. 250 F.

After injection, I placed in a foil pan covered with foil and let sit overnight...


Then, about 2 hours before placing the butt on the smoker, I covered with a new rub that my friends have been talking about, Dukes Dirt...


After opening the Dukes Dirt, I knew I had a possible winner on my hands.  I could smell some citrus  and nutmeg overtones that were confirmed with the standard finger test.  I could not wait to see how this new predicted performed with this butt.  But, more on that later.

I fired up the smoker and brought to a temperature of 235 F.  Once I reached this temperature, I placed hickory and peach wood in the ash pan, than loaded the butt in the smoker...


I cooked this butt without panning or foiling.  I just took to a temperature of 195 F, then wrapped in foil to rest for 30 minutes.  More on that later.  Here is a picture before pulling..

Here is a picture after resting and pulling...


So, my overall thoughts:

I like the flavor of the new injection.  I also like the flavor of the Dukes Dirt.  The smells coming from the smoker while cooking were intoxicating.  I could not wait to try this pulled pork. 

But, after pulling the meat and trying, I was a little disappointed.  Number one, the meat did not pull well.  But, this was due to the 30 minutes of rest time.  I usually allow my butts to rest for at least 2 hours in a cooler.  They usually just fall right apart.  But, I had hungry people waiting and a butt that took longer than usual to cook.  Number two complaint was the bark.  I would have liked more of a uniform color and darkness.  I did notice the Dukes Dirt did not have as much sugar as I would usually see on a rub.  Also, perhaps I did not place enough rub evenly on the butt.  Things to consider the next time I make pulled pork.  But, I was very happy with the taste, flavor, and smell.  Once I refine my technique on this one, I will dutifully report back. 

For now the Dukes Dirt gets 3 out of 4 stars.  But, I reserve the right to revise my scoring in the future. 

Thanks for stopping by...

Bill