Sometimes in your travels you come along culinary hacks that are so simple, yet add so much to the final product. This was the case this past year while traveling in India for business. When you visit customers in India, it is customary to sit down, have some refreshment and talk about the weather (yes, it is very hot and dusty here. Have you ever seen snow?), family (yes, a wife, two stepchildren, and three dogs), and politics when they find out you are from the United States (yes, our federal government does act like petulant children and I am 110% sure I would be fired if I acted like that in the workplace). Anyway, because India was once colonized by England, there is a large English influence in some aspects of life. One of those influences comes in the Indian choice of snacks. Snacks generally consist of a tin containing assorted butter cookies, potato chips, crackers, and tea. During this one visit, a place of crackers that looked like Ritz crackers appeared. Upon closer inspection, I saw some seeds baked into the cracker. I was intrigued, so I grabbed one and nibbled. My American geared brain was thinking caraway. I was so wrong.
My Chinese colleague tried one of these crackers at about the same time. We both looked at each other and said "cumin?" at the same time. Cumin is prevalent in Indian cuisine. I should not have been surprised. But, this simple ingredient took a run of the mill cracker and turned it into something that I had to battle my colleague for the rest of the plate. Is there a big box grocery store in Chandigarh on the way to the airport that I can stop and get a box?
Since this visit was around day three or four in India, I was in full Food Fantasy mode, centering mostly around BBQ and pizza. Getting around India is truly Planes, Trains, and Automobiles. You fly to a general area and drive no less than two hours to your destination. So, on the three hour drive back to the airport, I was thinking of ways to introduce toasted cumin into something crispy and savory. Cornbread came to mind and just last weekend I put my idea to the test.
I kept this dish simple. Simple can be better sometimes. I thought about introducing caramelized onions and jalapeño peppers. But, I decided against this and went with my standard cornbread recipe, toasted cumin included.
My recipe is my mothers recipe with some minor tweaks. It is a standard Southern buttermilk cornbread that is savory, not sweet. There is more cornmeal than flour. Recipes that have equal or more flour than cornmeal in the recipe just turn into corn cake in my opinion. One final note, fresh buttermilk gives you a fluffier final product. Using old buttermilk produces a denser, flatter final product.
Homemade Toasted Cumin Buttermilk Cornbread
1.5 cups Cornmeal (I use Quaker yellow)
1/2 cup Self Rising Flour
1 tsp Baking Soda
1 Egg, beaten
1.25 cups Buttermilk
4 Tbsp Vegetable Oil (I tried cutting this in half. It works, but is a bit dry. Go with 4 Tbsp)
1/2 tsp toasted cumin seed
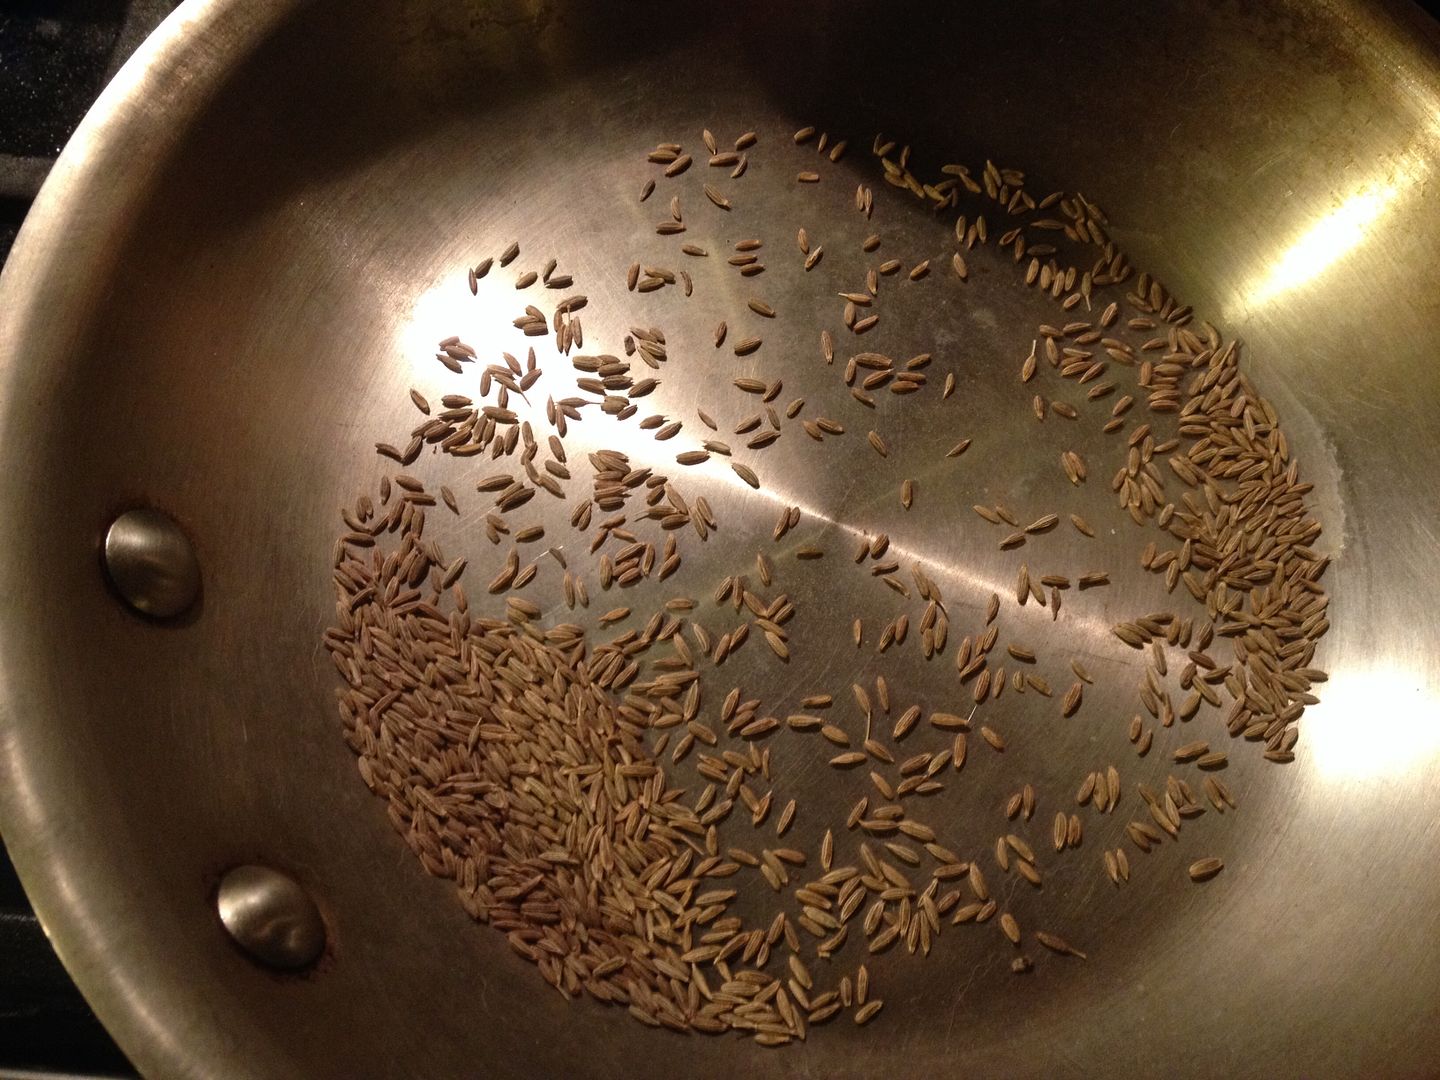
Preheat your oven to 400 F. While you are waiting on your oven, mix together your dry ingredients in a mixing bowl. Beat your egg in a separate bowl, then add to your dry ingredients with the buttermilk stirring until all the dry ingredients are wet. Do not over mix your batter. Then, I took my cumin seed and lightly toasted them in a sauté pan on low heat until fragrant and browned. This takes about five minutes depending upon how low your low is on your stove top burners. Very intoxicating if you like cumin like I do.
Before toasting.

After toasting.

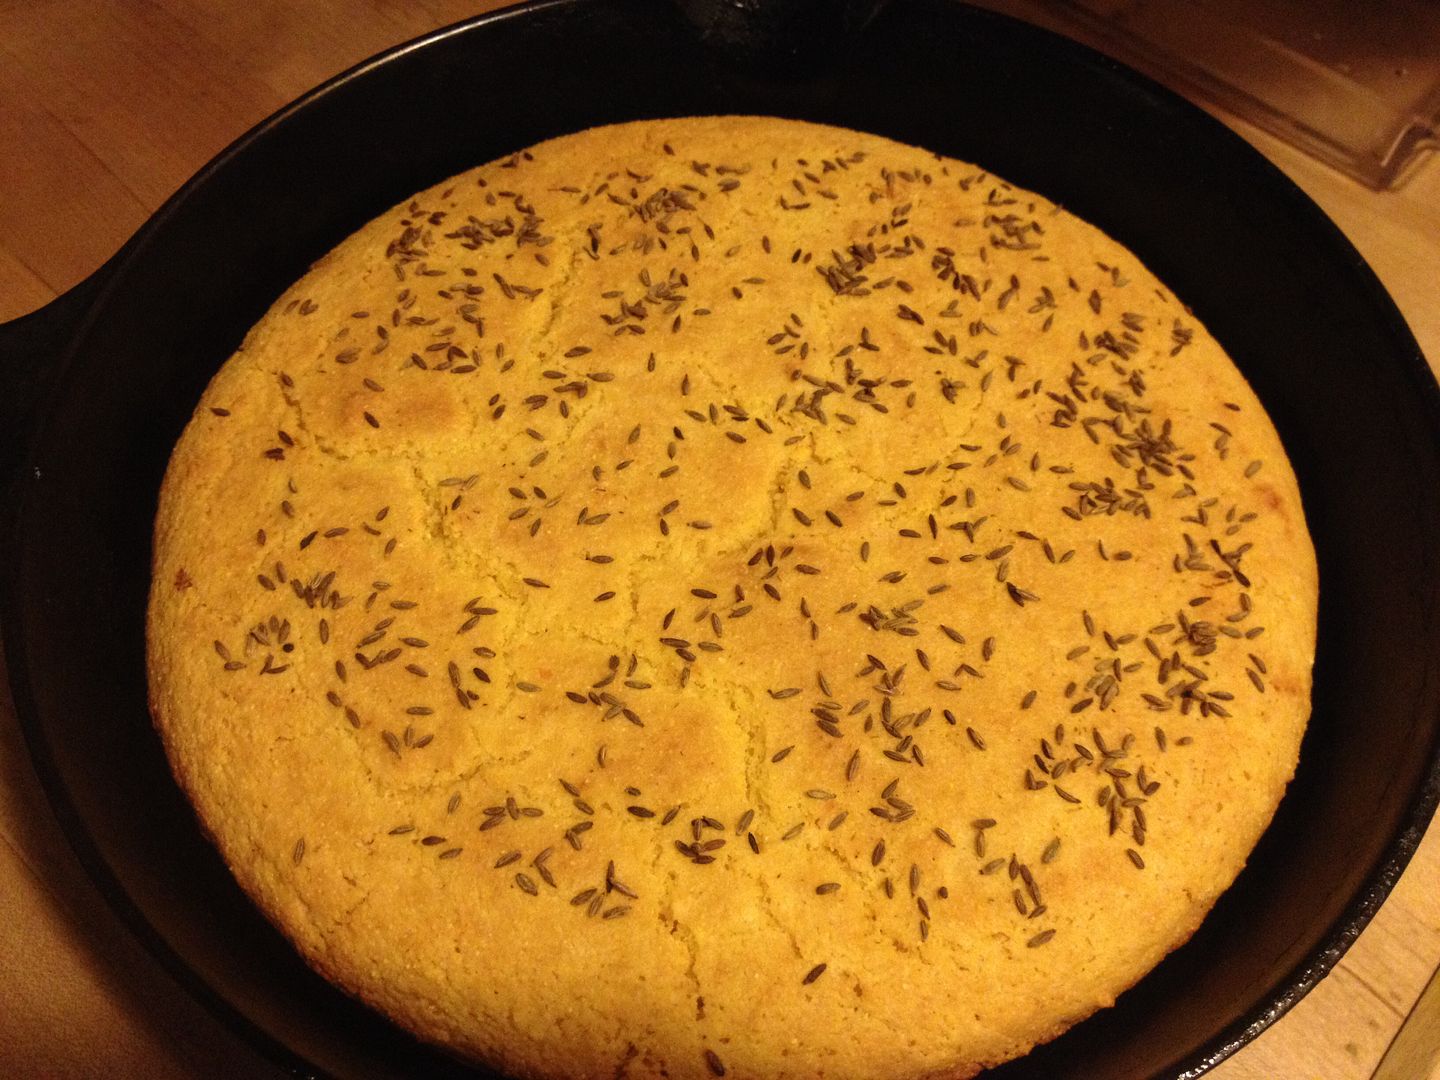
Next, add the vegetable oil to the cast iron skillet and place in your hot oven for 3 to 4 minutes. You want your skillet to get hot, but you don’t want the oil to start smoking. I usually let it sit in the oven for two minutes. Remove your skillet from the oven (remember, hot cast iron looks like cold cast iron, wear an oven mitt) and move your skillet around to make sure all surfaces of the skillet are thoroughly coated with the oil, including the sides. Next, pour the excess oil into the batter and stir, then pour your batter into the hot cast iron. Next, I evenly topped the batter with my toasted cumin and placed the pan in the oven. Bake for 25 minutes or until lightly browned. A toothpick inserted into the cornbread will come out clean when done.
The final product.

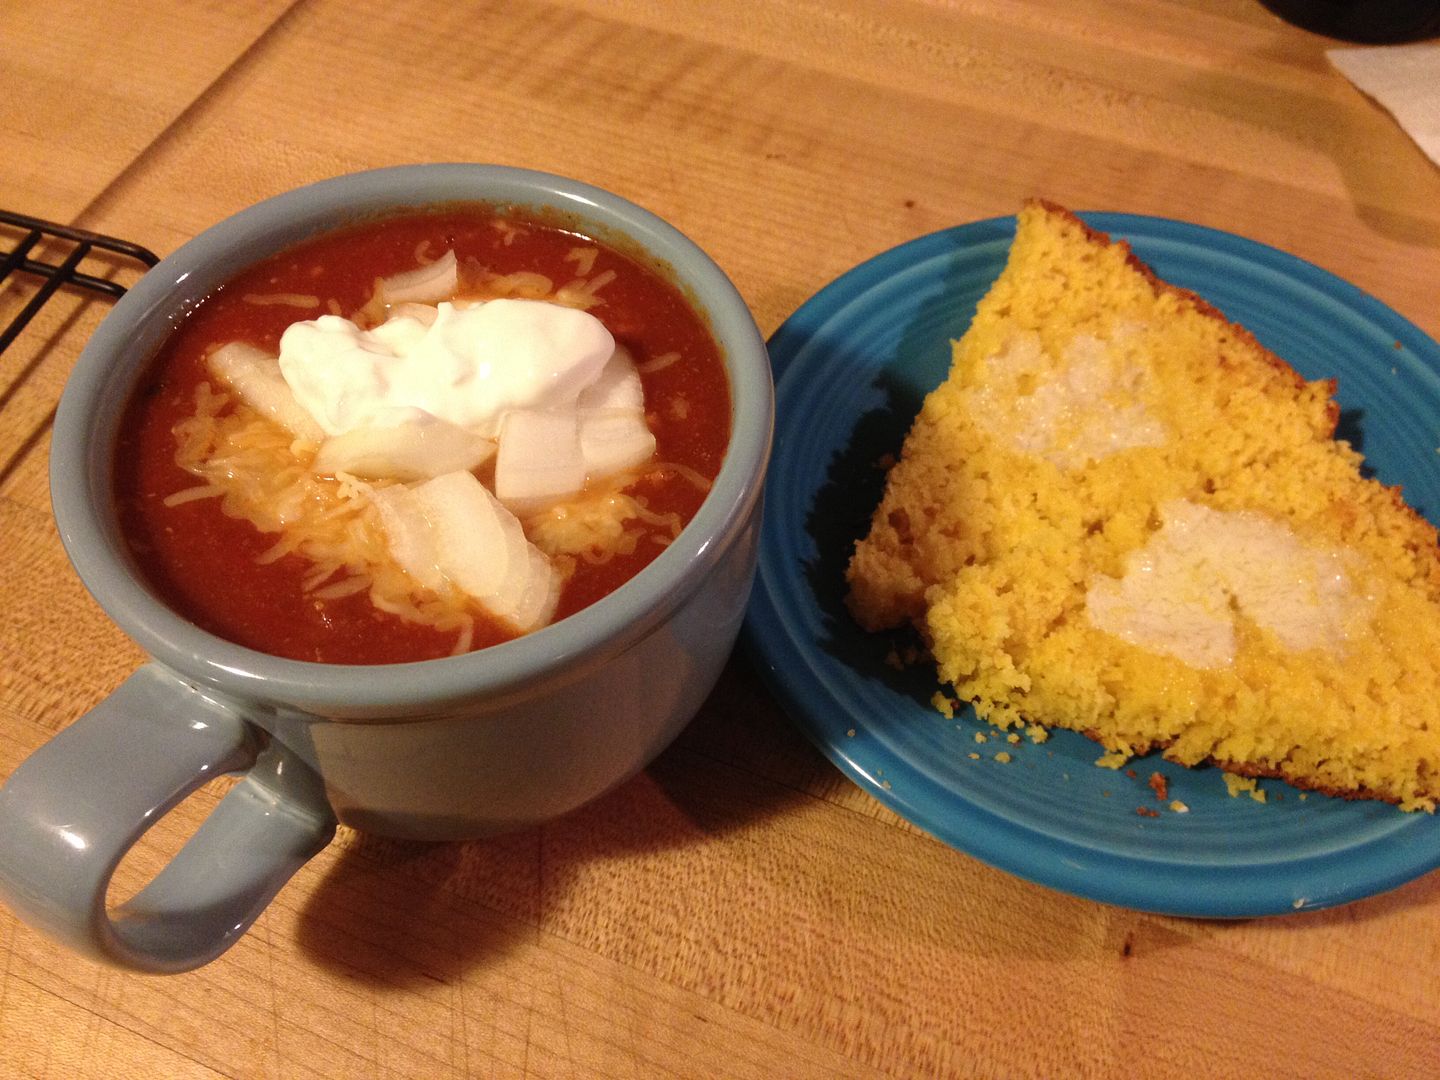
I served with lots of butter and some chili (more on that later) on the side.

Yep, it was everything that I expected. So simple, yet it adds a nice subtle flavor to the cornbread. The Youngest scarfed half of the pan himself. Next time, I am going to incorporate the toasted cumin into the batter before pouring into the skillet. I may even add some jalapeño and caramelized onion as well.
Thanks for stopping by,
Bill
My Chinese colleague tried one of these crackers at about the same time. We both looked at each other and said "cumin?" at the same time. Cumin is prevalent in Indian cuisine. I should not have been surprised. But, this simple ingredient took a run of the mill cracker and turned it into something that I had to battle my colleague for the rest of the plate. Is there a big box grocery store in Chandigarh on the way to the airport that I can stop and get a box?
Since this visit was around day three or four in India, I was in full Food Fantasy mode, centering mostly around BBQ and pizza. Getting around India is truly Planes, Trains, and Automobiles. You fly to a general area and drive no less than two hours to your destination. So, on the three hour drive back to the airport, I was thinking of ways to introduce toasted cumin into something crispy and savory. Cornbread came to mind and just last weekend I put my idea to the test.
I kept this dish simple. Simple can be better sometimes. I thought about introducing caramelized onions and jalapeño peppers. But, I decided against this and went with my standard cornbread recipe, toasted cumin included.
My recipe is my mothers recipe with some minor tweaks. It is a standard Southern buttermilk cornbread that is savory, not sweet. There is more cornmeal than flour. Recipes that have equal or more flour than cornmeal in the recipe just turn into corn cake in my opinion. One final note, fresh buttermilk gives you a fluffier final product. Using old buttermilk produces a denser, flatter final product.
Homemade Toasted Cumin Buttermilk Cornbread
1.5 cups Cornmeal (I use Quaker yellow)
1/2 cup Self Rising Flour
1 tsp Baking Soda
1 Egg, beaten
1.25 cups Buttermilk
4 Tbsp Vegetable Oil (I tried cutting this in half. It works, but is a bit dry. Go with 4 Tbsp)
1/2 tsp toasted cumin seed
Preheat your oven to 400 F. While you are waiting on your oven, mix together your dry ingredients in a mixing bowl. Beat your egg in a separate bowl, then add to your dry ingredients with the buttermilk stirring until all the dry ingredients are wet. Do not over mix your batter. Then, I took my cumin seed and lightly toasted them in a sauté pan on low heat until fragrant and browned. This takes about five minutes depending upon how low your low is on your stove top burners. Very intoxicating if you like cumin like I do.
Before toasting.
After toasting.

Next, add the vegetable oil to the cast iron skillet and place in your hot oven for 3 to 4 minutes. You want your skillet to get hot, but you don’t want the oil to start smoking. I usually let it sit in the oven for two minutes. Remove your skillet from the oven (remember, hot cast iron looks like cold cast iron, wear an oven mitt) and move your skillet around to make sure all surfaces of the skillet are thoroughly coated with the oil, including the sides. Next, pour the excess oil into the batter and stir, then pour your batter into the hot cast iron. Next, I evenly topped the batter with my toasted cumin and placed the pan in the oven. Bake for 25 minutes or until lightly browned. A toothpick inserted into the cornbread will come out clean when done.
The final product.
I served with lots of butter and some chili (more on that later) on the side.
Yep, it was everything that I expected. So simple, yet it adds a nice subtle flavor to the cornbread. The Youngest scarfed half of the pan himself. Next time, I am going to incorporate the toasted cumin into the batter before pouring into the skillet. I may even add some jalapeño and caramelized onion as well.
Thanks for stopping by,
Bill