Search This Blog

Saturday, April 26, 2014

Perfect Tri-Tip and Grilled Artichokes

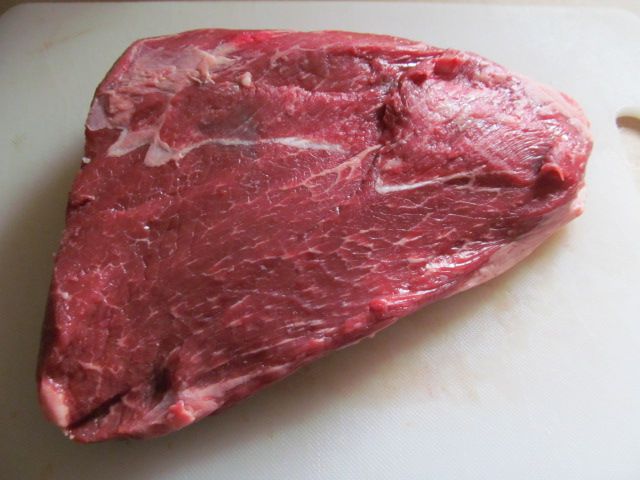
My butcher get in some of the best looking tri-tip roasts.  We have also done well in any grilled beef competition serving our grilled tri-tip.  So, a few weeks ago, we took the opportunity to practice our tri-tip cook.  At the same time, our local grocery store had artichokes on sale, so I decided to try my hand a grilling a few.

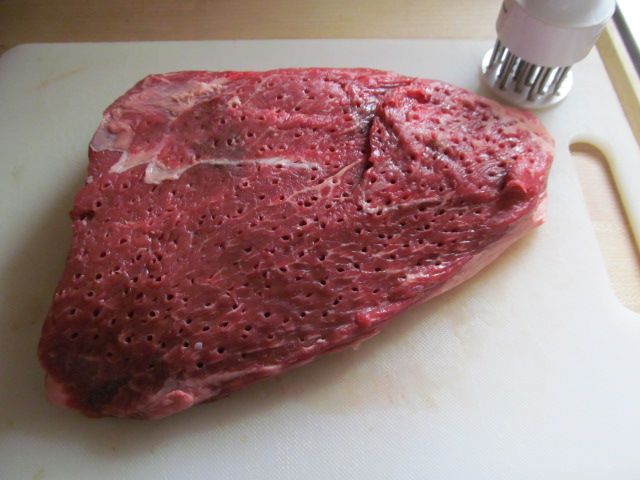
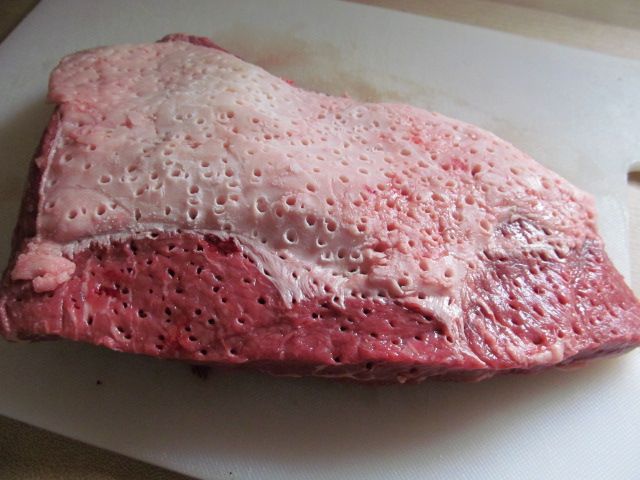
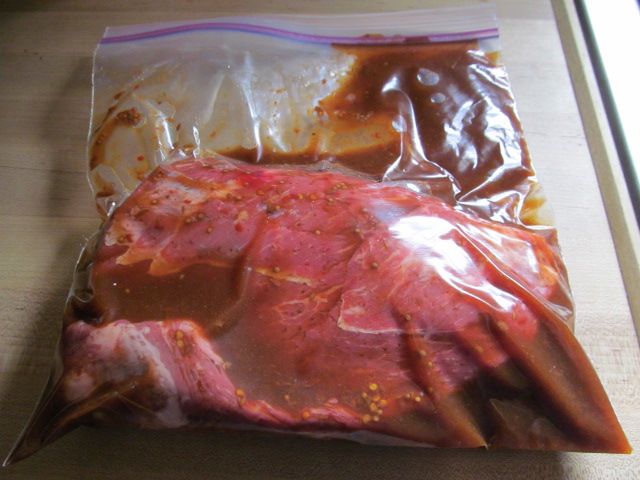
First, I took my tri-tip and tenderized on both sides, then I placed the meat in a plastic bag with a bottle of Stubbs beef marinade.  I then placed everything in the refrigerator to get happy for a few hours.


While the tri-tip was getting happy, I started on the artichokes.  I started by cleaning them.  First I removed the outer layer of leaves from the bottom and rinsed well.  Then, I cut the artichoke into quarters, leaving the stem intact.  
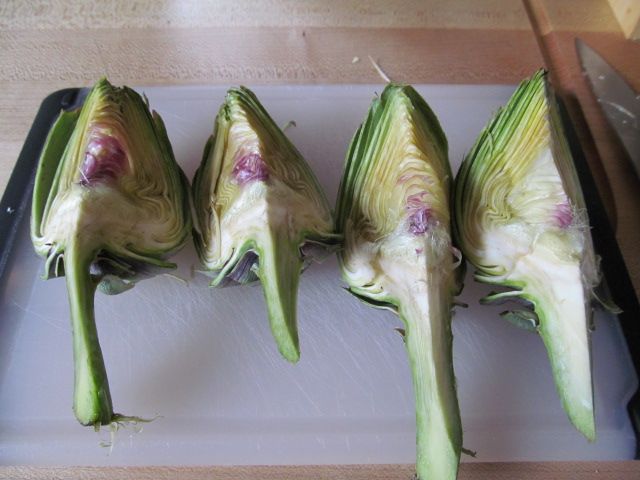

I placed the artichokes in simmering water and let them simmer for 15 minutes.  Then, I removed them from the water, and cleaned them further by removing the hairy part where the leaves meet the stem.  The is the "choke" part, just above the heart.  Once this was complete, we were ready to roll.  

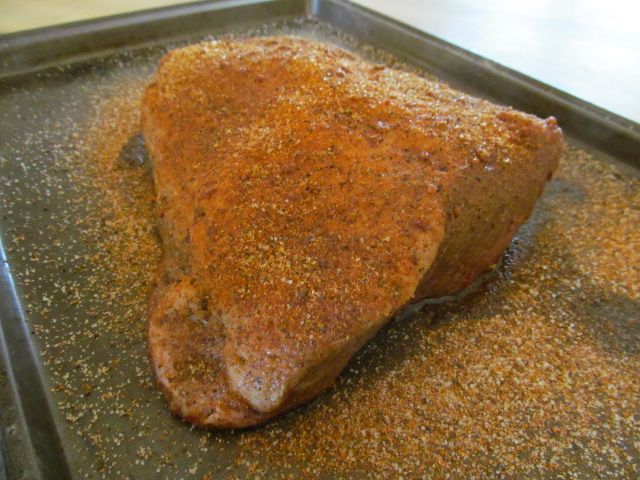
I seasoned my tri-tip with some Oakridge Black Ops Rub and allowed the meat to come to room temperature by sitting out for an hour.

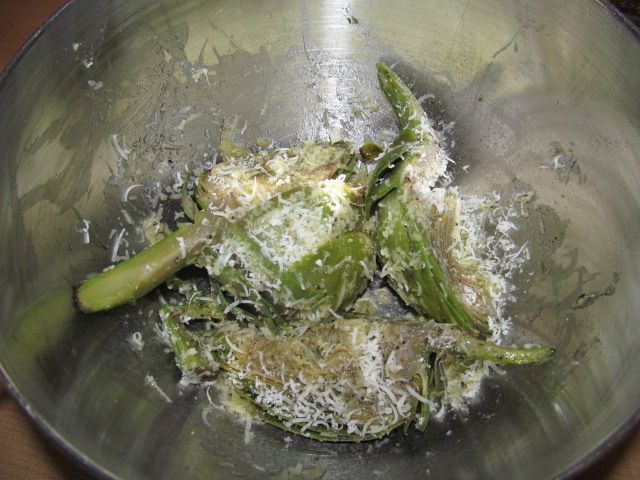
To the artichokes, I added olive oil, salt, pepper, and fresh ground Parmesan cheese.  When you add the oil and cheese, be sure to work the mixture down into and under the leaves for maximum flavor distribution.  

I fired the grill up and made a nice bed of coals.  I placed my tri-tip over the coals on direct heat and we were off to the races..  Once the tri-tip hit 135 F internal, I brought the meat inside to rest under some foil for 10 minutes and took the artichokes outside to grill.  

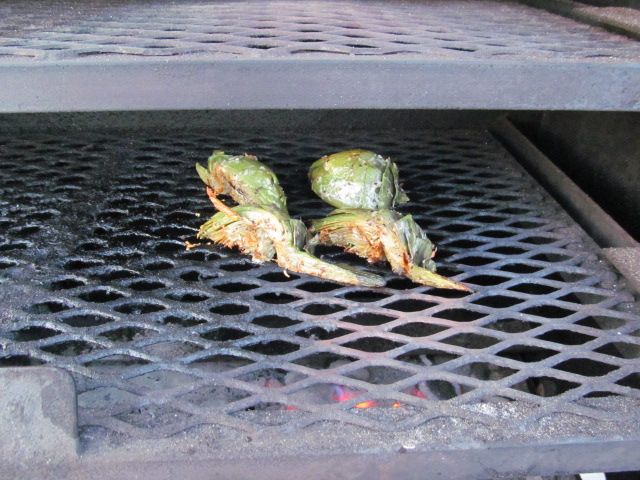
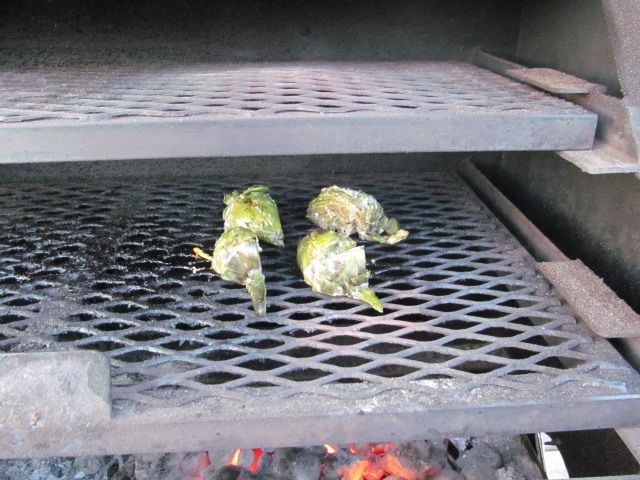
I placed the artichokes on direct heat for five minutes a side.  You only want to grill them long enough to warm them up, put some grill marks on them, and to brown the Parmesan a little.  


When done, I brought them inside and sliced the tri-tip.  
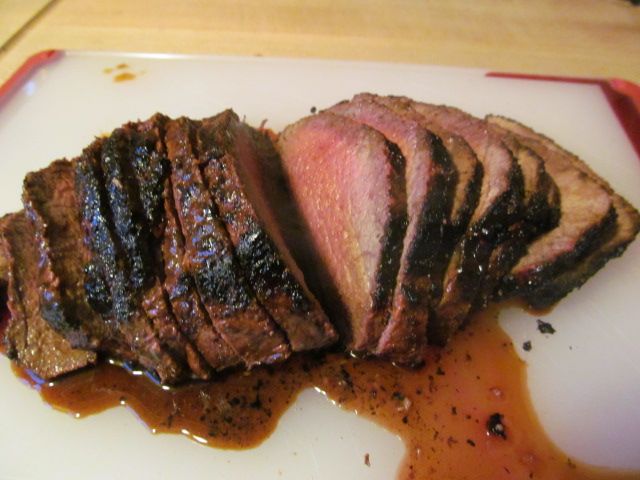

Perfect medium rare!

We served this tri-tip with the grilled artichokes and some oven roasted crispy Parmesan zucchini chips. 
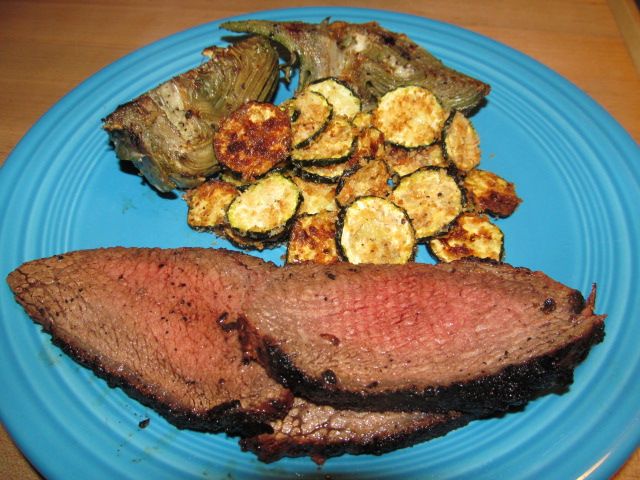

Good stuff.  Hope liked the artichokes, so we can have them again.  The tri-tip was flavorful, juicy, and tender as always.  The zucchini chips were good as well.  We like these better than fried.  Just a touch of olive oil, salt, pepper, panko bread crumbs and grated Parmesan.  In the oven at 450 F for 20 minutes.  They are sweet, crunchy, and not drenched in frying oil.  They are actually good for you.

Thanks for stopping by,

Bill

Tuesday, April 22, 2014

Brisket Burnt Ends: A Canvas for a Hearty Omelette

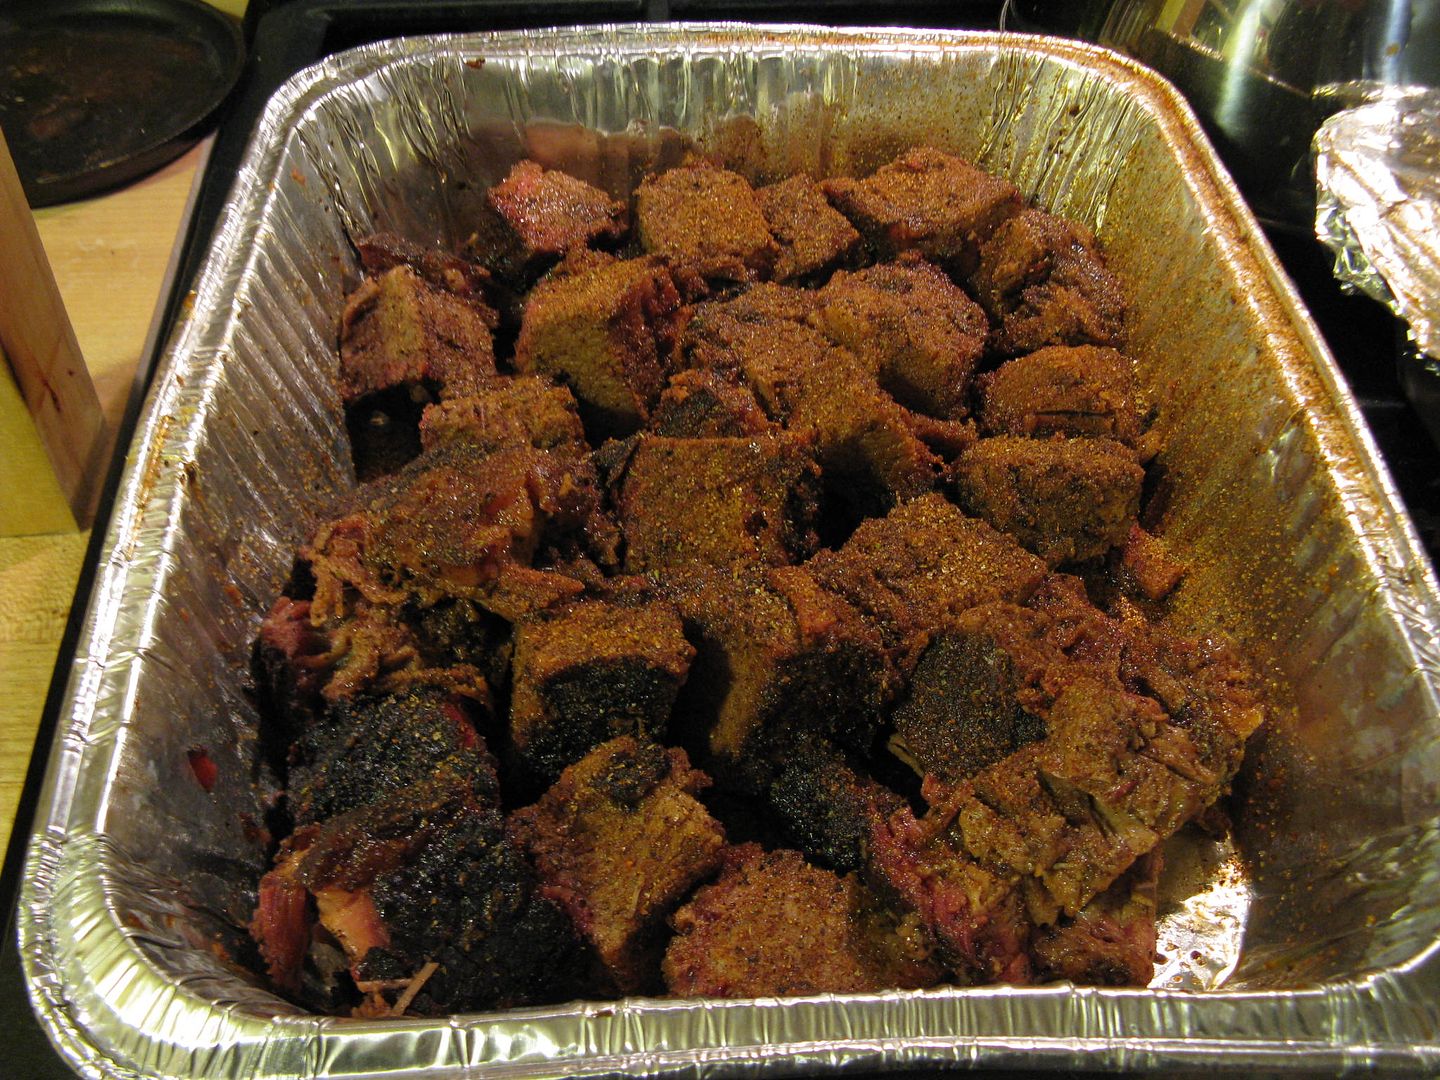
We are always looking for new and creative ways to deal with leftover BBQ.  This weekend, after our last practice cook for the upcoming competition season, we had a decent amount of burnt ends left over.  So, I was wondering, what can I do with these?  While they are tasty eats the next day, I was looking for something different.  After scouring the refrigerator for ideas, the contents of the frig spoke to me.  Omelettes...

For those of you who don't know what a burnt end is, let me tell you.  A burnt end is the fatty end of the brisket (the point).  Once the brisket is cooked, the point is removed from the flat and cubed into 1/4" pieces.  The cubes are seasoned with more rub, then either BBQ sauce or the au jus from your brisket cook is added to the cubes in a pan.  Once mixed up, the pan is placed back into your smoker for another 15-30 minutes so that the rub and sauce/au jus can set and make a nice, crispy bark.   They are the best part of the brisket in my opinion.


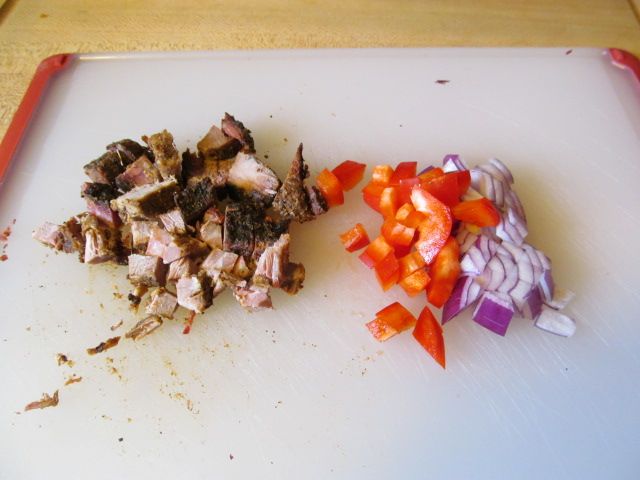
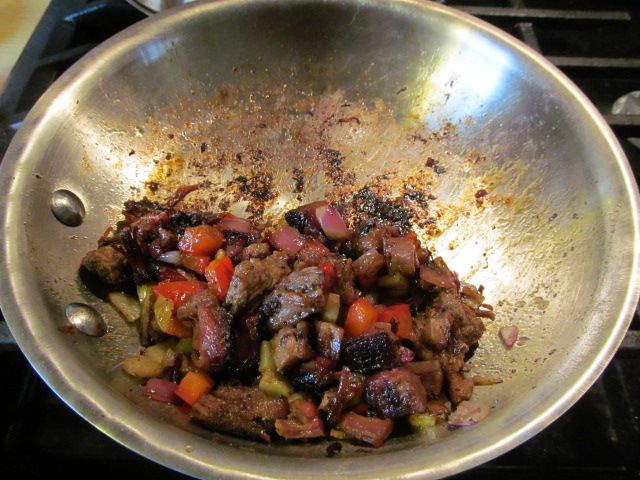
To start, I cubed some burnt ends, along with some red onion and sweet red pepper.  As an afterthought, I added one fingerling potato, finely diced.


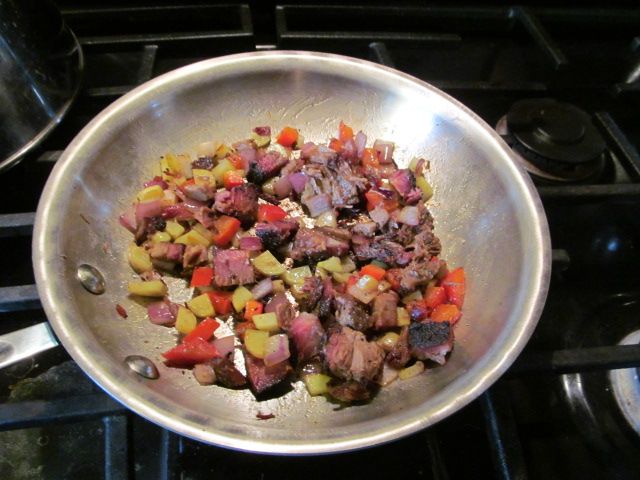
I place the above into a sauté pan with just enough olive oil to prevent sticking and to promote caramelization of the pepper and onion.  I sautéed on low for about 10 minutes, stirring occasionally, until I had the level of caramelization I desired.


I removed from the heat and added one tablespoon of Blue Hog Tennessee Red BBQ sauce for a bit of tangy flavor.  Then, I set aside.


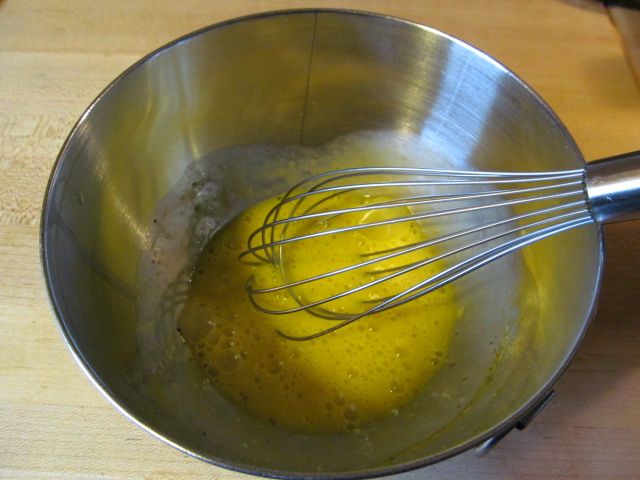
Next, I whisked two eggs and seasoned with salt and pepper.


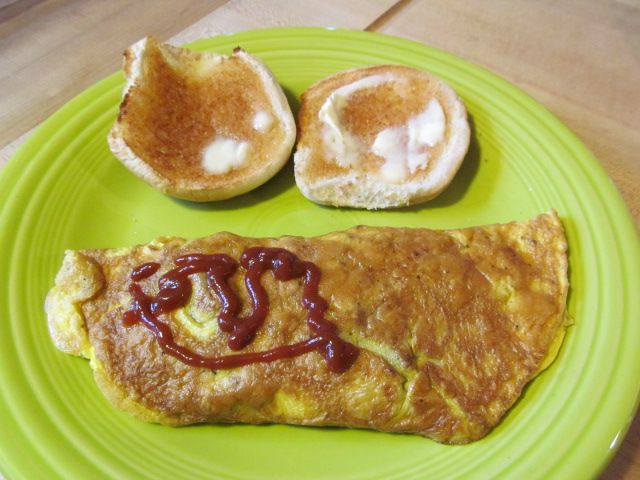
Add your beaten egg to a heated pan that has been sprayed with cooking spray.  Once the egg starts to firm up, add your burnt end filling and top with the cheese of your choice.  Flip your omelette over in half, then flip the half over to finish cooking the other side.

I served with sriracha sauce on half of my omelette for a little spice.


Breakfast for dinner is the best.  This was outstanding.  The burnt ends mingled nicely with the caramelized onion and pepper.  The Blues Hog added the right amount of acid as a counterbalance to the fat in the beef.  Finally, the potato added just the right amount of crunch.  I would highly recommend that if you have some leftover burnt ends in your future to give this a try.

Thanks for stopping by,

Bill
Saturday, April 19, 2014

Brining is a Verb: Dialing in our Competition Chicken

Over the years, our chicken entries have been pretty good.  Nothing less than a 20th place with a few trophies over the last two years.  We have made some tweaks here and there, but the basic recipe says the same.  This year, we are getting away from our homemade brine and going with the Game Changer Brine from Oakridge BBQ.  It smells a lot like my brine.  If anything though, it is just easier to make since I just dump it in water, boil, chill, and it is ready to use.  But, I started thinking, do I have to use water as my brine base?  Why not a liquid that has flavor.  So, I thought, I am cooking chicken, so why not use chicken broth.  Off to the R&D labs we went...

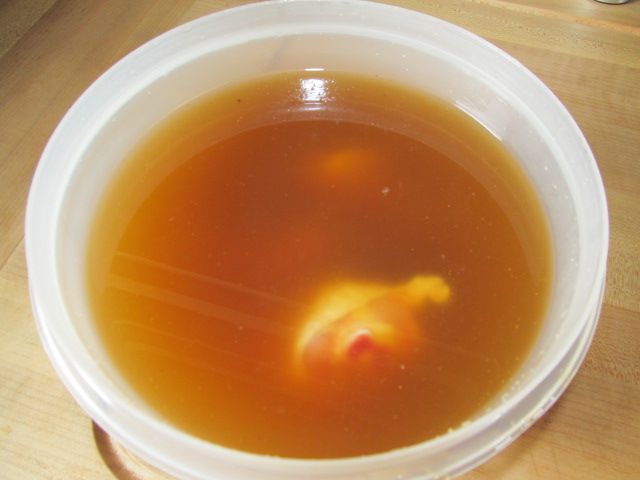
I made a batch of the brine following the directions on the back.  All I did was substitute chicken broth for water.  Brought it to a boil, chilled it down, and brined my chicken.


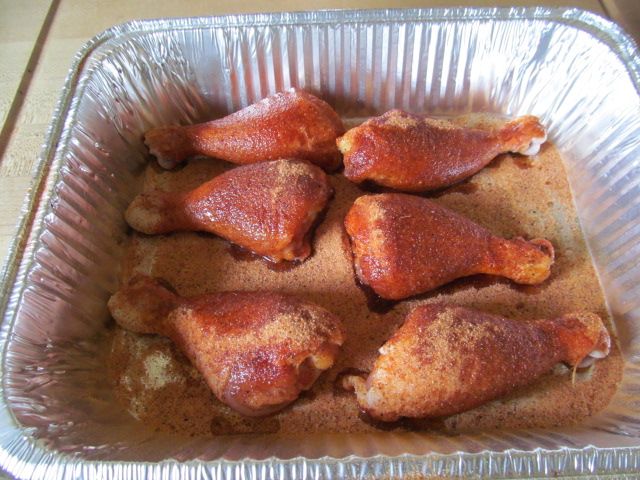
After one hour of brine time, I removed the chicken from the brine and rinsed with cold water.  Then, I rubbed both sides of the legs with Butchers Honey BBQ Rub.


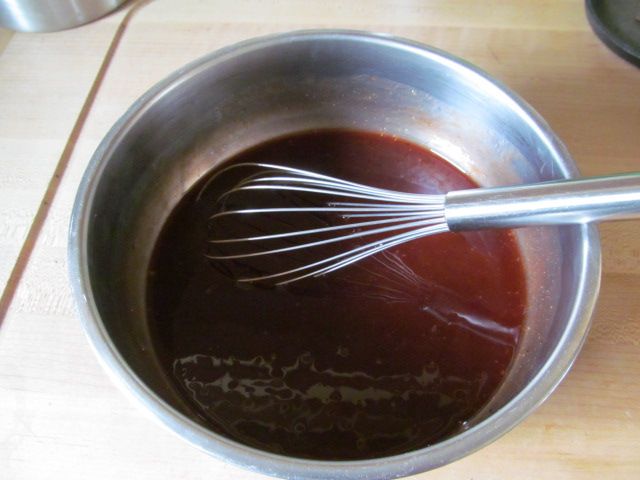
I whipped up a batch of sauce while I waited.


After letting the legs sit for about an hour, I placed them on the smoker at 275 F.  Then, I followed our process to the letter:

After 30 minutes, dunk in sauce, place legs in pan skin side down.  Place a pat of butter on the top of each leg.  Place back in smoker.

After 30 more minutes, dunk again in sauce, place legs on the rack, skin side up, and apply a light coat of rub.

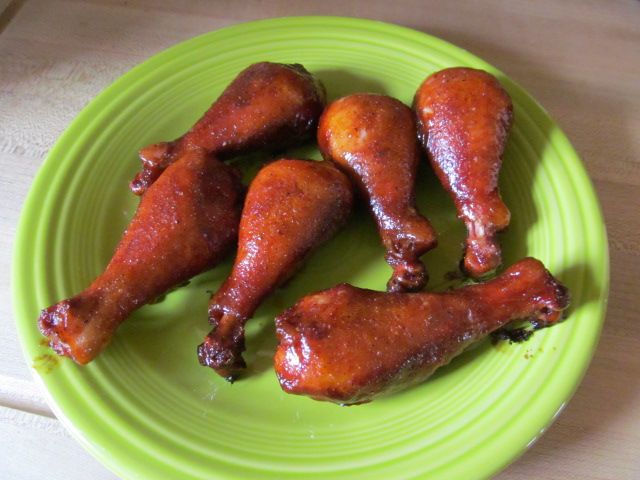
After 30 more minutes, 90 minutes total cook time, remove from smoker.  Enjoy with beverage of choice.


I gotta say, I like the chicken broth as my brine base.  The legs had a deep chicken favor, as well as being very moist, tender, and juicy.  I am glad we tried this out before the season.  Now, the big question, will the judges approve?  We will find out.

Thanks for stopping by,

Bill
Tuesday, April 15, 2014

A New Twist on a Burger

While I look outside the window today to gray skies, howling wind, and snow, it is hard to believe that it was sunny and in the 80's over the weekend.  But, Mother Nature is fickle in Western Pennsylvania in the springtime.  But, I made the most of the nice weather and grilled up some burgers.

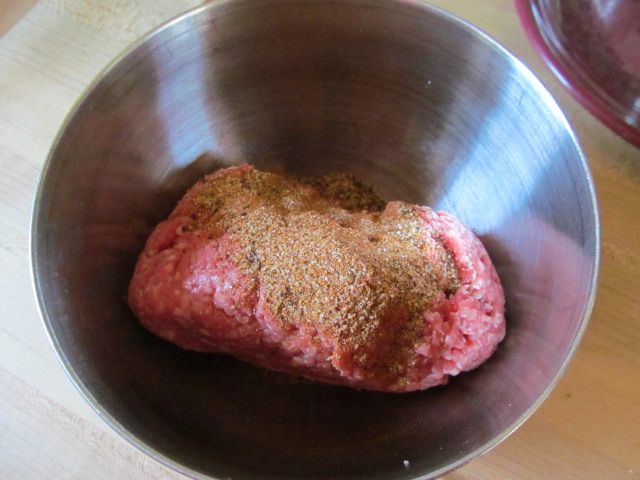
These were burgers with a twist though.  Nothing over the top, but different none the less.  We usually go for a plain burger around here.  Maybe the occasional onion soup mix burger.  But, I decided to add some of our brisket rub to the mix this time around.  So, to one pound of ground round, I added one tablespoon of Oakridge Black Ops Brisket rub.

So, burger in the bowl with the rub.  Mix well, but not too much so that you end up with a grainy burger after cooking.


1/4 pound portions in my magical burger press.


Back in the fridge to firm up.  Go outside to fabulous weather to fire up the grill.


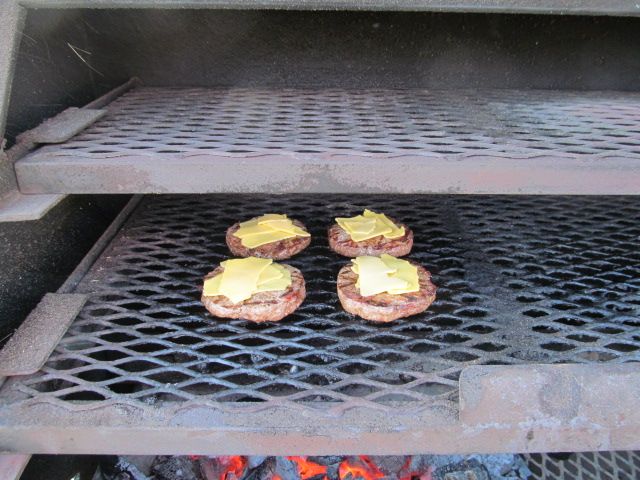
Red hot grill, then toss the burgers on and go inside to get my cheese.  Oh, by the way, do you think they like cheese?


Flipped the burgers after about three minutes, then added the cheese and closed the lid.


Three minutes later.  Perfect medium!


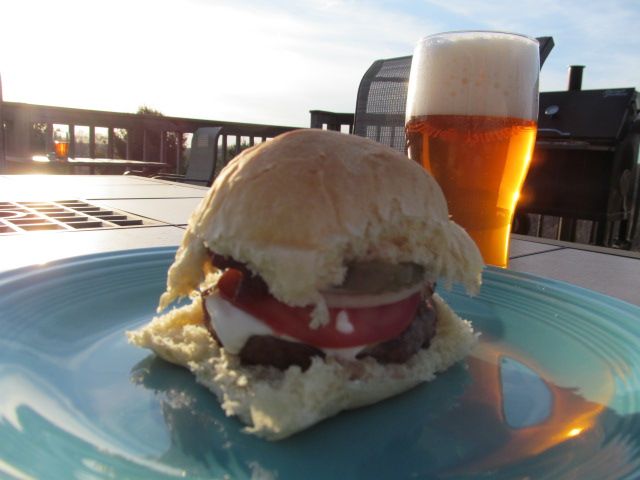
Add thin sliced sweet onion and tomato, dill chips, a thin schmear of mayo and a dollop of Heinz Balsamic Vinegar ketchup.  Served with a cold IPA and I was in heaven.


The brisket rub really kicked this up a notch.  You could make these burgers with any beef rub that you like.  I suggest you give it a try.

Thanks for stopping by,

Bill