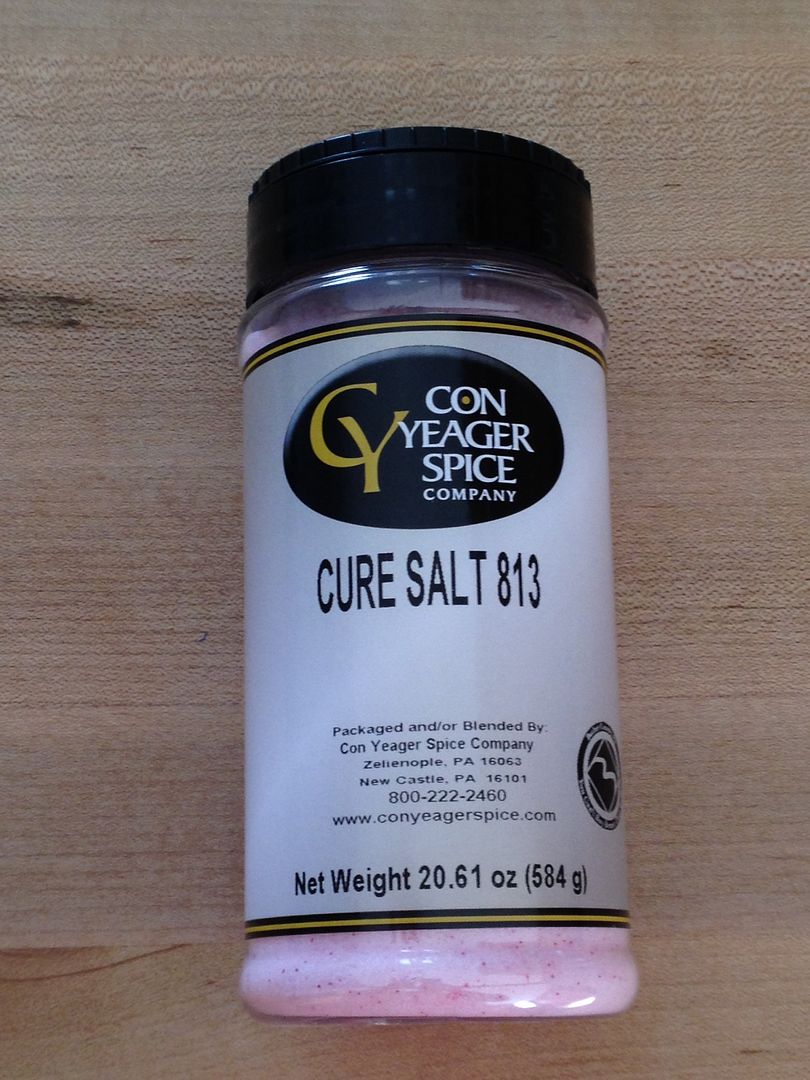
One our projects this year is to come up with a bacon recipe that is competition worthy. It seems that our butchers bacon right out of the case doesn't cut it with the judges. So, I stopped by our local spice shop and purchased a bottle of curing salt to start our journey.

This salt above is the same as Prague Powder #1. You can cure your meats with regular salt alone, but that is risky when you take bacteria formation into account. The curing salt prevents the formation of bacteria during the curing and smoking process ensuring food safety. We don't want to get any judges sick, do we? A quick note here. The salt is tinted pink so that you can distinguish it from regular table salt. Do not use this salt as a substitute for regular table salt.
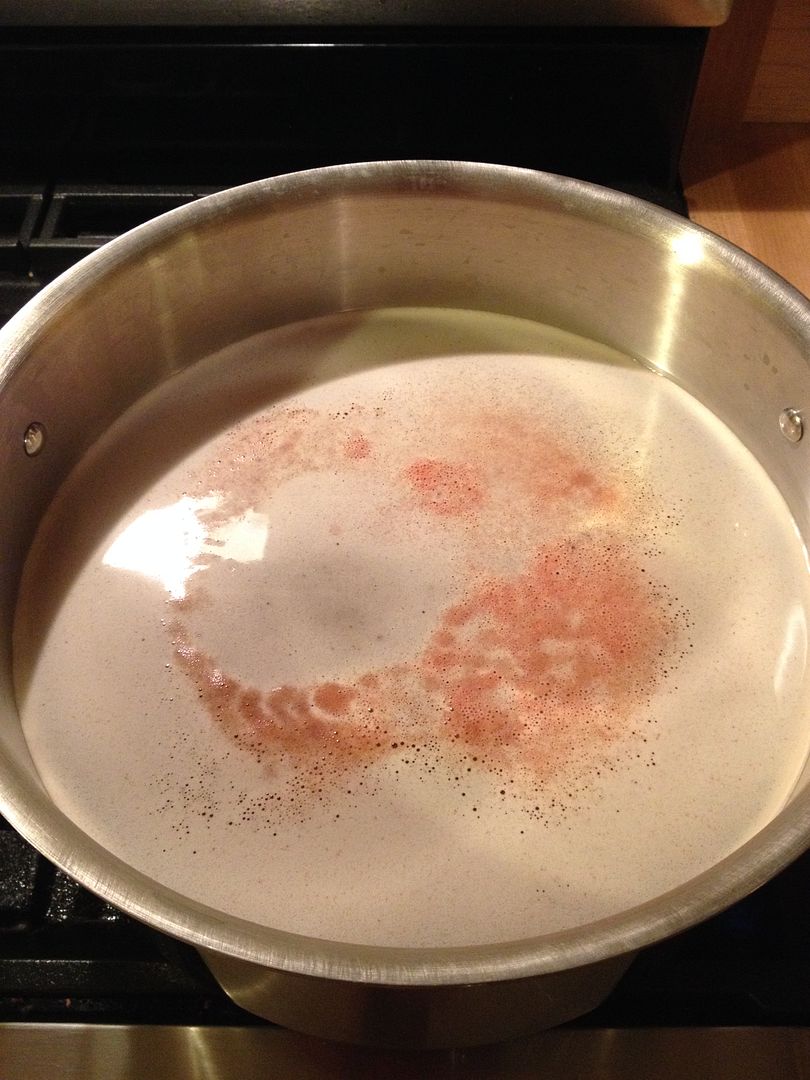
I wanted to try a wet cure this time. So used the recipe on the back of the label as a basis: 2 oz cure salt, 10 oz salt, 4 oz. sugar, per gallon of cold water. Instead of all water, we substituted 1/2 gallon of apple cider for half of the water. For our sugar source, we used turbinado sugar, otherwise known as Sugar in the Raw at your grocery store.
I placed all of the above ingredients into a dutch oven and heated until all of the salt and sugar was dissolved. Then I chilled over night.

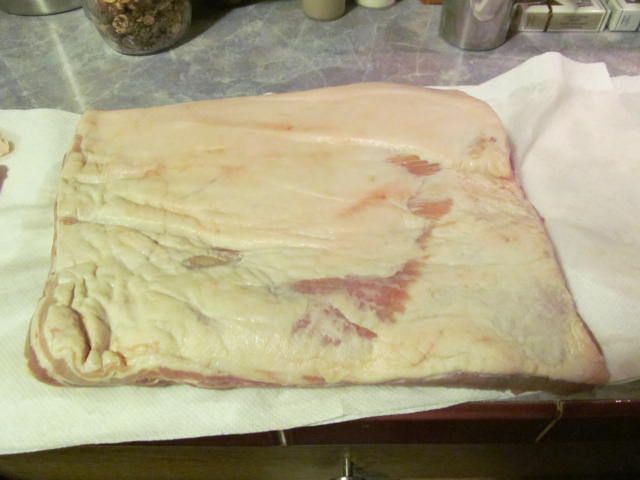
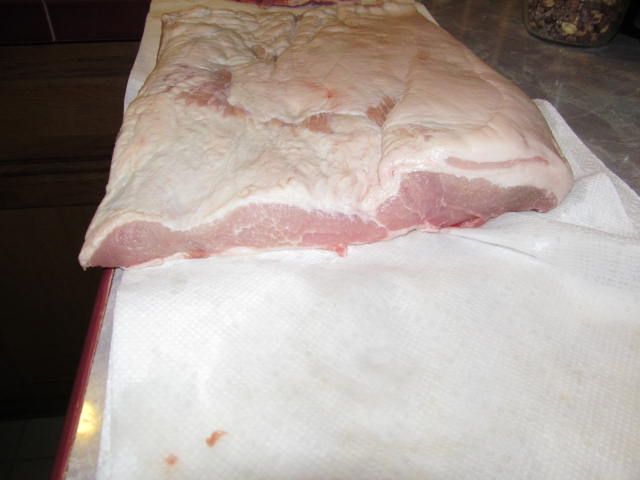
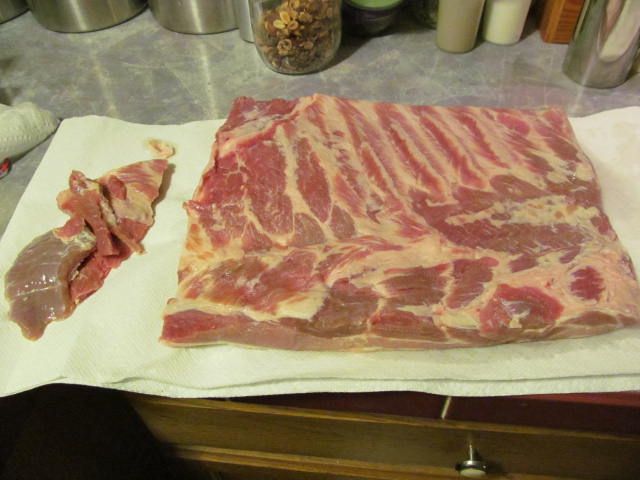
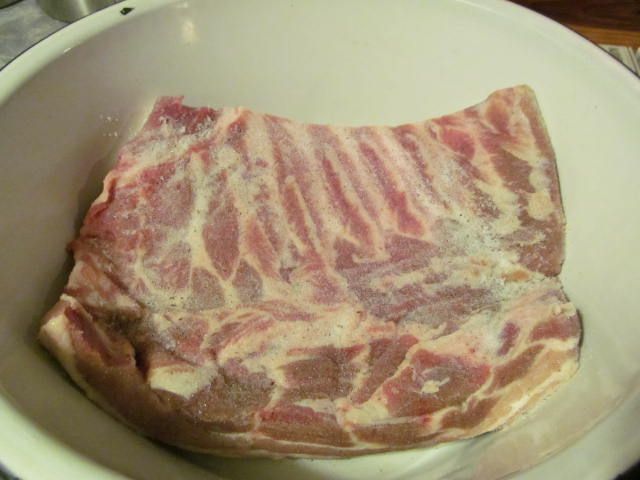
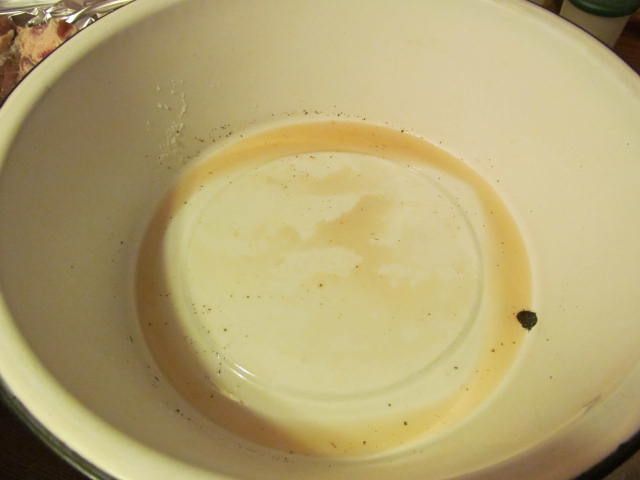
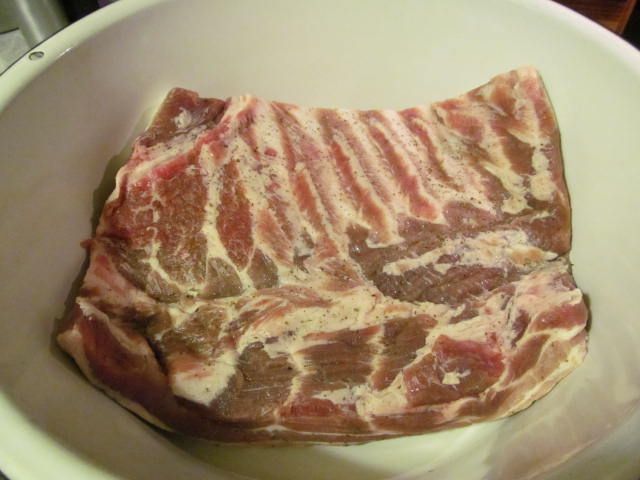
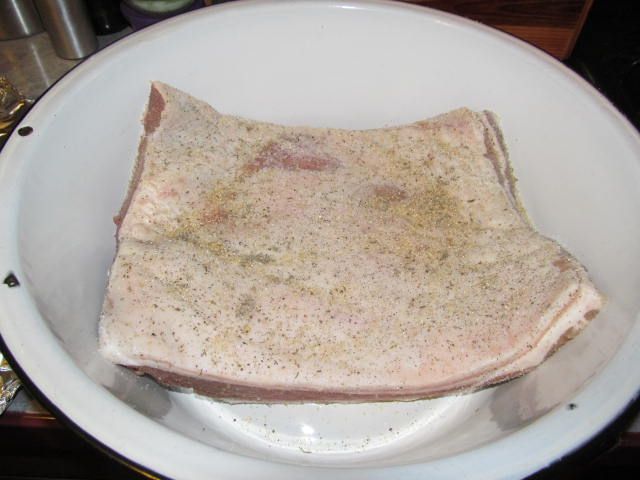
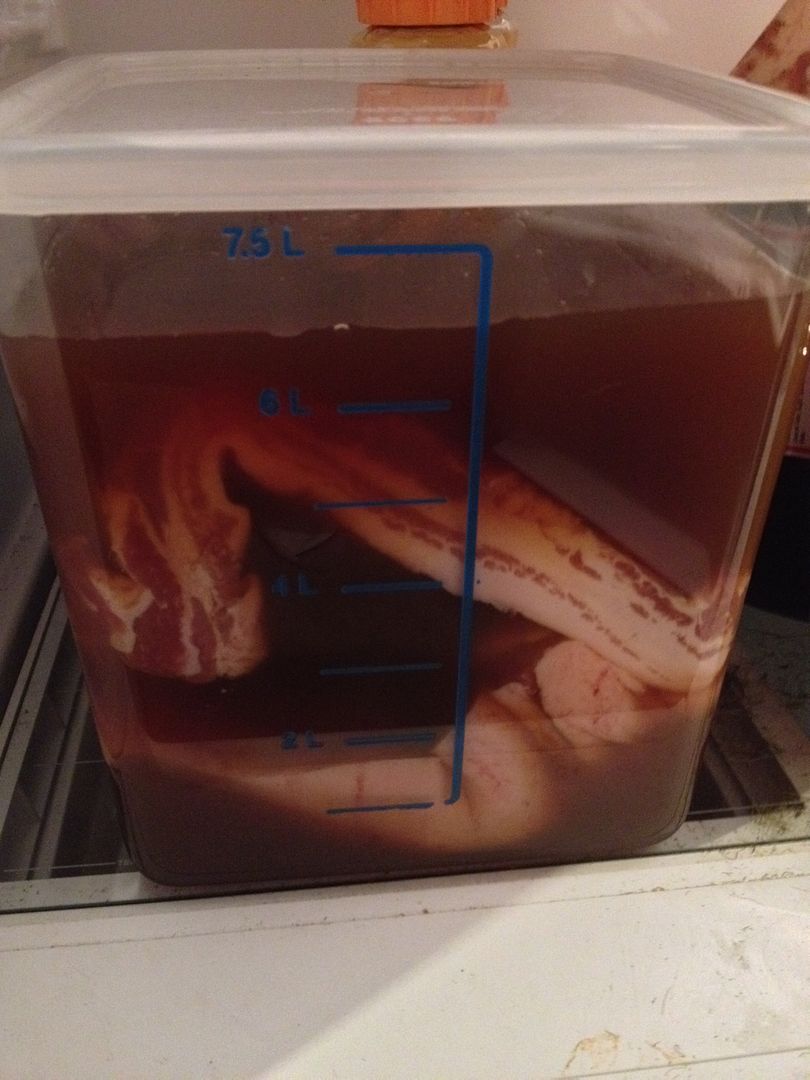
The next day, I place my pork bellies into food safe container and poured the brine on top of the meat. After ensuring that all surfaces of the pork were covered by the curing liquid, I placed the container in the refrigerator for a seven day nap.

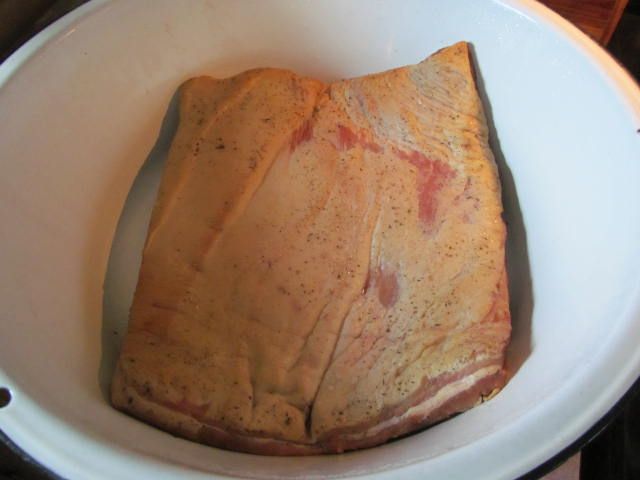
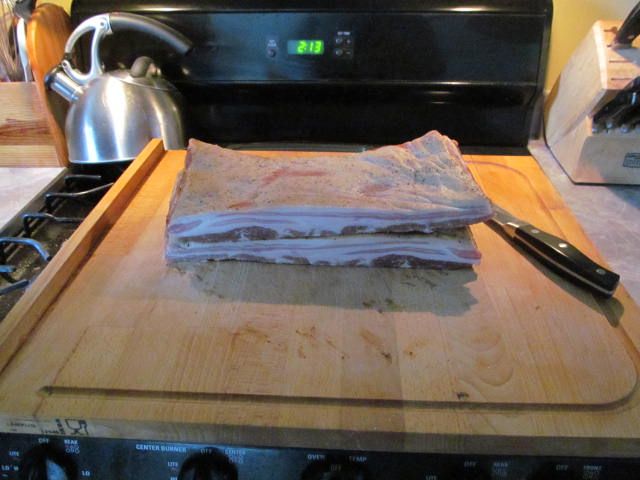
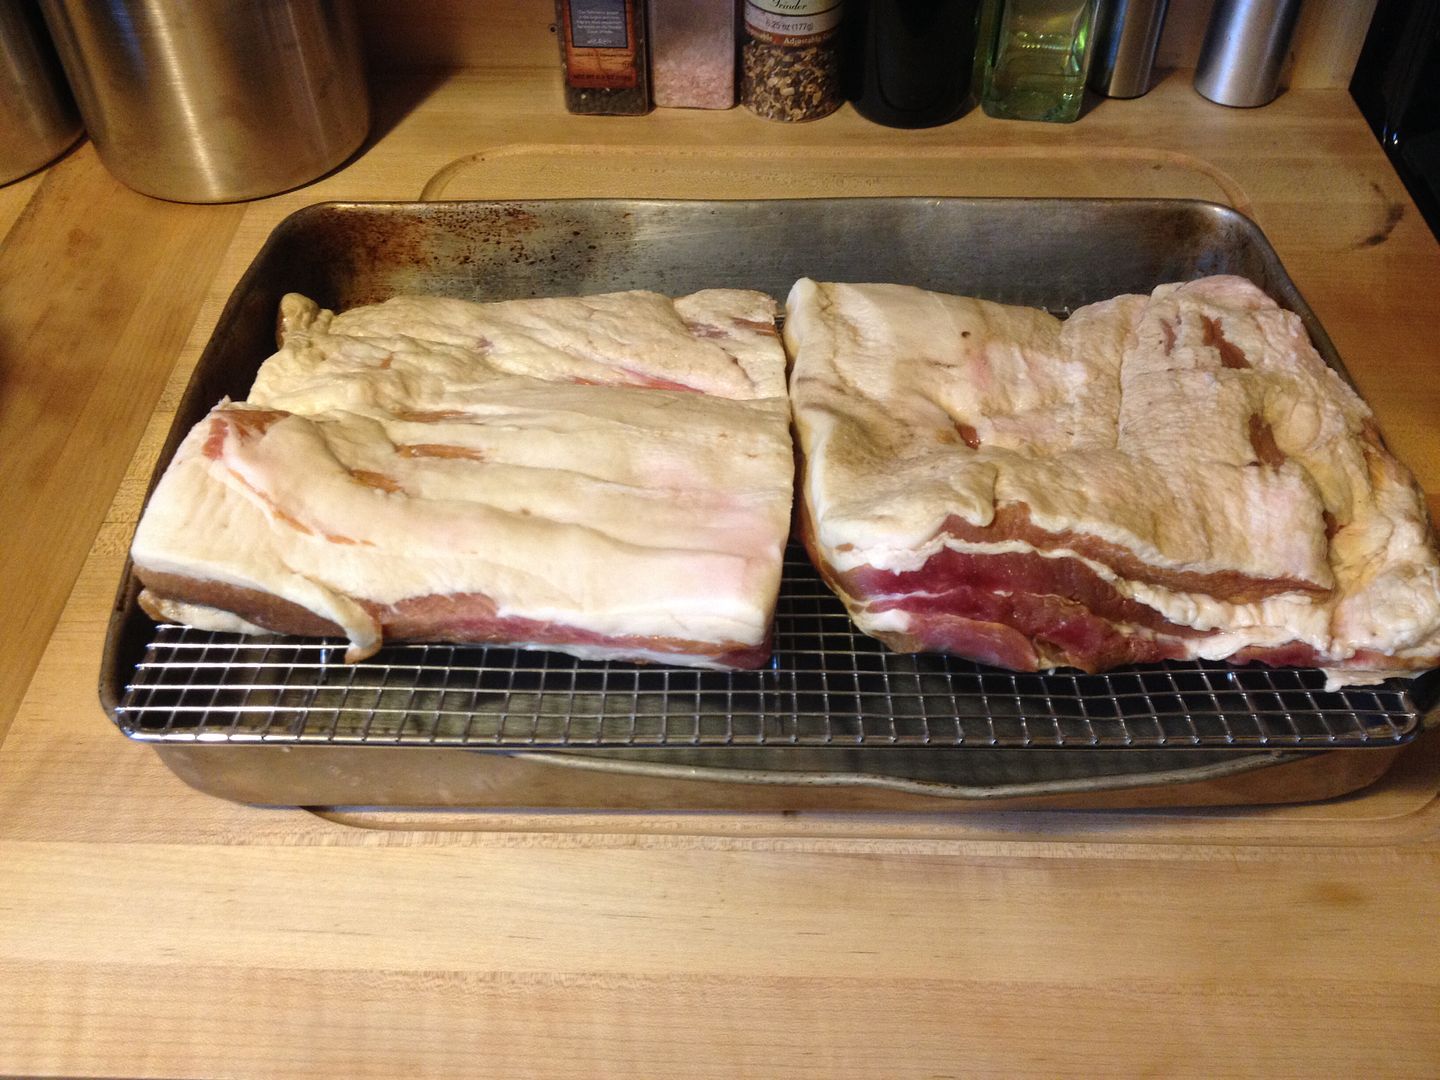
After seven days, I removed the bellies from the liquid, rinsed thoroughly with cold water, then patted dry. I placed the meat on a wire rack to dry while I started up my smoker.

I brought the smoker up to a temperature of 225 F, then added smoking wood to the ash pan. Used a mix of hickory, apple, and pecan. Once the smoke was thin and blue, I placed the pork bellies on the top rack of my smoker. My goal was to bring the internal temperature of the meat up to 150 F just to be on the safe side when it comes to bacteria formation. Remember, once you get above 140 F, bacteria formation quits and the bacteria start to be killed in the process.
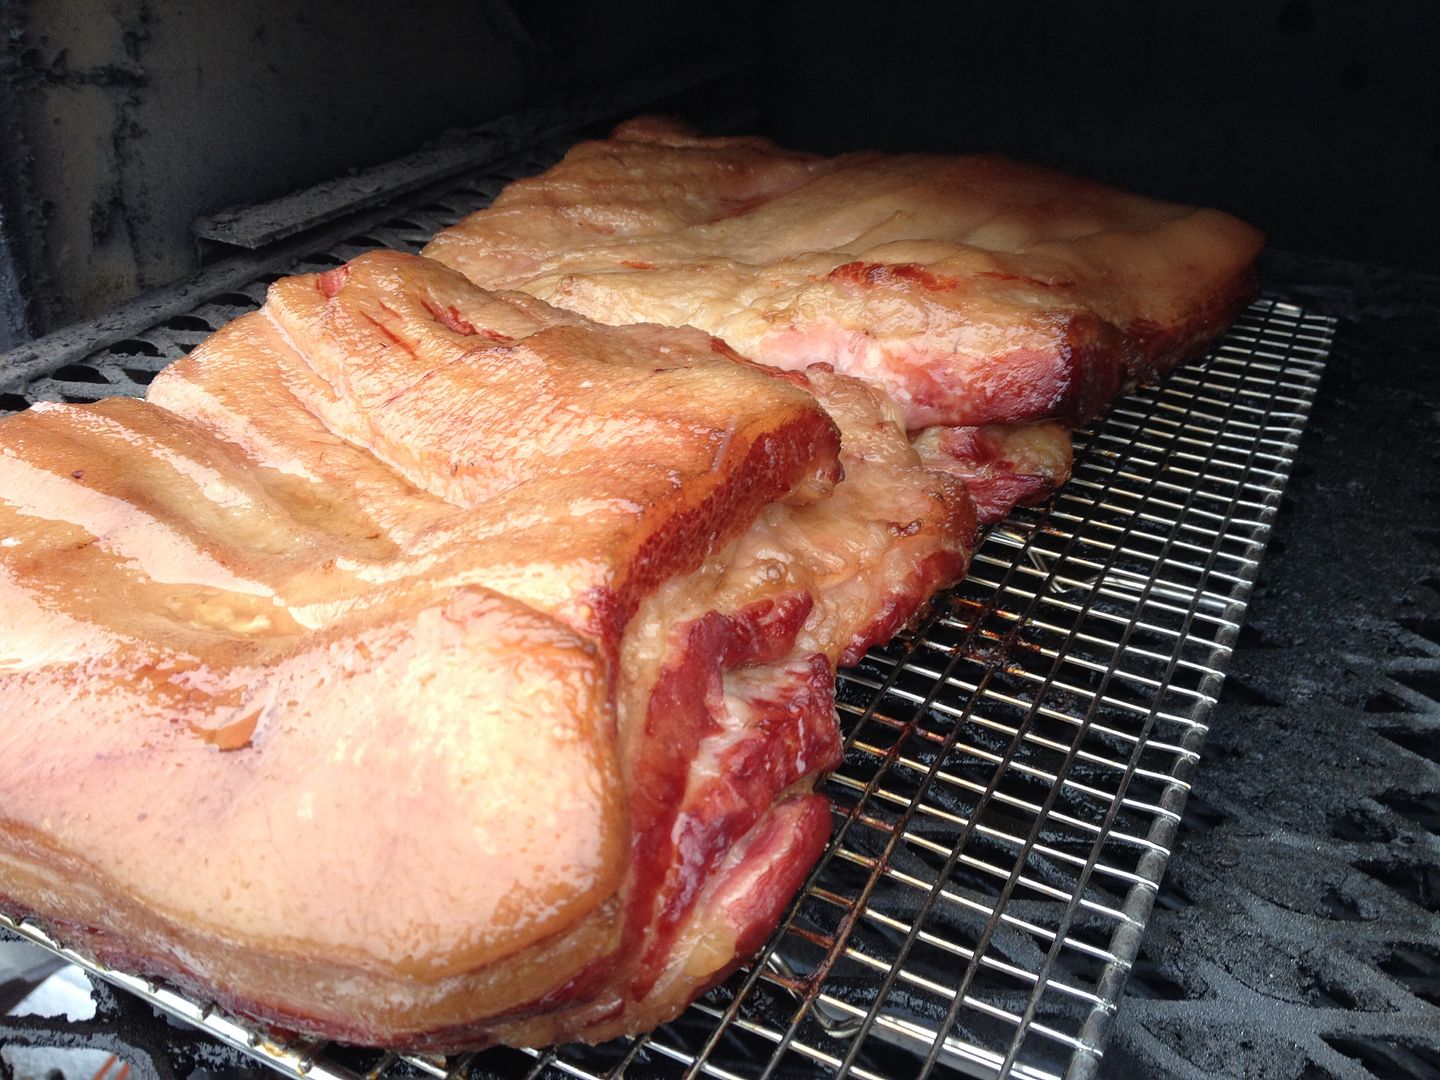
Here is the bacon about one hour into smoking:

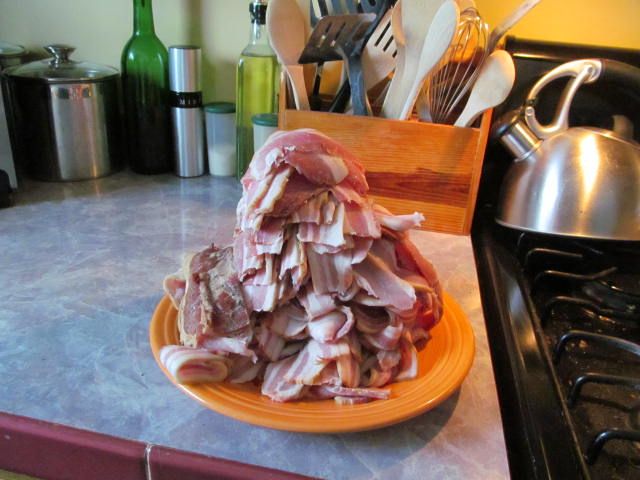
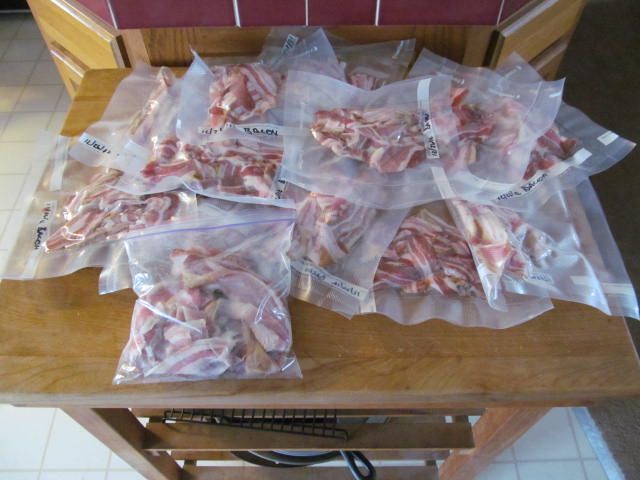
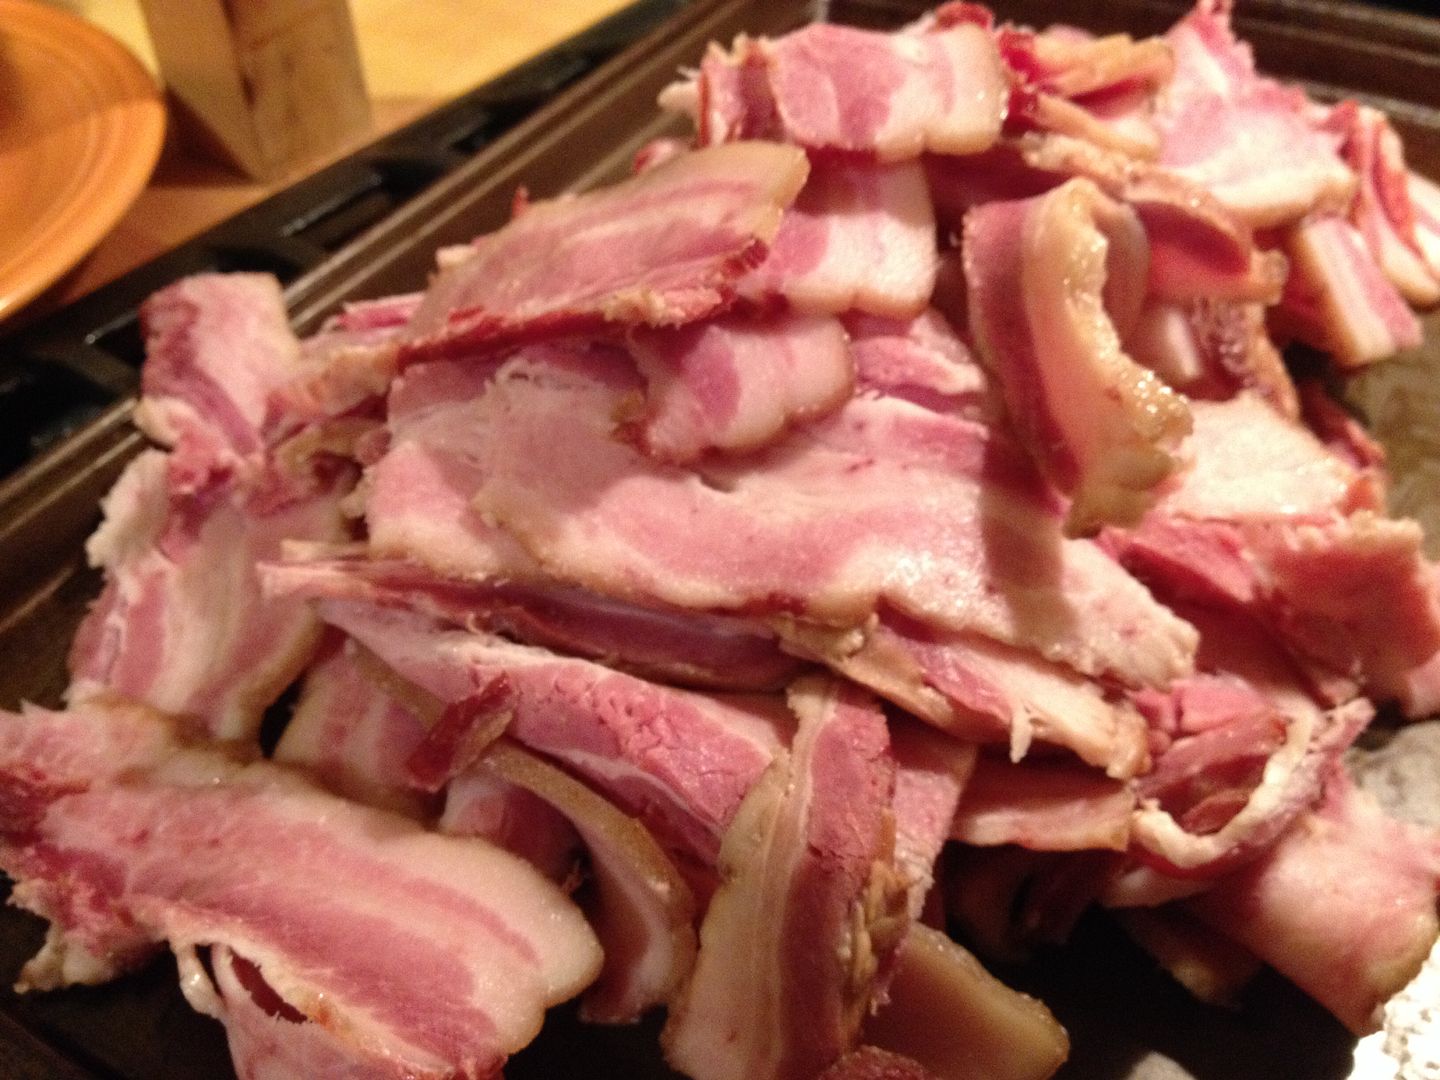
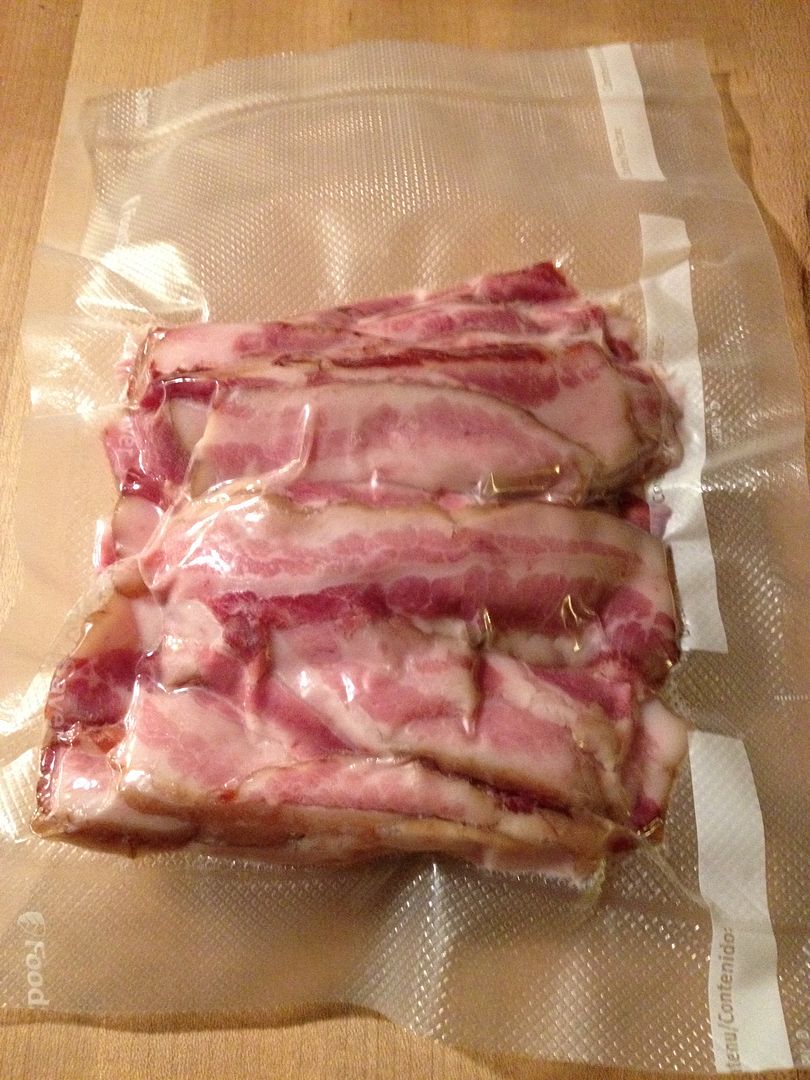
After the bacon reached 150 F, about three hours, I removed the meat from the smoker and placed it in a refrigerator to cool down. Cooling helps to firm up your bacon, making it easier to slice. Hope is the team slicer, she cut the bacon slabs in half, across the grain, so that they would fit in our slicer. After slicing, we vacuum packed for freezing in one pound packages.


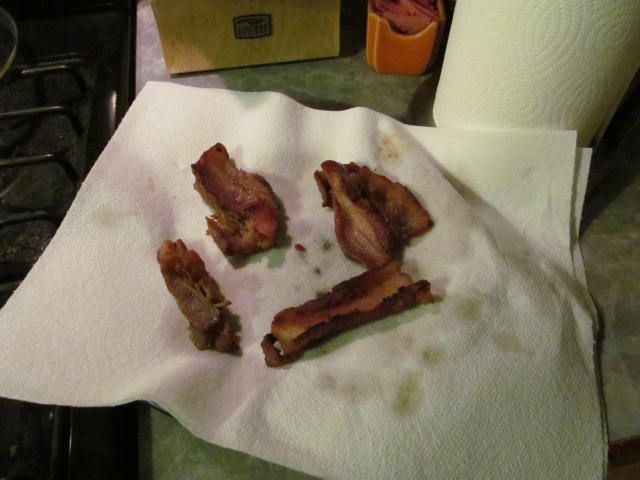
The aroma of smoked bacon was driving us and the dogs crazy. We took a few pieces and fried them up to taste. As an experiment that was a baseline for our bacon project, we were quite happy with the results. Not too salty, not too sweet, just a hint of apple from the cider used in the wet cure. A great start to our bacon R&D project. Stay tuned for more as we tinker with the flavors.
Thanks for stopping by,
Bill
This salt above is the same as Prague Powder #1. You can cure your meats with regular salt alone, but that is risky when you take bacteria formation into account. The curing salt prevents the formation of bacteria during the curing and smoking process ensuring food safety. We don't want to get any judges sick, do we? A quick note here. The salt is tinted pink so that you can distinguish it from regular table salt. Do not use this salt as a substitute for regular table salt.
I wanted to try a wet cure this time. So used the recipe on the back of the label as a basis: 2 oz cure salt, 10 oz salt, 4 oz. sugar, per gallon of cold water. Instead of all water, we substituted 1/2 gallon of apple cider for half of the water. For our sugar source, we used turbinado sugar, otherwise known as Sugar in the Raw at your grocery store.
I placed all of the above ingredients into a dutch oven and heated until all of the salt and sugar was dissolved. Then I chilled over night.
The next day, I place my pork bellies into food safe container and poured the brine on top of the meat. After ensuring that all surfaces of the pork were covered by the curing liquid, I placed the container in the refrigerator for a seven day nap.
After seven days, I removed the bellies from the liquid, rinsed thoroughly with cold water, then patted dry. I placed the meat on a wire rack to dry while I started up my smoker.
I brought the smoker up to a temperature of 225 F, then added smoking wood to the ash pan. Used a mix of hickory, apple, and pecan. Once the smoke was thin and blue, I placed the pork bellies on the top rack of my smoker. My goal was to bring the internal temperature of the meat up to 150 F just to be on the safe side when it comes to bacteria formation. Remember, once you get above 140 F, bacteria formation quits and the bacteria start to be killed in the process.
Here is the bacon about one hour into smoking:
After the bacon reached 150 F, about three hours, I removed the meat from the smoker and placed it in a refrigerator to cool down. Cooling helps to firm up your bacon, making it easier to slice. Hope is the team slicer, she cut the bacon slabs in half, across the grain, so that they would fit in our slicer. After slicing, we vacuum packed for freezing in one pound packages.
The aroma of smoked bacon was driving us and the dogs crazy. We took a few pieces and fried them up to taste. As an experiment that was a baseline for our bacon project, we were quite happy with the results. Not too salty, not too sweet, just a hint of apple from the cider used in the wet cure. A great start to our bacon R&D project. Stay tuned for more as we tinker with the flavors.
Thanks for stopping by,
Bill