Search This Blog

Monday, September 24, 2012

Take Advantage of those Last Tomatoes of the Year

I don't know how the tomatoes were in your neck of the woods this year, but in Western Pennsylvania, they were excellent.  Juicy and full of flavor, we took full advantage of this years crop.

So, the neighbor dropped off some nice slicing tomatoes, so we decided to make what has become one of our favorite pizzas:  Fresh Mozzarella and Tomato Pizza.

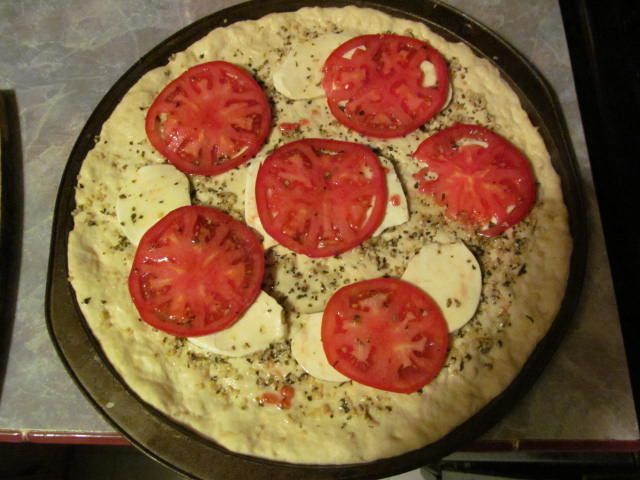
First, we made some homemade dough in the bread maker and stretched over a pizza pan.  While the dough was rising, we took some fresh garlic, diced fine, and put in a bowl with olive oil, salt, pepper, oregano, basil, and thyme.  This probably sat in the oil for about 30 minutes.  After the dough was stretched, we brushed the dough with the olive oil mixture, then layered on top some thin sliced fresh mozzarella cheese and thinly sliced tomatoes.  The tomatoes got a light brush with some olive oil as well...


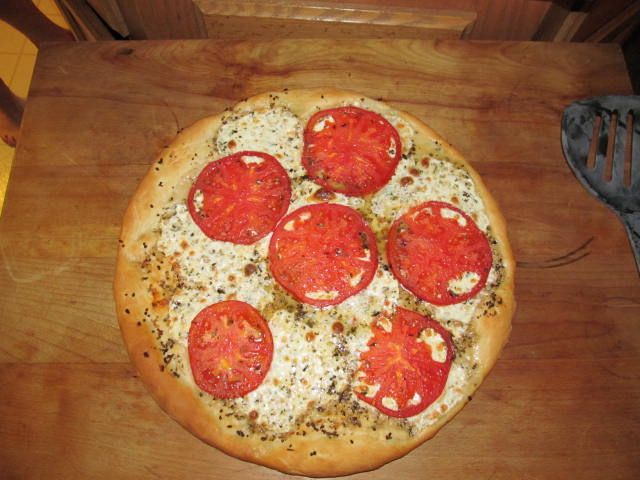
We preheated the oven to 425 F, then put the pizza in for 20 minutes, or until the crust was brown and the cheese was bubbly and brown.  Here is the finished product...


Sliced it up and had a great dinner.  Quick, simple, delicious...


I like mine with some fresh grated Parmesan cheese and hot pepper flakes for some kick.

Time is short, so give this a try before your tomatoes are gone for the year.

Thanks for stopping by...

Bill

Saturday, September 22, 2012

Pork Sirloin Roast, Seared and Braised

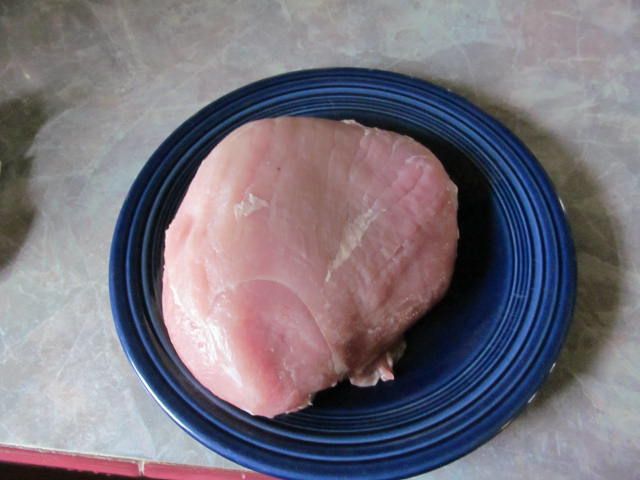
I was at Costco last week and they had pork sirloin roasts on sale for $1.99 lb.  They came in 4 packs and looked really nice.   Real lean, high quality meat.  So, I picked one up for some experimentation in the future...


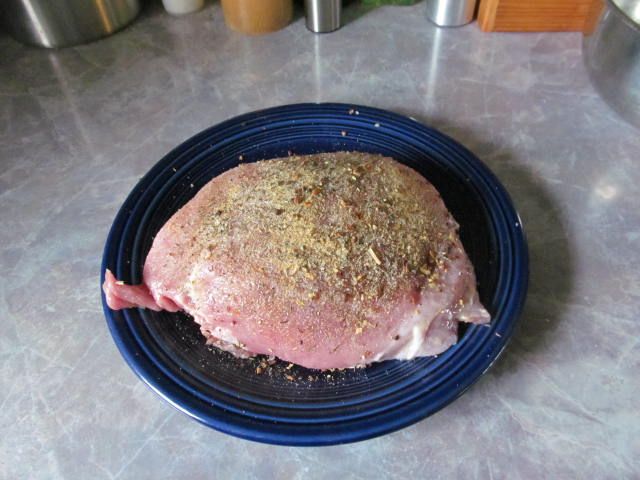
First, I seasoned both sides with onion power, garlic powder, celery salt, thyme, and fresh ground pepper, then I sprayed with some olive oil...


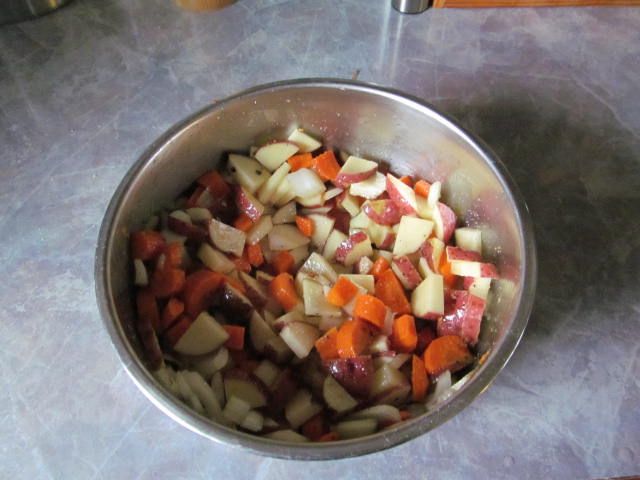
I then lit my charcoal and while it was getting hot, I diced some new red potatoes, onion, and carrot.  I coated the veggies with olive oil and the same seasoning blend from above...


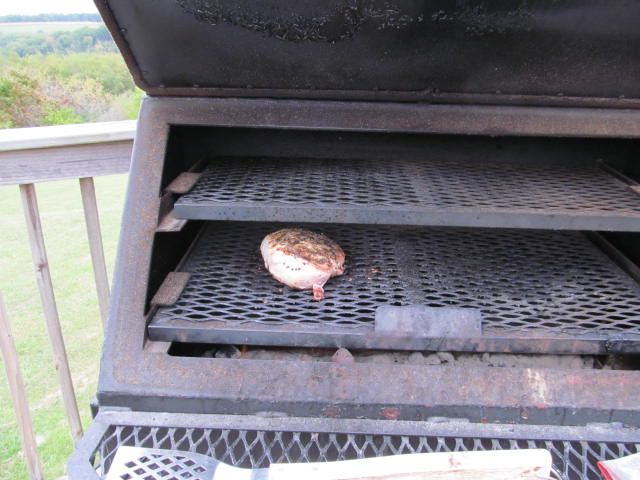
After the grill was screaming hot, I seared both sides of the roast.  About 5 minutes a side...


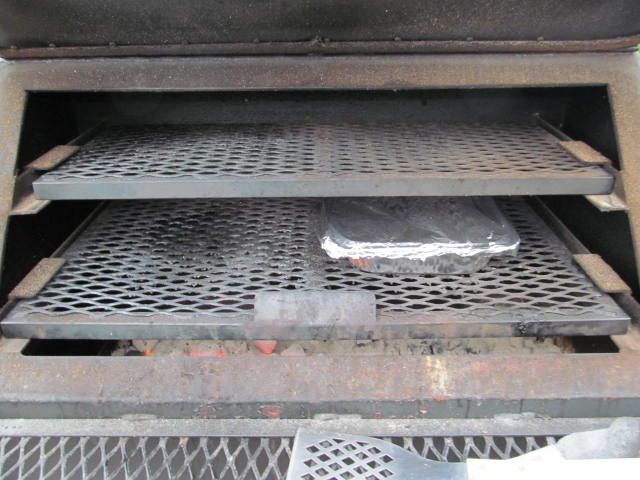
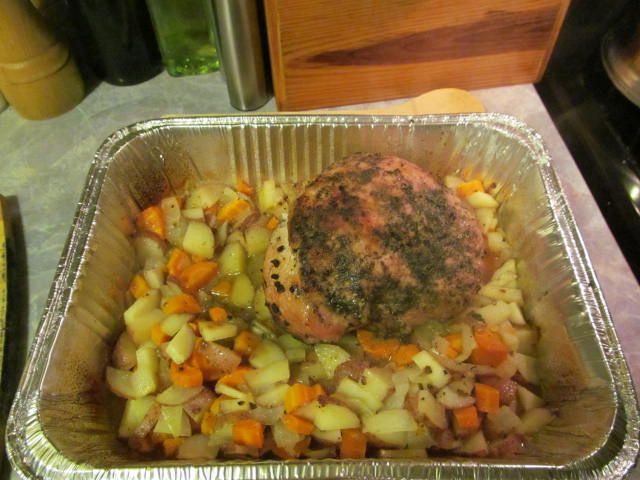
I placed the veggies in a foil pan, then put the roast on the bed of veggies.  Then, I covered the pan with foil, placed on indirect heat, and closed the grill lid...


After 30 minutes, I rotated the pan 180 degrees and let cook for 30 more minutes.  Then, I pulled from the grill and let rest for 10 minutes.  The internal temp was about 180 F.


After resting, I sliced...


The meat was nice and tender, juicy and moist.  The veggies were perfectly cooked and the au jus brought it all together.  I'll be trying this again.

Thanks for stopping by...

Bill
Tuesday, September 18, 2012

Perfect Grilled Tri-Tip

From time to time, my butcher has tri-tips for sale.  For those of you who don't know what a tri-tip is, it is the bottom sirloin roast.  Here is an explanation from Wikipedia. I think it is a very flavorful cut of beef.  The only problem is, it is hard to grill as it swells up like a basketball while grilling.  So, I have taken to smoking them.  But, I had one in the freezer and wanted to grill it up.  So, this past Sunday I decided to try one in the Pittsburgh Rare style.

What is Pittsburgh Rare?  It is a method of cooking a steak that we like around here.   You take a screaming hot grill and put a think cut steak on the hottest part of the grill (perfect for a tri-tip).  Once the first side on is starting the char, you flip it over until the second side chars.  The result?  A crispy outside and a red, juicy interior.

So, first, I seasoned both sides of the tri-tip with the following:


Granulated Garlic
Onion Powder
Sea Salt
Fresh Ground Pepper


Then, I placed the meat over the hottest part of the grill, then flipped when it was starting the char...(I threw a piece of oak in with the charcoal as well for some flavor.  Oak and beef are excellent together!)


I cooked to an internal temperature of 140 F, then removed from the grill and let rest for five minutes...


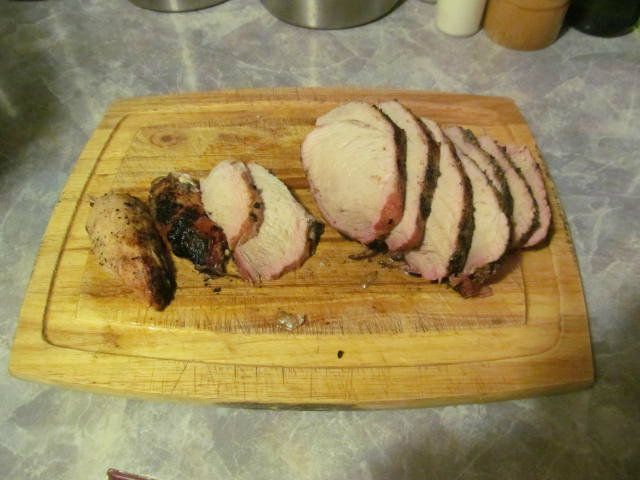
Then I sliced...


The thing I liked about this was that you get something for everyone:  medium-rare, medium, and medium well on the same piece of meat.

This was the best tri-tip I had ever grilled, hands down.  Tender and juicy.

I may still smoke them from time to time, but since I have the grilling technique down pat, I will grill more than I smoke for sure...

Thanks for stopping by...

Bill
Sunday, September 16, 2012

When Life Gives you Tomatoes, Can some Spaghetti Sauce

Every fall, Hope and I take a whole bunch of Plum Tomatoes and make a few batches of sauce in the canner.  Canning is one of those home activities that is a dying art.  My mother taught me how to do it and it really is a great way to save all those veggies you get in your garden.  It is not as hard as you think.  So, give it a try yourself...

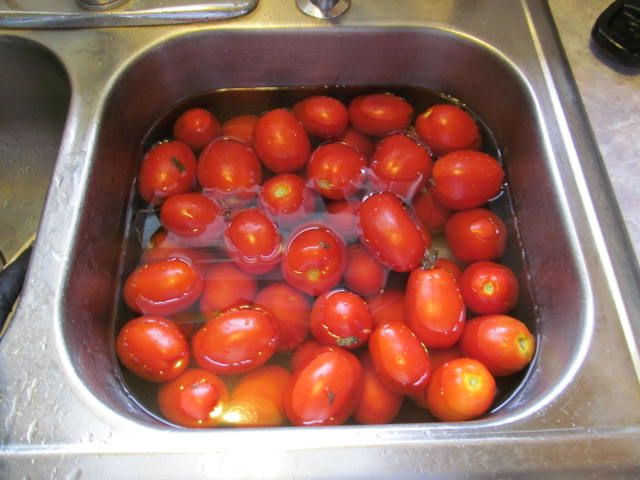
First, we took a peck of Plum Tomatoes and rinsed in the sink with cold water...


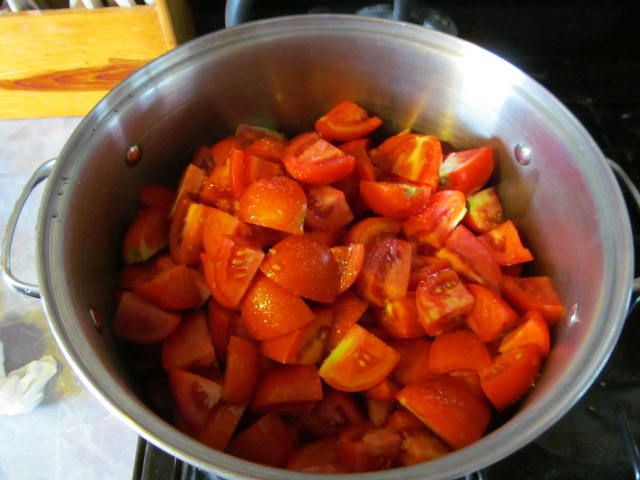
Next, remove the stems, cut into quarters, and place into a 12 quart stock pot...


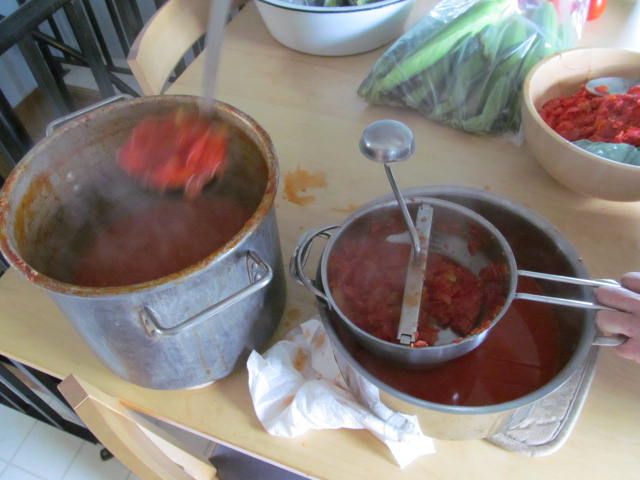
We drizzle some olive oil over the tomatoes to keep them from burning and give them a healthy grind of sea salt to help them break down.  Turn the heat on medium and cover the pot.  Every once in awhile, give them a good mash with a hand held potato masher to break them down.  Once you have a nice soupy mixture, run the liquid through a food mill with the coarse screen in place to separate the solids from the juice...


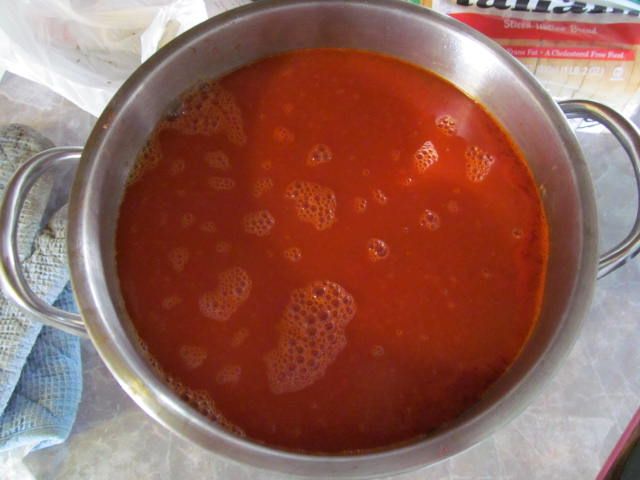
This is what it looks like once it has been through the mill...


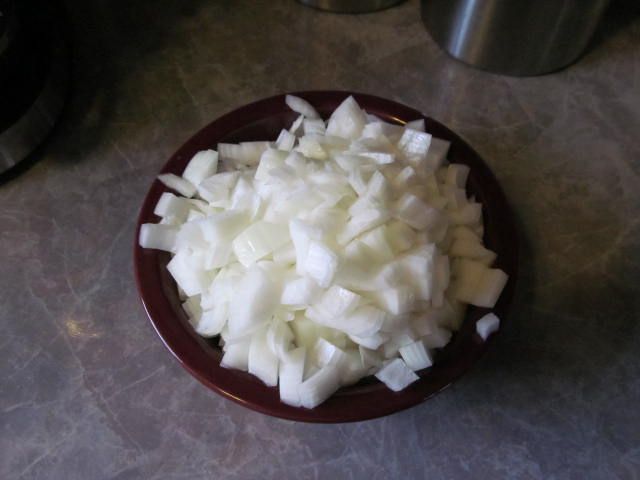
You are now ready for spaghetti sauce.  Take one large sweet onion and dice...


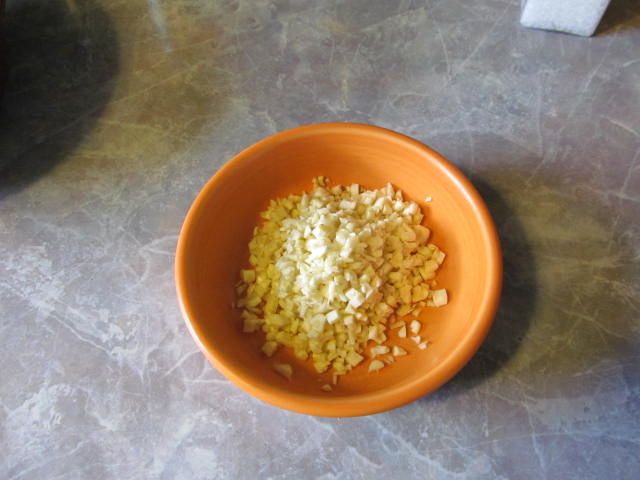
Separate the cloves from one medium head of garlic, remove the skins, and mince...


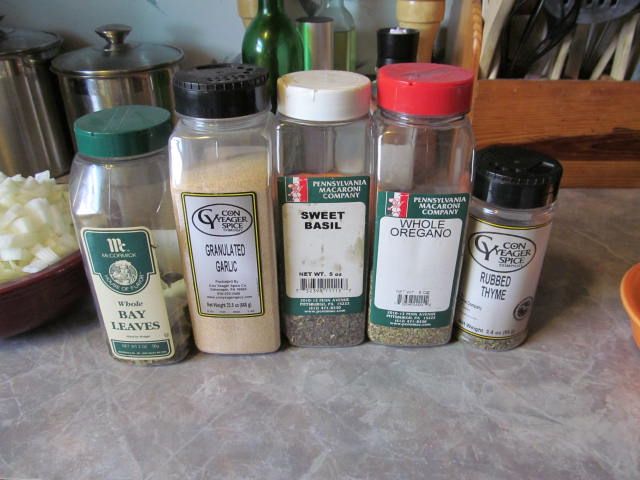
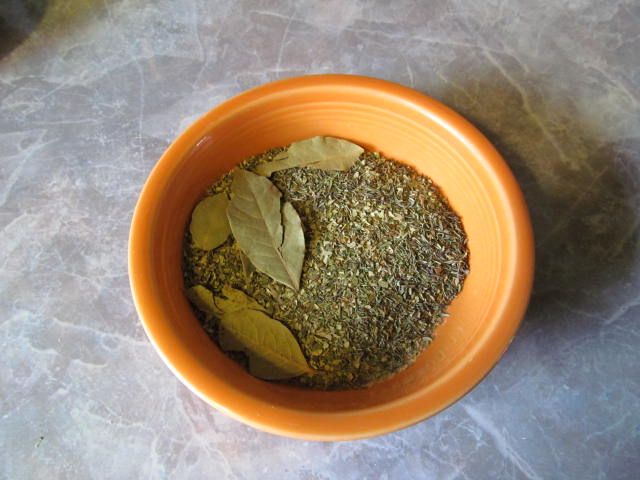
Then, in a bowl I put in the following:

2 Tbsp granulated garlic
2 Tbsp Oregano
1 Tbsp Basil
2 Tsp Thyme
3 Bay Leaves


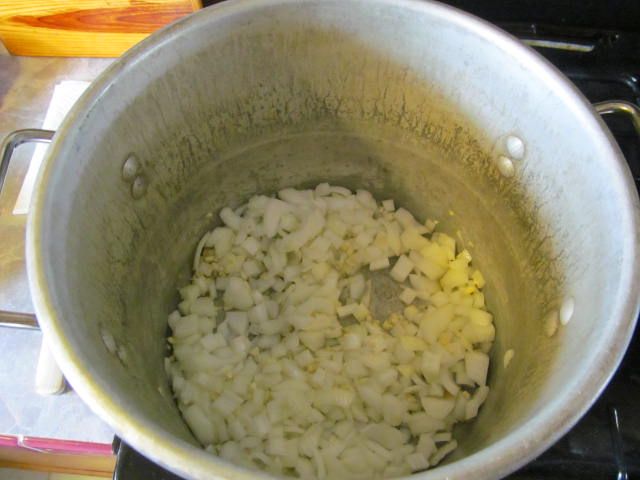
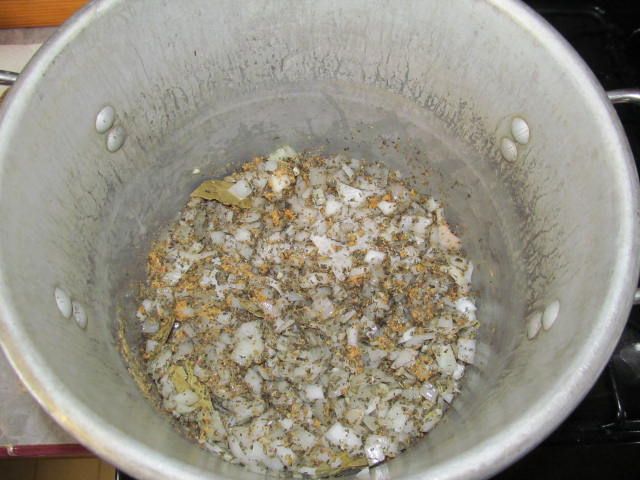
Saute your onion in a 12 quart stockpot with olive oil...


Once the onion starts to get translucent, add the spices to activate their oils.  Mix well...


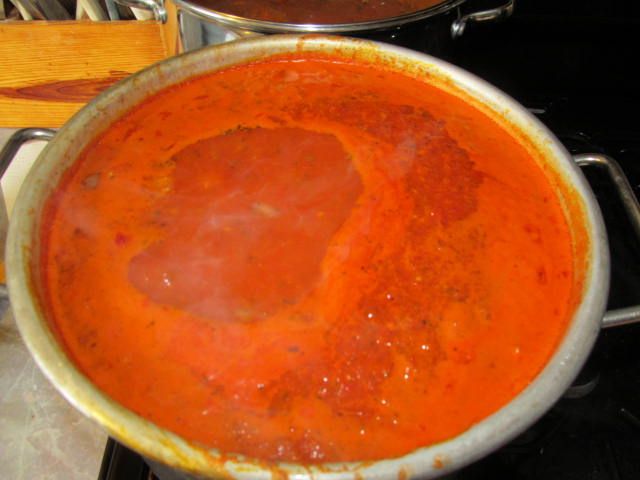
Add your tomato juice to the top and bring to a boil.  Then, turn down heat and simmer for at least two hours...


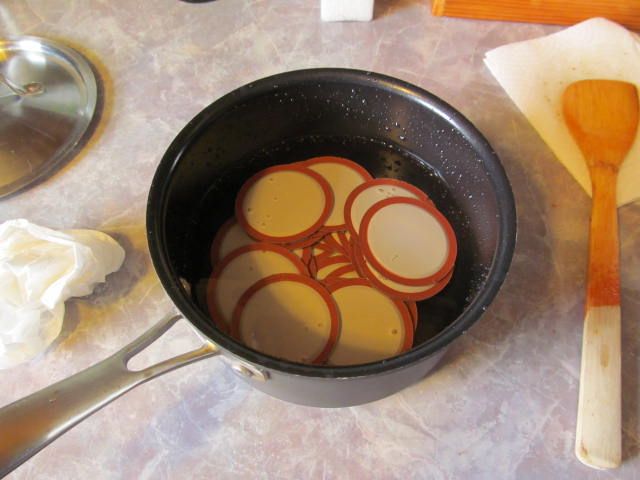
While the sauce is reducing, I throw my quart canning jars in the dishwasher on the heated sanitize cycle.  Then, just before we are ready to can, we place the lids in a pot and boil for 20 minutes to sanitize...


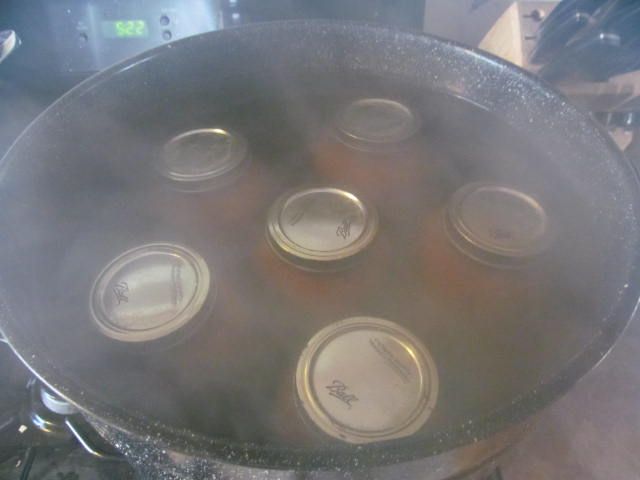
The sauce gets ladled into a canning jar, the rim wiped clean, then sealed with a lid and a ring.  The jars go into a canner with boiling water.  Then, once the pot returns to a rolling boil, boil the jars for at least 20 minutes...


The jars then get removed from the bath and placed on a towel to cool down.  Now, for the important part.  Listen for your jars to seal.  You will hear a pop as the lids seal.  You can also push down on the lids the next morning to see if they have sealed.  If you can push them up and down with a clicking sound, they have not sealed and you should make sauce with that quart for dinner that night.  If they don't click, they have sealed and you can store them for at least one year.

When you use them, make sure the vacuum is still in place on each quart to be sure.  This canned sauce makes for a nice quick dinner throughout the year.  It is way better than the mass produced sauce you can buy at the grocery store.  We just saute some meat, add the sauce and paste, and simmer until reduced.

By the way, one peck (1/4 bushel) made 19 quarts of sauce.

Thanks for stopping by...

Bill