Search This Blog

Wednesday, August 15, 2012

You Don't Always have to Smoke Meat. Smoked Almond Recipe.

My good friends Mark and Darrell are fellow smokers from Minnesota and Seattle. Darrell posted the original recipe for these almonds that Mark took and added his own twist.  I thought it sounded good and will definitely be trying this fall.  I thought that all of you that visit here from time to time might enjoy trying this on your own.  I would imagine that you could use any rub that you wanted based upon your taste preference.

Enjoy and thanks for stopping by...

Bill

P.S.  This was posted with Mark's approval... ;)

We had a larger bag of almonds that just were not getting eaten. Today I decided to put some smoke to them. This will positively be on the list to do again real soon, they turned out great. Thanks to Darrell (Slow Smoke for recipe).

With the directions posted from Slow Smoke in the recipe section, and a few changes of my own, they turned out terrific. 

2 cups almonds
3 Tbsp butter
1 Tbsp rub
2 tsp white sugar
1 tsp brown sugar

Dry ingredients were ground into a powder. I used a coffee grinder. Melt butter in sauce pan. Slowly pour melted butter over almonds, mixing as you pour. Place butter covered almonds in aluminum half pan, and sprinkle the dry ingredients over the top. I went 230 for about 80 minutes with hickory. Shaking the pan to mix/turn the nuts about every 20 minutes

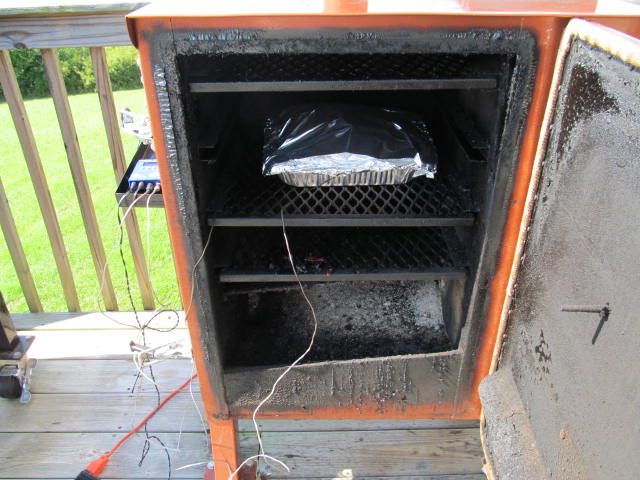
My aluminum half pan I took and had punched several small holes into the bottom to allow smoke to permeate up through the bottom. 


Image

As Slow Smoke had stated, very little smoke penetration in a short cooking time. As he did, I transferred the ash pan with smoking hickory right into the cooking chamber of the Stretch. This method really increases the presence of smoke.


Image


Finished results. One pan was Cuntry Boyz rub the other John Henry's Old Stockyard Seasoning. 


Image

Sunday, August 12, 2012

Approved Uses for Beer Other than Drinking...

Dips?  Sure.  I have had a great Beer Cheddar dip.  Sauces.  Yeah, see cheese again.  Bread?  Yes you can.  Chili?  You better add beer to your chili!  But, my favorite alternative use for beer is with Bratwurst.  Here is how you do it...

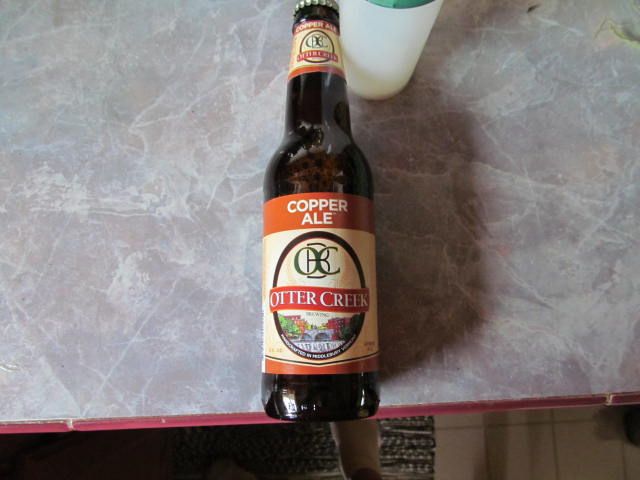
First, start with a good beer.  No Crudweiser or Chick Light here.  It has to be on the darker side.  I usually use Yeungling Lager.  When it is in season, I prefer Penn Brewery Octoberfest.  This time, I used Otter Creek Copper Ale...


First, you put your brats in a sauce pan, cover with beer, and turn the heat on low...


Once they come to a light simmer, keep your eye on them.  No rolling boil here.  You don't want to break the skins or you will have a Three Alarm Fire on your grill.  You just want to lightly simmer until they change color.  You'll finish cooking them on the grill.  Once they turn color on the bottom, flip them over and let the color change again.  Once they have a uniform gray color, remove from the heat and set aside.


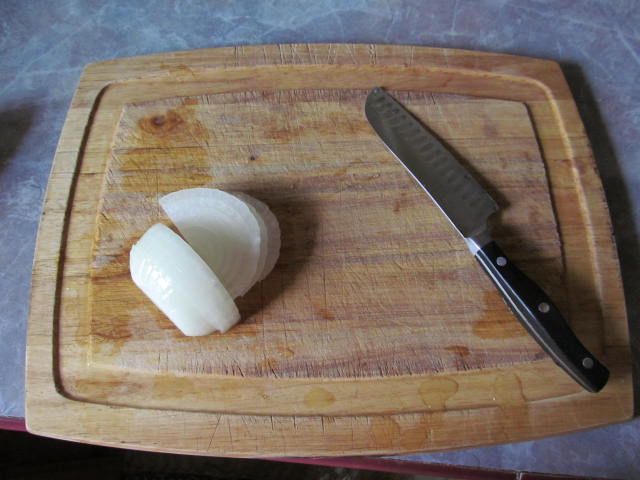
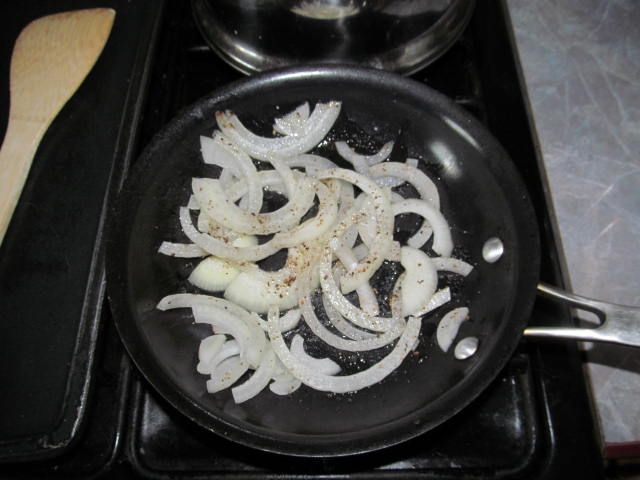
While the brats were coming to a simmer, I thinly sliced half a sweet onion and started to caramelize in olive oil with fresh ground sea salt and pepper...


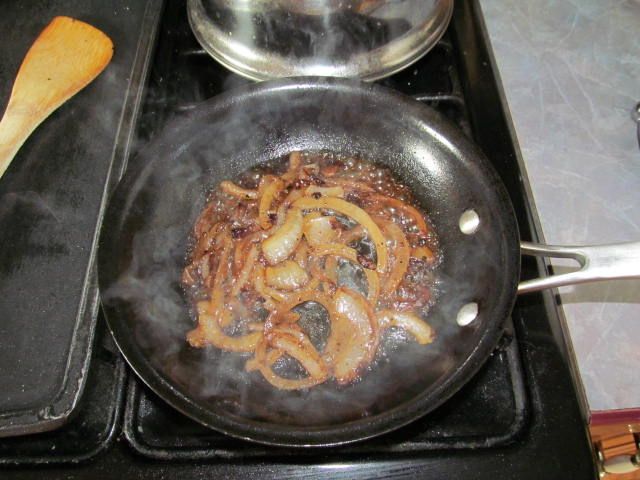
Once the onions reached that perfect brown caramel color, I deglazed the pan with some of the beer that I used to simmer the brats.  How much beer?  Just enough to cover the bottom of the pan...


Once reduced, I turned off the heat and set aside for later.  The beer will add a nice malty taste that will complement nicely with the brats simmered in beer.

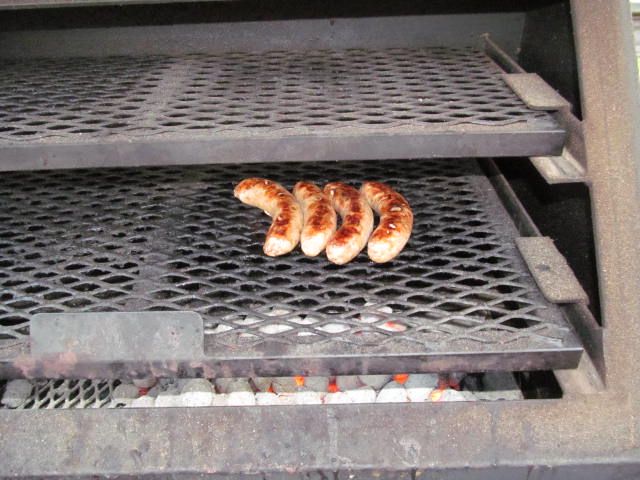
By this time, the fire is ready and I took the pan with the brats outside.  Brats on the fire, flip when brown on the bottom.  It doesn't take long, about five minutes...


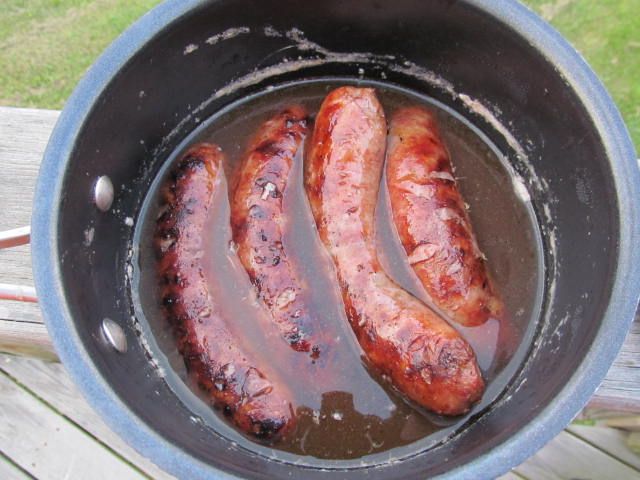
Once flipped, cook until the skins start to split, then back into the warm beer used for simmering...


I learned this technique at a huge summer party one year.  They were grilling huge amounts of brats.  they just placed them in foil pans with the beer to keep them warm and moist.  The beer also soaks into the brats adding more malty goodness...

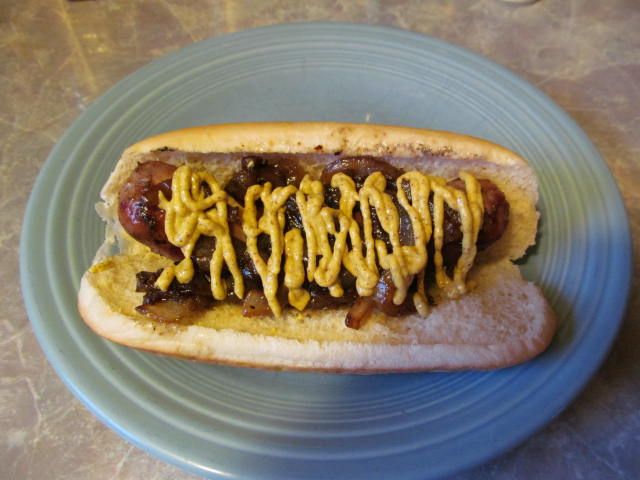
Then, put your brat on a fresh roll, top with caramelized onions and spicy brown mustard.  Crisp skin, juicy, malty inside.  Heaven on a roll for sure.


Thanks for stopping by...

Bill

Wednesday, August 8, 2012

I Rubbed my Butt for at least Two Minutes...

Then I covered it with mustard and let sit overnight, but lets go start back at the beginning, shall we?

I have modified my brisket technique for competition which has a higher cook temperature at the start.  Since I use one smoker for competition, I wanted to see how these temperatures affected my pork butt results.  I have heard about people cooking their pork in the same matter.  So, into the kitchen and into what has now become my R&D unit, my Stumps Baby.

First, I made a fresh batch of our Butt Rub and then a batch of our injection.  Recipes below:

Three Dogs BBQ 2012 Pork Butt Injection

Ingredients:
10 Ounces Apple Juice
Tbsp Rub
Tbsp Turbinado Sugar
2 Tbsp Balsamic Vinegar
Tbsp Kosher Or Sea Salt


Three Dogs BBQ 2012 Pork Butt Rub

Ingredients:
1 Cup Turbinado SugarGround
Tbsp Paprika
4 Tbsp Granulated Garlic
4 Tbsp Mild Chili Powder
3 Tbsp Black PepperGround
3 Tbsp Kosher Or Sea Salt
2 tsp Celery SeedGround
1 Tbsp Dry Mustard
1 Tbsp Onion Powder

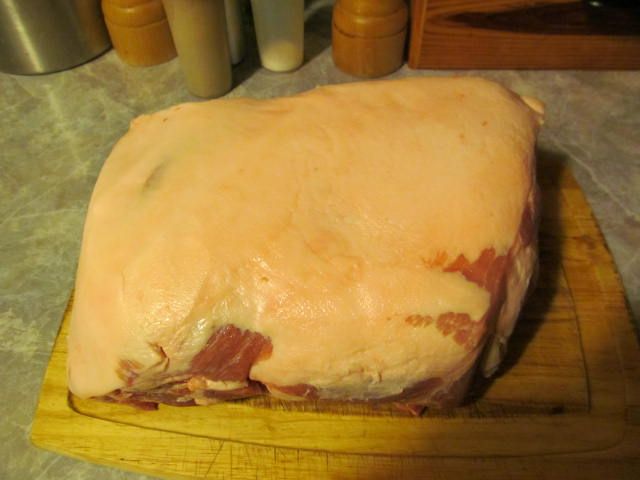
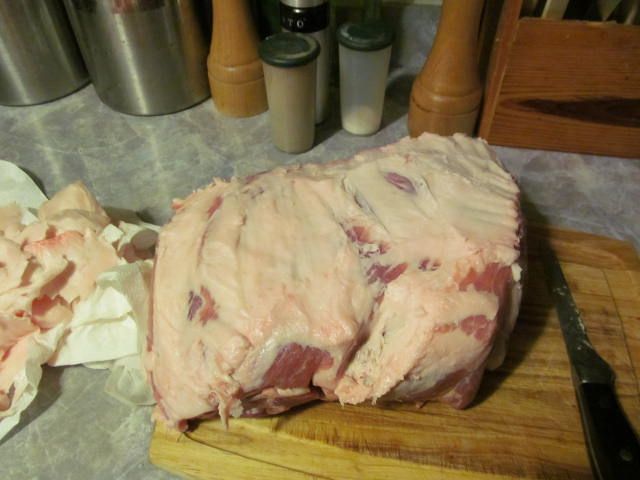
Then, I took my pork butt and inspected for silver skin, blood, or any bone fragments...


I thought there was too much fat on the cap, so I trimmed of a decent amount of fat, leaving between 1/8 and 1/4 of an inch on top...


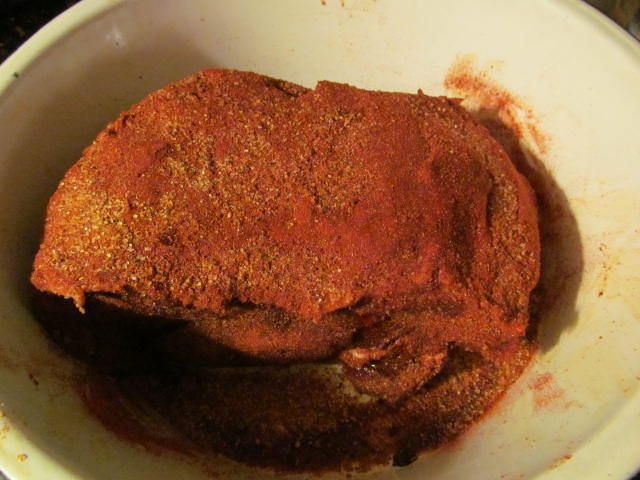
Then, I throughly injected and rubbed the pork butt...


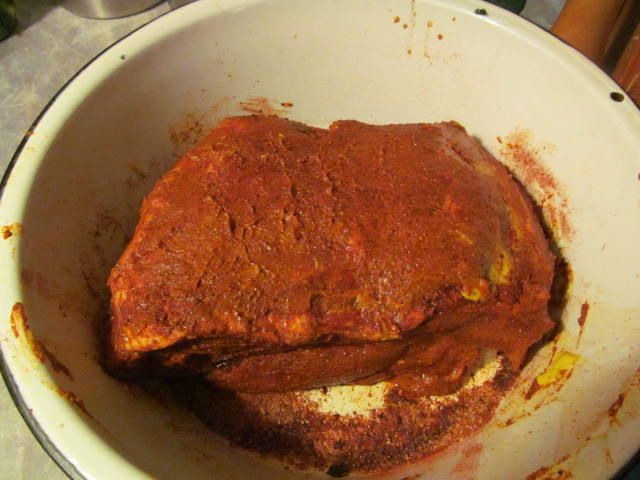
Then I applied a healthy coating of yellow mustard to promote bark formation and add a bit of a vinegar tang...


I then wrapped in some grocery bags and placed in the refrigerator for overnight happy time...

In the morning, I started the fire in the Baby and brought the temperature up to 325 F.  While I was waiting on the fire, I placed the butt in a pan and inserted the thermometer...


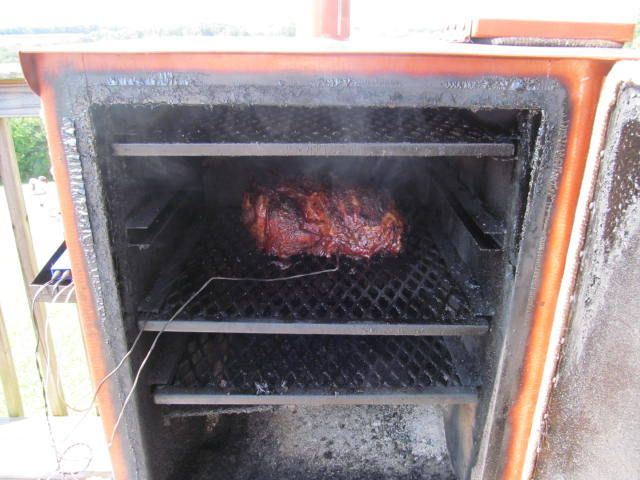
Once the fire was at temperature, I placed some hickory and peach in the ash pan and put the butt on the third rack down on a four rack Baby.  Fat side was up...

After 1 hour at 325 F, I lowered the pit temperature to 250 F, and flipped the butt over, fat side down...


Once the butt reached 175 F internal temperature, I placed in a foil pan and wrapped it tight.  Then, I cooked until the internal temperature was 195 F...


Once the butt hit 195 F, I wrapped the whole pan with towels and placed in a cooler to rest.  

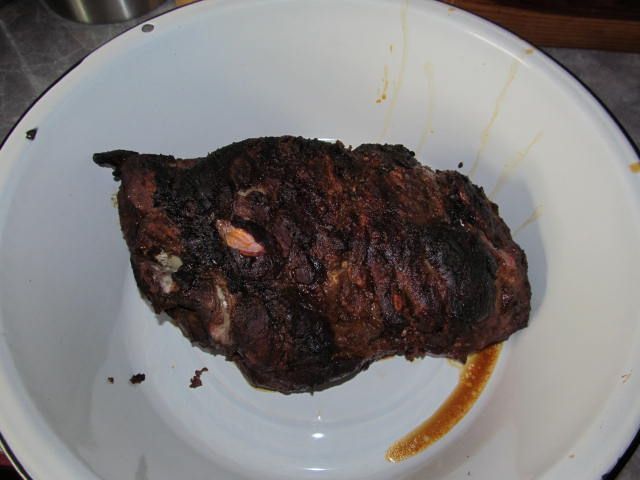
After two hours of resting, here was the final product...


I formed a nice crispy bark and there were lots of juices in the foil pan to make a dipping sauce that I have not quite perfected yet.  

I did not get pics of the pulled product.  I completely forgot, but the meat pulled nicely and the chunks were tender and moist.  Overall, the R&D session was a success!

Thanks for stopping by...

Bill

Sunday, August 5, 2012

Surf and Turf on the Grill

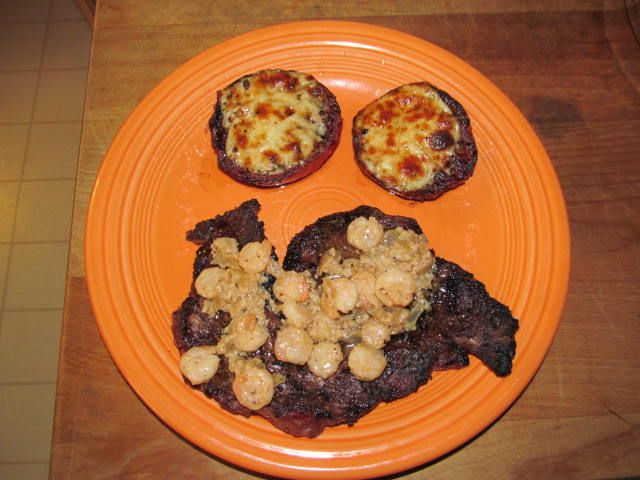
We love shrimp scampi and we love good, grilled, Delmonico steaks.  So, why not a little surf and turf...  We give you, Grilled Delmonico Steaks with Shrimp Scampi Sauce.

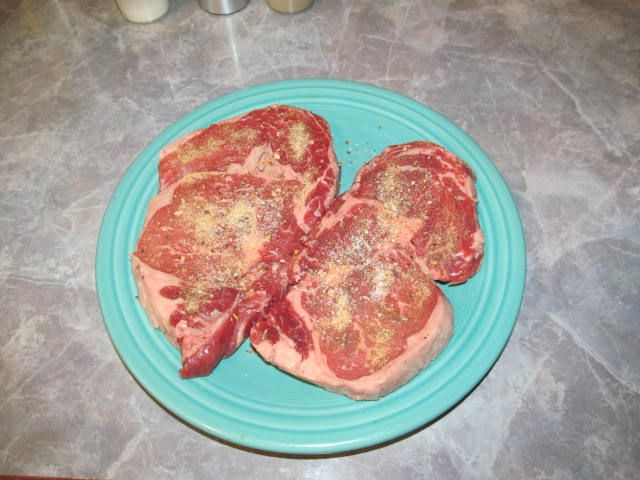
First, I seasoned both sides of the steak with a grinding of sea salt and pepper and sprinkled some granulated garlic...


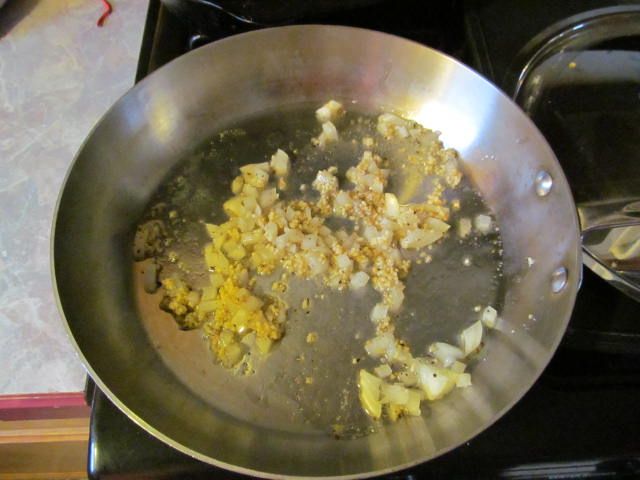
While the steaks were coming up to room temp, I sauted some sweet onion and garlic in some olive oil with a grinding of sea salt and pepper...


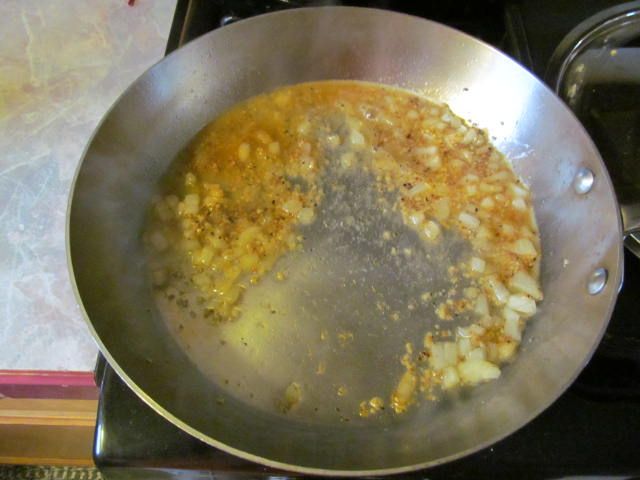
Once everything was nice a caramelized, I deglazed the pan with some Fox Run Arctic Fox.  It is a nice, dry, Finger Lakes wine from Seneca Lake...


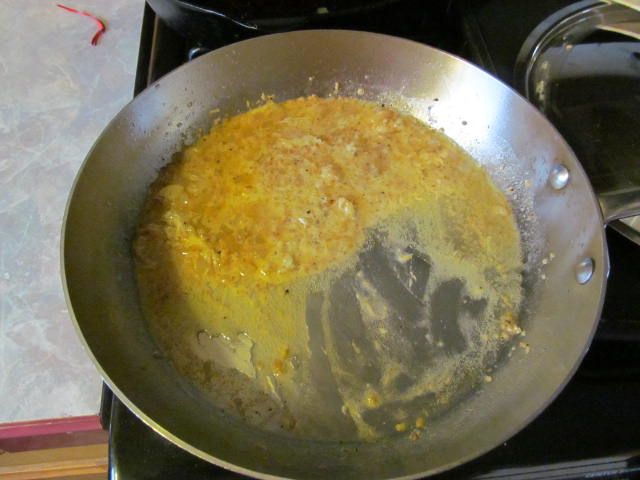
I then added one tablespoon of butter and about 1 tbsp of fresh ground paresean cheese to thicken the sauce.  I also turned the heat to low...


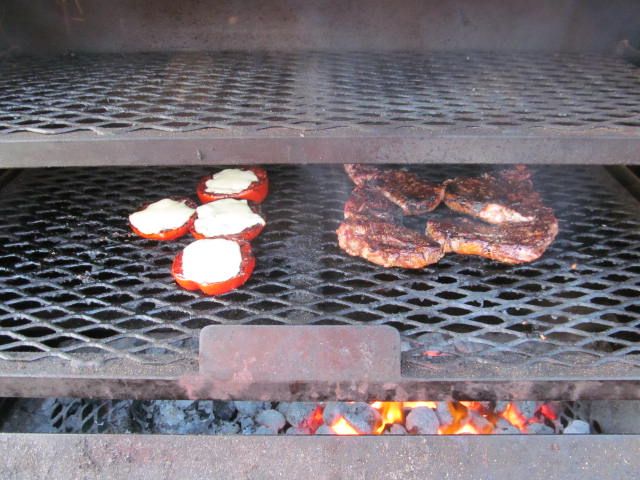
Delmonicos and grilled tomatoes on a screaming hot grill.  6 minutes a side for the steaks make for a perfect medium...


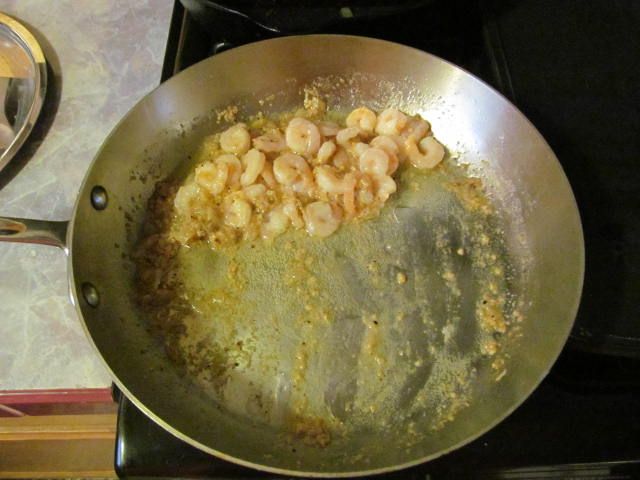
Added some salad shrimp to the sauce to warm up...


Pulled the steaks and topped off with the sauce...


Perfect medium steak topped with a nice creamy, garlicy, seafood sauce.  What could be better?

Thanks for stopping by...

Bill