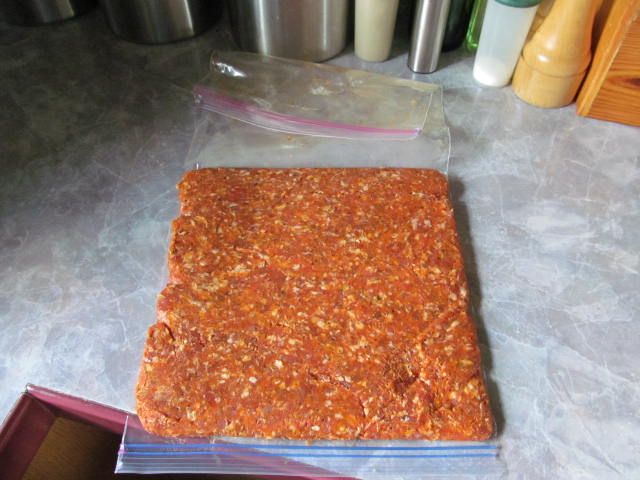
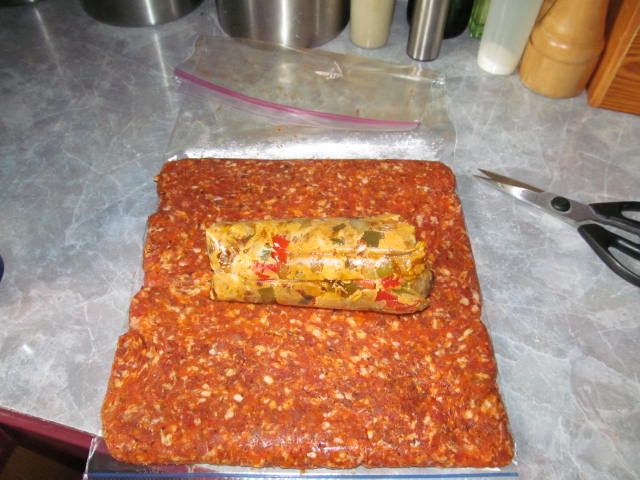
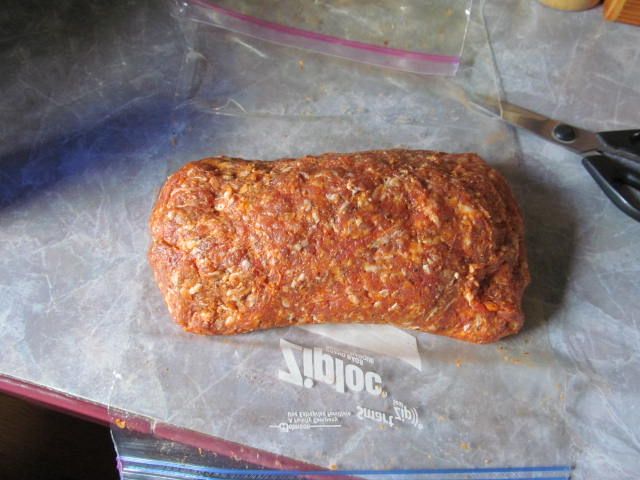
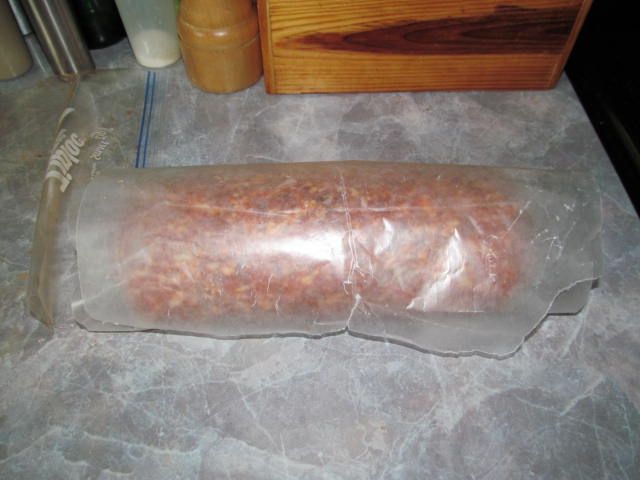
I love cold smoking cheese on my Baby. You can take everyday store brand cheese and make it something special. You can also take really great cheese and give it the wow factor. I had an opportunity lately to smoke a few pieces in the Baby.
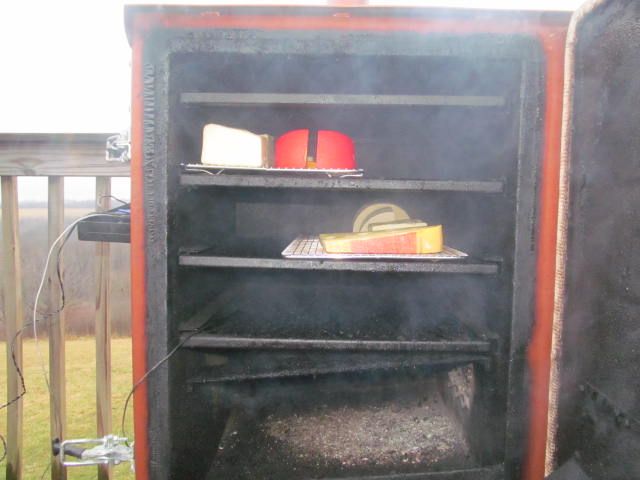
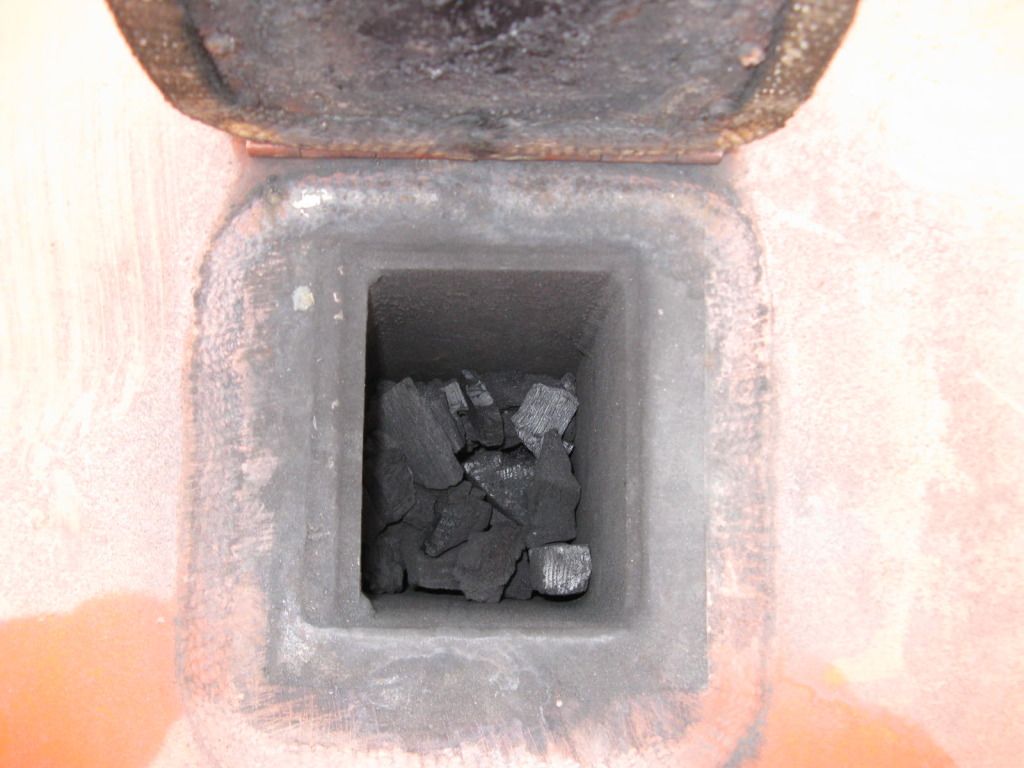
What I do first is mix the charcoal with hickory chips, then pour this mix in the chute. I light the coals and set the DigiQ to 90 F. Once the temperature gets to around 70 F, I close the choke on the PitViper fan almost the whole way. Within about an hour, the smoker is equalized at about 90F. One thing to keep in mind is that it needs to be in the 30's or less out or you cannot hold this temperature.
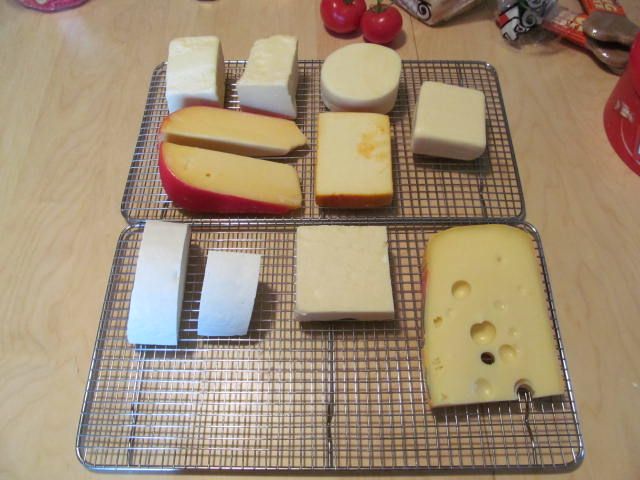
On the top rack, left to right, top to bottom is Black Diamond White Cheddar, provolone, gouda, muenster, and mozzarella.
On the bottom rack is dried ricotta, more cheddar, and Jarlsburg Swiss.
I cut the larger pieces in half and let them sit on the racks for at least 2 hours so that it minimizes the amount of condensation that can from on the cheese in the smoker. It also allows the cheese to form a skin that is more receptive to smoke.
I throw them in the smoker for 2-3 hours for a nice heavy smoke flavor.
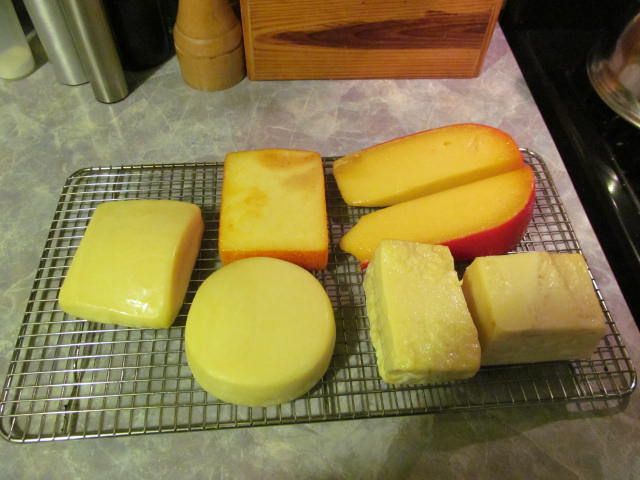
Here is what they look like after 2.5 hours:
I vacuum pack and let them mellow for at least a week in the frig before I eat. The longer they sit ,the more complex and rich the smoke flavor becomes. If you eat them off the smoker, they can be bitter. You can also wrap in plastic wrap, but make sure they are tight. You don't want your frig to smell like a smoke house (or maybe you do...;)
Enjoy,
Bill
Search This Blog
Saturday, February 25, 2012
Sunday, February 19, 2012
Mexican Fattie
|
Saturday, February 18, 2012
Cold Smoked Bacon...
Jeanie over at Cowgirls Country Blog gave me this idea by reading her posts. Now, granted, she has a Cadillac with her home built cold smokehouse. But, I figured I would give it a try in the Baby.
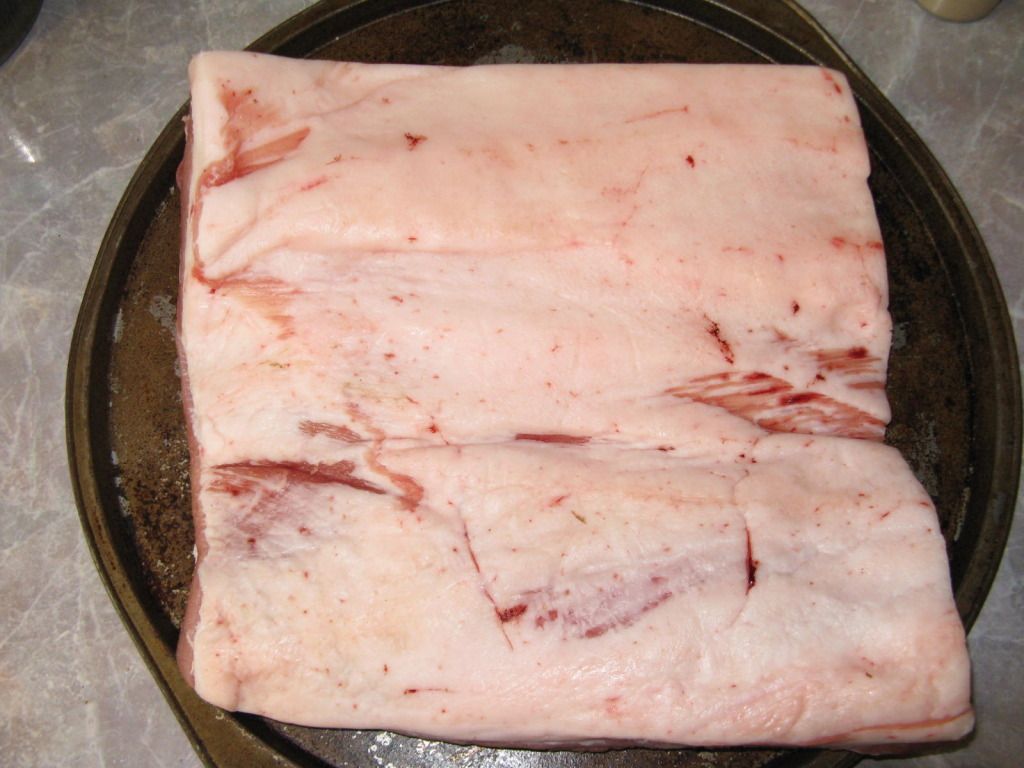
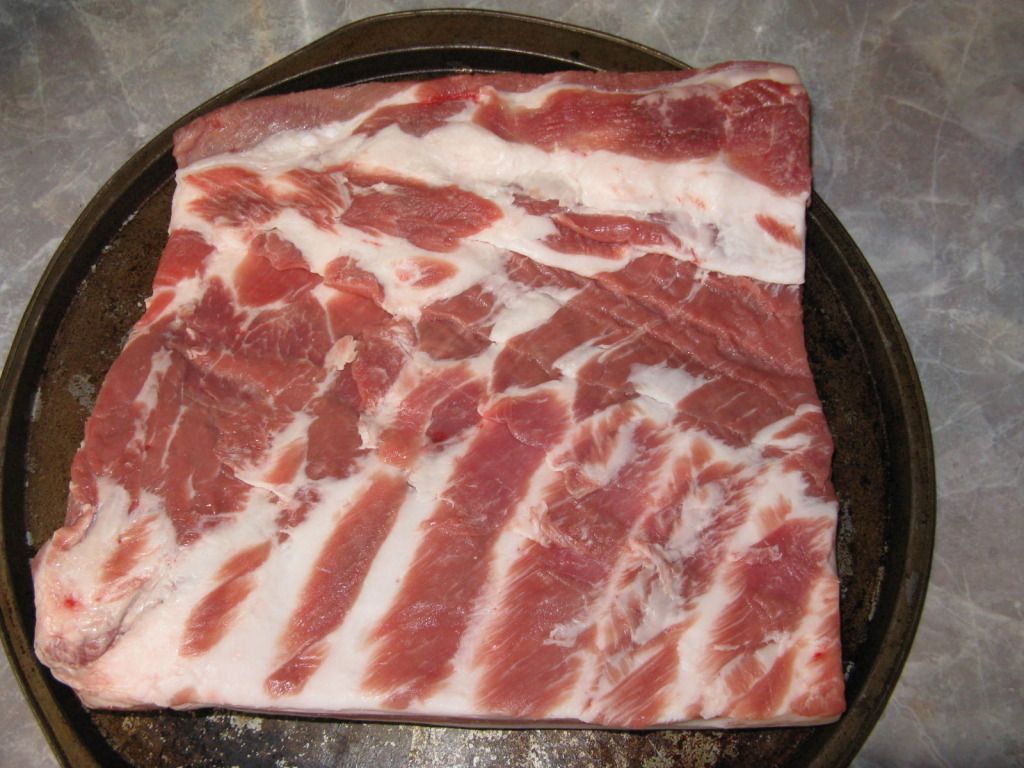
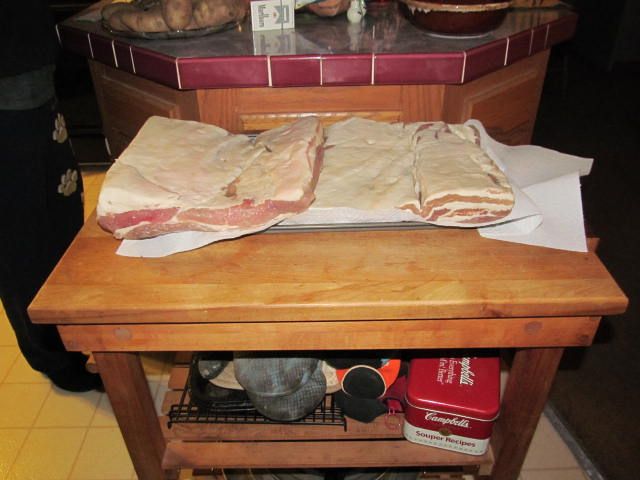
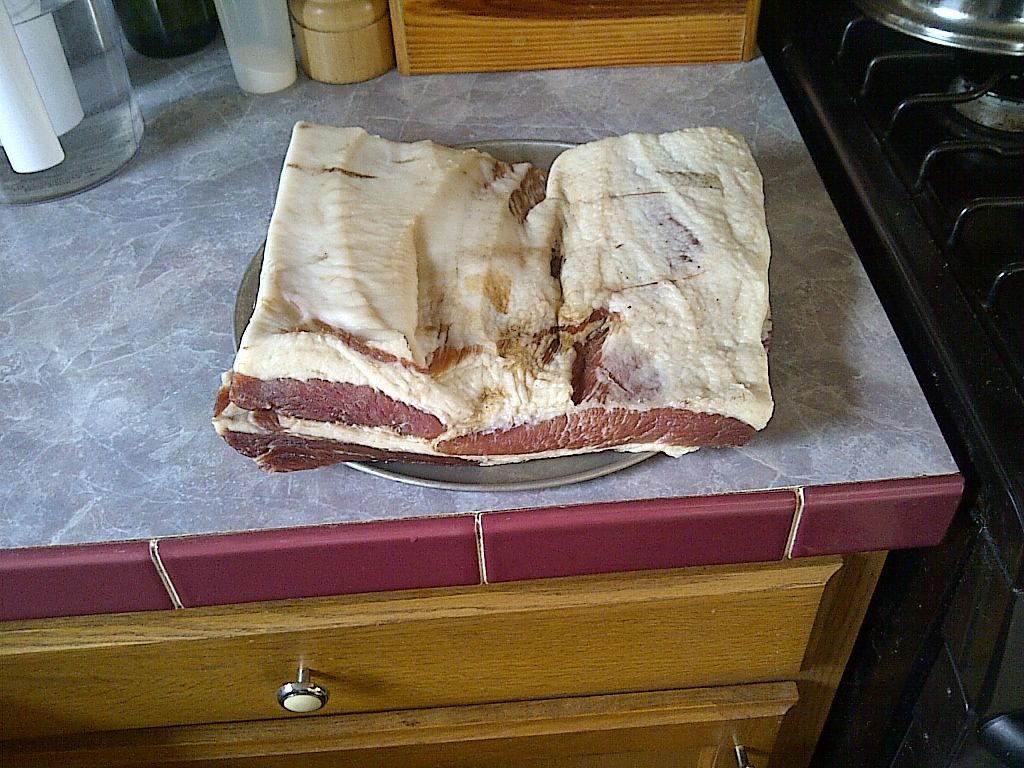
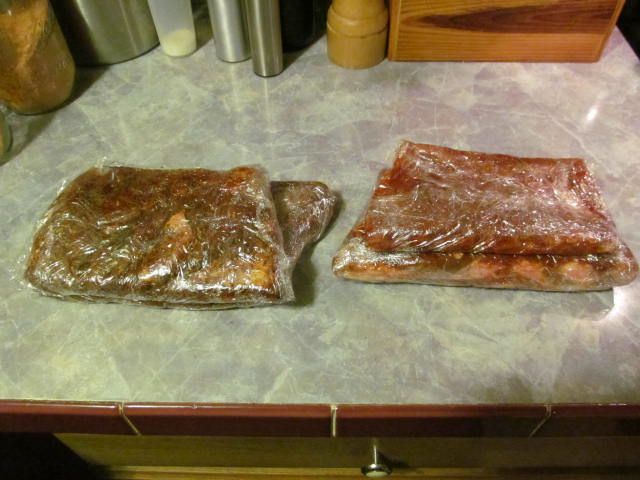
So, I went to the butcher and picked up 5 pounds of fresh pork belly:
Rinse with water and pat dry. I have used Buckboard Bacon cure from Hi Mountain Jerky. Next time, I am going to try something homemade. Anyway, you apply the cure per the directions in the box and let sit in the frig for 10 days. I flip mine everyday so that the liquid penetrates all surfaces of the meat.
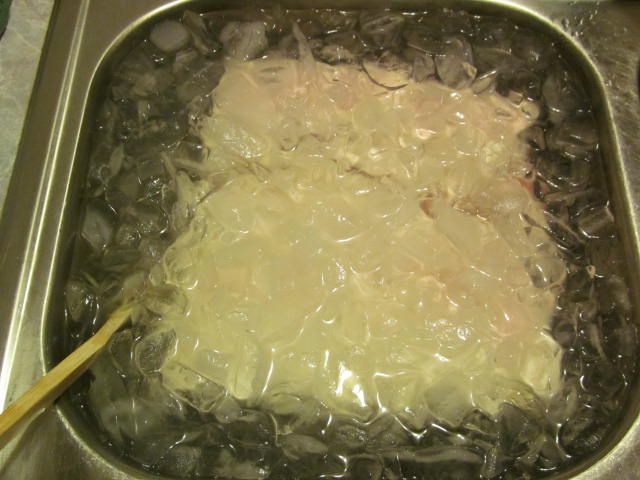
After 10 days of cure, I rinse well with cold water, then let sit overnight in the sink with a 5 pound bag of ice and some water. That removes all of the curing mixture.
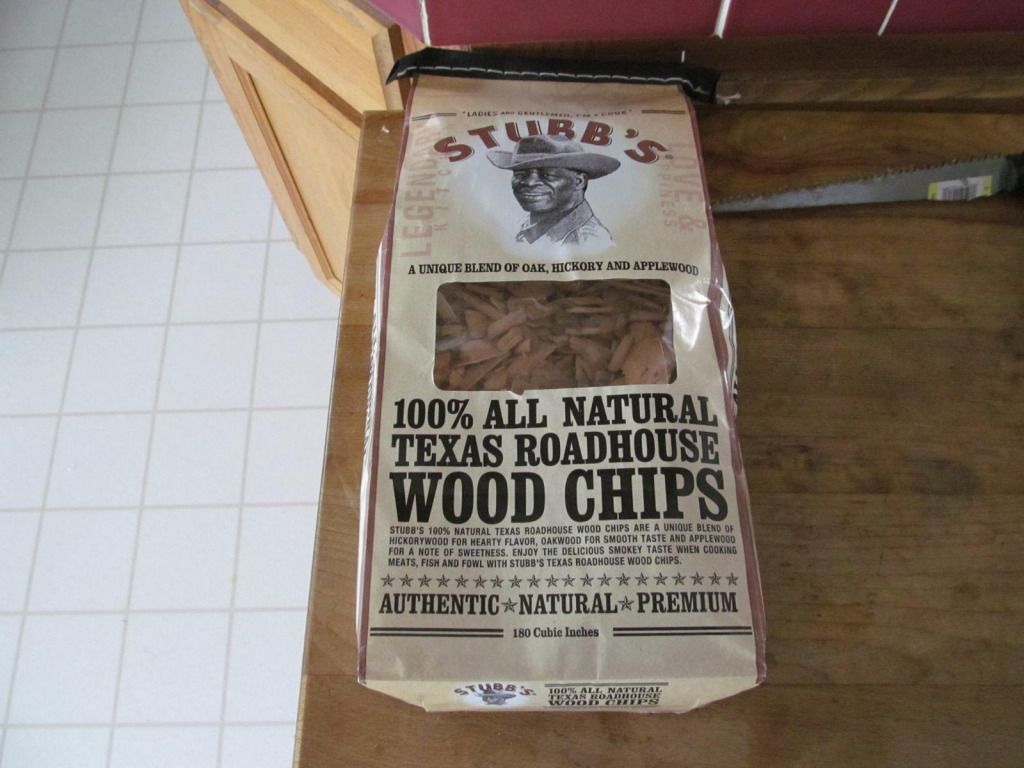
I put a mix of Royal Oak lump and Stubbs Hickory, Apple, and Oak smoking chips in the chute. I set my Digi Q for 90 F and wait until the smoker is at temperature and stable.
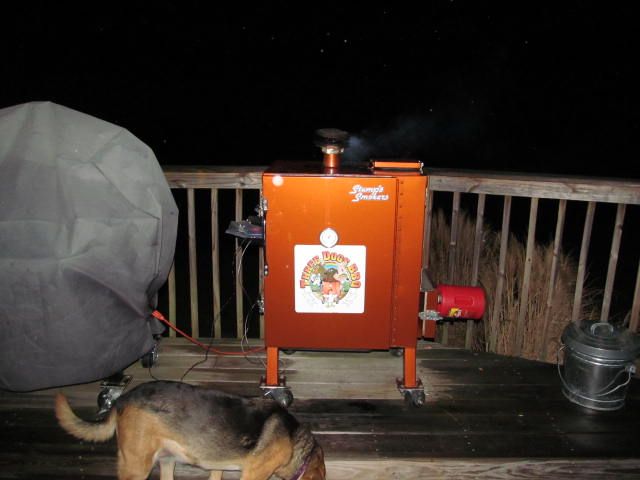
Put your pork in the smoker and let it go overnight. My last batch had about 14 hours of smoke at 90 F.
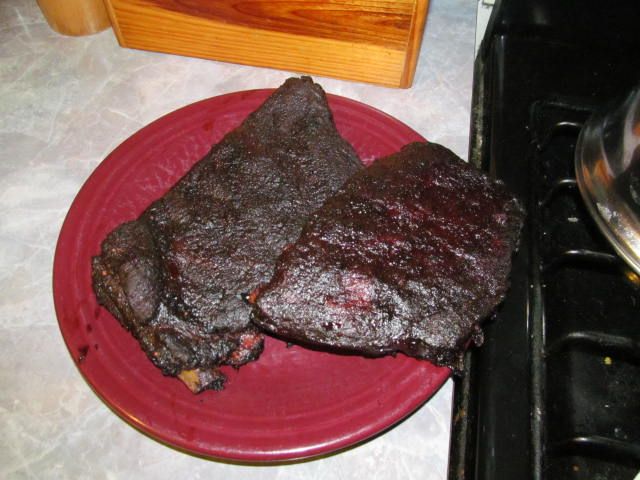
When I pull off the smoker, I wrap in plastic wrap and place in the frig to cool and firm it up to make it easier to slice. Notice the nice red color that the smoke has imparted.
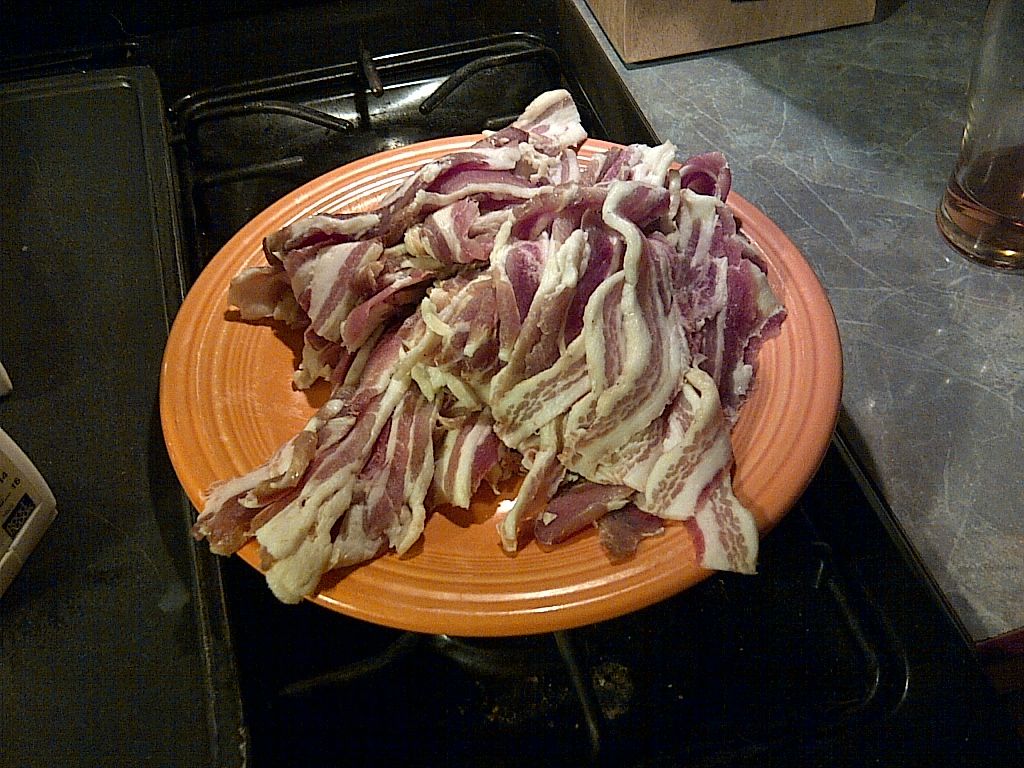
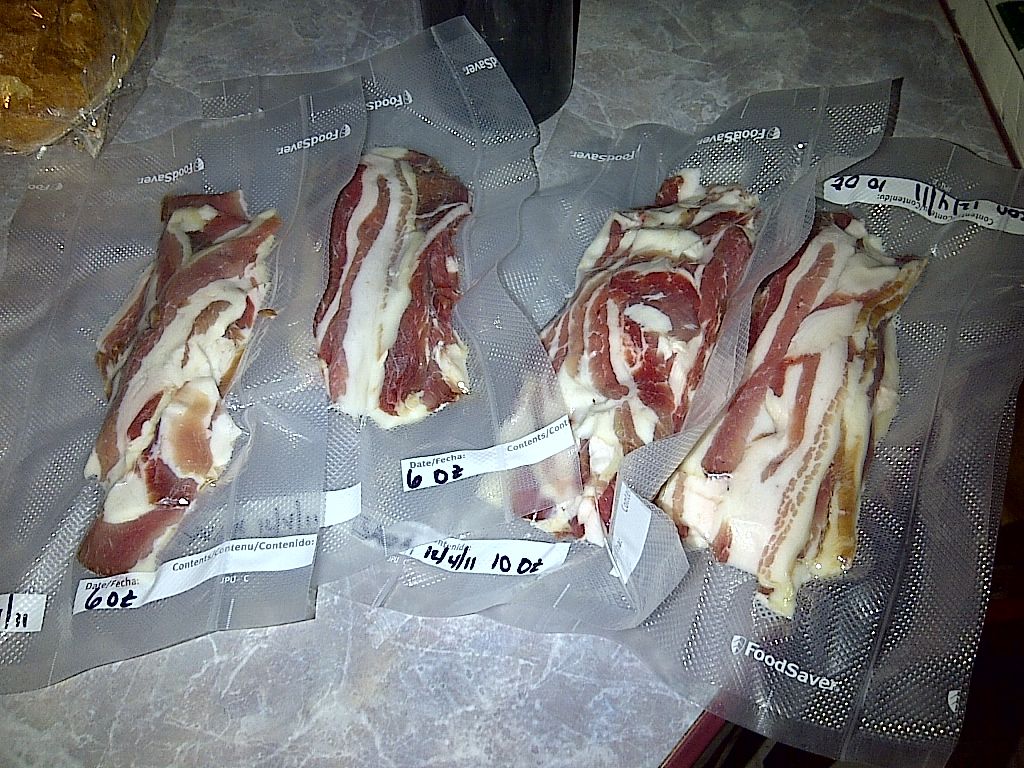
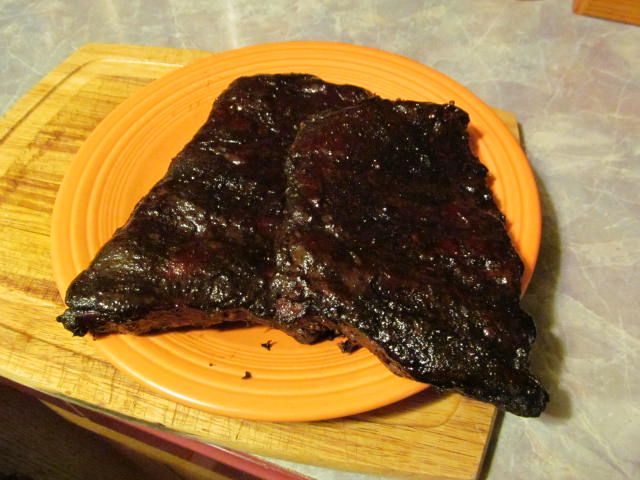
Slice and vacuum pack...
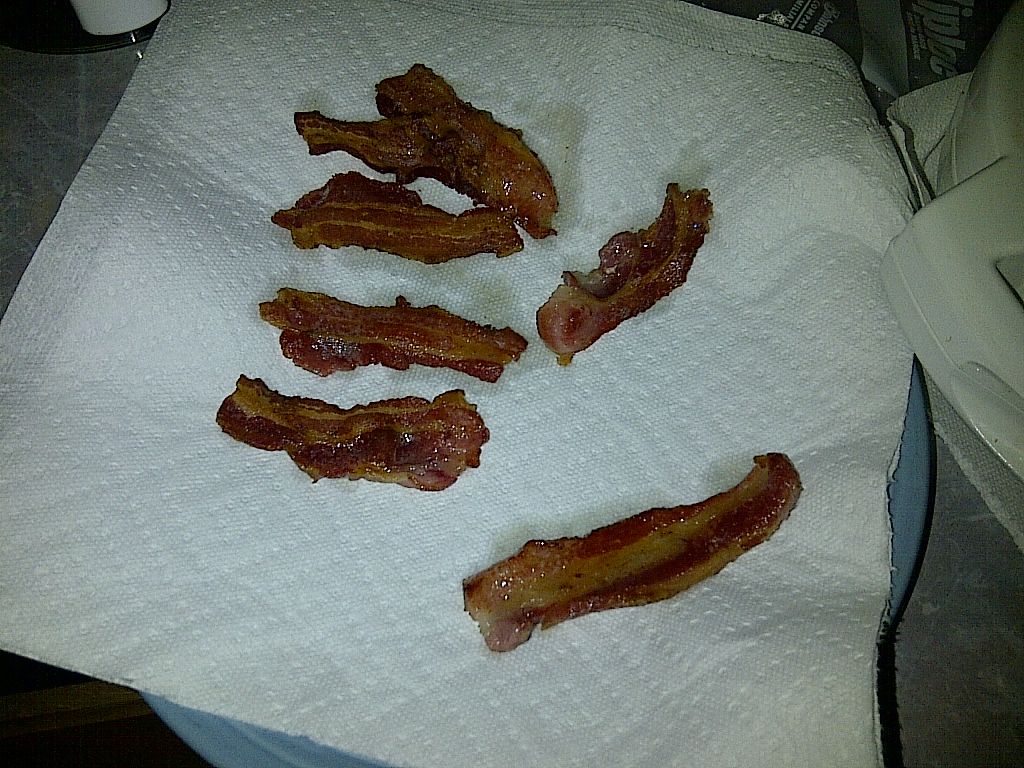
Frying gives the house a nice smoky smell...
So, I went to the butcher and picked up 5 pounds of fresh pork belly:
Rinse with water and pat dry. I have used Buckboard Bacon cure from Hi Mountain Jerky. Next time, I am going to try something homemade. Anyway, you apply the cure per the directions in the box and let sit in the frig for 10 days. I flip mine everyday so that the liquid penetrates all surfaces of the meat.
After 10 days of cure, I rinse well with cold water, then let sit overnight in the sink with a 5 pound bag of ice and some water. That removes all of the curing mixture.
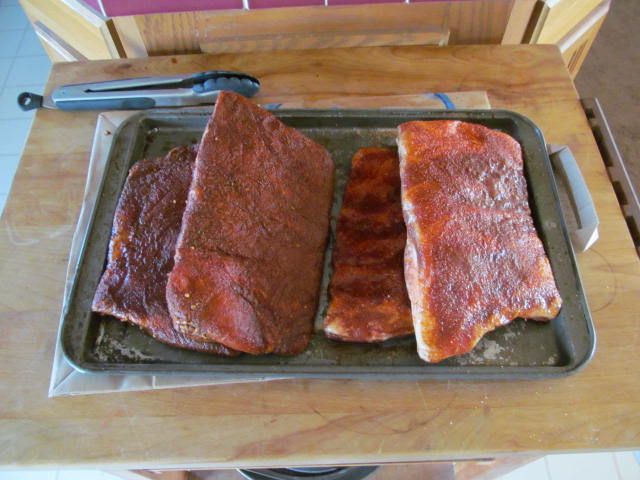
One final water rinse, then pat dry and let sit while you get the fire going:
I put a mix of Royal Oak lump and Stubbs Hickory, Apple, and Oak smoking chips in the chute. I set my Digi Q for 90 F and wait until the smoker is at temperature and stable.
Put your pork in the smoker and let it go overnight. My last batch had about 14 hours of smoke at 90 F.
When I pull off the smoker, I wrap in plastic wrap and place in the frig to cool and firm it up to make it easier to slice. Notice the nice red color that the smoke has imparted.
Slice and vacuum pack...
Frying gives the house a nice smoky smell...
Mmmm... Bacon... What is not to like?
The folks at work call it Bill's Honest Bacon. It is a nice pure flavor as it is not loaded with all the preservatives that are put in regular store bought bacon.
I love it... Enjoy the pics...
Wednesday, February 15, 2012
Cooking for Novices, Part 2...
Ever want to make that homemade chicken soup that mom used to make but feel intimidated? Why use that canned broth that is high in sodium and somewhat tasteless when you can made a good homemade broth while sitting on the couch. It really isn't that hard.
What do you need?
1 Chicken, whole. Rinsed inside and out. Roasters work, as well as old hens.
3 Carrots, cleaned.
3 Ribs of Celery, cleaned and broke in half.
1 Onion, paper skin removed and cut in quarters.
1 Garlic Clove
2 Tbsp of Dried Parsley
Put everything in a 12 qt stockpot, cover with water, and bring to a boil...
Once boiling, reduce heat and let simmer for 6-12 hours. The longer you simmer, the better flavor you will get from your broth. But, remember, you will have cooked the chicken to death, so you cannot use for whatever soup you choose to make with your broth.
Once done, run the broth through a colander. This is what it looks like:
This is what it looks like after about 3 hours...
What do you need?
1 Chicken, whole. Rinsed inside and out. Roasters work, as well as old hens.
3 Carrots, cleaned.
3 Ribs of Celery, cleaned and broke in half.
1 Onion, paper skin removed and cut in quarters.
1 Garlic Clove
2 Tbsp of Dried Parsley
Put everything in a 12 qt stockpot, cover with water, and bring to a boil...
Once boiling, reduce heat and let simmer for 6-12 hours. The longer you simmer, the better flavor you will get from your broth. But, remember, you will have cooked the chicken to death, so you cannot use for whatever soup you choose to make with your broth.
Once done, run the broth through a colander. This is what it looks like:
Notice the fat on top? You can make that solid by putting in the frig overnight, or, if available, a snow bank... ;)
You can skim all that fat off with a large soup spoon or a ladle. This is what it looks like with the fat removed...
Now you are ready for soup or packaging. You can package and freeze in soup for 2 sizes, save for gravy (another post for another time), or make soup.
Good basic soup would be to bring to a boil, add diced carrot, celery, onion, a few boneless chicken breasts, salt and pepper to taste, and simmer for 12 minutes. Then add some egg noodles and cook for another 8 minutes, and you have a great meal and lunch for the week.
Enjoy,
Bill
Monday, February 13, 2012
Charcoal Reviews...
Tired of the "Blue Bag" charcoal that burns fast and makes a ton of ash? Don't like that funky taste that some charcoals can produce? Looking for some lump charcoal, but don't have the time to test out various brands? The check out the new link added over on the right: The Naked Whiz.
The Naked Whiz is a scientific, comprehensive, searchable database of charcoal, both lump and briquette.
Give it a look. You might find something better than what you currently use...
Sunday, February 12, 2012
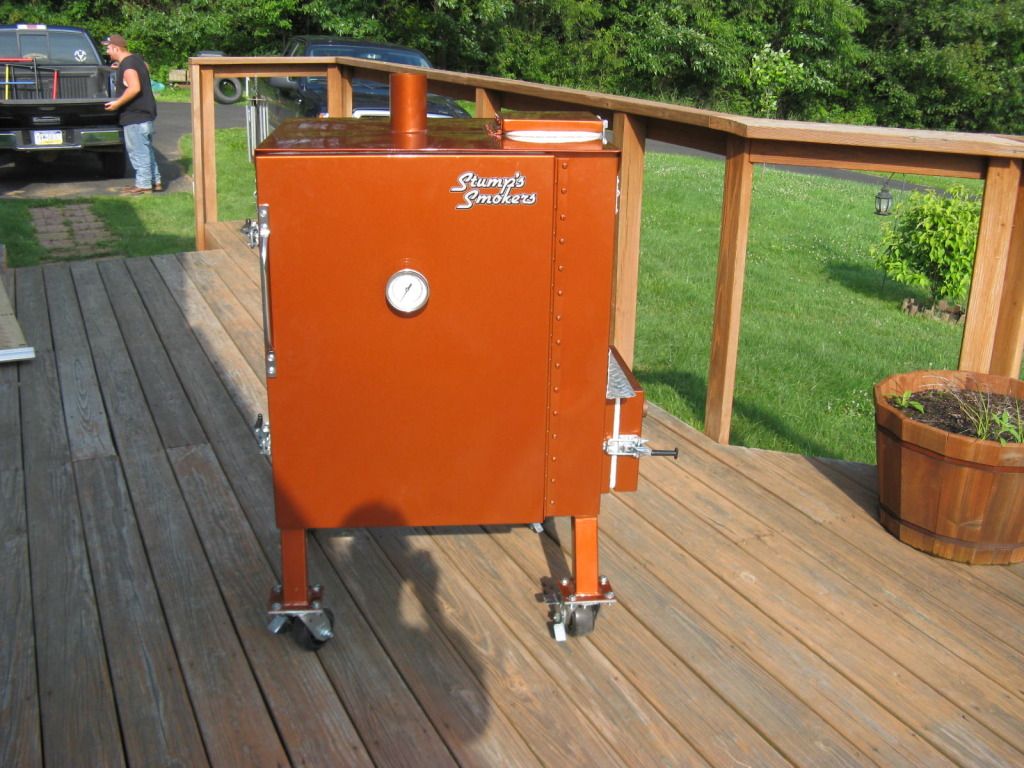
The Stumps Baby
I tried many smokers over the years: Bullets, Weber Kettles, CharBroil Silver Smokers, etc...
I was never happy because they were hard to regulate the heat and needed numerous modifications to work in a semi-acceptable way.
Then, I started doing some research and found the gold standard... Stumps Smokers.
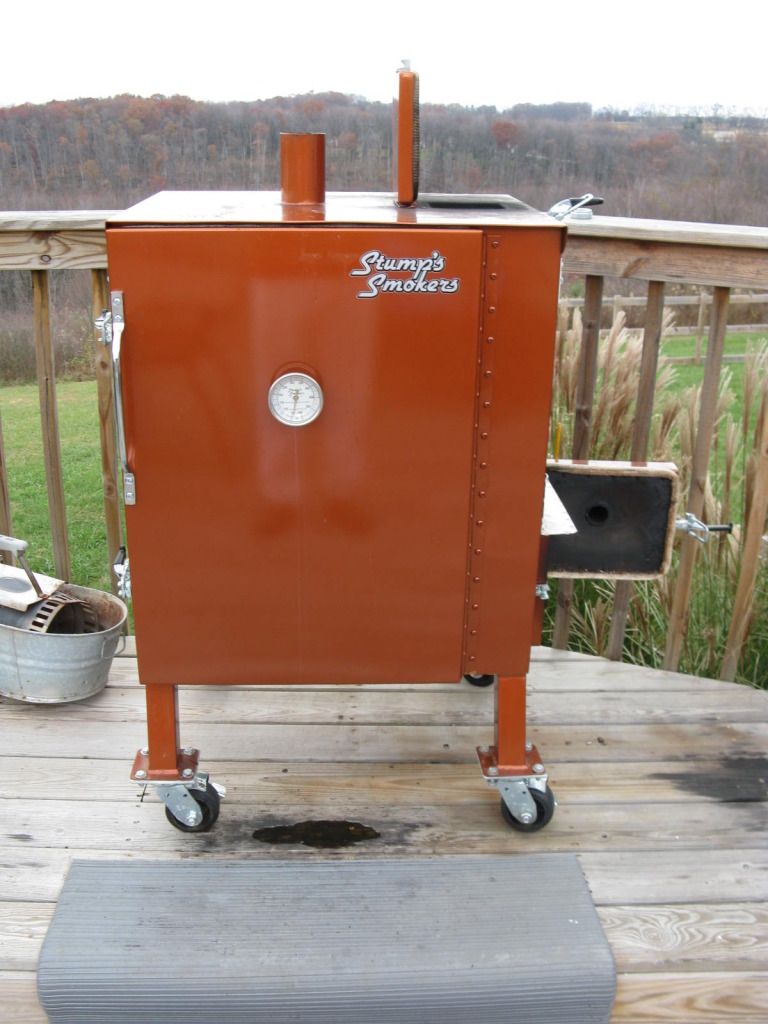
I started with their smallest vertical gravity fed smoker, the Stumps Baby:
Produced in the good old USA by the good folks at Stumps Smokers in Centerville, GA. It is an amazing piece of equipment.
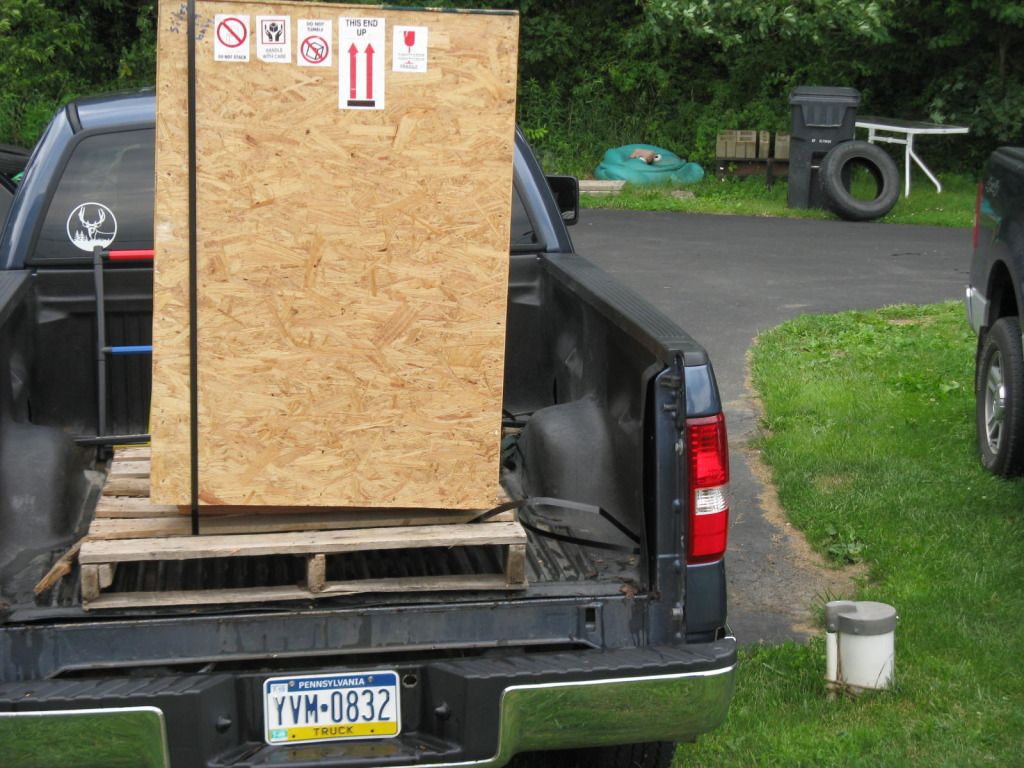
It came professionally packaged:
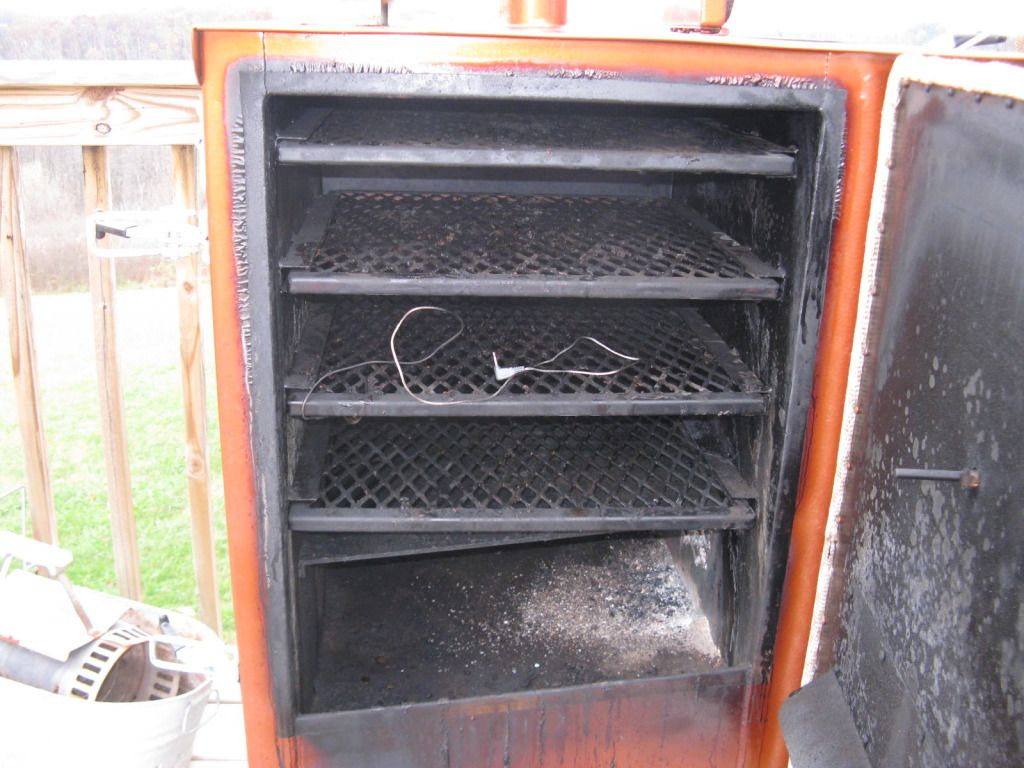
I have the older 4 rack Baby. The newer models have 3 racks inside:
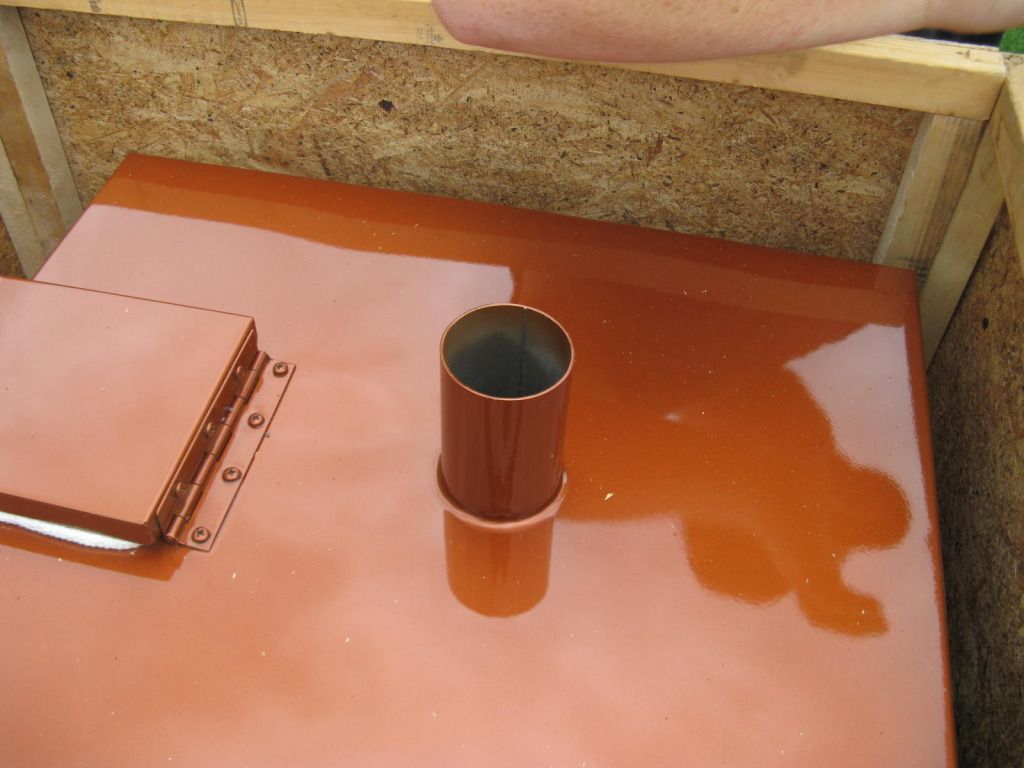
Charcoal chute holds 5 lb of lump charcoal:
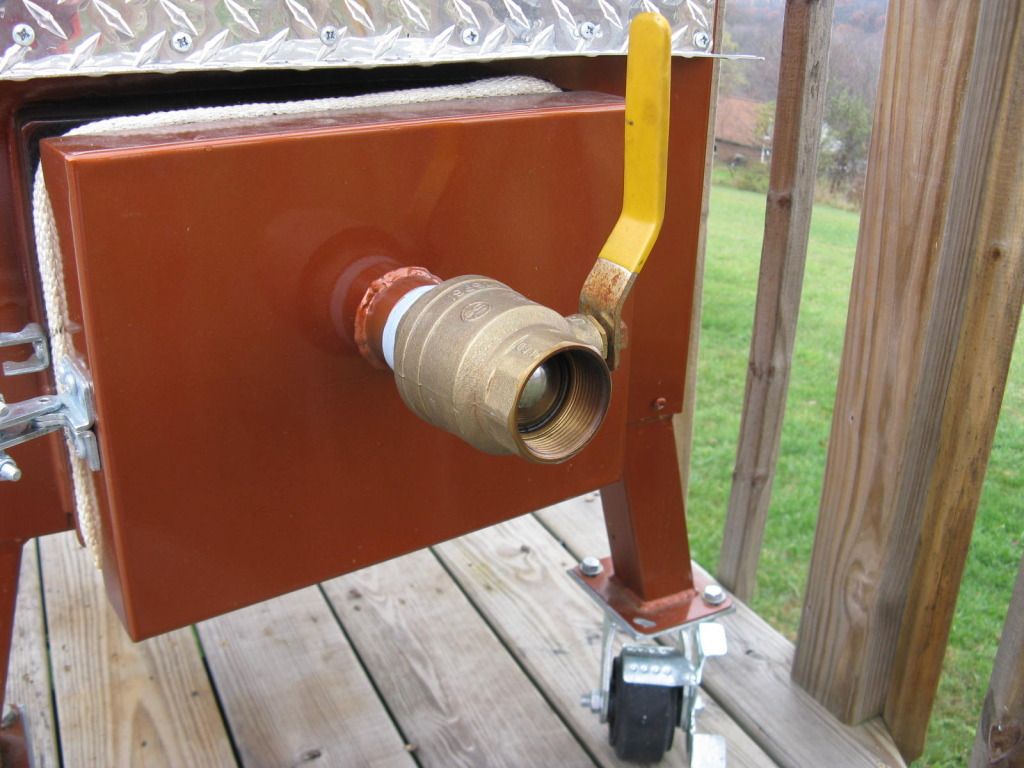
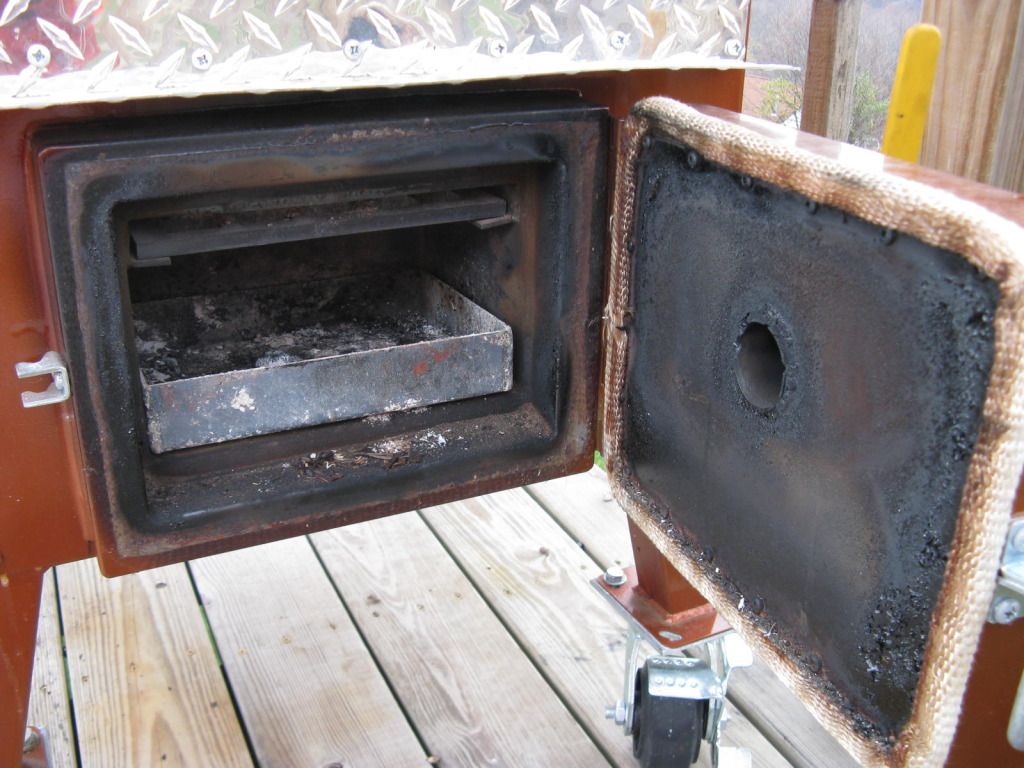
The ash pan is a convenient place to place your wood chunks for smoking (or you can add with your charcoal in the chute). The ball valve on the ash door regulates the air flow through the smoker for temperature control:
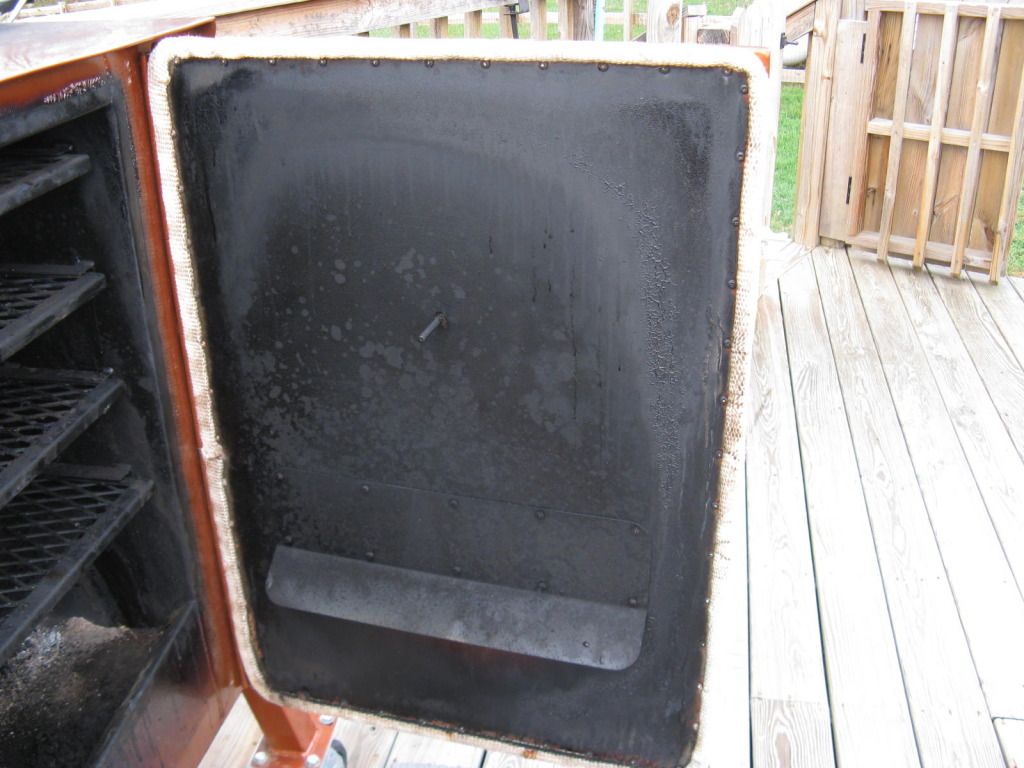
The cook chamber is insulated to keep temperature steady, no matter what the outside temperature might be. All of the doors have high temp gaskets to keep the cooker at your desired cook temp. No issues with air leakage which makes temp control in my older smokers next to impossible:
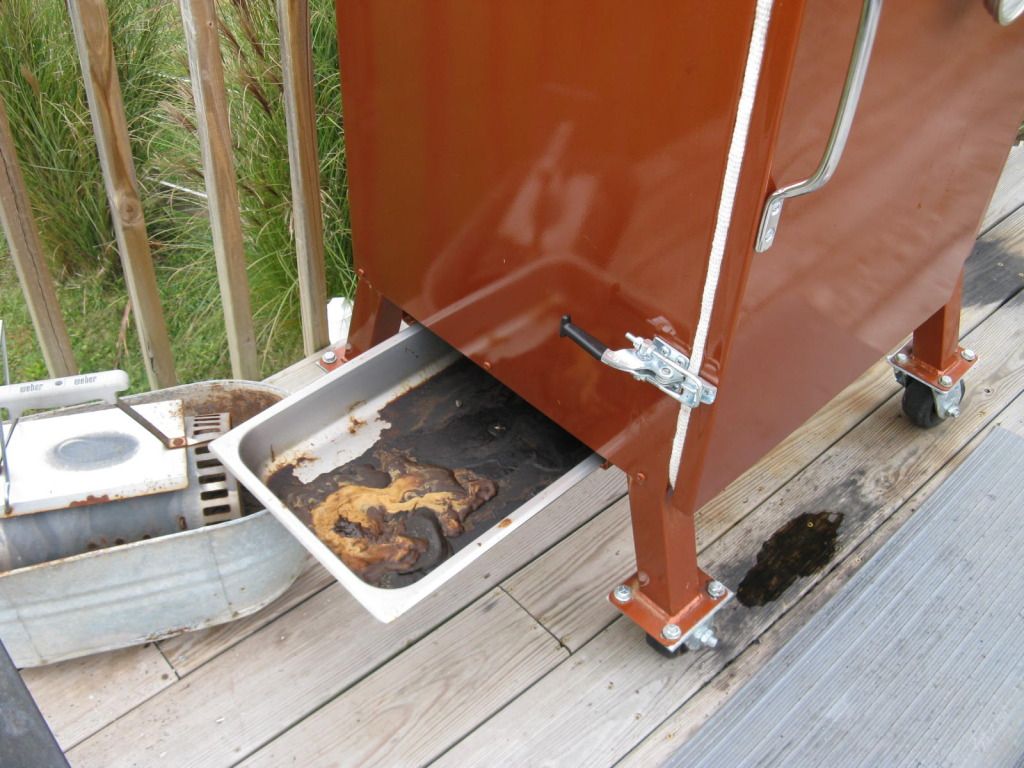
Any grease from cooking flows out a drain into a drip pan on the bottom:
The outer shell is pained with high quality automotive paint. So, you can wash and wax to protect that shine. No rust issues with the Stump if you take care of your smoker:
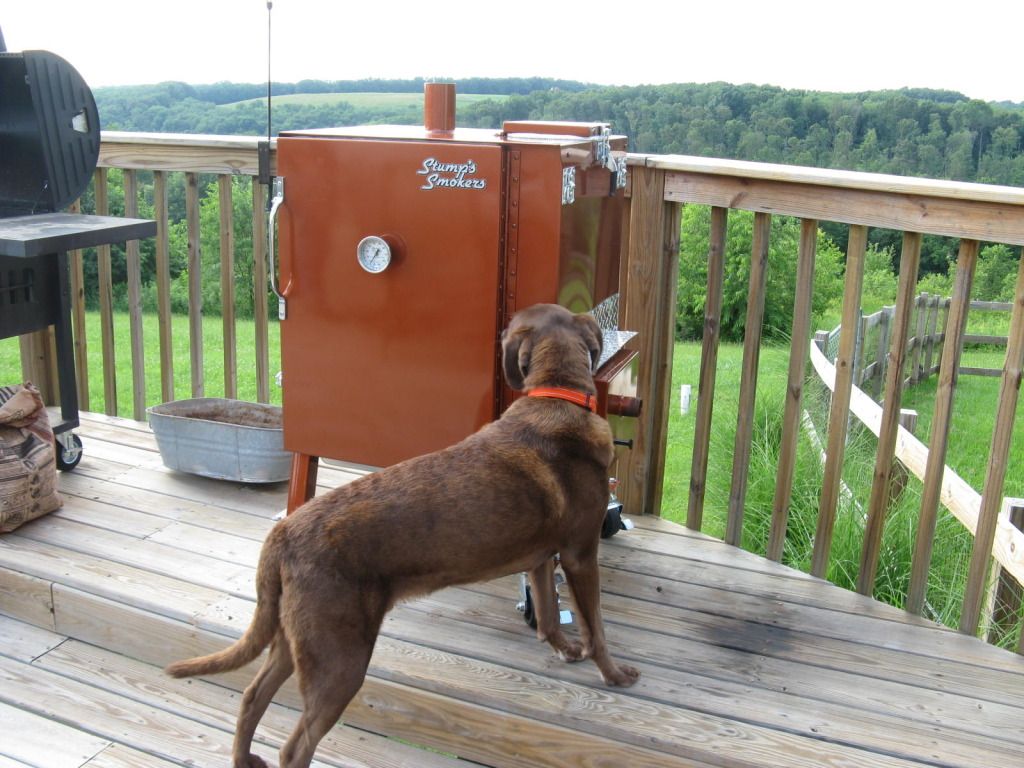
Even dogs like them... ;)
So, if you are in the market to upgrade that back yard smoker, do a little research I know you'll love a Stumps...
BBQ Spare Ribs
|
Subscribe to:
Comments (Atom)

