Search This Blog

Wednesday, December 31, 2014

Project Bacon: Maple Bourbon Bacon

Part two of our bacon journey allows us at Three Dogs to bring together three of our favorite flavors: pork, maple, and bourbon.  What could be better than that combination?

I found my inspiration while scrolling through my Flipboard feed one evening.  There was a picture of one of the best looking pieces of smoked pork belly I have ever seen.  The article linked to a website called Salt and Smoke.  The recipe was for a maple and bourbon cured pork belly that is smoked, then sliced for bacon.  Here is a link to the recipe.

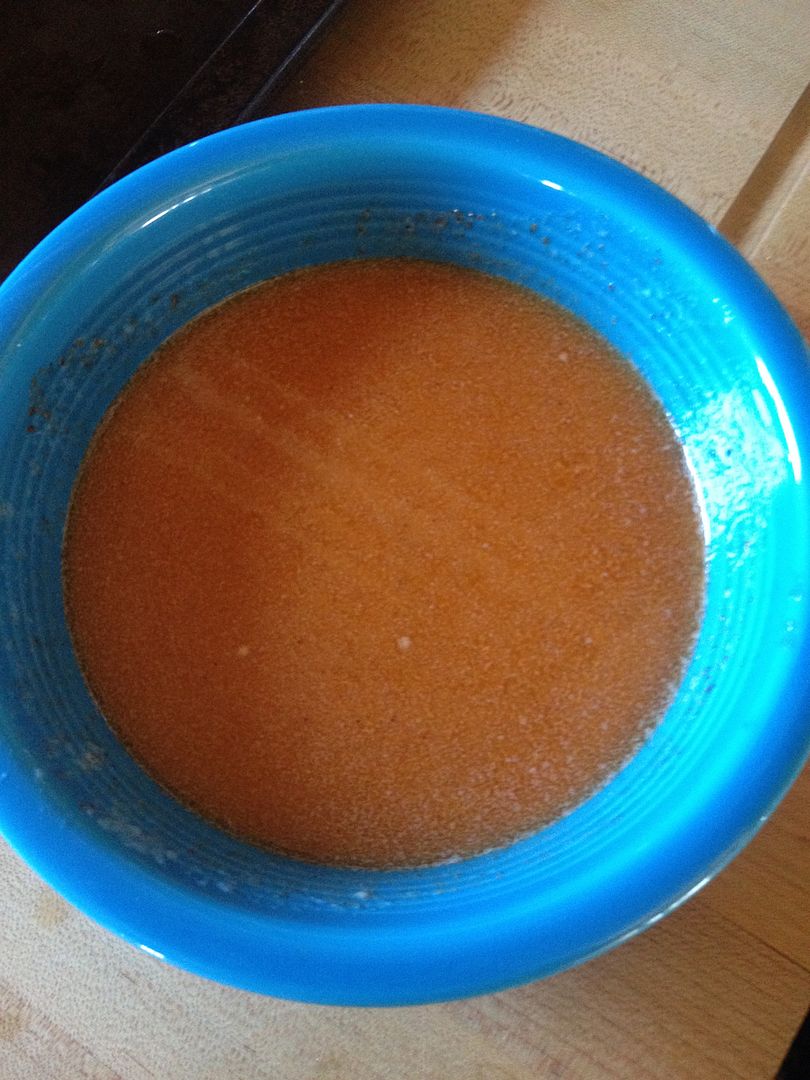
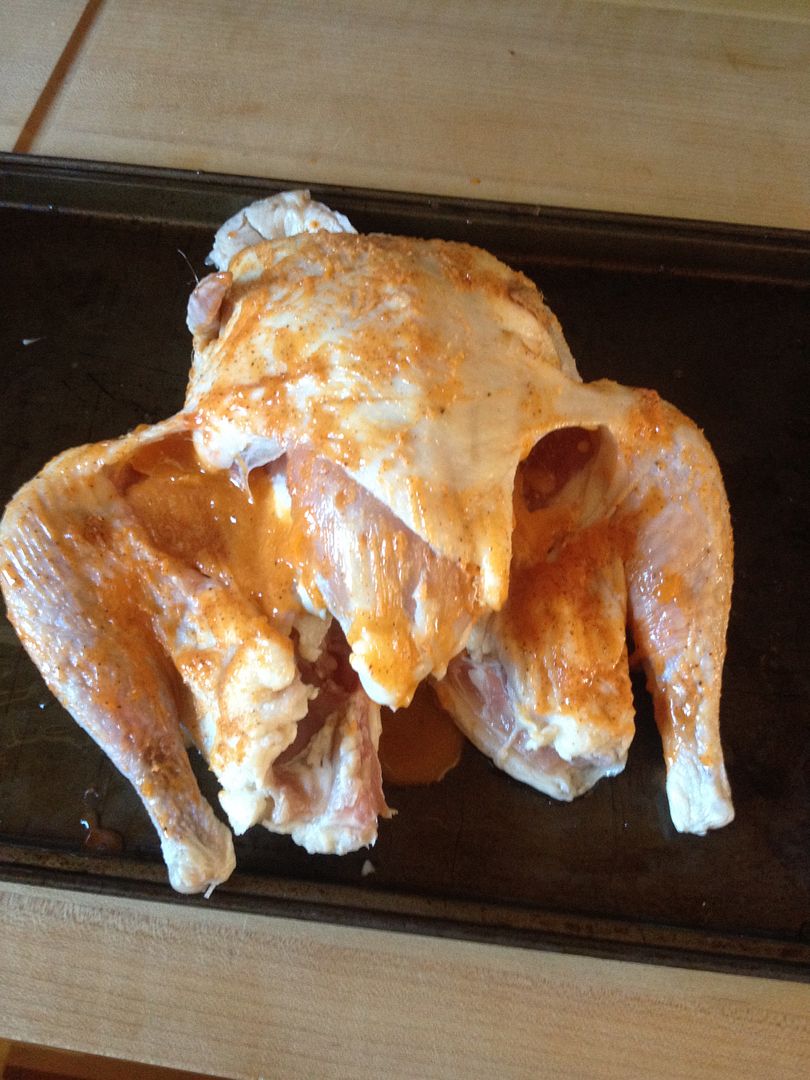
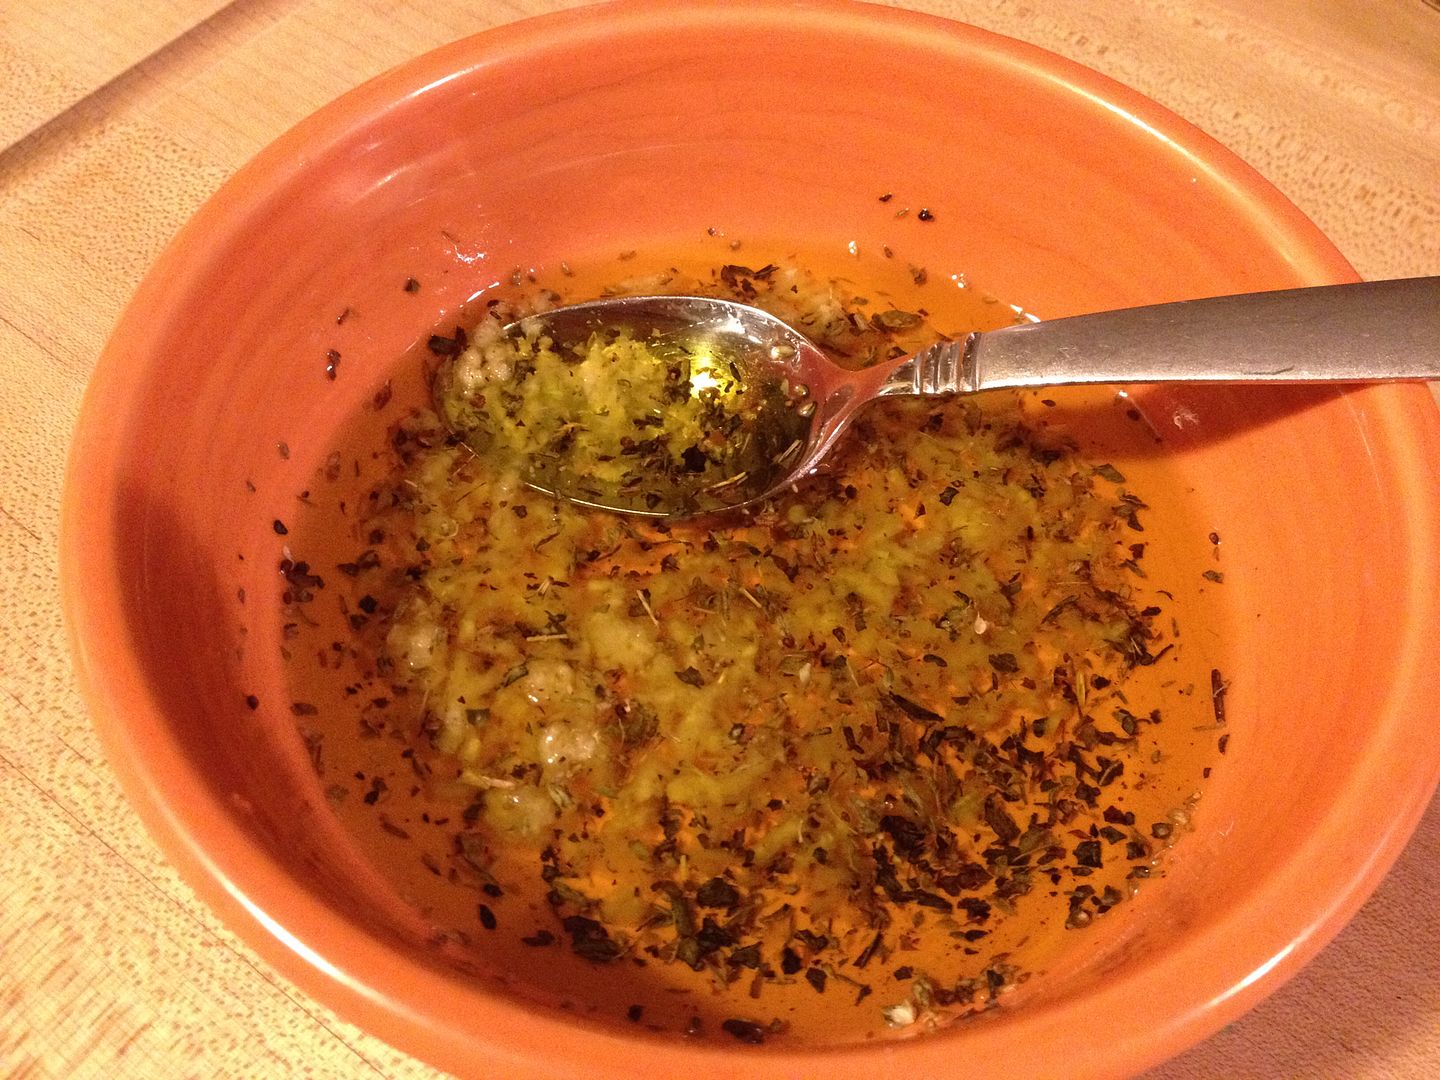
For once, I followed a recipe exactly as published.  First, you mix all of the ingredients together, place in a glass dish, then coat your pork belly in the resulting maple bourbon paste.


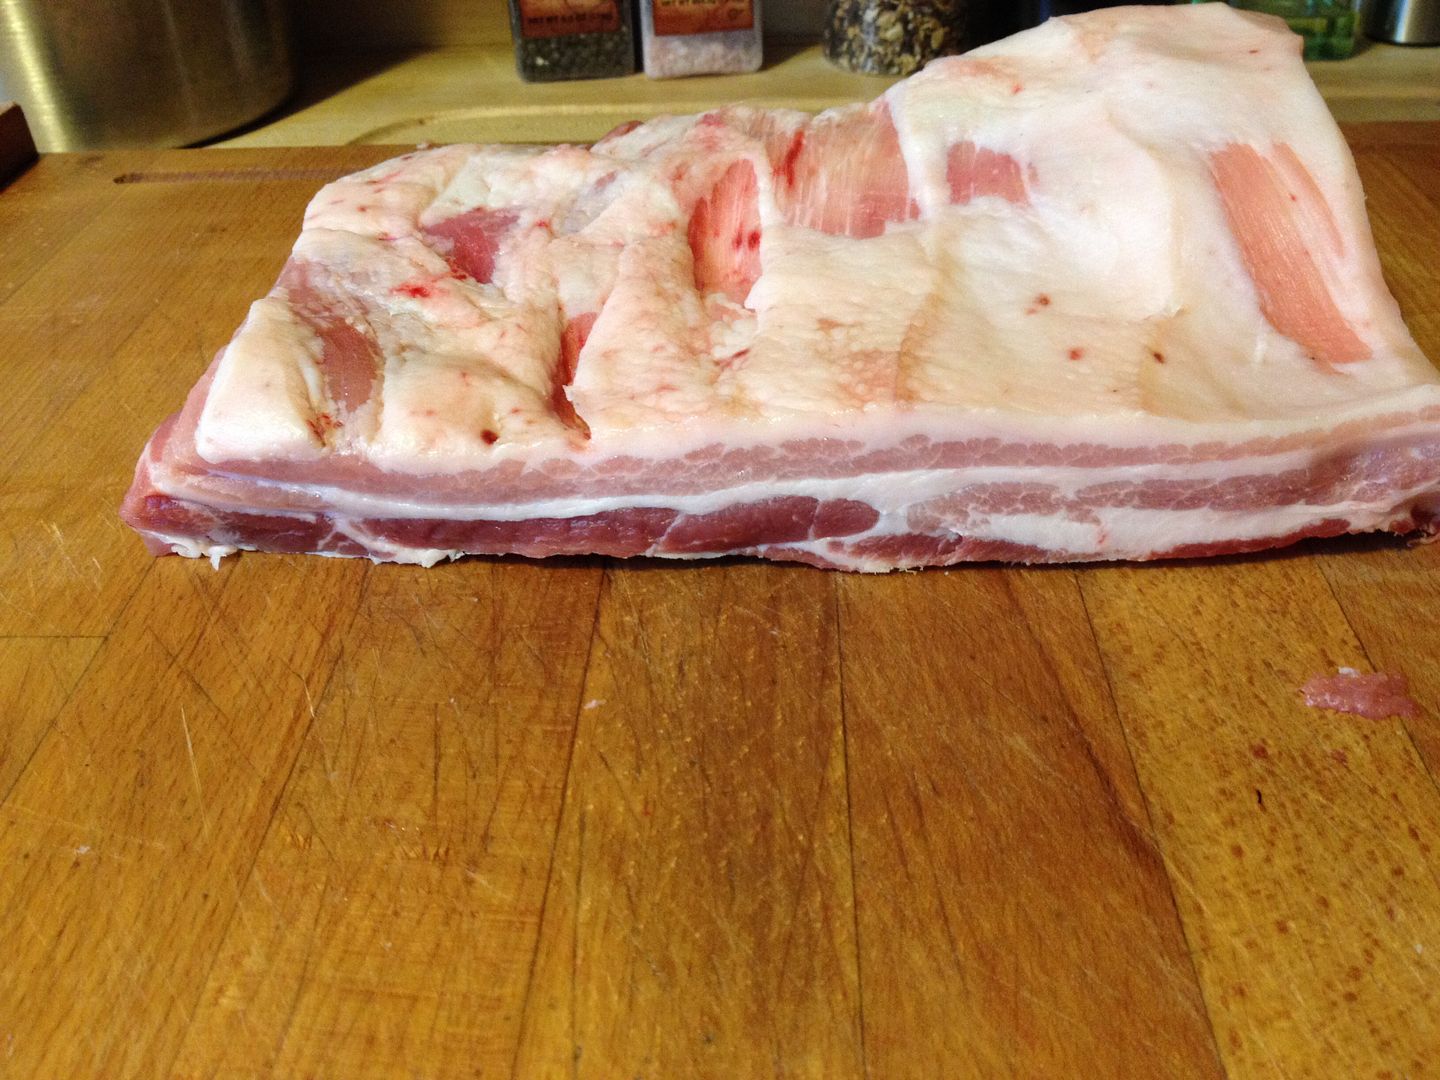
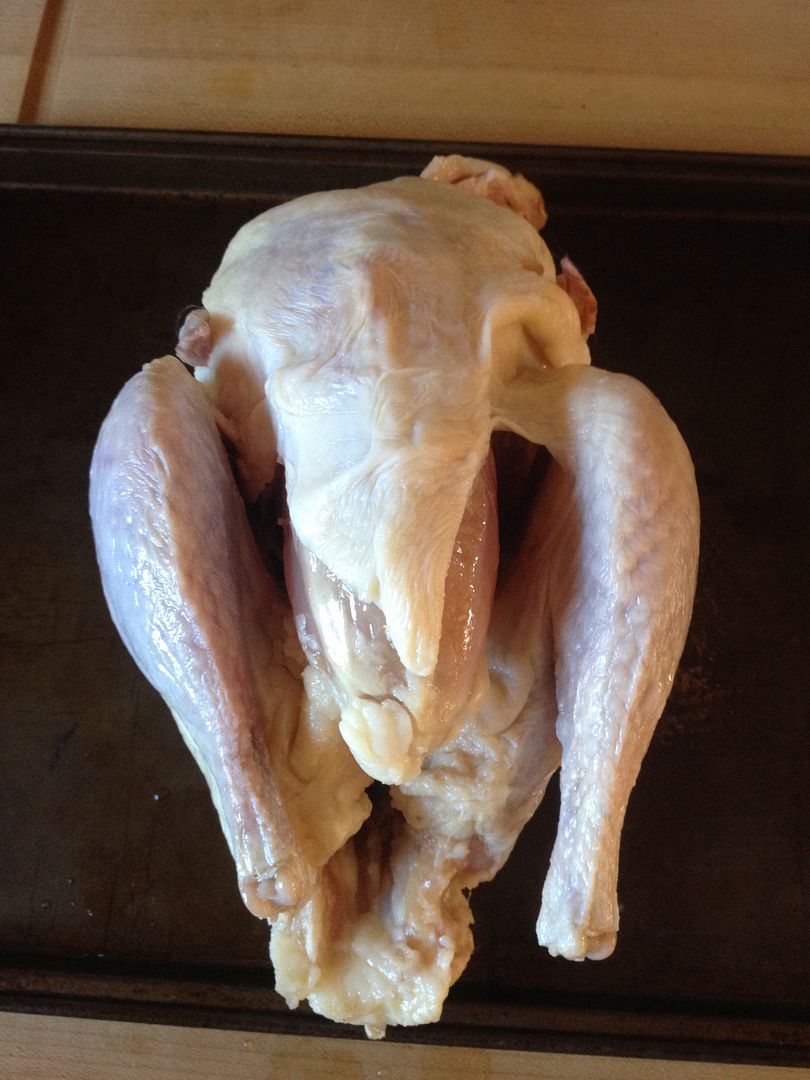
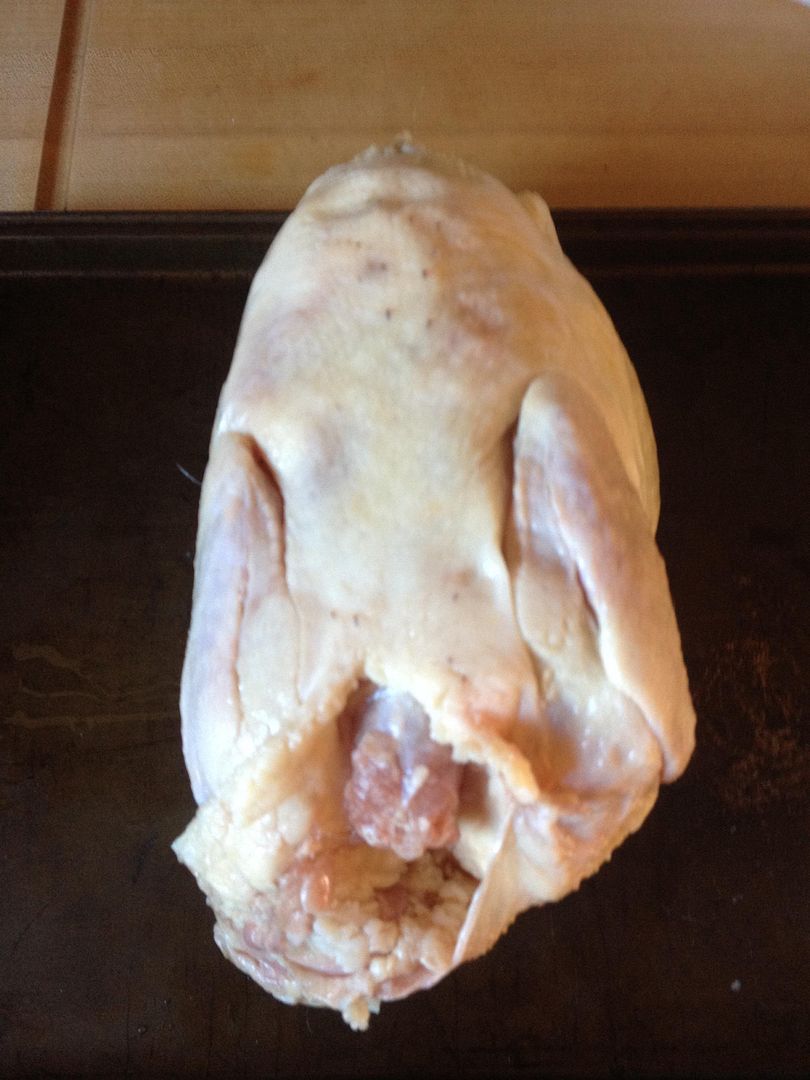
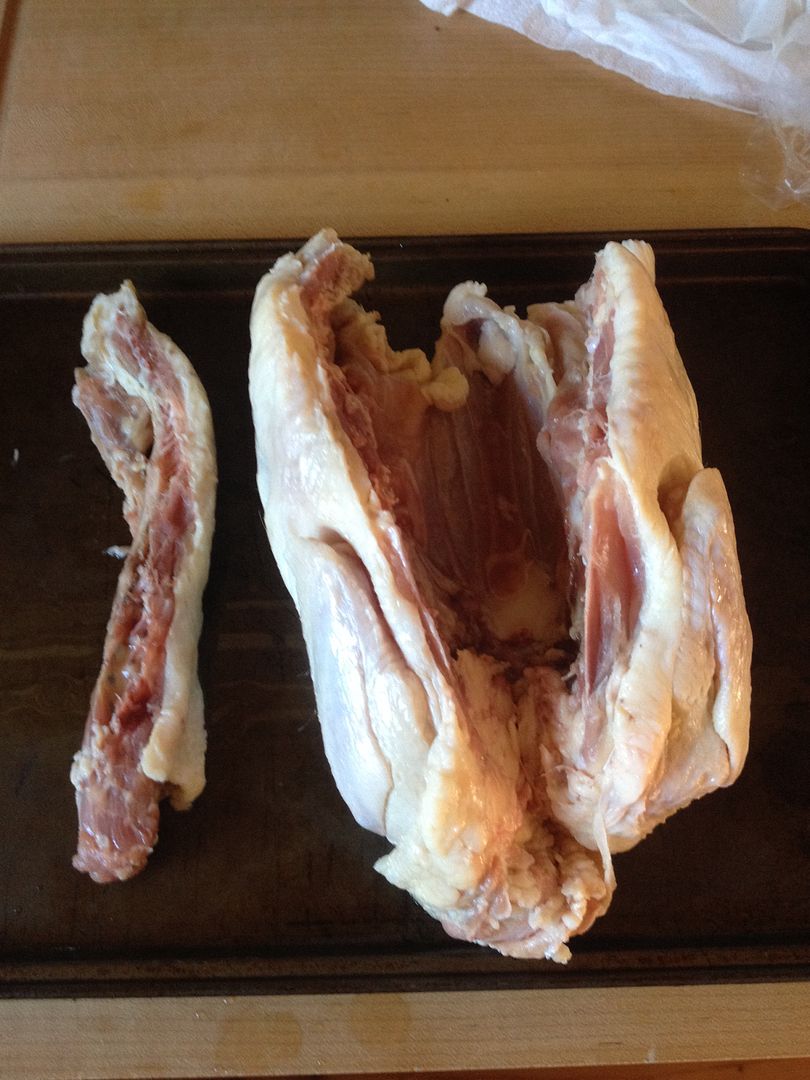
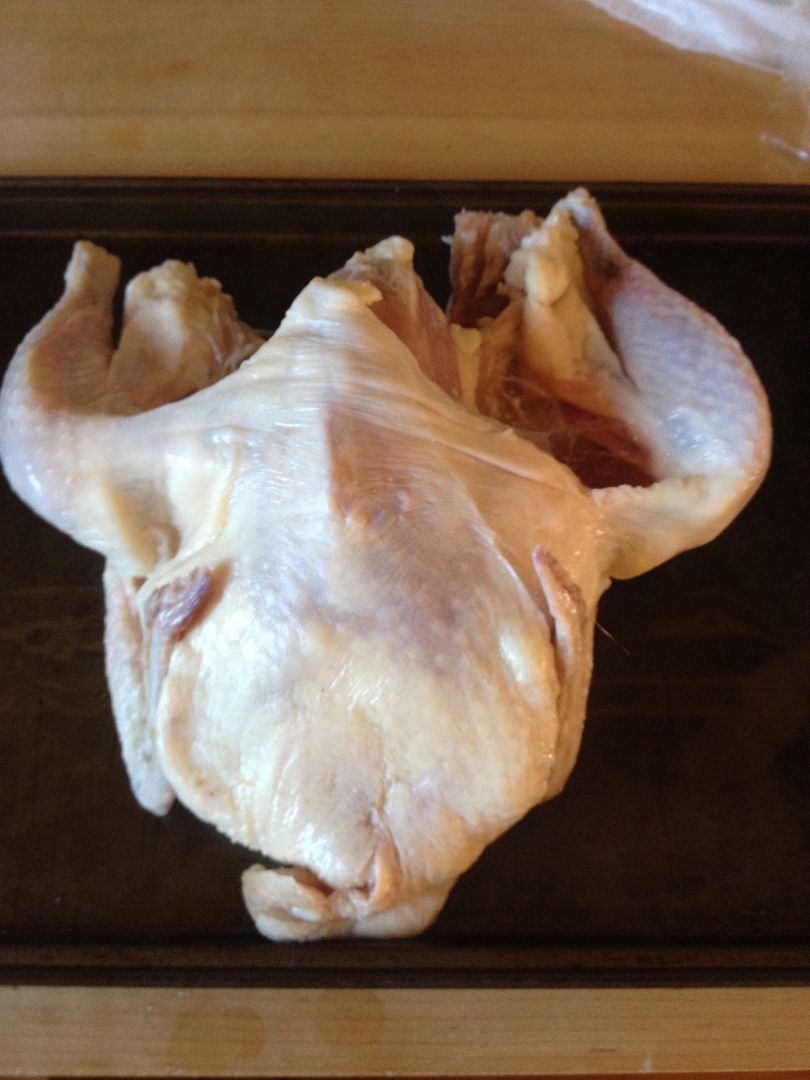
Perfect meat to fat ratio!


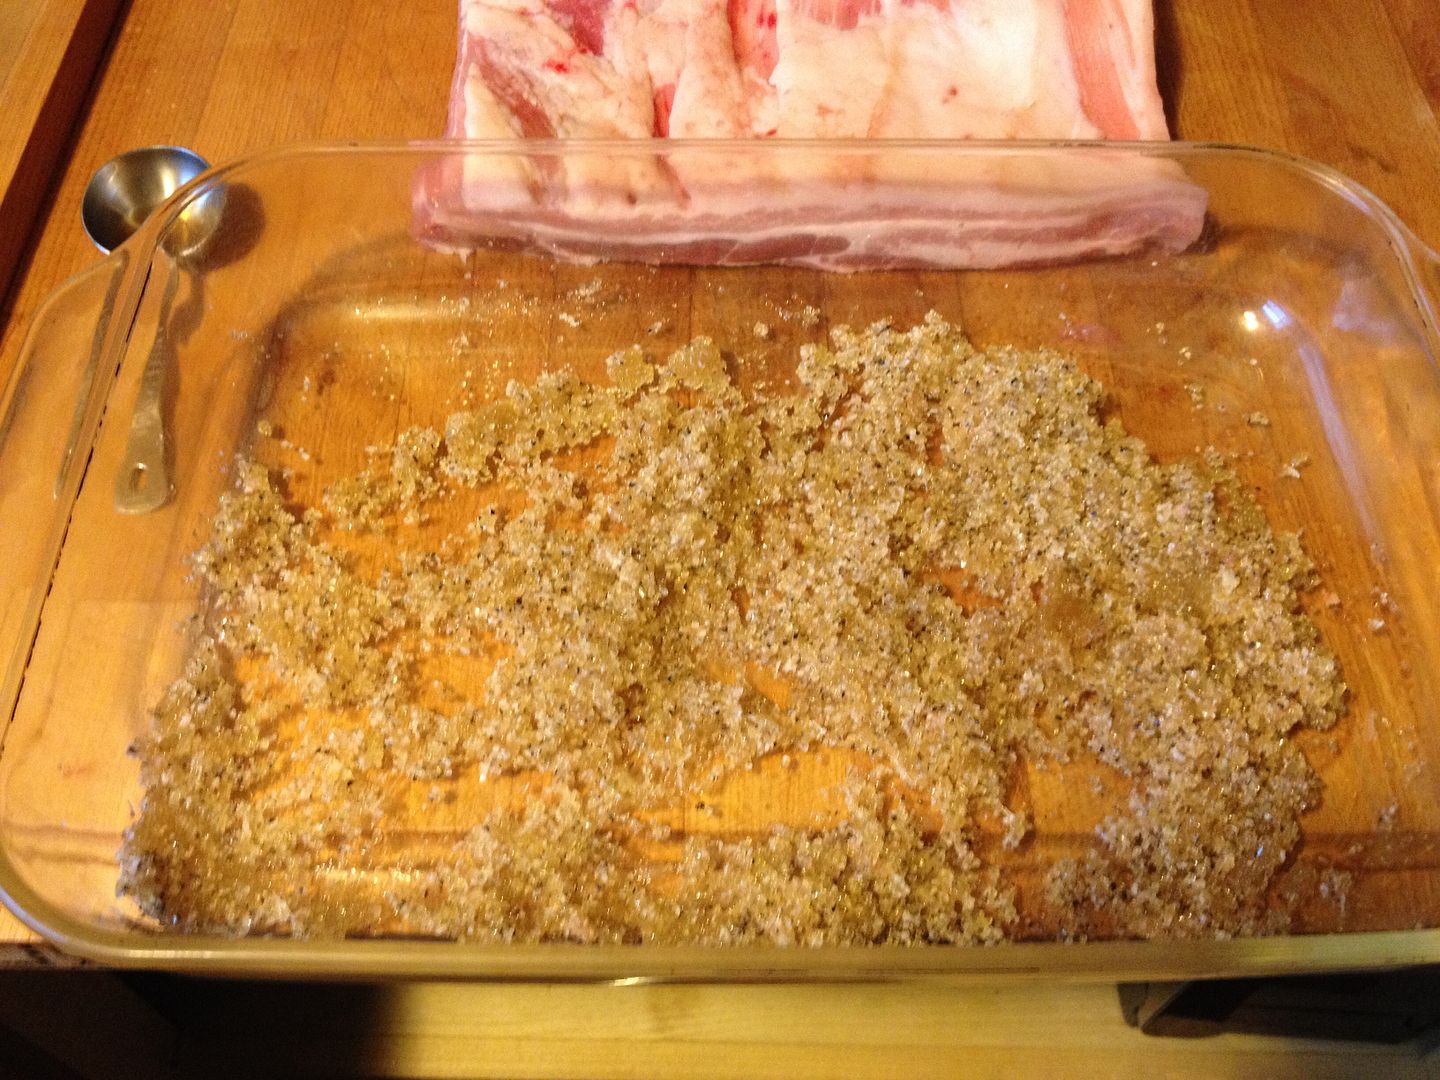
Our curing mixture, all ready for a pork belly exfoliation.

One the cure is applied, place everything into a plastic bag, along with any remaining liquid and salt.


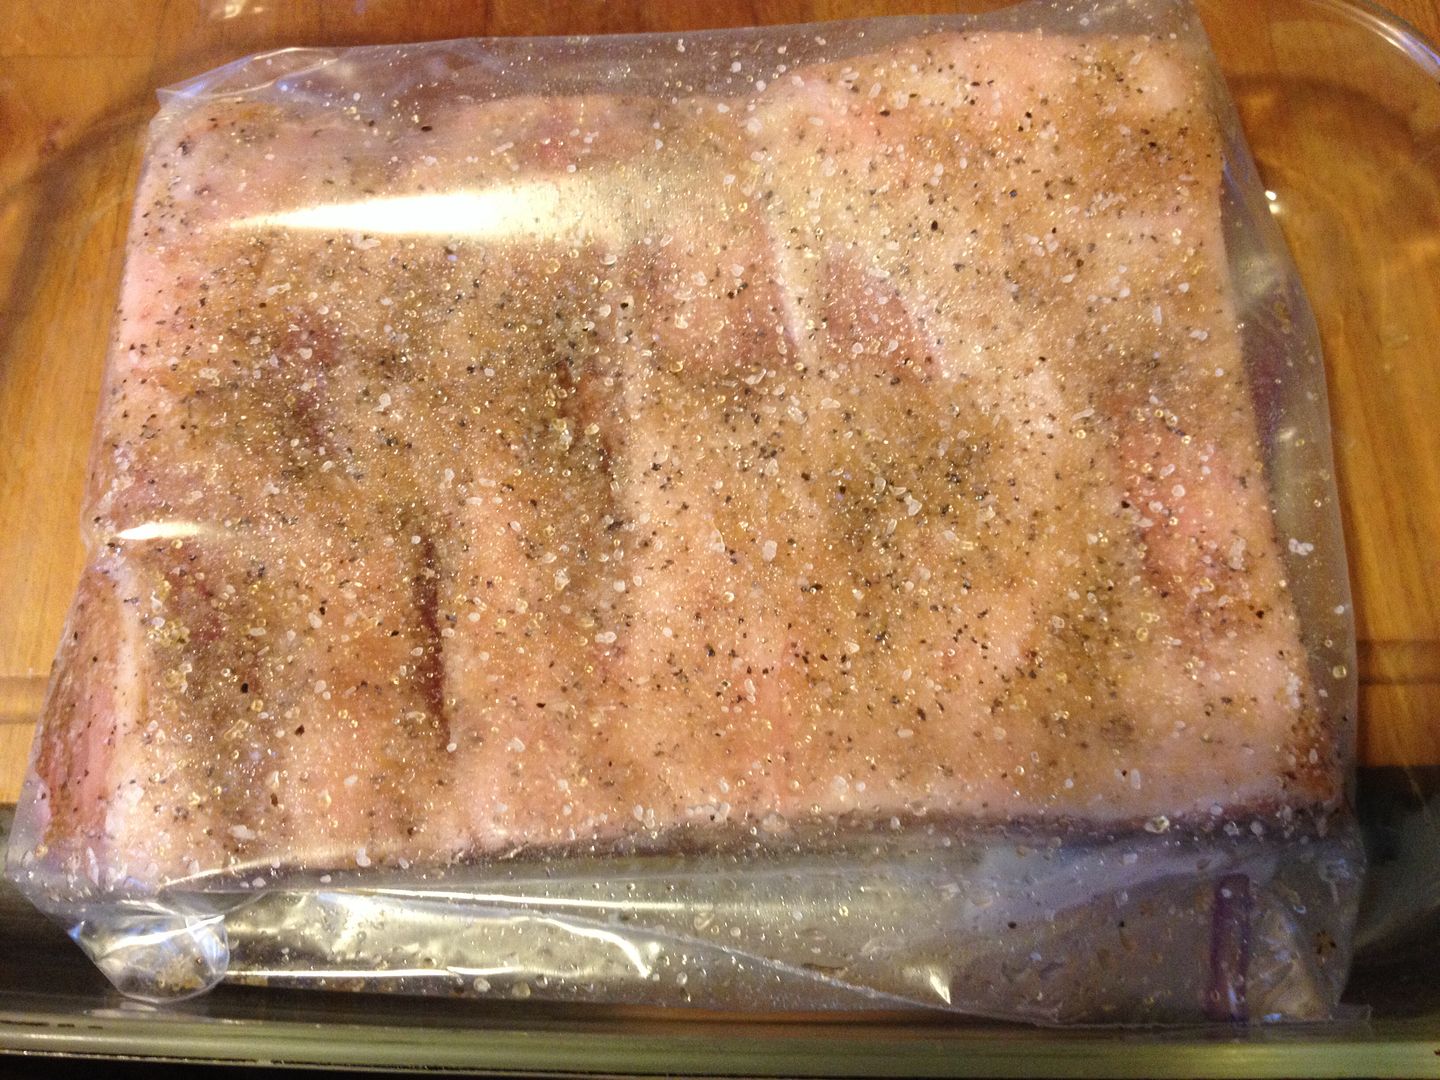
Place your curing pork belly in the refrigerator.  Every day for seven days, flip your pork belly, making sure to evenly distribute the liquid and massaging the salt and liquids into the meat.  This ensures an even distribution of flavor and curing salt across the pork belly.

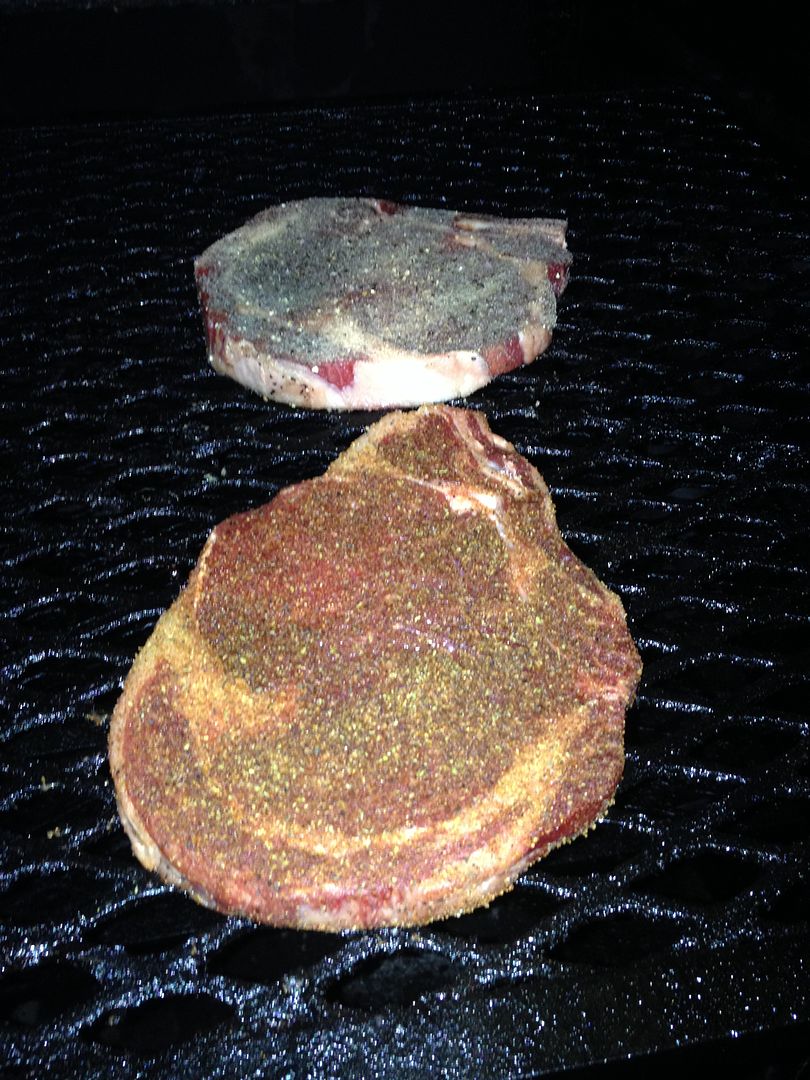
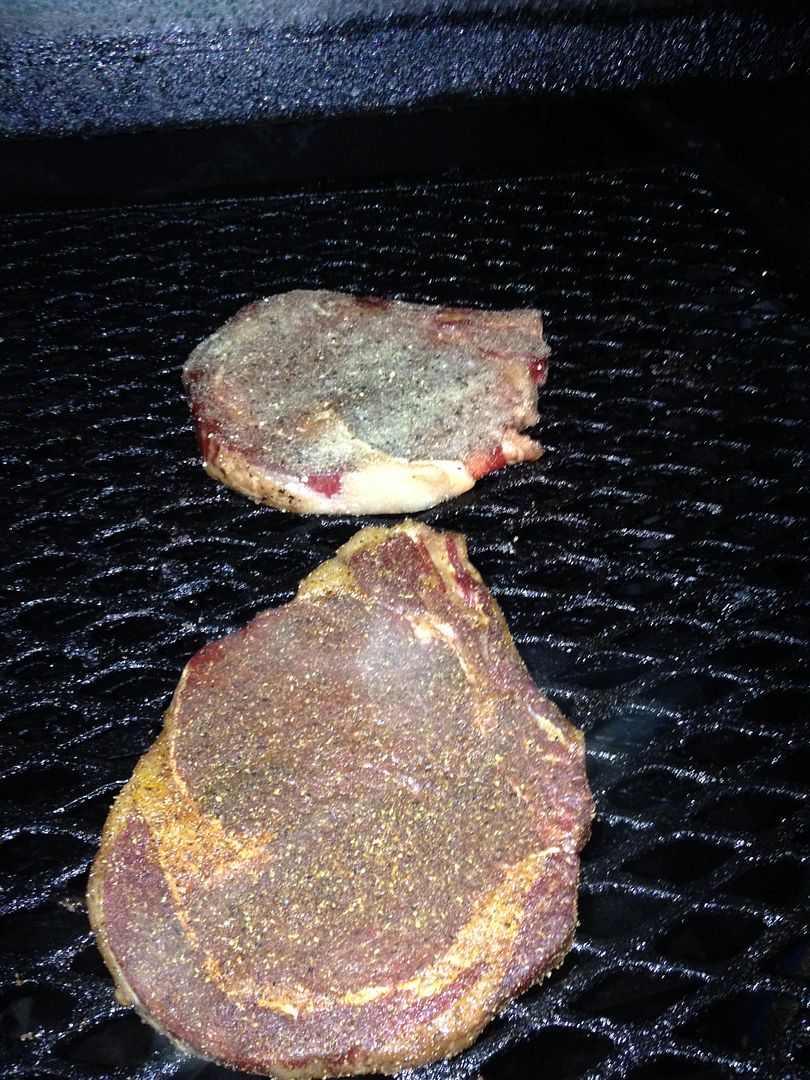
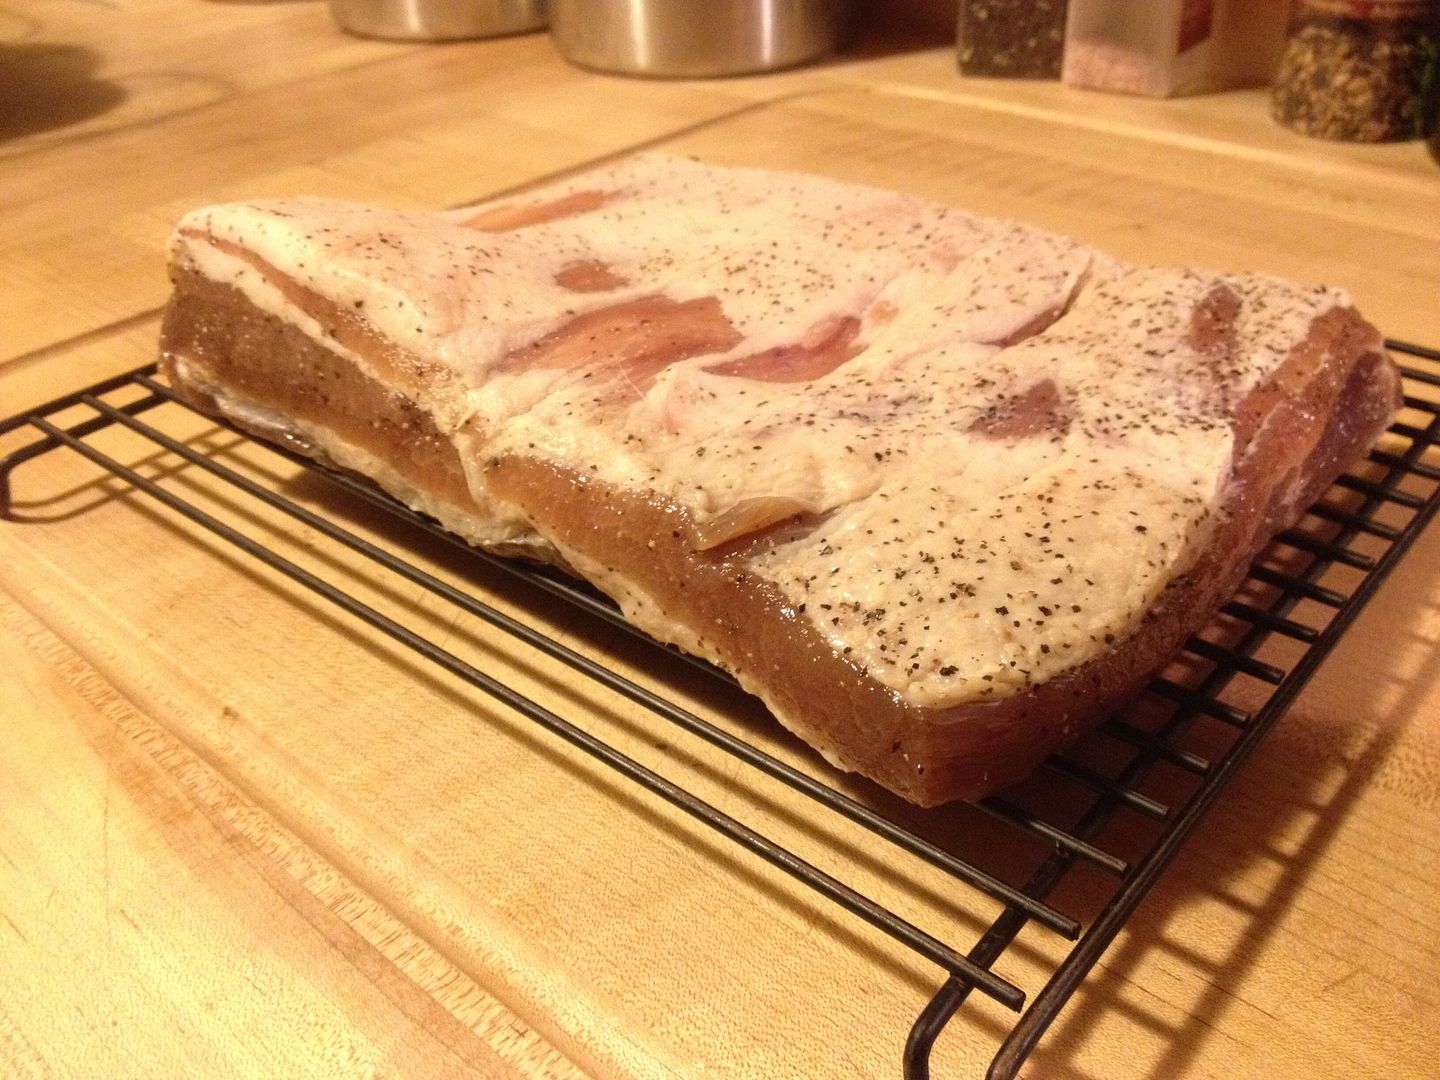
After seven days, I rinsed the meat to remove any excess salt from the meat.  Here is the final product, ready for the smoker.


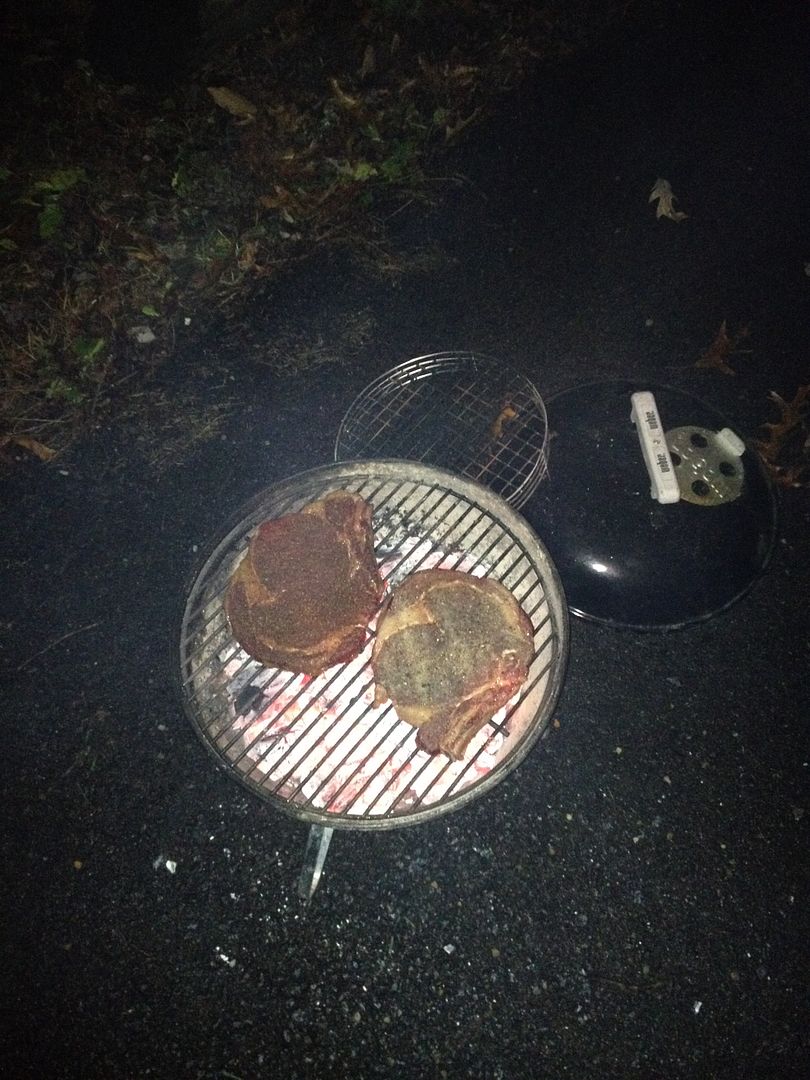
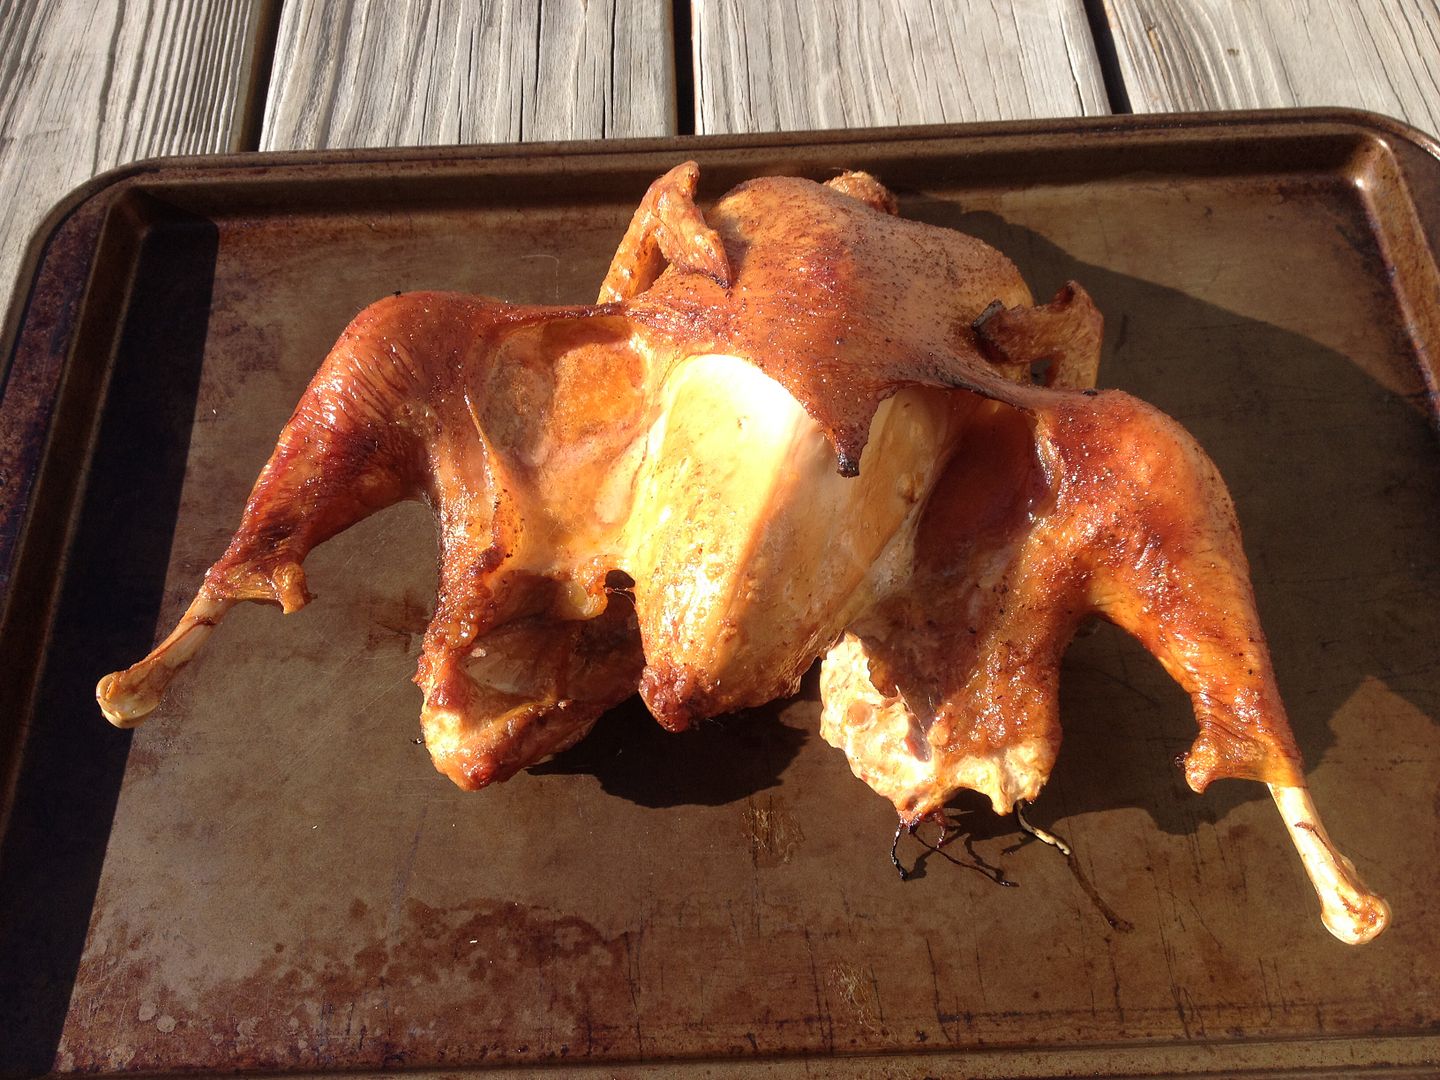
Then, I went outside and lit my smoker, bringing it to a temperature of 200 F.  Once I reached that temperature, I added some pecan wood to the ash pan for smoke flavor.  I choose pecan for the mild flavor that it adds to the meat.  I also thought it would pair well with the maple and bourbon.

I smoked the pork belly at 200 F until it reached an internal temperature of 145 F.  Then, I wrapped the belly in foil, placed into a plastic bag, and put in the refrigerator to chill overnight.  Chilling the meat makes it easier to slice the next day.  Placing the meat in a plastic bag helps to intensify the smoke flavor.

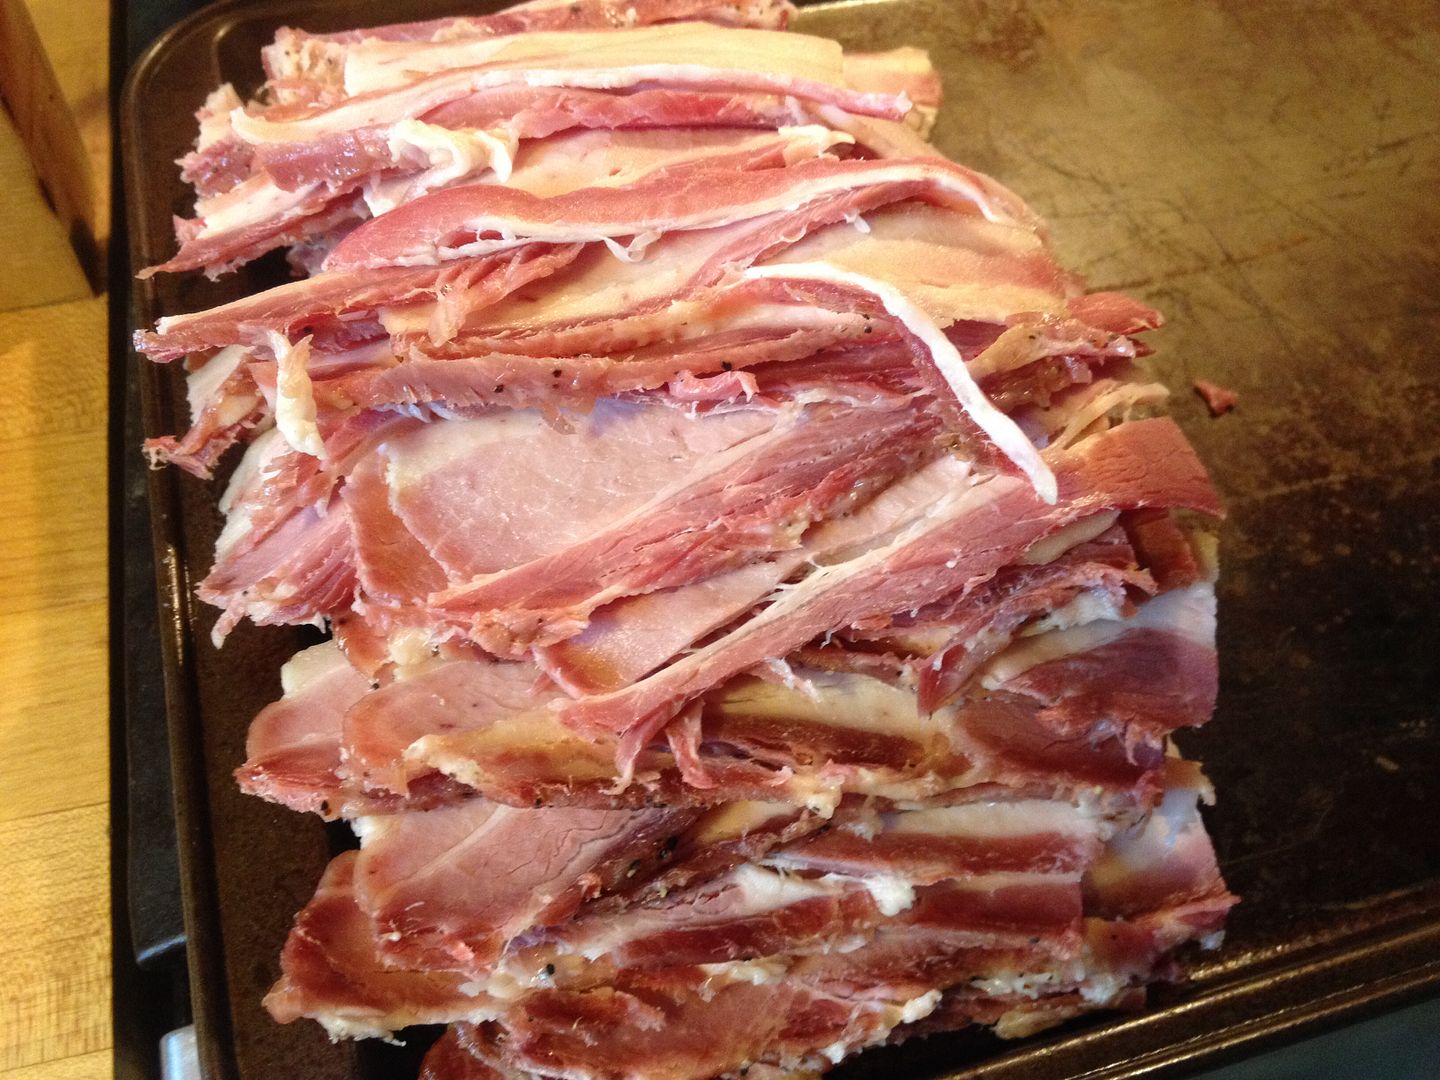
The next day Hope, my slicer extraordinaire, sliced this belly for packaging.


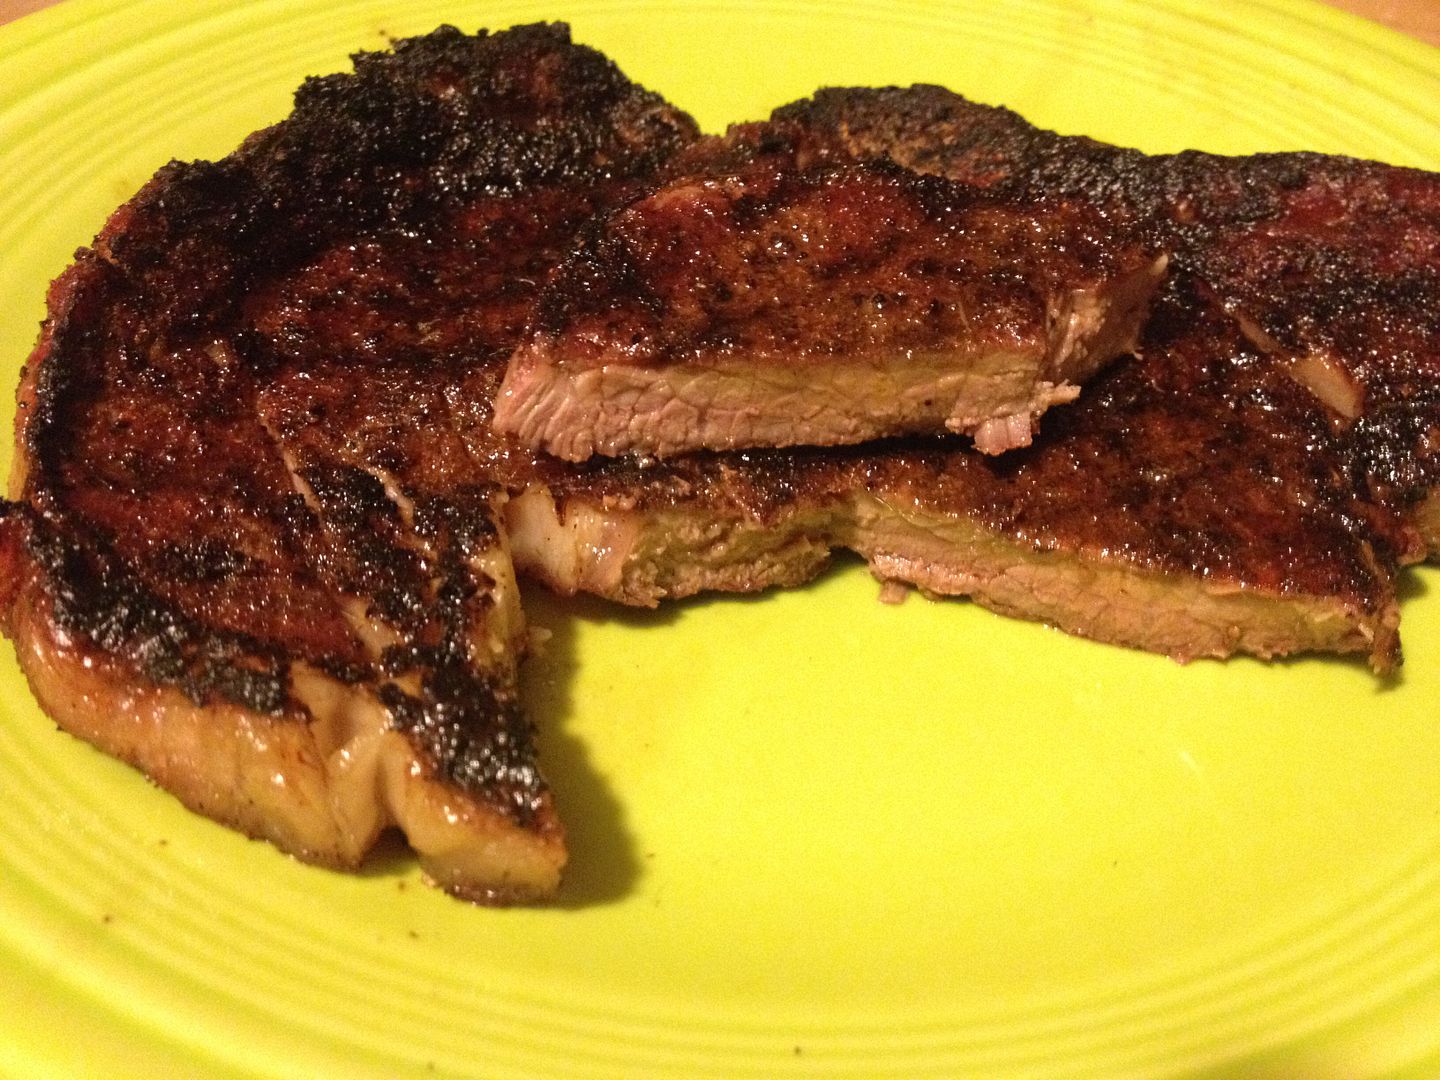
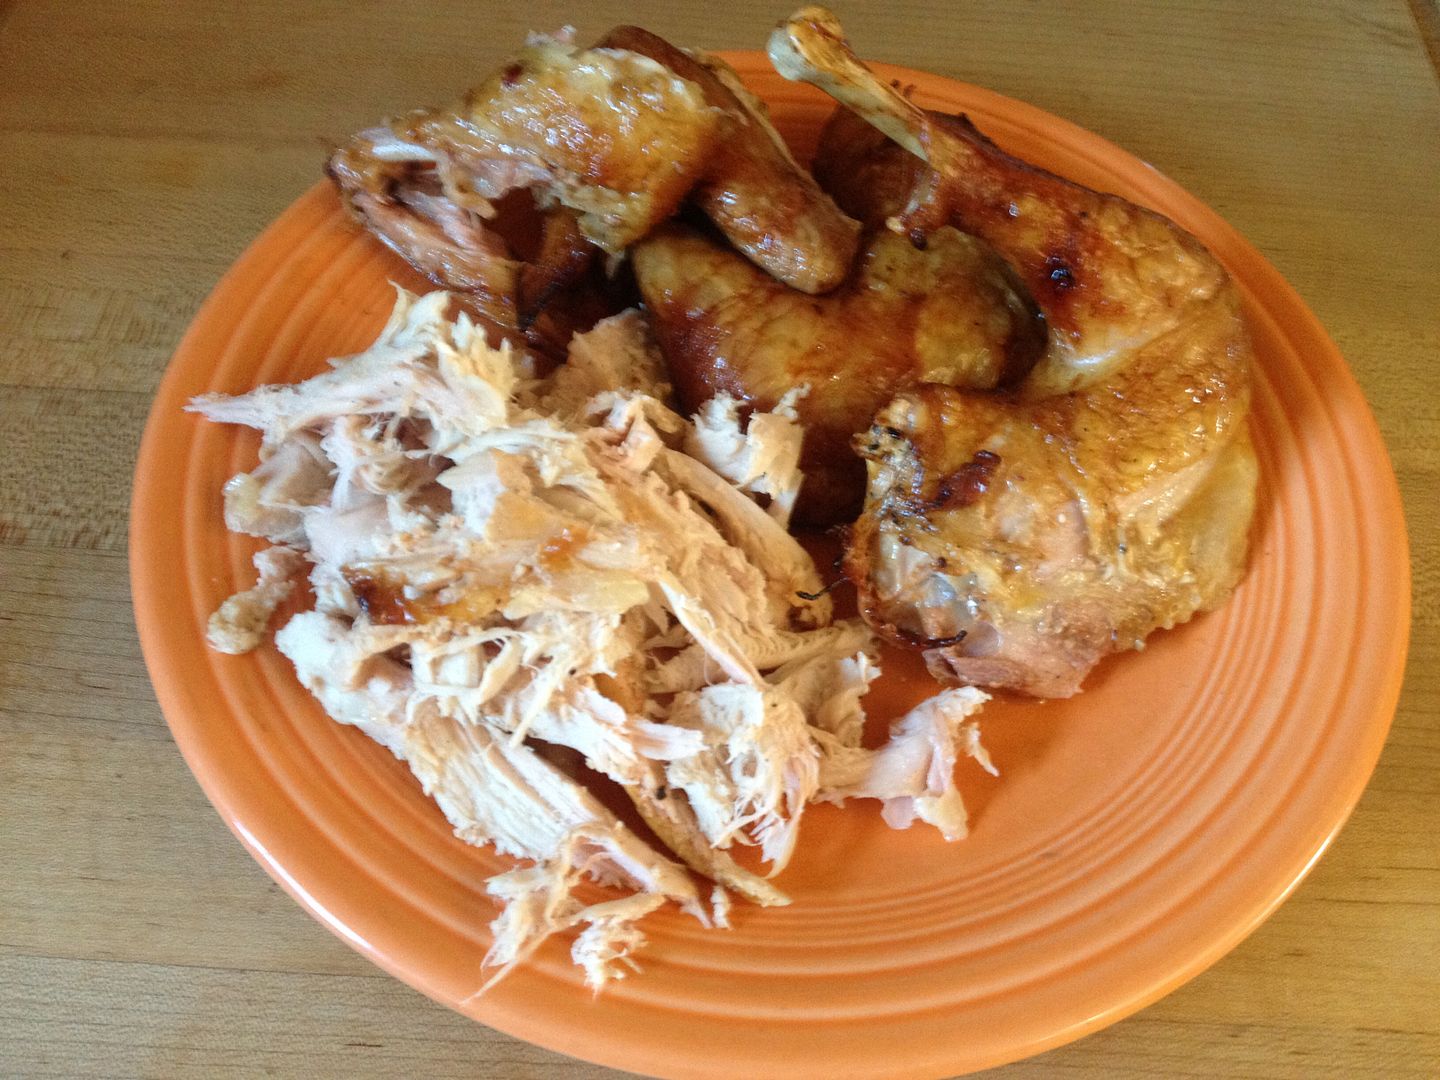
Of course we fried up a few slices to try them out.


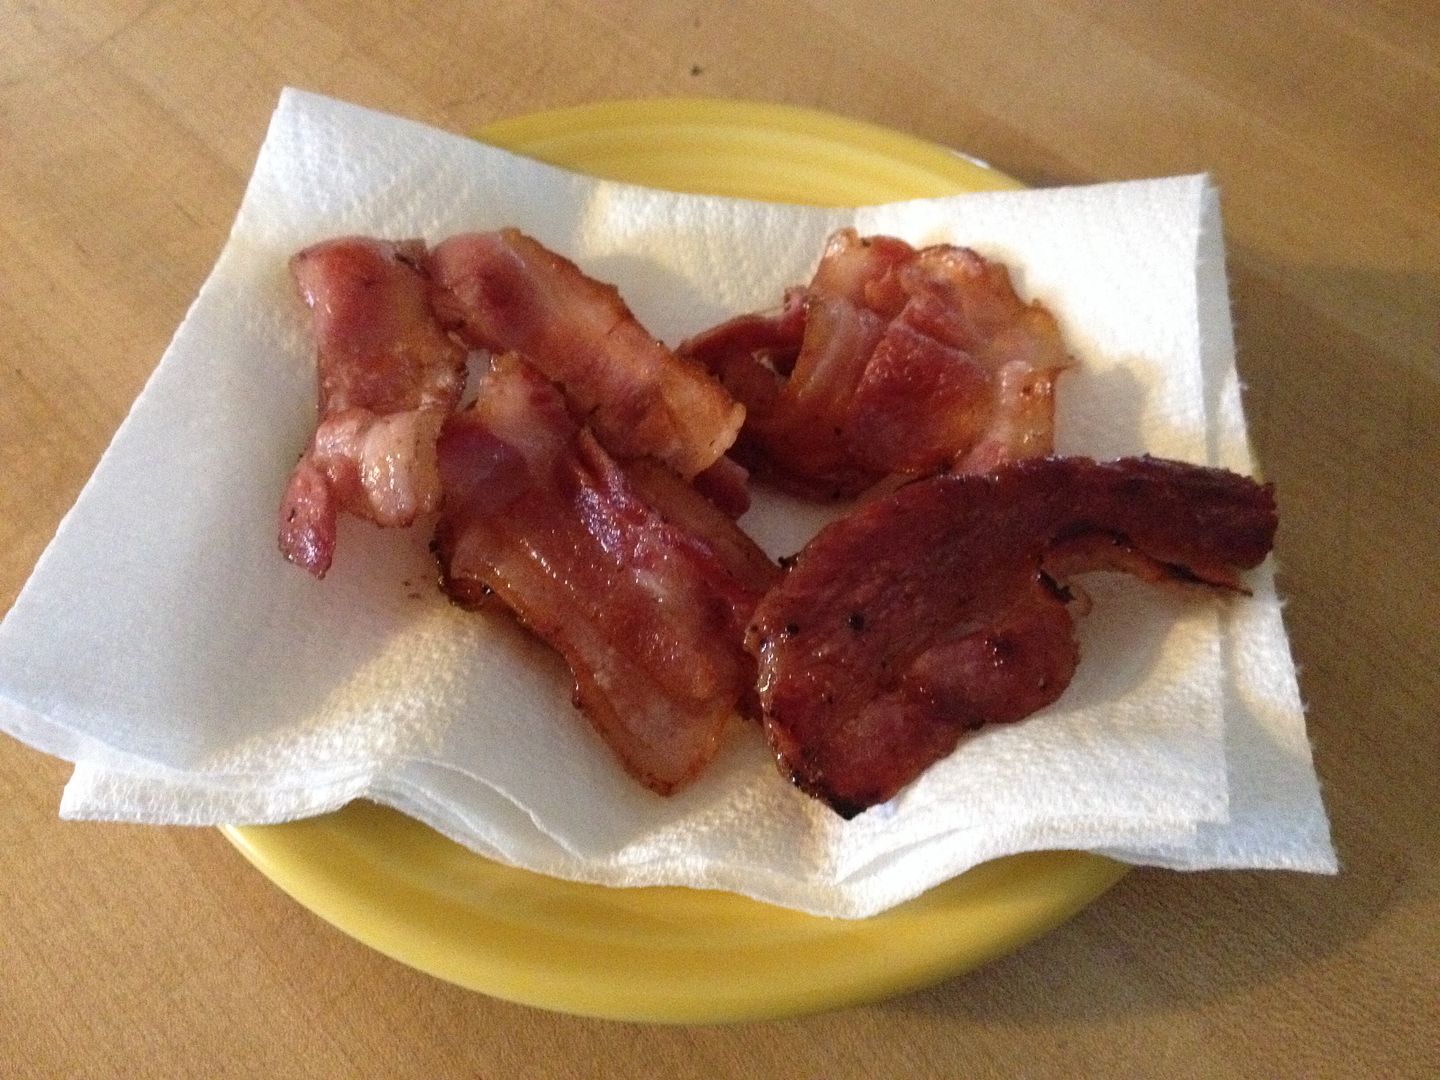
Maple flavor, check.  Bourbon, check.  Mellow pecan flavor?  Yep, it brought it all together.  Overall, this is a good bacon.  It was a good first try with this recipe.  I used turbinado sugar instead of the brown sugar in the original recipe.  Think that next time I will use the brown sugar and perhaps increase the bourbon and maple syrup amounts for more intense flavors.

Thanks for stopping by,

Bill

Monday, December 29, 2014

My Favorite Food Sites, 2014 Edition

A question I get asked occasionally is "Why do you take the time to write about food?"  Although, that question usually comes after the hybrid question/statement of "Don't you think it is weird to take pictures of your food?"  The answer to number two is "no" and let me tell you why by answering question number one.  The quick answer is that my friends and family are spread out all over the United States and this is an opportunity for us to stay connected.  The long answer is that I have always liked to write.  After a horrible out of body experience in high school freshman English (Yep, a solid F, partly due to my indifference and mostly due to the worst English teacher of all time), I had better experiences starting my sophomore year.  Mrs. Weddell was an outstanding teacher that recognized my love of reading and found a way to translate that into writing.  Couple that with my Drill Instructor of a professor at the University of Pittsburgh in my freshman composition class and I learned to like to write as well.  It is not Pulitzer material, but I think it is not that bad.  While I have dreamed of writing the next great American spy novel, my imagination is just not that good.  But, I do like to cook and eat.  So, I decided that I would partner the two hobbies together in 2012 and what you have is this blog.  If nobody read this ongoing blog, it wouldn't have mattered to me.  I was just satisfied in contributing something meaningful, slightly educational, and informational to an increasingly sensationalistic Internet.  For those of you who visit this site and comment from time to time, I thank you.  Please keep coming back.  Some ideas would be appreciated as well.  I now have a better understanding of the term Writers Block.

As you can imagine, there are lots of other sites out there for food, BBQ or otherwise.  I faithfully read these sites as they provide good ideas and inspiration in my kitchen.  I have also been lucky enough to forge relationships with these authors, either in person or electronically, based upon our main passion: cooking.  I would like take the time to mention these sites and encourage you to visit them.  They are all good people with good content on their sites.  These are not placed in any order.  I have just listed them as they come to my mind.  

Again, thanks for stopping by.  Hope and I wish you a healthy and happy New Year!


Headed to the San Fransisco Bay area?  Need some tips on where to eat and what to see?  Chilebrown and Ms. Goofy have tons of fun driving their Racing Honda all over the Bay Area to restaurants, butcher shops, and markets of note.  You will also get a heavy dose of recipes and product reviews.  Don't forget to read the comments below each post.  Chilebrown has a foil in the Great White Hunter.  Their banter is priceless.  


Team Eatapedia is one of the teams that we compete against in New York.  John has a website and a Facebook page as well.  Their focus is BBQ, but there are a wide range of recipes on their site, including homemade sushi, Asian, and the territory that I am afraid to go, desserts.  John has a passion and it shows.  Stop by his site and have a look around.


Gus and his wife, Mrs. Grillah, hail from the land Down Under and it shows in his cooking.  Gus handles the griller and smoker.  Mrs. Grillah handles the desserts and the tedious work for which Gus does not have the patience.  Bold flavors (a Vegemite hamburger?) and a Aussie twist on American BBQ classics.  With a touch of humor; a review of the Qantas inflight BBQ was a favorite, Gus's site is a good read.  


Dave, A.K.A. "Heavy D" is also another team that we compete against in the New York area.  Dave gets my Ironman Award for 2014.  Believe it or not, competition BBQ is tiring.  If I had to compare it to any sport, it would be golf.  Just a slow, steady grind that lasts for a whole weekend.  Dave blew out his achilles in May and competed the whole season in a walking boot in constant pain.  I would have given up after one competition.  Dave and his wife hail from South Africa and it shows in their outgoing personality.  I especially like the biltong he brings to competitions.  Stop by his Facebook page and have a look around.  Good recipes and some of the best food porn on the net.  


PotP's site is worth it just for the writing.  He spins a yarn with each post.  He comes from Minnesota, so he does provide some good cold weather cooking tips.  His recipes are spot on and again, another great site for killer food porn.  


The PG Plate is a round up of food blogs published in one easy to access place.  It consists of recipes and reviews of local Pittsburgh area eateries.  The recipes cross the spectrum of all cooking styles.  If I need a good seasonal recipe, this is the first place I look.  Full disclosure, Three Dogs BBQ shows up on this site from time to time.  I include this site here because it is a great resource.


Who hasn't tooled around Jeanie's site?  Jeanie was the inspiration for the Three Dogs blog.  She provided tips and advice and reviewed the blog before it went on the Internet.  Her recipes are fresh and new.  She is focuses on game recipes, but is also well versed in canning, BBQ, and cast iron cooking.  Her site is worth a look if you are looking for something that just might be a little different.  


I have only found this site within the last week and I have only scratched the surface.  It is loaded with information on how to cook various types of wild game.  As The Oldest drops off meat from his latest hunting adventures, this is the first place I will look for ideas on how to prepare these dishes.  

Assorted Flipboard Magazines:

What, you don't use Flipboard?  Shame on you!  Most apps that you find on the Internet are average/functional at best.  But Flipboard is hands down the best app out there and the great part it is free.  This app takes Internet surfing to a new level.  It allows you to subscribe to Internet Magazines that focus on the content that matters to you.  So, some of the better food magazines that I recommend on there are:

Mason Dixon BBQ
Grilling and Smoking Barbecue
BBQ's Sweet Smoke and Live Fire
Hispanic Foodie
The NZ Meat Company

Well, that about sums it up for this post.  Please do visit any of the sites above if you are looking for a recipe or a review.  It will be well worth your time, I promise.

Thanks for stopping by,

Bill

Saturday, December 27, 2014

Four Ways to Cook a Canadian, Part One: Jerky

Every year hundreds of thousands of Canadians, mostly undocumented, slip into the United States.  No, these Canadians do not come to our country for tax free clothing and duty free liquor.  They fly into our country and build condos made of leaves and grass on prime waterfront ponds and lakes and breed.  A lot.  Any golfer that has hit a errant shot towards a pond containing these Canadians knows what I am taking about.  Geese.

Photo courtesy of all-free-download.com
Lots of them. The pond across the street from our house is a popular overnight stopover for Canadian geese during the migration and their summer vacation.  That is, until the coyotes get wind of our  northern visitors.  Anyway, enough humor.  Lets prepare our geese.

The Oldest had a few nice days during goose season this year.  He tried pan frying a few breasts and complained that it was the most inedible game that he had ever eaten.  He said it tasted like and had the consistency of tennis shoes that had sat in a locker for a month.  I can agree.  Any Canadian I know would be tough, chewy, and slightly gamy.  So, The Oldest decided to change his game plan try his hand at some goose jerky.

So, first he cleaned and sliced his goose breasts to about 1/4-1/2 inch thickness.  Then, he applied his seasonings.  One was a dry store bought BBQ rub.  The other two were wet marinades: one was plain old Italian salad dressing and the second was a mixture of various BBQ sauces from the refrigerator.  The breasts sat in their seasonings for 24 hours in the refrigerator.  The breasts were dropped off at my house for me to provide the heat and smoke.

The method is simple.  I placed in a smoker set for 200 F with some pecan in the ash pan for smoke flavor.  The jerky was placed on wire racks and smoked until all of the moisture was gone, about seven hours.  Half way through the smoking, I rotated the racks and flipped the goose tenders so ensure uniform drying.  Here is a picture of the finished product.


The dry and wet BBQ seasonings were pretty good.  The Italian dressing was OK, but not my favorite.  Overall, the breasts dried nicely and had that chewy texture and deep flavor that reminds you of jerky.  A success according to The Oldest.

As a bonus, The Oldest left us with some untouched breasts, tenders and whole, for experimentation. So, over the next week or so, I will be rolling out some methods for preparing goose.  Hopefully, they will be successes.  Stay tuned.

Thanks for stopping by,

Bill

Monday, December 22, 2014

Smoked Clam Dip

Back in my late teens and early 20's, when you could still buy albums on vinyl, rent a movie at a real video store, and Johnny Carson was still on TV, I worked at a local grocery store to help put myself through college.  It was an independent store that catered to a higher end clientele.  More specifically, we catered to the Jewish community in the area.  I loved when the high holidays rolled around: fresh hamantaschen, challah, and store made brisket that made your mouth water.  That just scratches the surface of the tasty treats available.  Since it was a higher end store, we carried some higher end products.  One of those products was a clam dip made by Breakstones.  Very good stuff.  I would treat myself from time to time with a tub of that and a bag of chips.  Ever since I left that job and moved on I have always looked for that dip in every grocery store that I have shopped.  I have never been lucky enough to have found it anywhere.  While I was walking through the local Big Bird this past weekend, I noticed that clams were on sale.  So, with 25 year old memories in mind, I grabbed some clams and headed home to the labs to see if I couldn't whip up something that came close.

As a base for this dip, I used my standard base for creamy dips:

8 oz of light cream cheese
1/2 cup light mayo
1/2 cup light sour cream

I also use this base to make my Smoked Steelhead dip, but that is a post for another day.  I digress.

I placed my cream cheese in a bowl to soften (note, low fat takes longer to soften on the counter, so plan accordingly) and went outside to fire up my smoker.  My set temperature was 250 F.  I came back inside and washed my clams, I bought the Big Neck variety, and placed them in a foil pan.


When the smoker was at temperature, I placed some alder in the ash pan for some smoke flavor, then I placed the clams on the middle rack of my smoker.  After about 20 minutes the clams were starting to peek open and release their briny liquid.  I decided to go for 45 minutes of total smoke time.  Here is the pan after removing from the smoker.


I drained the liquid and set aside, then Hope and I started to break apart the clams.  They were very resistant to our efforts.  I made a mental note to cook for 1 hour the next time.

Once the meat was removed, I minced the clams.  Not fine chunks, not large chunks, somewhere in between.   This picture is before mincing.


So, to complete the recipe, to my base I added:

The meat from 10 Big Neck clams.  I would probably use 15 next time.
1/4 cup of the reserved clam juice
2 tsp of Oakridge BBQ Game Bird and Chicken Rub
1 tsp hot sauce (I used Texas Pete)

I added to clam juice for some smoky and salty flavor.  I also wanted the chilled dip to be think, yet not break a chip or a cracker when being scooped from the bowl.  I used the Oakridge rub because it contains some of the flavors I was thinking of adding anyway: chili pepper, coriander, onion, garlic, and yellow mustard.  Hey, this is an experiment, right?

I mixed until smooth, then placed in the refrigerator to chill.  Here is the final product:


I tried it first.  My, my.  Not the same as Breakstones, but even better.  A hint of smoke, salty brine, a bit of kick from the rub, a very nice combination of flavors.  Hope was up next and tried some on a cracker.  Sometimes she is polite about my creations and I know when she doesn't like what I have made.  But, the eyes gave it away this time.  A home run!

As always, you do not need a smoker to make your clams.  Just lightly steam them and you will have the same cooked clam and brine, minus the smoke flavor.  If you happen to have some Liquid Smoke around, I would start with 1/8 tsp and add to taste.  This dip will go well with chips, crackers, or cut up vegetables.  Give this dip a try.  You will not be disappointed.

Thanks for stopping by,

Bill

Saturday, December 20, 2014

Smoked Rib Steaks with a Jet Engine Sear

When it is time for a steak around here, we usually go for whatever cut is on sale at the butcher that day.  A few weeks ago, rib steaks were on sale, so I picked up a few and ran home to prepare them for our dinner that evening.  We like rib steaks around here because the fat to meat ratio is perfect and you have a bone to gnaw on at the end.  You get a bit of crispy fat, tender beef, then you can go all Fred Flintstone on the bone.  Perfect.

I happened to have the smoker rolling that day and thought about smoking these steaks.  While I like the taste of smoked beef, I feel the perfect steak needs to have some char on the outside.  So, I struck a compromise.  I seasoned, then smoked the steaks over some pecan.  Then, I finished them up at the end using my new favorite grilling technique, the "Jet Engine" sear.

First, I seasoned our rib steaks.  The one on the top is with Oakridge BBQ Black Ops brisket rub for me.  The one on the bottom is standard salt, pepper, and granulated garlic for Hope.  I let them sit on the counter, while seasoned, for an hour to come up to room temperature.


Then, I tossed them on my smoker, set for 250 F with pecan in the ash pan, for about 20 minutes to infuse some smoke flavor.


While the steaks were sitting in their smoky sauna, I fired up the "Jet Engine".  Just to remind you, the Jet Engine method of grilling is to place a grill rack on top of a chimney full of lit charcoal.  Think screaming hot broil from the bottom and not the top.


Once the fire was going, about 20 minutes later, it was time to pull the steaks off the smoker and get them seared.  See that nice dark red color on the steak?  I knew they had picked up some nice smoky flavor just by seeing that.


Then, onto the Jet Engine for some crispiness.


After the flip.


Final product, resting nicely.


Now, yes, they are a little overdone.  These rib steaks would fall into the medium well category.  There is just a very thin vein of pink left.  But, they were still tender and juicy with a perfect amount of char on the outside and smoke flavor on the inside.

This was the first time I have tried a reverse sear on our steaks.  I let them sit on the Jet Engine for about one and a half minutes a side.  A bit too long as you can see.  So, next time, I am going to cut that sear time back to 45 seconds a side and see how that works.

Overall, this method works well.  You get that smoky goodness that everyone loves with some steakhouse char.  Also, if you haven't tried your brisket rub on a steak, you should give it a try.  Very good.  We will be doing this again in the future for sure.

Thanks for stopping by,

Bill

Tuesday, December 16, 2014

Spatchcocked Pheasant with a Seasoned Butter Injection

During another recent round of Ice Cave Inventory Reduction, Hope found a nice pheasant from a hunting trip that I was on a few years ago.  Usually, I just roast these tasty little birds.  But, I was considering either grilling or smoking this gem from the Ice Cave.  Also, it seems that spatchcocking your poultry, whether it be turkey or chicken, is in vogue this year.  I have spatchcocked chickens on the grill in the past.  So, I know it is a great way to cook a bird fast with high heat that crisps up the skin nicely without burning and keeps the meat inside tender and juicy.  After some thought, I decided to go the route of the smoker.

I was a bit short for time, so no brine for this bird.  Also, when I scanned our pantry, I did not have any of my go to rub for game.  So, on the fly, I tried something new.  Here is the method.

First, rinse your pheasant and dry.  Then, spatchcock the bird.  How do you do that?  Very simple.  But first, what is spatchcocking you ask?  Well, it is a method for butterflying poultry.  You flip your bird over and remove the backbone using a good pair of sharp poultry shears.  Once the backbone is removed, you turn the bird back over while spreading open the cavity.  Then, you press down until your hear the breastbone crack.  Wallah, a spatchcocked bird.


Washed and dried.


Flipped back side up.


Backbone removed.


Flipped back over and pressed until butterflied.

Now what?  Well, I opted for a butter and rub injection.  I melted once stick of butter with 1 Tbsp of Butchers Honey Rub, then mixed until uniform.


A stick of butter you cry! Why so much fat?  Keep in mind, pheasant is a very lean piece of poultry.  During the cooking process, the butter will render from the pheasant, leaving behind the rub for flavoring and keeping the meat moist.  Trust me, your bird will not be fatty tasting at all.

Next, I injected the butter mixture all though out the pheasant, concentrating on the breasts and legs.  Then, I took a brush and applied the remains of the bowl on the skin to ensure a nice crispy and flavorful skin.


While I was prepping this bird, my smoker was coming up to temperature, around 350 F.  After placing some pecan in the ash pan, I placed the pheasant on the top rack to roast for 45 minutes.

After 45 minutes, I had a bird that was 165 F in the breast and 170 in the thigh with a nice crispy skin.


After resting for 15 minutes, I carved the bird.  To do so, I removed the breasts and sliced/shredded each.  Then, I took off the wings and pulled the thighs and legs off as one whole piece.


Not a hint of butter on the inside.  The rub left behind a nice hint of honey and spice.  The meat was juicy and the skin perfect.  Have a few pheasant in your Ice Cave from this past season?  Give this recipe a try.

Thanks for stopping by,

Bill

Wednesday, December 10, 2014

Smoked Marrow Bone Beef Broth

One night as I was cruising the Internet for ideas, I stumbled upon this recipe for Roast Beef Stock on the Bon Appétit website that sounded pretty good.  I thought I would give it a go with one modification, roasting the bones in my smoker to add a little smoke flavor to the future broth.  Here is the process laid out.

First, you need five pounds of beef or veal marrow bones from your butcher.  Dirt cheap usually.  We bought five pounds for about $7.50.  Remember to ask your butcher to cut them in half or quarters so that you have more marrow surface area exposed for that caramelized goodness.


I lit my smoker and brought to 450 F, placed some pecan in the ash pan for smoke flavor, then placed the pan on the top rack.  The recipe calls for 30 minutes of roasting time.  While waiting, I went inside and prepared my veggies.


Quartered sweet onion, celery, one head of garlic, and carrots (yes, they are hiding on the bottom) go into this stock.  After the bones had their first 30 minutes of roasting time, I went out and placed the veggies in the pan and allowed the whole mix to roast for 30 more minutes.

Bones at 30 minutes:


Everything after 60 minutes total:


I was a little worried that there was not enough crusty brown on the veggies or the bottom of the pan, but I pressed forward.  I transferred everything into my stock pot then added enough water to cover everything.  While I was bringing this mix to a boil, I added two cups of water to the pan and scraped what little caramelization there was off the bottom.  Once that was done, I transferred this liquid into the pan.  Once at a boil, I reduced the heat and let simmer on low for four hours.


After four hours:


Veggies removed and broth strained:


Warning, do not make this broth if you are hungry.  We were tortured during the four hours of simmering with a beefy, smoky flavor that had me craving some sort of beef.  We took a pint of this liquid and turned into gravy to try it out.  First, we placed onside leftover trip-tip and egg noodles.  The next day we ladled the gravy over some grilled stuffed flank steak, an impulse buy at the butcher.


Here is our total yield, minus a pint for the gravy: seven pints and two half gallons.  Once cool, I placed in the freezer for future use.


I was hoping for more of a deeper color, but I will correct that by roasting a bit longer on the smoker. The smokiness was detectable, but not overpowering.  This broth made a killer gravy that will find its way to our next roast beef.  I also have some plans for a few soups and perhaps even a brisket injection.  This is good stuff.  Click on the link above and give this a try.

Thanks for stopping by,

Bill

Saturday, December 6, 2014

Wood Fired Sweet Sausage and Broccoli Pizza

We have a local pizza joint around here that has a specialty pizza made with broccoli rabe and sweet sausage.  The sauce is a white base: olive oil, garlic, thyme, oregano, and a hint a basil.  I love that pie.  Ever since I had my first piece, I have wanted to make one at home.

Unfortunately, I cannot find broccoli rabe, otherwise known as rapini, in my local grocery.  What is broccoli rabe you ask?  Think the love child of broccoli and spinach.  Looks kinda like spinach with a hint of broccoli, tastes kinda like broccoli with a hint of spinach.  It is a nice bitter Italian green that sauteés well.  A perfect balance to the fattiness of some browned sweet sausage.  Since I cannot find rabe in the store, I substituted regular broccoli.  Lets head to the kitchen.

First, I took enough olive oil to cover the bottom of a small bowl and added 1/2 tsp each oregano and thyme, then 1/4 tsp of basil.  I also added one large minced garlic clove and a grinding of sea salt and pepper.  Since this pizza was for me and not Hope, I also added 1/2 tsp of crushed red pepper for some heat.  I allowed this to sit while I moved on to my other preparations.


Next, I browned some sweet Italian sausage.  I did not cook the whole way through.  Probably about 80% cooked so that it would finish the rest of the way while the pizza was cooking.  When done, I placed in a paper towel lined bowl to soak up the fat.


Next, I took half of a head of broccoli and removed the florets.  Then, with a pairing knife, I broke the florets down into smaller pieces.  For some texture, I took some of the stalks, quarter them, then sliced thinly.  In a saute pan, I heated some olive oil and sautéed the broccoli until it was starting to get soft, but still retained its crispiness.


I also added a little more crushed red pepper for a little more kick.


When the broccoli was done, I mixed it with a half cup of the browned sausage and mixed thoroughly.


While I was firing up our new toy, the PizzaKettle, Hope offered to build my pie.  She brushed the dough with the olive oil mixture, then layered sliced fresh mozzarella, then added the broccoli and sausage mixture.


After four minutes in the PizzaKettle with a 180 rotation two minutes into the cook I had a perfect pizza pie.  You can also bake this pizza in your oven at 450 F for 20 minutes if you choose.


I liked how my first attempt at this pie turned out.  I am missing the bitterness of the broccoli rabe, but the broccoli itself was a nice substitute.  If I cannot find rabe in the future, I might substitute half of the broccoli for some spinach.  The next time you are looking for something different in a pizza, give this one a try.

Thanks for stopping by,

Bill

Tuesday, December 2, 2014

Product Review - Kettlepizza Pizza Oven

Most of you in the smoking and grilling world will agree.  65-75% of the BBQ gadgets you see for sale do not live up to even the most average of expectations.  But, when you find one in the 25-35%, the feeling of success is great.  Isn't it?  I have had my eye on a Kettlepizza pizza oven for quite awhile now.  But, I was hesitant to pay the $149 for the base model fearing this would go the way of the majority of BBQ gadgets.  Last month though, I saw the basic set: oven insert, thermometer, and aluminum pizza pan, on sale for $99 with shipping.  Time to pull the trigger.  

The Kettlepizza oven is just a stainless steel insert that you place on top of your Weber kettle grill.  Minimal assembly took about 10 minutes and it will fit either the 18 or 22 inch Weber kettle grills. Once assembled, the grate from the grill is placed into the insert and the grill dome is placed on top of that.  There is a thermometer for monitoring your "oven" temperature and an opening in front so that you can slide your pie inside for cooking.    You can either cook your pizza in the aluminum pan or slide it onto a pizza stone from a pizza peel.  


For your heat source, the instructions state to light one chimney of charcoal, then spread in a semicircle in along the back half of the grill.  Then, splits of wood are placed on top of the coals so that the heat inside the grill gets up to or above 700 F.  


I chose to use the pizza stone/pizza peel method.  It was also suggested by a BBQ friend to place one or two bricks above the fire and behind your cooking stone to help distribute the heat.  So, once I had added the wood to the fire, I placed my stone on the grates along with two bricks, placed the insert on the grill, and covered with the lid to the grill.  


I also tossed some corn meal on the stone, as suggested, to aid in sliding the pie off of the peel.  Yes, it was raining out.  My luck.


According to the instructions, within 15-20 minutes, I should have a temperature between 600-700 F inside the "oven", hot enough to cook a pizza within four minutes.  I was not disappointed.  The picture is a bit blurry, but as you can see, right in the middle, 650 F.  I even had it pegged at 700 F+ at one point.  


So, time to slide in the first pizza.  Unfortunately, I made the dough (Hope usually does) and it was a bit sticky.  So, the pies did not slide off of the peel easily.  That is the explanation for the ugly looking  pizza shapes.  Rest assured, when Hope made the dough, it slid right off of the peel and onto the stone.  But, I digress.  

Once at temperature, the directions say to place the pizza on your stone, then rotate 180 degrees after two minutes.  Then, after two more minutes, your pie is ready to remove and eat.  How did this toy work?  I am glad to report that it met and exceeded my expectations.  After two minutes the crust was firm enough to turn with ease.  I would suggest doing so with BBQ tongs if you are not experienced with a pizza peel as I.  Then, when pulled after four minutes, the pizza was perfect.  

Before:


After:


Perfect, brick oven style pizza.  Crispy crust, brown and bubbly cheese.  Outstanding!

I would highly recommend this product.  Kettlepizza has many models that can include pizza stones and pizza peels. The base model is $149, but you can find deals out there.  Keep an eye out on the Internet.  This product is worth the $149 for the base model if you like good pizza.  We got a steal for $99.  In the future, we will not be cooking pizza any other way in the Three Dogs household.

Thanks for stopping by,

Bill