I've been meaning to make this for awhile. I have had a taste for stuffed cabbage, but didn't want all of the work. So, in order to fight off the freezing temperatures outside, another cold weather meal: Homemade Stuffed Cabbage Soup.
First, I started with my Mom's recipe for real stuffed cabbage, made some modifications, and turned it into soup.
Homemade Stuffed Cabbage Soup

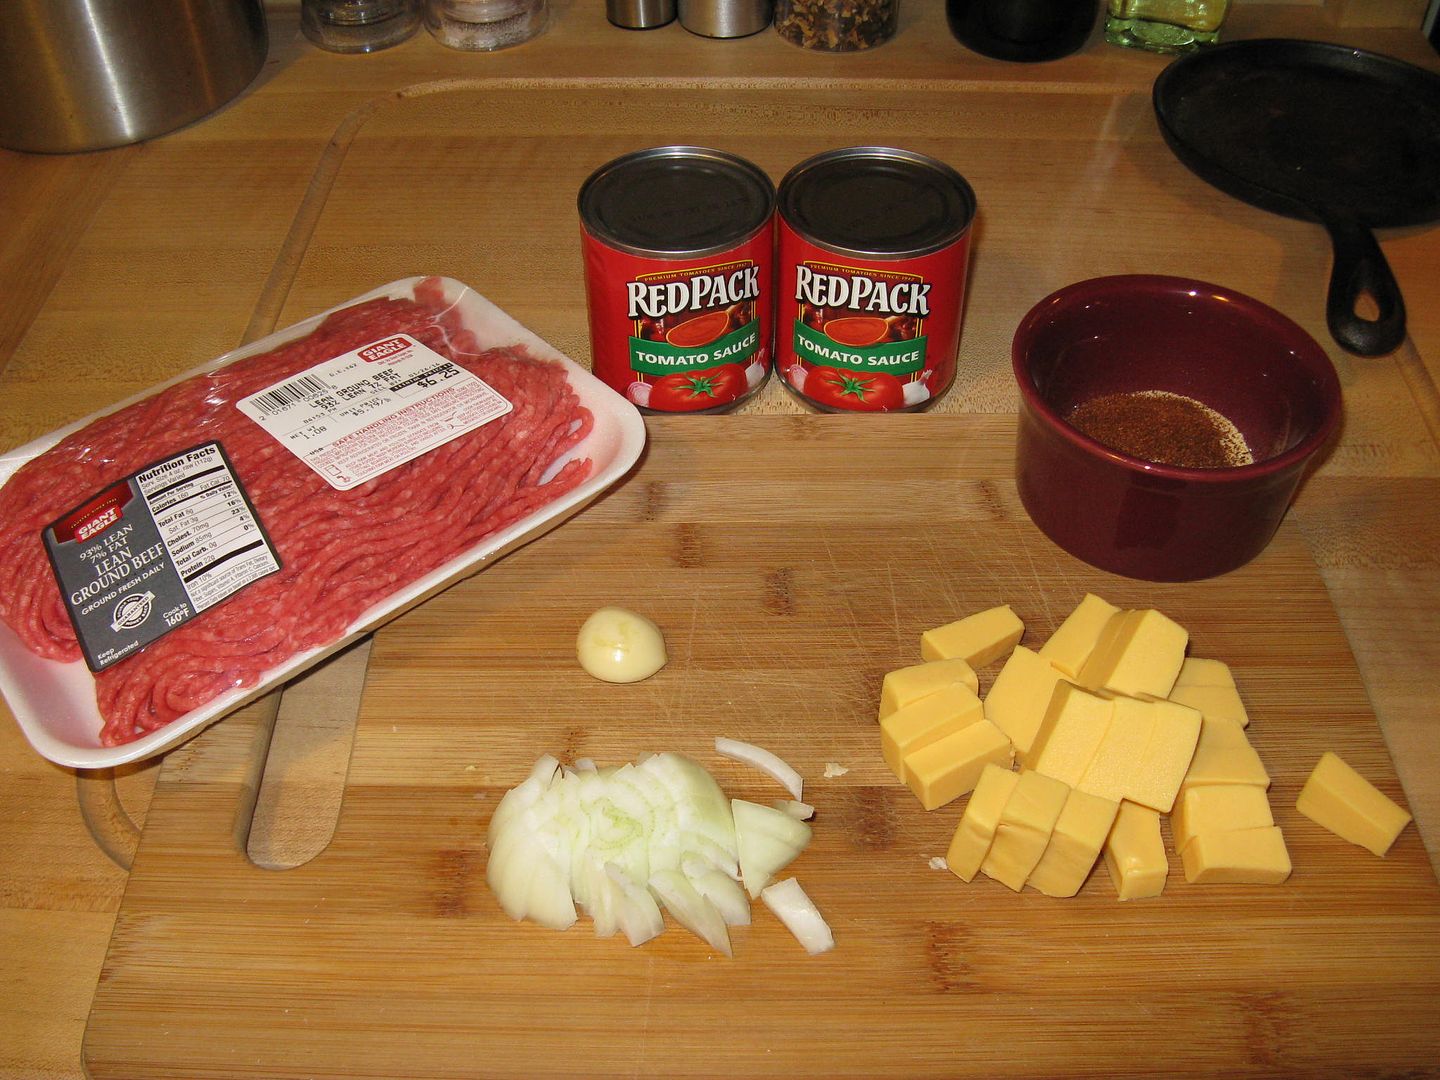
1 lb Ground Pork
1 32 oz can of tomato sauce
1 32 oz can of crushed tomatoes
1 16 oz can of chicken broth
1 10 oz can of sauerkraut, undrained
1/2 of a medium head of cabbage, roughly chopped
1/2 of a large sweet onion, diced
4 garlic cloves, minced
2 Tbsp paprika
2 Tbsp brown sugar
1 Tbsp dried dill
2 tsp onion power
1/2 tsp allspice
1 cup cooked rice
1 bag frozen corn
Olive oil for sautéing
S&P to taste
Sour cream
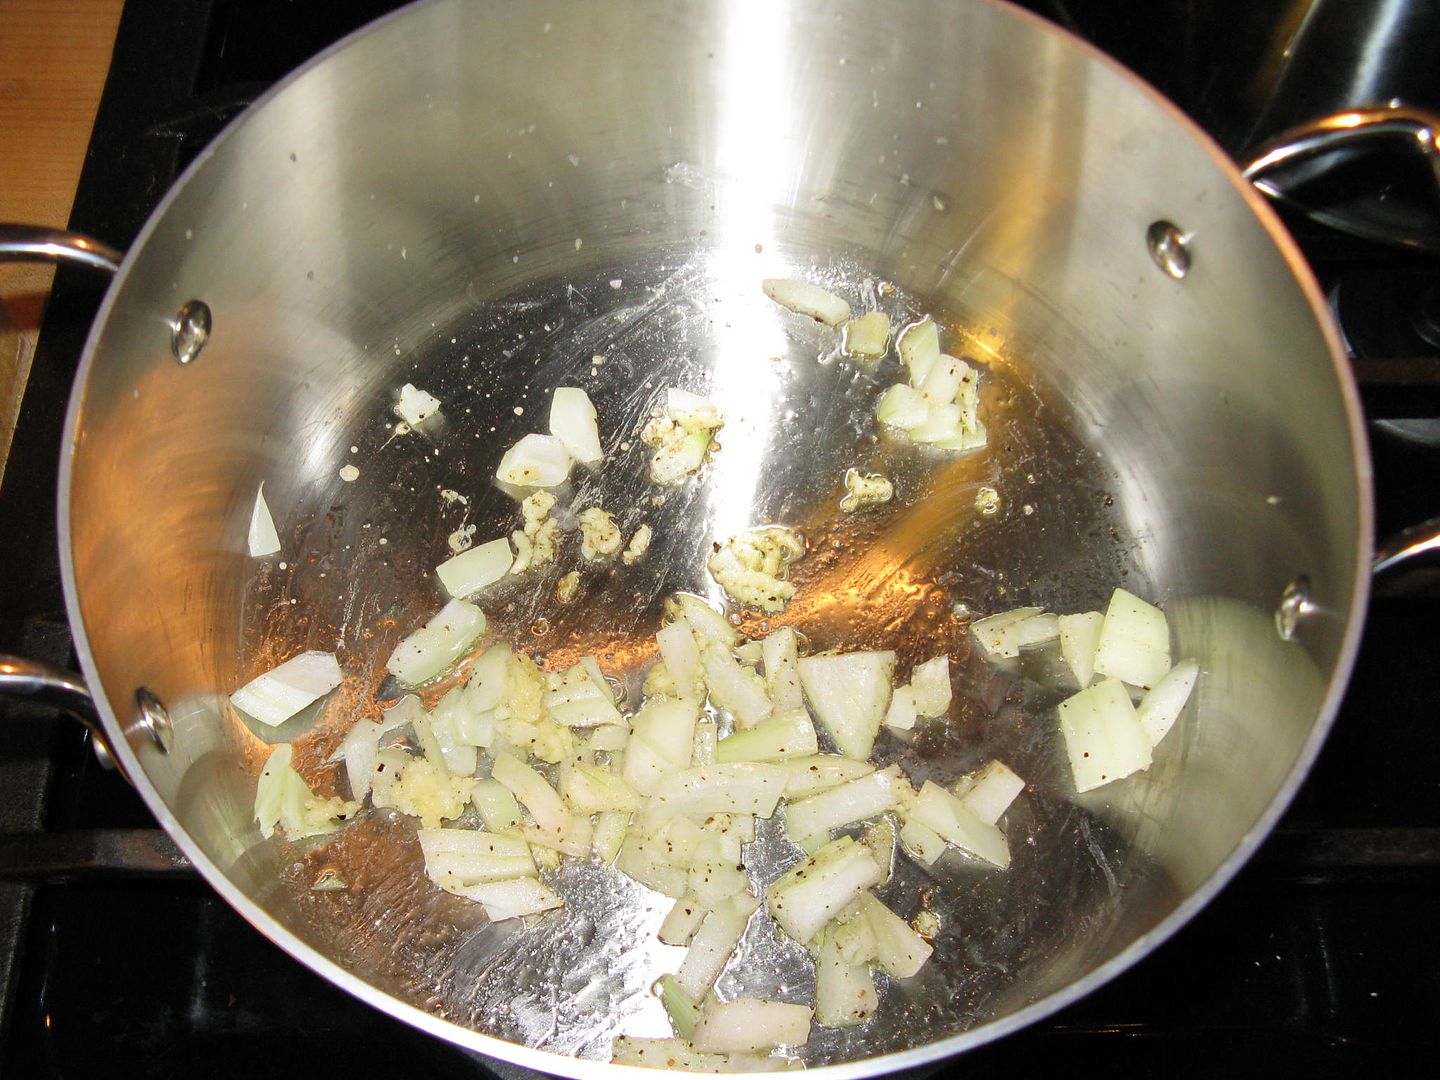
First I sautéed the onion and garlic in a minimal amount of olive oil, along with a grinding of sea salt and black pepper, until translucent.

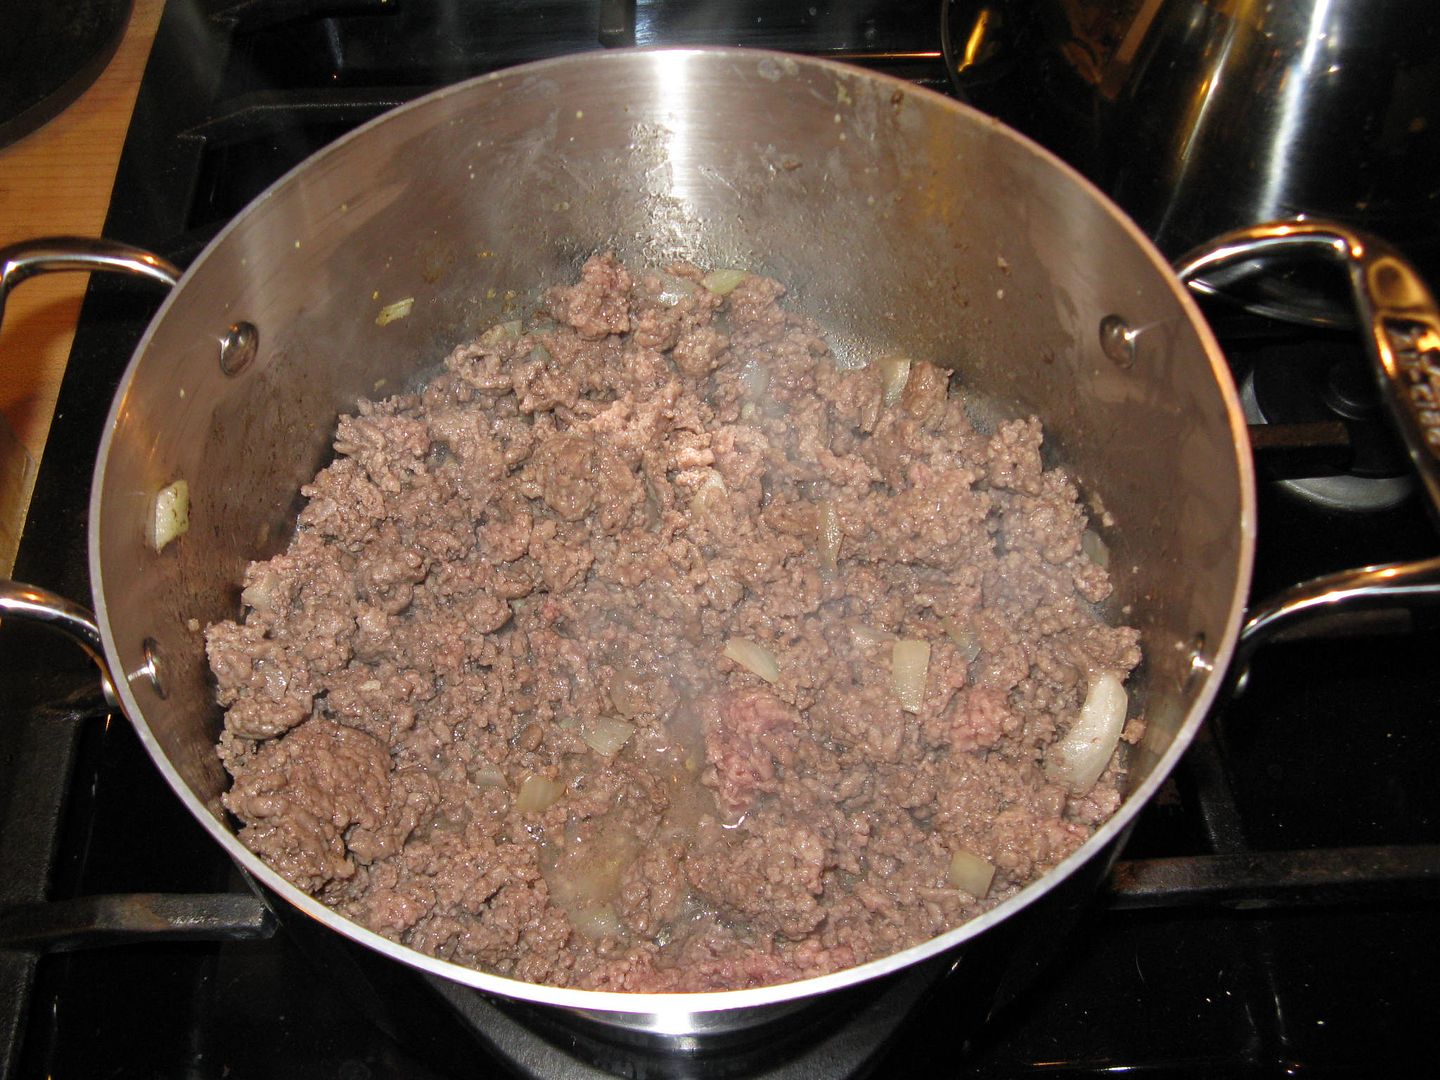
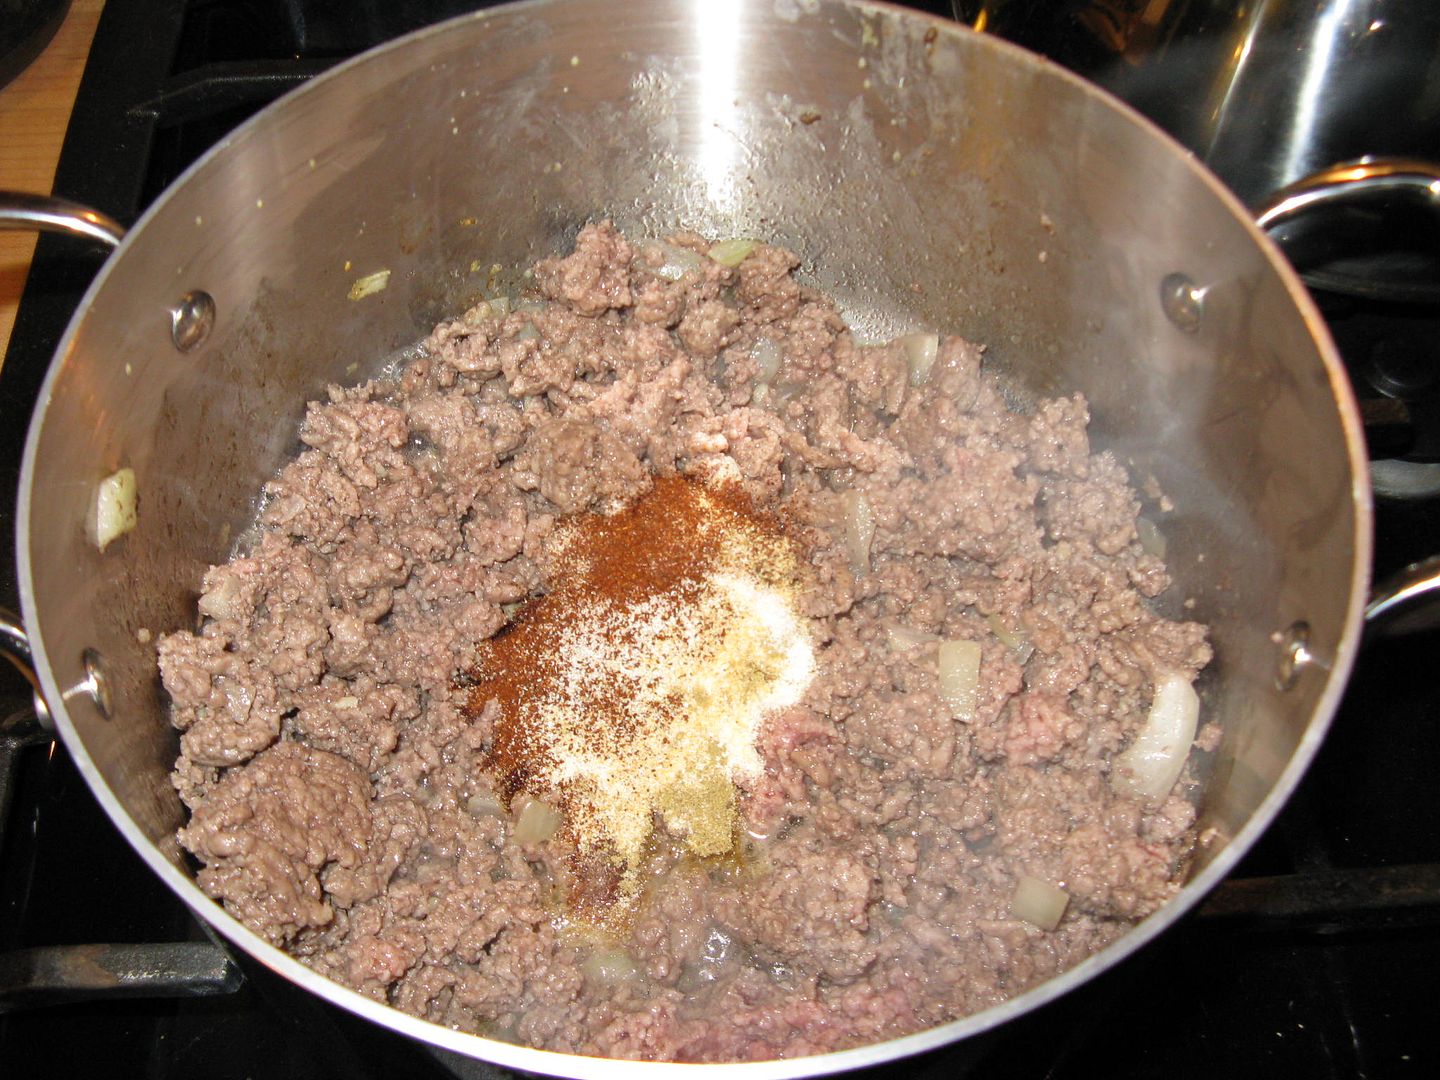
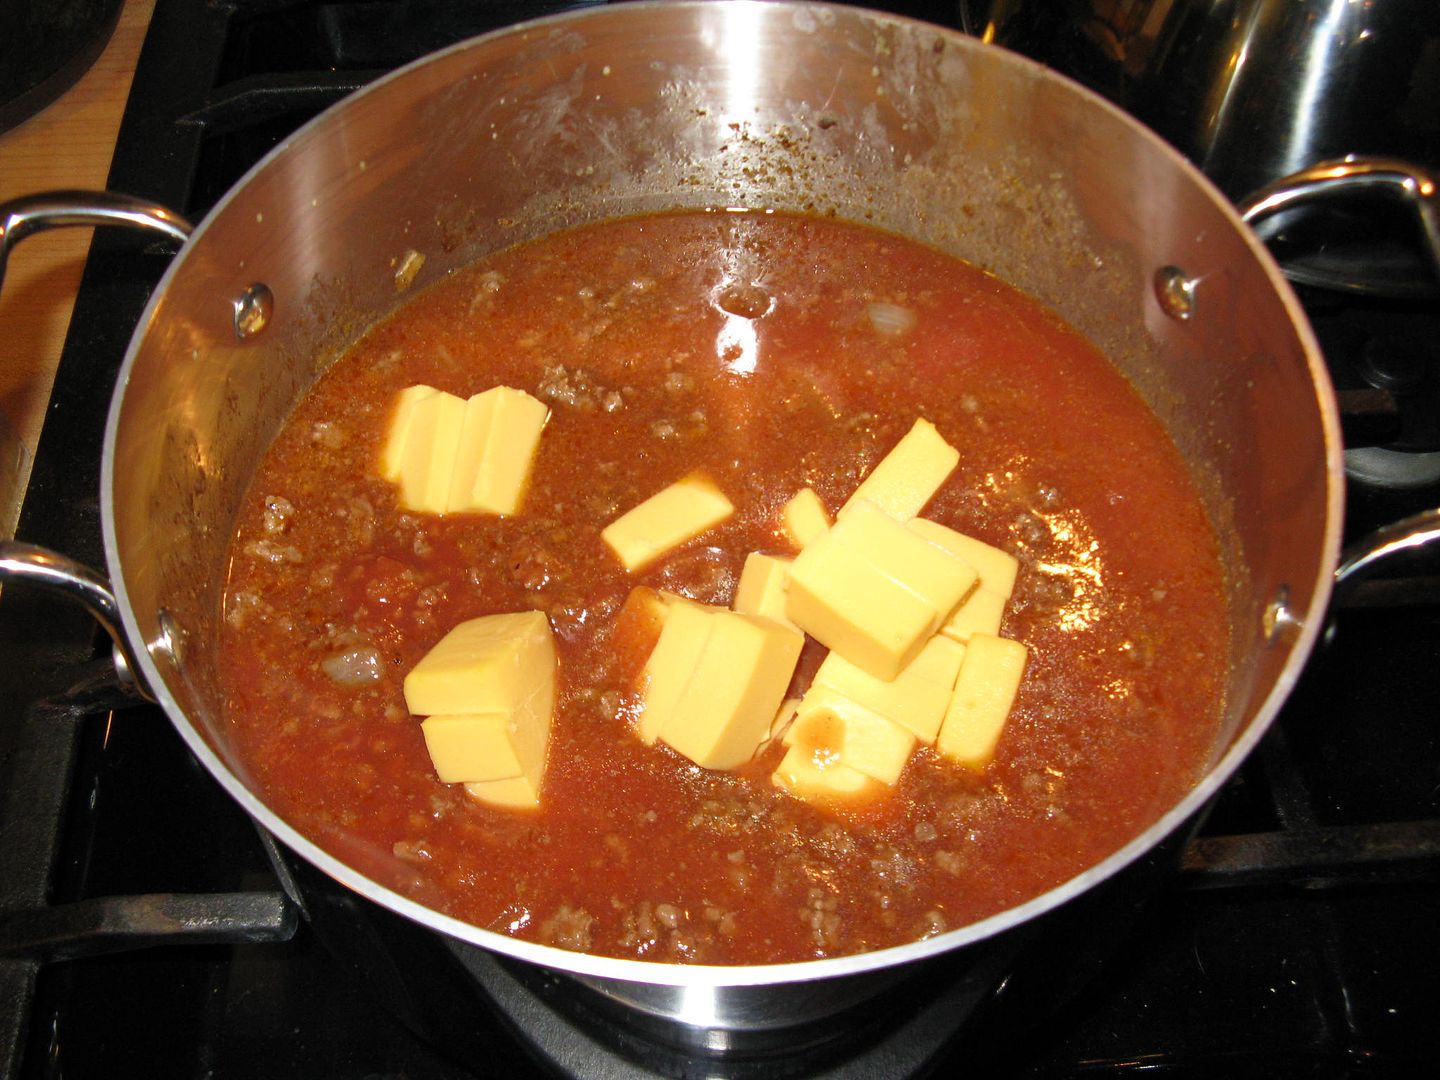
Then, I added the ground pork and sautéed until browned. Towards the end of the browning of the pork, I added the spices and cooked for five minutes longer while stirring frequently.


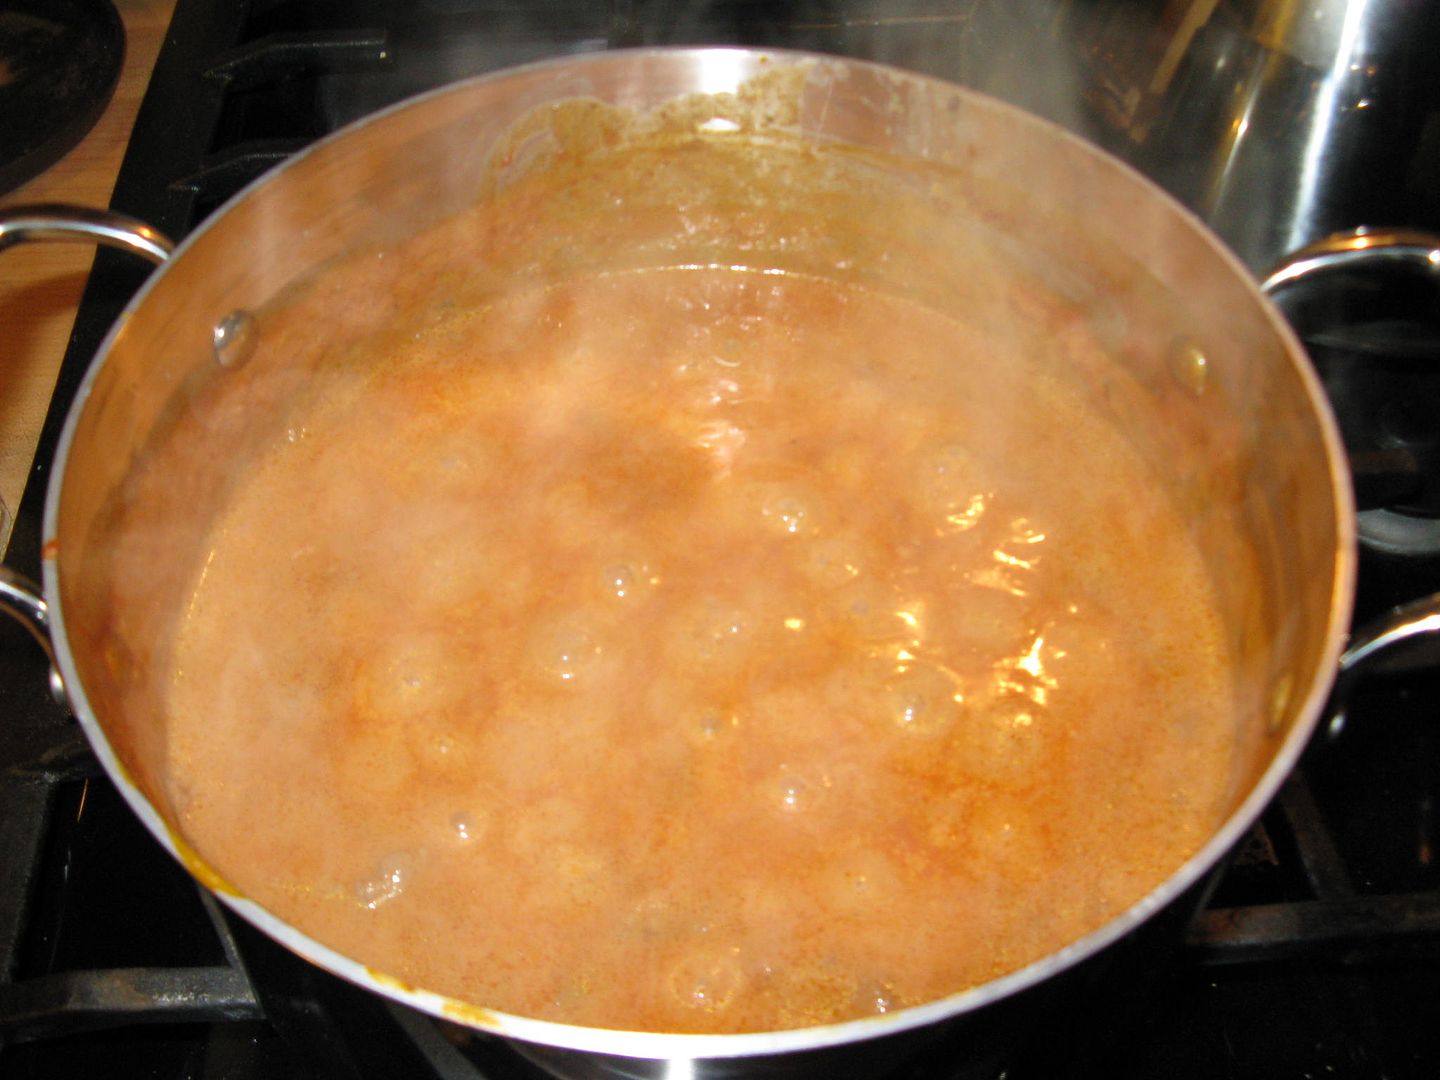
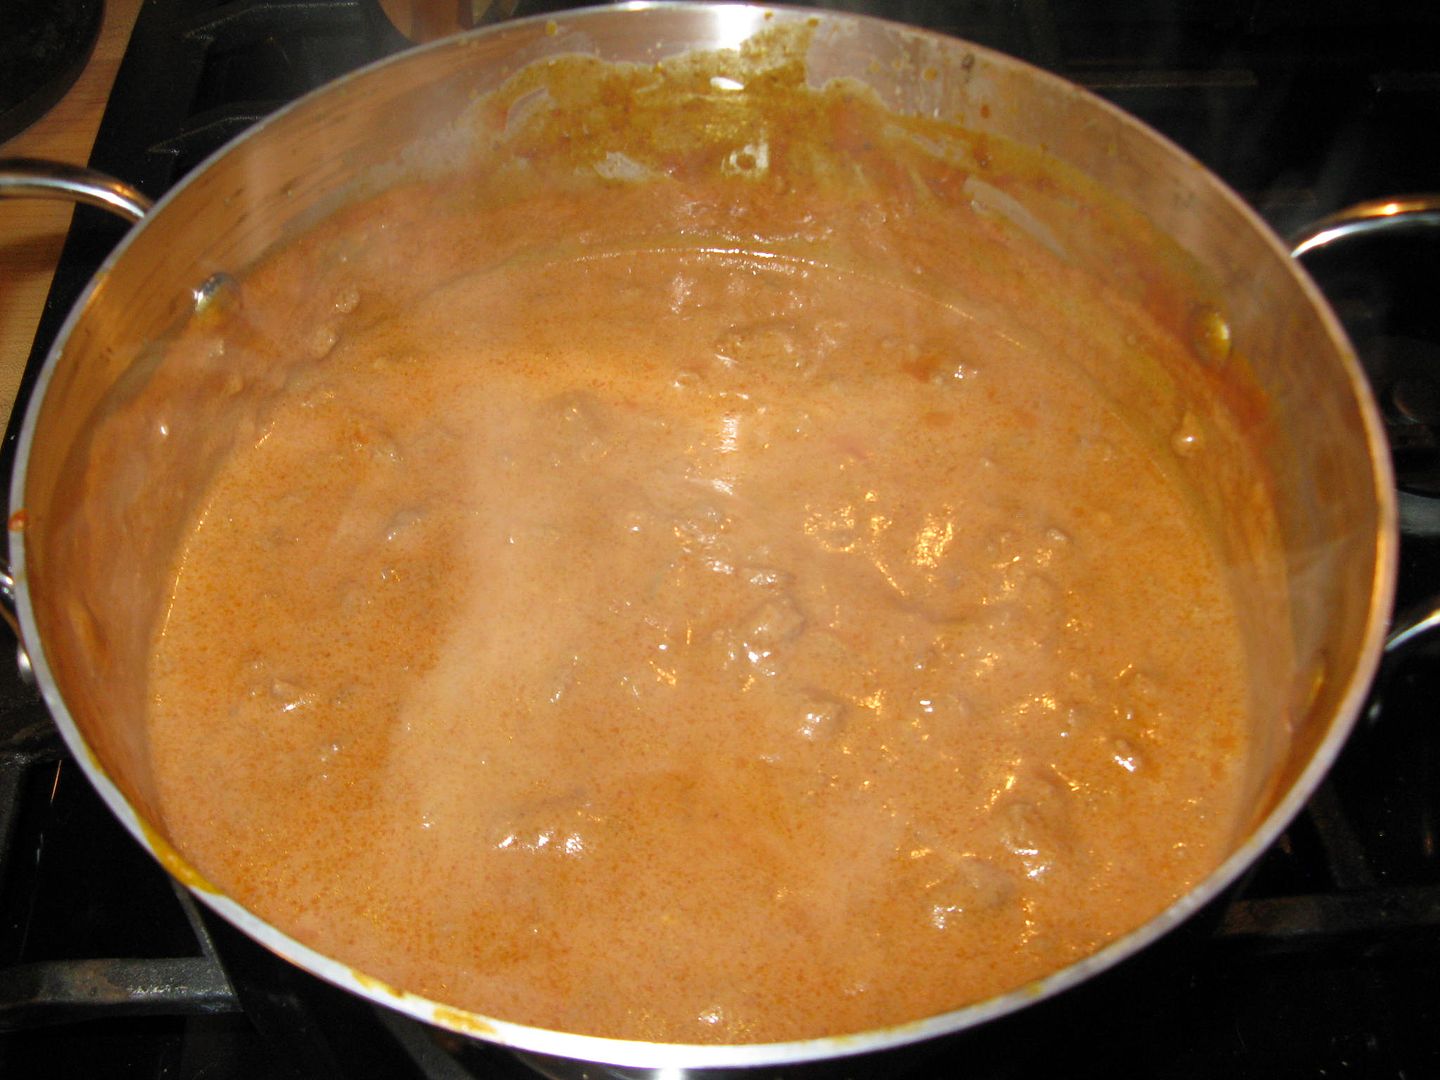
Once this was done, I added the tomato sauce, crushed tomatoes, chicken broth, and sauerkraut, then brought to a boil. Once boiling, I added the cabbage, turned down the heat, and let simmer for one hour.


First, I started with my Mom's recipe for real stuffed cabbage, made some modifications, and turned it into soup.
Homemade Stuffed Cabbage Soup
1 lb Ground Pork
1 32 oz can of tomato sauce
1 32 oz can of crushed tomatoes
1 16 oz can of chicken broth
1 10 oz can of sauerkraut, undrained
1/2 of a medium head of cabbage, roughly chopped
1/2 of a large sweet onion, diced
4 garlic cloves, minced
2 Tbsp paprika
2 Tbsp brown sugar
1 Tbsp dried dill
2 tsp onion power
1/2 tsp allspice
1 cup cooked rice
1 bag frozen corn
Olive oil for sautéing
S&P to taste
Sour cream
First I sautéed the onion and garlic in a minimal amount of olive oil, along with a grinding of sea salt and black pepper, until translucent.
Then, I added the ground pork and sautéed until browned. Towards the end of the browning of the pork, I added the spices and cooked for five minutes longer while stirring frequently.
Once this was done, I added the tomato sauce, crushed tomatoes, chicken broth, and sauerkraut, then brought to a boil. Once boiling, I added the cabbage, turned down the heat, and let simmer for one hour.
After the one hour simmer, I added the cooked rice and frozen corn, and let simmer for 10 more minutes.
I topped the soup with a small dollop of sour cream and a fresh skillet of corn bread on the side.
How was the soup? Very good. Much better than I thought it might be. This recipe is a do over for sure the next time the thermometer drops outside.
Thanks for stopping by,
Bill