Search This Blog

Sunday, December 18, 2016

Caramelized Onion Smoked Meatloaf, Finished on the Grill

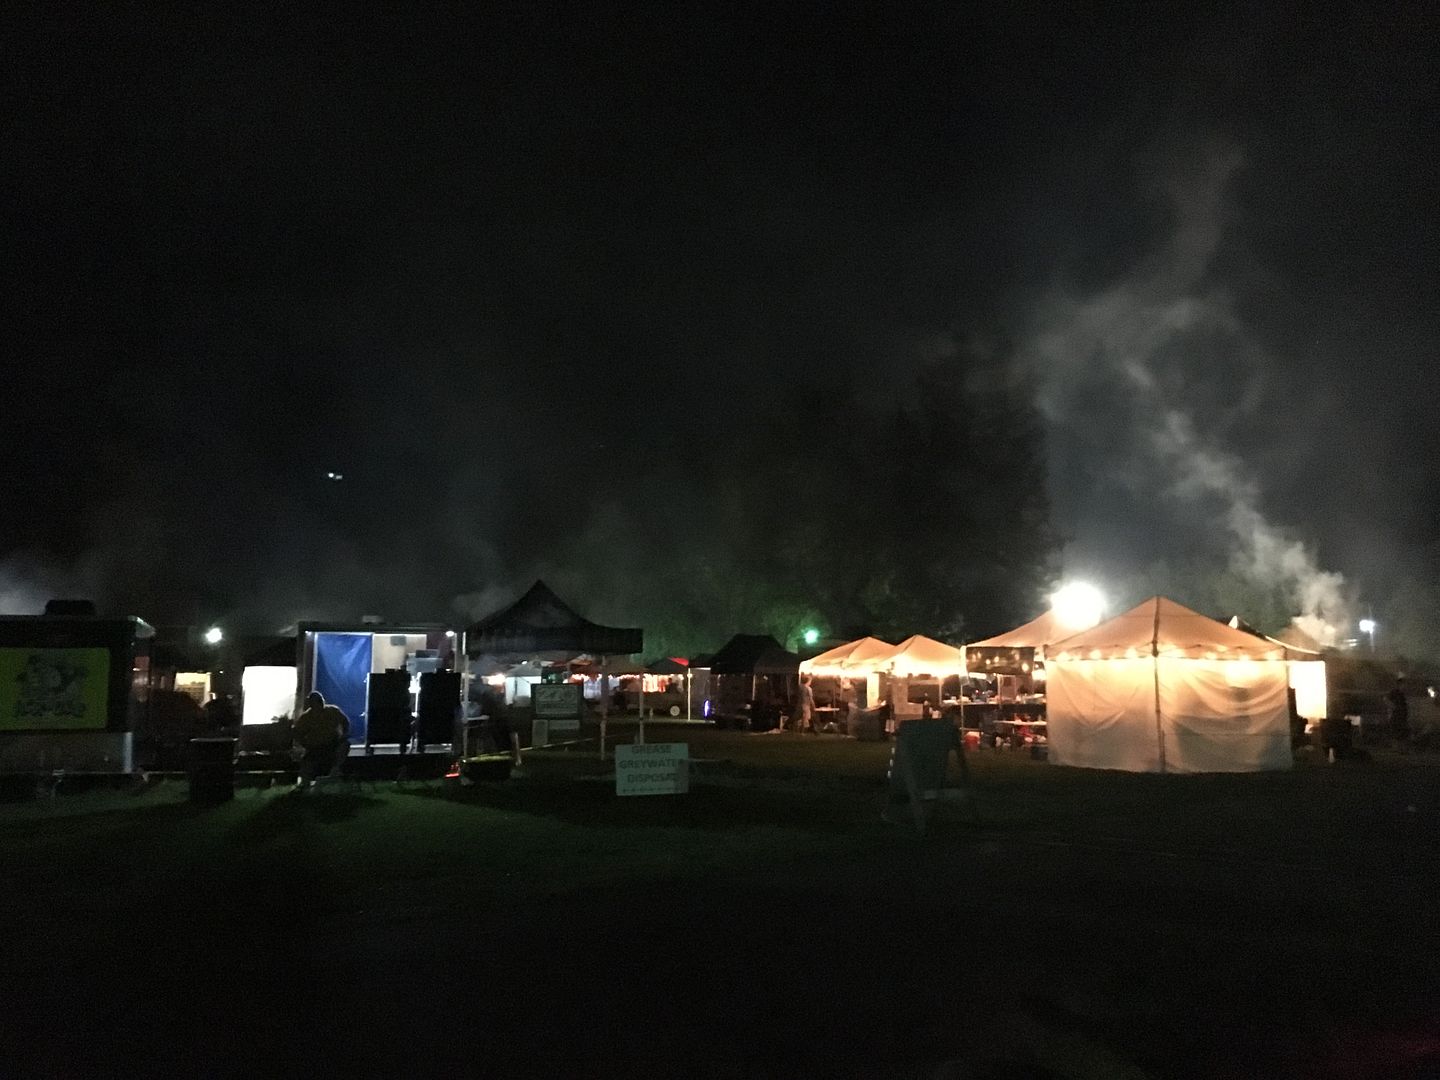
The balmy winter of 2015-16 is a thing of the past.  The 2016-17 winter is shaping up to be like any other winter around here.  Windy, cold, and snowy.  This year I have plowed and shoveled as much if not more than I did last year.  Time to think about some comfort food.  

One dish that I have not had in a very long time is meatloaf.  I had a craving for some on a recent cold and windy Saturday.  I have been wanting to try cooking one on the smoker for quite some time now.  With the Girls baking Christmas cookies in the kitchen on this day, making this meal on the smoker and grill kept me out of the kitchen.  A plan came together.

Caramelized Onion Smoked Meatloaf

2 lb ground chuck.  I used the 80:20 as I was going to lose fat during the smoking and I didn't want to dry it out on the grill
1/2 large sweet onion, diced
1/3 cup grated Parmesan cheese.  Used as a binder for a gluten challenged friend.
1 egg, beaten
2 tbsp Worcestershire Sauce
1 tbsp dried parsley
1 tsp dried mustard
1 tsp kosher salt
1 tsp ground pepper
1/2 tsp celery salt
Olive oil for caramelizing the onion

First, I diced the onion and slowly caramelized the over low heat until half of the onions were caramelized and half were still tendercrisp.  Then I placed the ground meat and the rest of the ingredients into a large bowl and incorporated the onions.  Next, I placed the mixture into a well greased loaf pan.  Once the loaf was formed, I placed the pan outside into the 20 F weather for about 40 minutes to firm up the meat so it would slide out of the pan in one piece.  


I set up my smoker to run at 300 F and added some pecan chunks to the firebox for some smoke.  I slid the meatloaf out of the pan onto a cookie sheet, then I placed the cookie sheet into the smoker.  


I was shooting for 135 F as an internal temperature for the meatloaf.  After an hour, the temperature was 140 F.  So, I removed the cookie sheet and let it sit outside in the cold weather to firm up for slicing.  While I was waiting on the meatloaf to cool, I fired up a chimney of lump charcoal to grill off my slices.  

I apparently did not get all of the air out of my meatloaf before cooking as I did have some splitting after the smoking.  


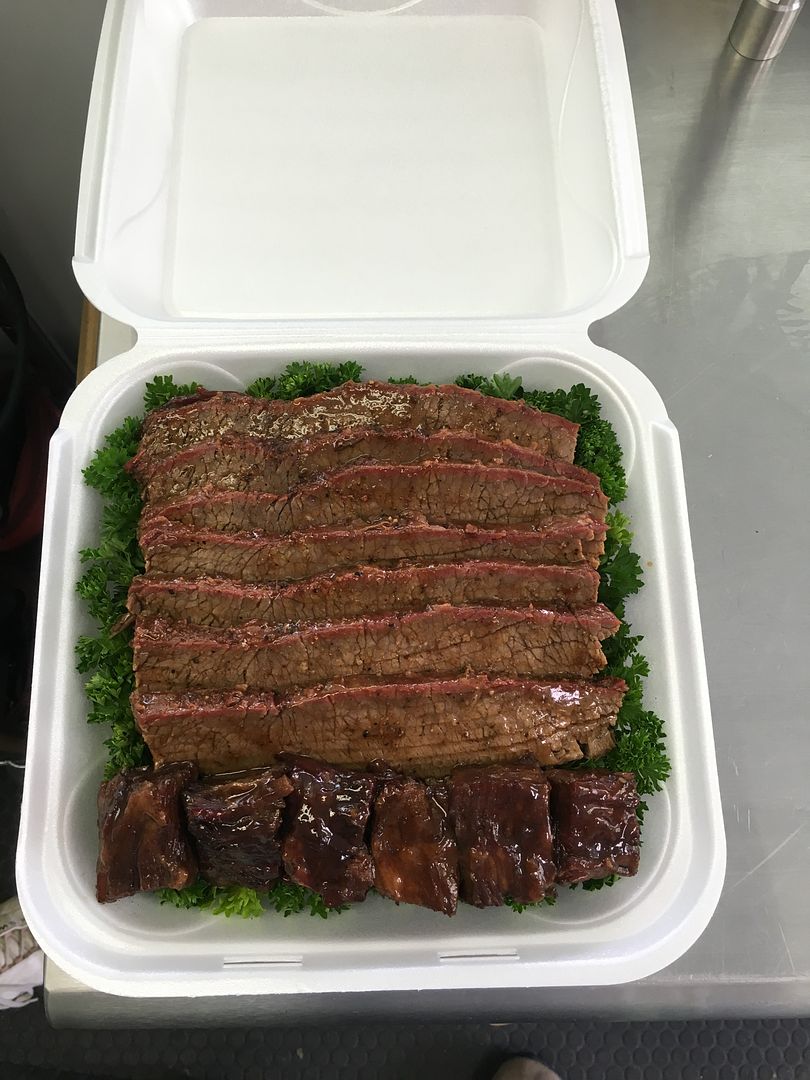
But, I was still able to get some slices out of the loaf.  As you can see, it was still pink in the middle.  Just was I was shooting for.


I then took the slices of meatloaf out to the grill for a quick sear.  The fire had gone down in intensity a bit, so I ended up grilling them off for about 4 minutes a side.  Yes, the picture is not the best...


I served the meatloaf with some gravy, roasted garlic, dill, and feta mashed potatoes, and some oven roasted broccoli.  


I decided on the grilling step as I generally do not like smoked ground beef.  It has a tendency to dry out and have a grainy mouth feel as well as become over smoked.  But, this meatloaf was good stuff.     The smoke flavor was not overpowering.  The taste was a blend of the taste you remember from the meatloaf you had as a child, along with that good char you get from the grill.  I need to tweak the spices in the meat.  But, I deem this a successful first pass.  How do I know?  The leftovers were gone the next day.  

Thanks for stopping by,

Bill


Saturday, December 10, 2016

Imo's Pizza - St. Louis Style Pizza

This past October, Hope and I were lucky enough to be invited to travel to Kansas City, KS with our good friends from Red Valley BBQ to help them compete in this years American Royal World Series of BBQ.  It was a week long adventure with numerous culinary adventures.  The trip out to Kansas City started early one Saturday morning and was broken up over two days.  We spent the first night in St. Louis.


I told everyone that I did not care where we ate during the whole trip.  But, I wanted to try out this St. Louis Style Pizza that I had read about on the Internet.  So, on night one of the great BBQ tour, we had pizza for dinner.  Go figure.

What is a a St. Louis Style pizza you ask?  Well, it is a pizza made with a dough that does not contain  yeast.  Also, when they slice the pizza, it is done so by cutting squares out of a round pie.  Crazy.  After some consultation with some BBQ friends that used to live in St. Louis, we were steered towards Imo's Pizza, a local chain of some renown.

Other than the dough, the St. Louis pizza is just like any other pie.  Red sauce and any topping that your heart desires.  For one pizza, I chose bacon and hot banana peppers.


The other pizza was a traditional pepperoni and sausage.  


The sauce was perfect.  Savory with just a hint of sweet.  Almost like Pizza Hut from my younger years before they changed their recipe and added a boat load of sugar.  As for the crust, this pizza is the ultimate thin crust.  Very crisp, very tasty. The topping to dough ratio is about 50:50.  Due to the lack of dough, you could probably down a whole pie on your own.  You definitely do not feel bloated  walking away from the table after eating this pizza.  The best description of this pizza I heard was that it was like eating a pizza made on a saltine crust.  Overall, I give Imo's and the St. Louis pizza experience four stars out of five.  

Stay tuned over the next few weeks.  We will be reviewing some of the traditional hot spots on the Kansas City culinary scene.  

Thanks for stopping by,

Bill


Sunday, November 20, 2016

The Smoking Cow

Earlier this year, The Grilled Cheese Academy ran their yearly grilled cheese contest on the Book of Faces.  $10,000 was to be awarded to the winner.  That would finance a lot of BBQ competitions for sure.  So, I decided to meld my love of BBQ into a gooey grilled cheese sandwich. After some deliberation, I decided upon a pulled beef sandwich with a buffalo twist.  I give you The Smoking Cow.

First, I took a chick roast and seasoned liberally with salt, pepper, and garlic.  I brought my smoker to a temperature of 250 F and added some pecan chunks to the fire to use as my smoking wood. I placed the roast in an aluminum pan and placed the pan in the smoker.  After the roast reached 175 F, I covered the pan tightly with aluminum foil and brought the roast to a temperature of 205 F.  I then removed the pan from the smoker and allowed the chuck roast to rest on the counter for one hour while still covered.  Then Hope pulled the meat off of the bone.  I gotta tell you, it was hard not to eat all of the pulled beef at this point.  It was that good.


The rest of the sandwich goes like this.

Buffaloed Cole Slaw

1, 1 lb package of pre made cole slaw mix that contains carrot
1 celery rib, finely diced
1/4 cup of finely diced sweet onion
1/4 cup of crumbled Gorgonzola cheese
1/2 cup of your favorite buffalo ranch wing sauce

I mixed the ingredients together to use as a topping for the grilled cheese.  By the way, the slaw is so good, you could use this as a stand alone side dish.  I loved the spiciness of the dressing mixed with the creaminess of the Gorgonzola cheese.  The celery and onion just helped to add that buffalo flavor.


Next, it was time to build and grill the sandwich.  For bread, I used asiago cheese bread from Pepperidge Farm.  You could use any bread of choice.  I would probably use something nice and crusty the next time around.

I buttered the outside of the bread and placed two pieces of thinly sliced provolone cheese on each piece of bread.  Then, I placed a generous helping of pulled beef on top of one half of the sandwich.


Next I topped the meat with the buffalo ranch cole slaw and placed the other half of the sandwich on top for grilling.


Hope and I pulled out our trusty cast iron skillet and grilled the sandwich over medium high heat.


I really love how this sandwich turned out.  All of the flavors came together nicely.  Spicy, creamy Gorgonzola, melted provolone, crispy cheese bread.  We uploaded our entry in anticipation of doing well in the contest.

Unfortunately, we did not win this year.  Perhaps we will have better luck next year.  But, we did have fun creating this sandwich.  I suggest that you try this grilled cheese at home.  You won't be disappointed.

Thanks for stopping by,

Bill

Sunday, September 18, 2016

Chicken Shawarma Pizza

I'm not the type to go out to lunch too often.  I usually brown bag leftovers from the night before.  If I went out to lunch all the time, I would be broke and weigh 350 pounds.  But from time to time, the guys in the office go out for lunch when we need some time away from the rat race.  Occasionally, we head to this great Lebanese place close to work by the name of Aladdin's Eatery.  They serve a healthy, diverse menu that doesn't break the bank.  One of my favorites is the Chicken Shawarma Pita Wrap.  Marinaded grilled chicken, wrapped up in a pillowy fresh pita with tomatoes and greens.  I also add black olives, crumbled feta, onions, and a dab of their outstanding hummus.  It really is good stuff.

One night earlier this summer, I was in the mood for hummus, but we were having pizza for dinner.  I decided to get creative and see if I could turn this pita wrap into pizza form.

First, I took a boneless, skinless chicken breast and marinaded in a mixture of olive oil, the juice of a lemon, some kosher salt, and a teaspoon of Balti seasoning.


My mom turned me on to this seasoning with some spectacular pork tenderloins.  It is a mild curry type blend.  Not too hot and definitely not lacking in flavor.  After marinading the chicken for about an hour, I grilled the breasts until done.  After cooling, I cubed into bite sized chunks.

While the chicken was marinading, I whipped up a batch of hummus.  My hummus recipe is also from my mom.  I do not know where she came up with this recipe, but I would definitely put it up against any hummus served at a restaurant.  Here is the recipe:

Three Dogs BBQ Homemade Hummus

2, 16 oz cans of chickpeas
Juice of 2 lemons
1/4 cup of tahini (ground sesame paste)
3 garlic cloves, minced fine
1 Tbsp of Olive Oil, plus more for when serving
1/2 tsp Kosher Salt
Dried Parsley for garnish
Fine diced red onion for garnish

Drain the water from the chickpeas and reserve.

Process the above ingredients along with enough of the reserved chickpea water to obtain a soft, creamy consistency.  Add salt as needed to taste.  Serve with a drizzle of olive oil along with pita or tortilla chips.  I also add some dried parsley and diced red onion as well.

I couldn't pass up a little snack while I was waiting on the pizza dough to rise...


So, after Hope stretched out the pizza dough, I assembled the pizza.  I took the hummus that I had made and thinned it out a bit with some olive oil so that it could be spread across the dough.  Then I added in no particular order:

The grilled chicken breast
Thinly sliced Roma tomatoes
Thinly sliced red onion
Black olives
Crumbled feta cheese

Then, the pizza went into the hot pizza oven.  Since there was not a lot of cheese to look for the "brown and bubbly" mark of being ready, I kept an eye on the crust.  When it looked brown and crispy, I pulled the pie from the pizza oven.


I declare this experiment wildly successful.  I was worried about how the hummus would turn out after being exposed to high heat.  But, it did not separate and had a nice roasted flavor.  The next time I am craving some Middle Eastern flavor, I am making this pizza again.

Thanks for stopping by,

Bill

Saturday, September 17, 2016

End of the Summer Season

It has been too long since our last post.  You know how it can be.  Life gets in the way, interests and hobbies suffer.  Rest assured though, we have been hitting the competition trail this summer.  Let's look back and see what has gone on since Roc City.

First after Roc City was a trip to Covington, Va for the Covington Cork and Pork Festival.


The competition was held the same weekend that the flooding was taking place just 20 miles away in southern West Virginia.  As a result, all of the teams donated their leftover food to Operation BBQ Relief to feed first responders and those in shelters in the White Sulphur Springs area of West Virginia, one of the hardest hit areas. I've always known that BBQ people have the biggest hearts. This just confirms what I already knew.  As for our results, we came in 17th overall, including a fourth place rib entry.  We have always wanted to win one of the cutting board trophies.  Mission accomplished.


Next up was the first annual Salamanca Rock'in Ribfest in Salamanca, NY.  The hot, humid, and rainy theme for summer 2016 continued.  Even George was looking for some high ground.


Results for this competition were mixed with an 8th in pork and a 7th in brisket.


We had some issues with the other categories, leading to a 21st place overall finish.

Next up was one of our favorite competitions, the Hudson Valley Ribfest in New Paltz, NY.  Again, it was hot and humid, with a 100% chance of flies.  Lots of them.


Chicken has historically been one of our best categories.  So, our low scores this year were a bit of a head scratcher.  But, after Salamanca, I sat down and thought through what we were doing.  I realized that I had left out a few small, but important details.  As a result, we scored an 8th place chicken call with a 28th place finish overall.


So, since reexamining the process worked with the chicken, I reexamined our process with our other meats before competing at the Finger Lakes Fire and Smoke Festival in Geneva, NY over Labor Day weekend.


Our first competition of the year with cool and dry conditions.  Very refreshing after the hot and sticky summer.  The attention to detail paid off with chicken placing just out of the top 10 with an 11th place finish, 5th place ribs, and 5th place brisket adding up to an 8th place finish overall.


So, that sums up the summer season.  I've taken some more notes to capture the little things and we are ready for our last competition of the year in three weeks at the Keystone Classic BBQ Competition in Harrisburg, PA.  Hopefully the upward trend will continue.

Finally, I have been cooking and have some new recipes to share.  I promise in the next few weeks to post more regularly.  Life has just gotten in the way.

Thanks for stopping by,

Bill

Wednesday, July 27, 2016

Grilled Venison Backstrap with a Balsamic Marinade

A few weeks ago, The Oldest called me up late in the week and wanted me to smoke 30 pounds of assorted venison and goose meat into jerky.  I didn't have any firm plans, so I told him to bring beer and charcoal and we would fire up the smokers.  The day passed and on Monday, Hope called me at work to tell me that The Oldest had also brought over a venison backstrap for me to grill one night for dinner.  Let's call this, "Payment for Services Rendered".

The backstrap is the Bambi equivalent of the fillet on Elsie the Cow.  I've cooked a few fillets in my time, but never one from a deer.  I do know that you can dry them out quickly if not cooked properly.  I have had them prepared via a sous vide method and loved how they turned out.  Very juicy and tender for a very lean piece of meat.  But, after a day at work, I didn't feel like rigging the beer cooler for Redneck Sous Vide Mode.  Internet, here I come.

I was looking for a marinade that could add some flavor and some acid to help tenderize the meat.  A quick search led me to an old Dr. BBQ recipe posted on O'Neill Outside.com.  Ray Lampe can't steer me wrong.  Right?  Champion griller and pit master.  So, I gave it a shot.  Hope whipped up the marinade and the backstrap had a chance to marinade for a good 10 hours.  


Balsamic Marinade for Venison Backstrap

1 Venison backstrap, about 2 pounds
1/3 cup soy sauce 
1/4 cup balsamic vinegar
1/4 cup vegetable oil 
2 tablespoons Worcestershire sauce 
2 tablespoons honey 
4 cloves garlic, crushed
2 teaspoons sesame oil 
1 teaspoon black pepper 

Venison backstrap has a tendency to run on the smallish side.  Usually closer to the size of a pork tenderloin than that of a beef fillet.  Perhaps the 10 hour marinade time would be too long for such a small piece of meat.  I could not have been more wrong.  I had no idea how large this piece of meat was until I pulled it out of the plastic bag.

After lighting a chimney of charcoal and setting up the grill for a two zone fire, removed the backstrap from the marinade and placed it over direct heat for searing.  


What genetically engineered monster of a deer did this piece of meat come from?  We rarely see deer this big around here.  Then, I remembered.  This venison fillet must have come from the doe The Oldest shot with time ticking down and the sun setting on last years season.  She was one monster doe.  I would say this backstrap weighed in at over four pounds easily.  Anyway, I digress.  

I seared both sides of the backstrap over direct heat for about seven minutes a side.  Then, I moved the meat to indirect heat and covered the grill.  The grill temperature at the dome was around 550 F.  I checked the temperature of the fat end of the fillet every ten minutes, flipping the meat every time I checked the temperature.  After the 14 total minutes of searing and 20 minutes at 550 F, the backstrap was at an internal temperature of 135 F.  Time to pull, rest, and slice.  


Perfect.  The meat ran from medium to medium rare depending on the thickness of the meat.  It was tender and very juicy.  The honey in the marinade caramelized just a bit on the outside of the meat, forming a nice crust.  This marinade tasted so good, I am going to try it on beef, chicken, and pork.  This fall, after you have harvested your deer, you just might want to give this recipe a try. 

Thanks for stopping by,

Bill


Monday, July 18, 2016

Garlic Lovers Grilling Sauce

A couple of weeks ago as I was scrolling through my Flipboard feed, I saw this tasty looking garlic grilling sauce posted from the Date Night Doins website.  I clicked on the link and I instantly liked what I saw.  Four simple ingredients; garlic, canola oil, lemon juice, and salt are combined to make a sauce that you can brush on meats and veggies while grilling for a nice garlicky glaze.  So, Hope whipped up a half batch and we started experimenting.

Here is the recipe from their website.  The process is quite simple.  Remove the garlic cloves from their skin, turn to a paste along with the salt in a food processor, then slowly add the oil and lemon juice to form a thick emulsion.


Our half batch made about one pint, plus a little more.  As you can see, the sauce is quite thick.  To start, I brushed some on a steelhead fillet and seasoned with some salt and pepper.


Next, I grilled the fillet over indirect heat to promote caramelization of the sauce.


With the slow grilling, the garlic had that mellow, sweet flavor that you get with roasted garlic.  Pretty tasty stuff.

We have used the sauce as a base for a white pizza that worked very well.  I also seasoned the sauce with basil and oregano and brushed on some grilled chicken that turned out perfect.  I would venture to guess that you could use this sauce as a base for some garlic bread or perhaps a seafood scampi dish.  Needless to say, this sauce is very good.  We will be keeping some of this in our refrigerator at all times.  More to come in the future as we experiment further with this great find.

Thanks for stopping by,

Bill


Saturday, June 18, 2016

Grilled Hasselback Potatoes

I have always been horrible with potatoes on the grill.  I have made many a foil wrapped package of sliced tater that came out one of three ways: too mushy, burnt, raw.  A few weeks ago, I had a request for a grilled spud that was not baked.  I wracking my brain for the next potentially disastrous foiled potato episode.  Then, I remembered Hasselback potatoes.  It has been many years since I have made these treats.  The Hasselback potato is kinda baked, yet nice and crispy.  So, I dug through the spud bin and pulled out two of the biggest red potatoes I could find and went to work.

After washing and drying the potatoes, I grabbed a knife and sharpened the blade for fine knife work.  I laid the potato on its side and started making slices about 3/4 of the way through the potato.  Each subsequent slice was as close to the last slice as I could make it and still make a slice.  We will say 1/8th inch slices overall.  The idea is to be able to fan the potato so that it can expand during the cooking process.  Here is what the potatoes looked like after slicing.


Next, I drizzled the potatoes with olive oil, making sure to coat the surface of the potato thoroughly and to also get as much of the oil between the slices as possible.  Then I seasoned them.  You can choose your seasonings to pair with your main course.  These spuds were sides for some nice steaks, so I added granulated garlic, onion powder, a bit of thyme, salt, and pepper.  You could also put some grated cheese on top if you like.  I have since I made these potatoes and it makes for a nice crispy cheese coating.


I placed the potatoes on indirect heat on my grill, put the lid on the grill, and walked away for 20 minutes.


After the first 20 minutes, I turned the potatoes 180 degrees and put the lid back on the grill and walked away for another 20 minutes.  Halfway through the cook, these potatoes were starting to look nice and brown.


After 40 minutes of total cook time, I placed the potatoes as far away from the fire as possible to keep them warm and grilled my steaks.

These potatoes were pretty good.  They were perfectly cooked the whole way through.  They also had that nice crispy coating on the outside.  I placed a dollop of sour cream on top of my potato.  I think I am done with foiled potatoes.


Thanks for stopping by,

Bill

Tuesday, June 7, 2016

The Smoking Bacon & Hog Cookbook - Award Winning Grilled Pork Chops

A month or so ago, the fine folks over at Page Street Publishing Co. sent me a copy of The Smoking Bacon & Hog Cookbook by Bill Gillespie.


Bill and his team Smokin' Hoggz BBQ, which also includes his wife Shaune and their friend Alan, are an accomplished competition BBQ team.  Over the years, they have won many competitions at both the regional and national level.  Signature wins include the American Royal Invitational and the Jack Daniels World Championship.  I have known Bill for about five years now.  We cross paths with him a few times a year on the KCBS competition trail.  He is a class act and knows how to BBQ.  If I had any problem with him, it is that he is a Patriots fan.  But, nobody can be perfect, right?

The sub title of the book states, "The Whole Pig & Nothing but the Pig BBQ Recipes."  After reading the table of contents, I think the only thing Bill hasn't covered is the Oink.  Recipes range from how to cook a whole hog, how to cure and smoke bacon plus numerous recipes that you can use with your bacon, how to make homemade sausage, and how to prepare and either smoke or grill ribs, chops, loins, hams, etc...  He even covers sauces, rubs, various types of hog breeds, smokers, and wood chip selection for any flavor you might be looking for in your smoked hog.  He's got you covered for sure.

One weekend, I was staring at some pork chops and was tired of the same old, same old.  After digging through the chop section, I was drawn to the Award-Winning Grilled Pork Chop recipe.  According to the book, this recipe was Bill's first first-place trophy in competition BBQ.  Could I go wrong?  Probably not.  After a quick check of the pantry, I confirmed that we had all of the ingredients.  Off to the kitchen we go...

Award-Winning Grilled Pork Chops by Bill Gillespie/Smokin' Hoggz

1 cup apple butter
1/2 cup apple cider vinegar
1/2 cup Smokin' Hoggz All-Purpose Rub
4 double-boned pork chops, frenched (I used thick, single cut chops as it was all I had available)
1, 12 oz bottle of steak marinade.  I used the recommended Lawry's Steak & Chop Marinade

In a bowl, combine your first two wet ingredients and 1 tbsp of the rub, mix well, and set off to the side for use later.

Next, I placed the chops in a plastic bag along with the marinade and let sit in the refrigerator overnight.


The next day, I removed the chops from the marinade, patted dry, and applied a generous coating of the rub.


I let the chops sit at room temperature while I started a chimney of coals and set the grill up for indirect grilling (coals off to one side).  Allowing the chops to sit allowed the rub to adhere to the meat, forming a nice coating.


Next, I grilled the chops for three minutes a side over direct heat.  Then, I moved the chops into the indirect grilling zone and applied a generous coating of the sauce.  The lid was placed on the grill and the chops checked for temperature after 10 minutes of cooking.  The recipe calls for 20 minutes of cooking or until the internal temperature of the meat reaches 145 F.  Since I only had thick, single cut chops, I kept a close eye on these chops.  After 10 minutes, they were around 130 F, so I applied a second coat of the sauce and covered the grill.  After about seven more minutes, I reached my target temperature of 145 F.


We sat down to dinner and dug into these great looking chops.  I was wary of how Hope would react as she is not a huge apple butter fan.  After about two bites, she declared these chops a success.  I would agree.  Tender, moist, and juicy, this chop recipe brings a lot of flavor to the table.  Count this recipe added to our do over list.

I can't wait to try some of the other recipes in this cookbook.  Everything looks very good.  This cookbook may even motivate me to purchase a meat grinder to make sausage.  If anyone out there is looking for a Fathers Day gift for the backyard BBQ enthusiast, this cookbook is just what you are looking for this year.

Thanks for stopping by,

Bill

Sunday, June 5, 2016

Roc City Rib Fest 2016 - Rochester, NY

Last weekend, the Three Dogs BBQ roadshow packed up the trailer and headed to the 2016 version of the Roc City Rib Fest in Rochester, New York.  This competition is one of our favorites for many reasons.  But, I would say one of the biggest reasons is that this competition is sort of like the Super Bowl for New York BBQ.  This test of a pit masters skills attracts top teams from all over New York, the Mid Atlantic, and Canada.  

Another wild card can be the weather.  Three years ago Roc City was a complete mud fest with rain dominating the weekend.  Last year was sunny, but it was so cold that dishwater was freezing in everyone's pans overnight.  This year?  Mother Nature dialed up an August weekend with temps in the shade running in the 90's and inside trailers at 100+.  Sports drinks and bottled water kept everyone going during the hot muggy days.  George was a trooper though, sleeping through the muggy days in the shade between his numerous drive-by pettings from passers by.


The KCBS competition was on Saturday night through Sunday afternoon, so the day on Saturday was spent catching up with friends, slowly prepping meats, building parsley boxes, and maybe pulling a prank or two on our unsuspecting Canadian friends.


So, after a long night and morning of cooking, it was time to turn in the boxes.  Here is the Lil General in action from Old Virginia Smoke.  Kim runs the boxes as Luke is definitely not built for speed.


Lets got to our boxes, shall we?


The chicken box above came in 19th out of 50.  This entry did win the "Table of Death"  this table was labeled the TOD as all entries scored no higher than our 19th place, with most scoring in the 30's.


Our rib box came in 19th overall.  This table consisted of scoring that was clumped between 19 and 30.


For every TOD, there is also a Table of Angels.  This pork box, while finishing third on the table came in eighth overall, with scores skewed toward the high end of the judging.


Finally, our brisket box.  What used to be our worst category is turning out to be our most improved this year.  This entry came in second overall, with scoring on the table being evenly distributed from top to bottom.

All of the above added up to a fourth place finish overall out of fifty teams.  To be honest with you, I was not expecting much after our cook.  Mostly because we have never been able to manage a call in any of our previous four times at Roc City.  Perhaps the hard work and practice is starting to pay off dividends.  We shall see as the season progresses.


Congrats to our Grand Champion, Insane Swine, owners of one of the best logos in competition BBQ.  Congrats also go out to Old Virginia Smoke, our Reserve Grand Champion.

Finally, we would again like to thank Brian, Kelly, and their entire crew for making Roc City run smoothly.  They always do a great job and this year was no exception.

Next up for Three Dogs BBQ is the Covington Cork and Pork Festival, in Covington, VA.  We hope to see you there.

Thanks for stopping by,

Bill