Search This Blog

Wednesday, January 28, 2015

Chili with Smoked Poblano Chiles

It's cold, snowy, and the Super Bowl is this upcoming weekend.  Sounds like the perfect time to make a pot of chili for the big game.  No deflated taste here.  Lets move to the kitchen and have a look.

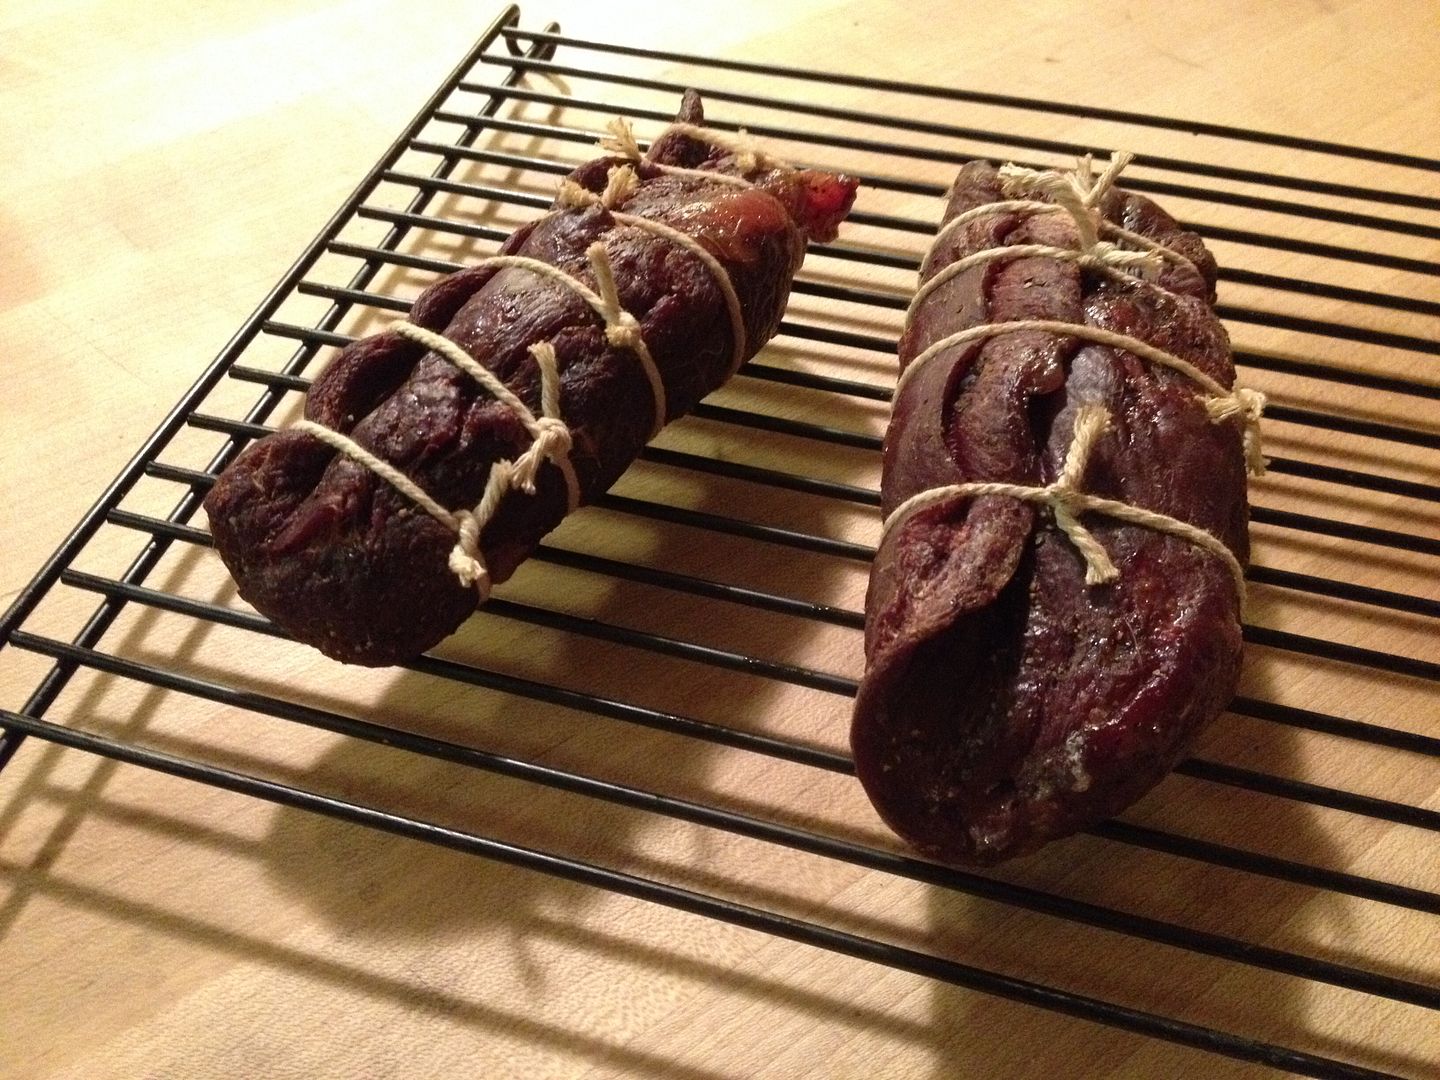
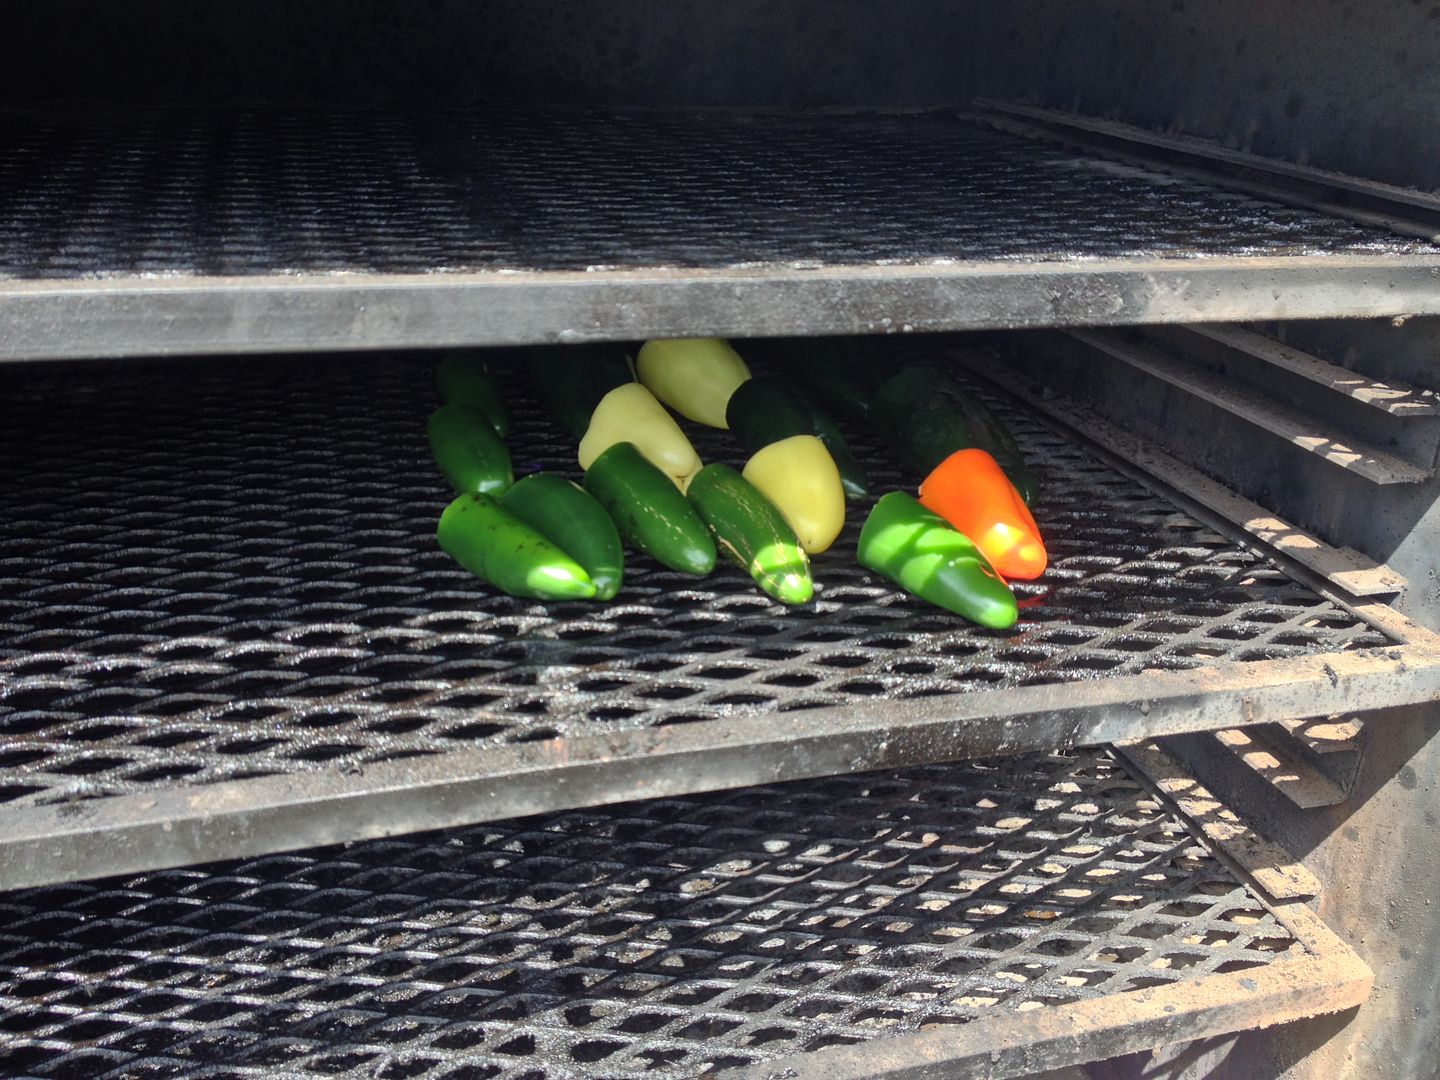
Back when peppers were in season, I fire roasted and smoked some for use over the winter.


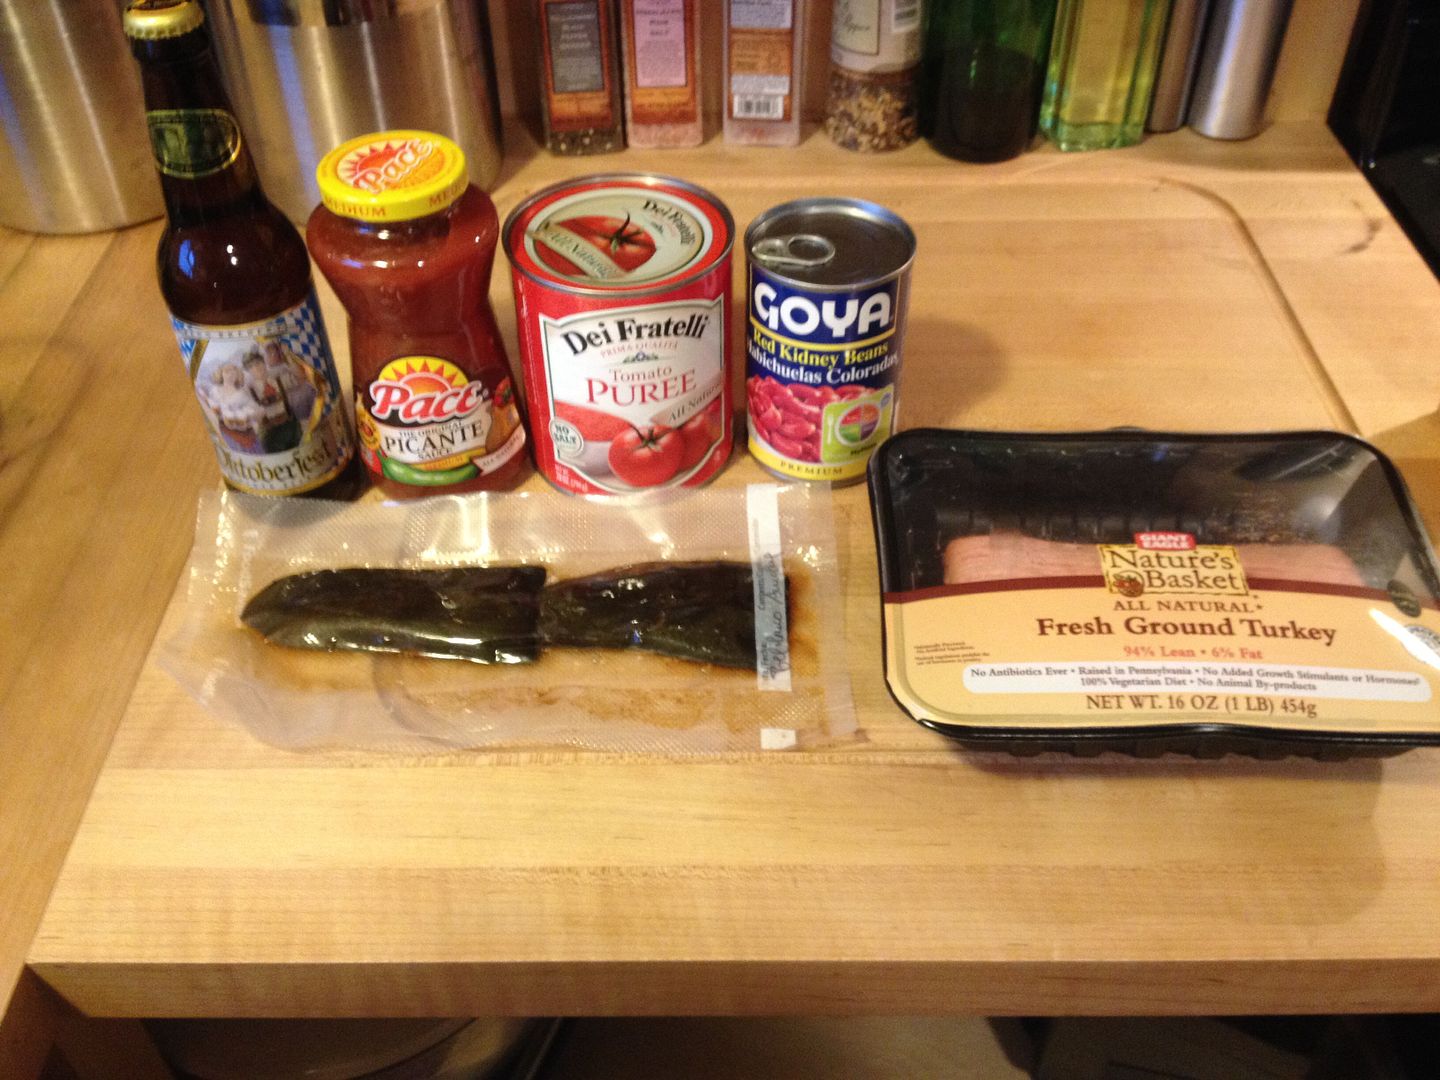
I decided this was the perfect time to kick up my normal chili recipe a bit.  So I grabbed a package of the frozen poblanos from the freezer and add them to this pot of chili.

Here is my base recipe for a batch of chili:


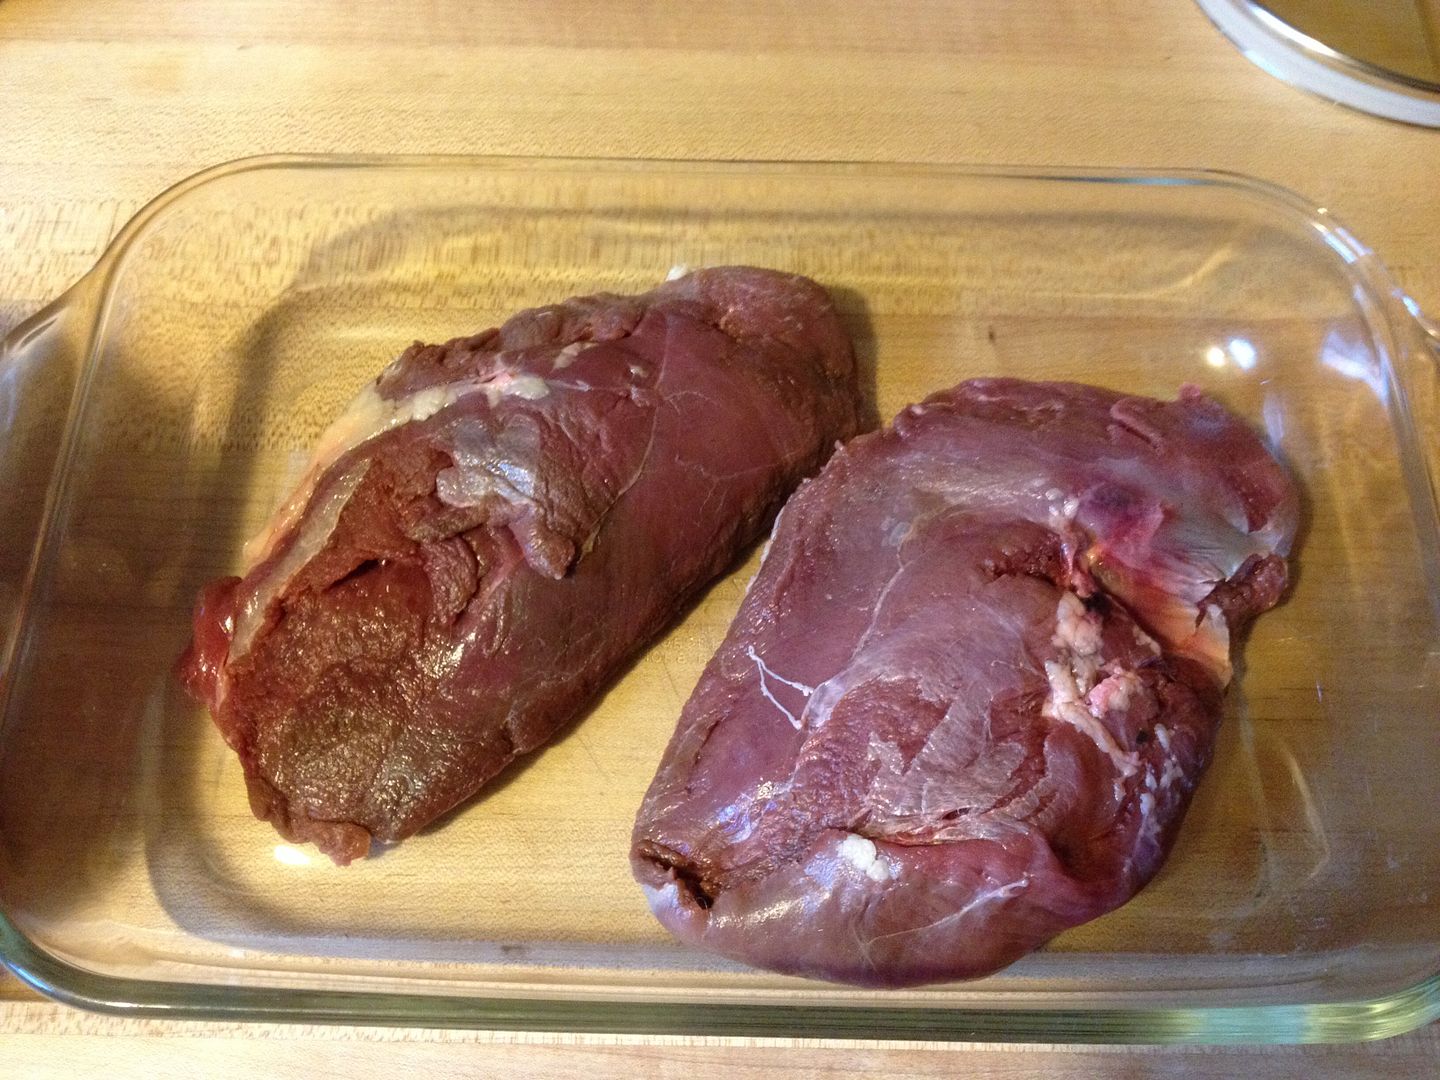
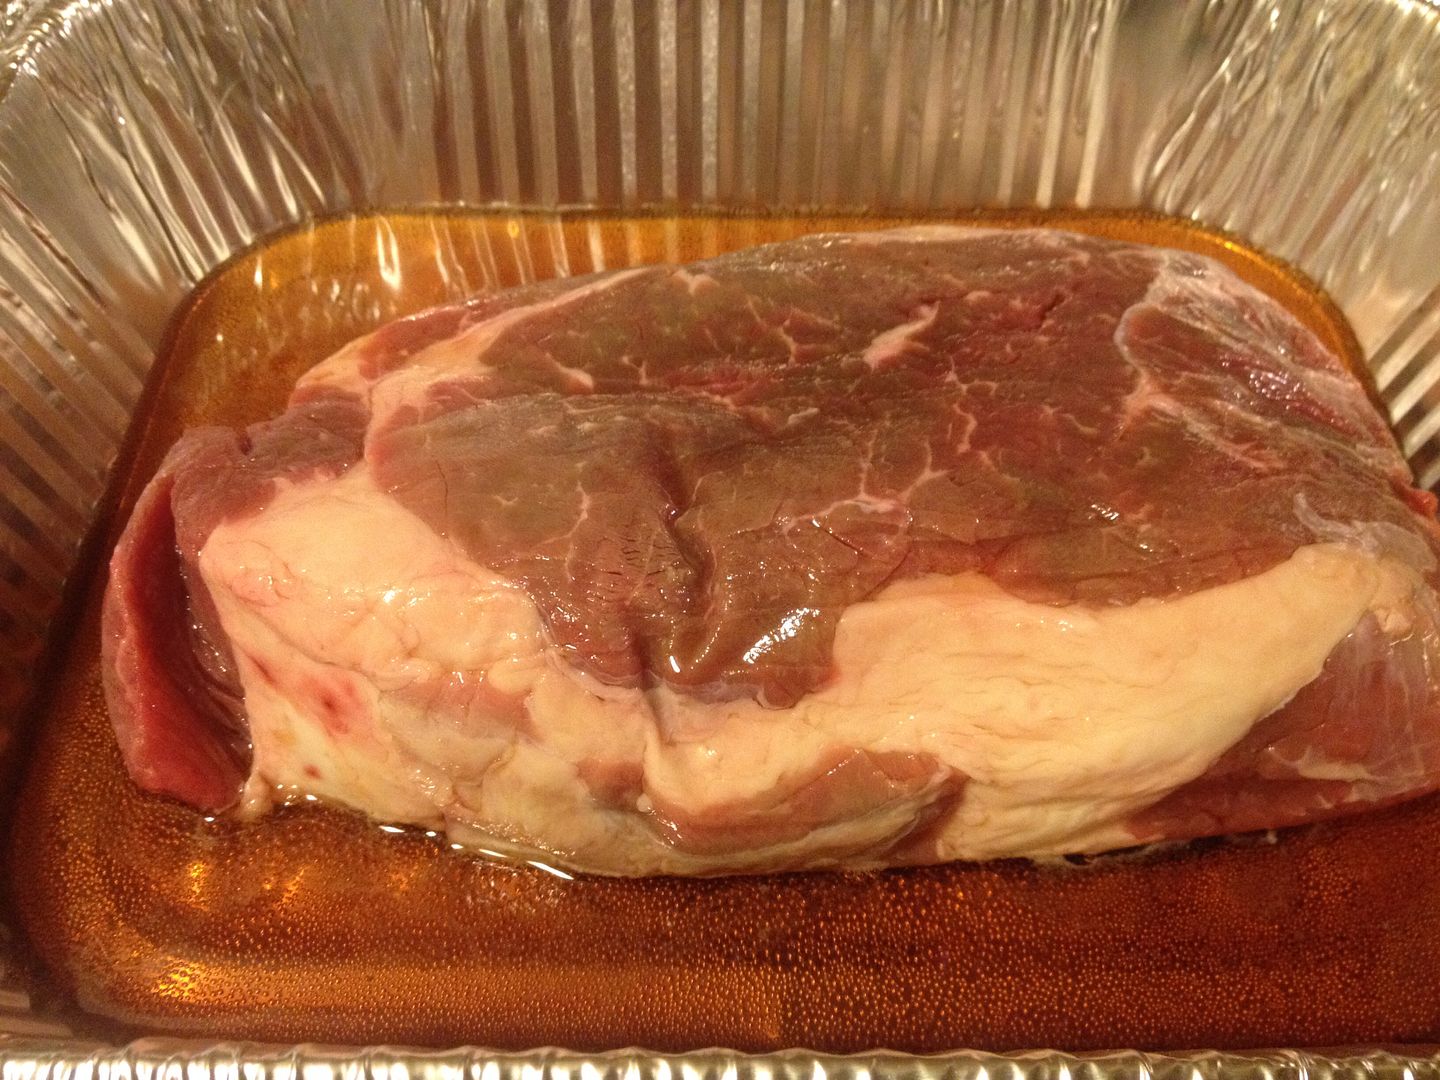
1 Pound of Ground Meat (I used lean turkey for this batch)
1 Small Onion, diced
1 Bell Pepper, diced
2 Jalapeño Peppers, sliced
2 Tbsp Minced Garlic
2 Tbsp Olive Oil
2 Tbsp Chili Powder
1 Tbsp Brown Sugar
1 Tbsp Onion Powder
1 Tbsp Granulated Garlic
2 Tsp Ground Cumin
1 Can Dark Kidney Beans, do not drain
1 28 ounce Container Of Tomato Puree (I like the puree as it adds some body to the final product)
1 16 ounce Bottle Of Hot Picante
1 12 ounce Beer
2 Cups of Water

For this batch, I substituted the smoked poblano for the jalapeños.

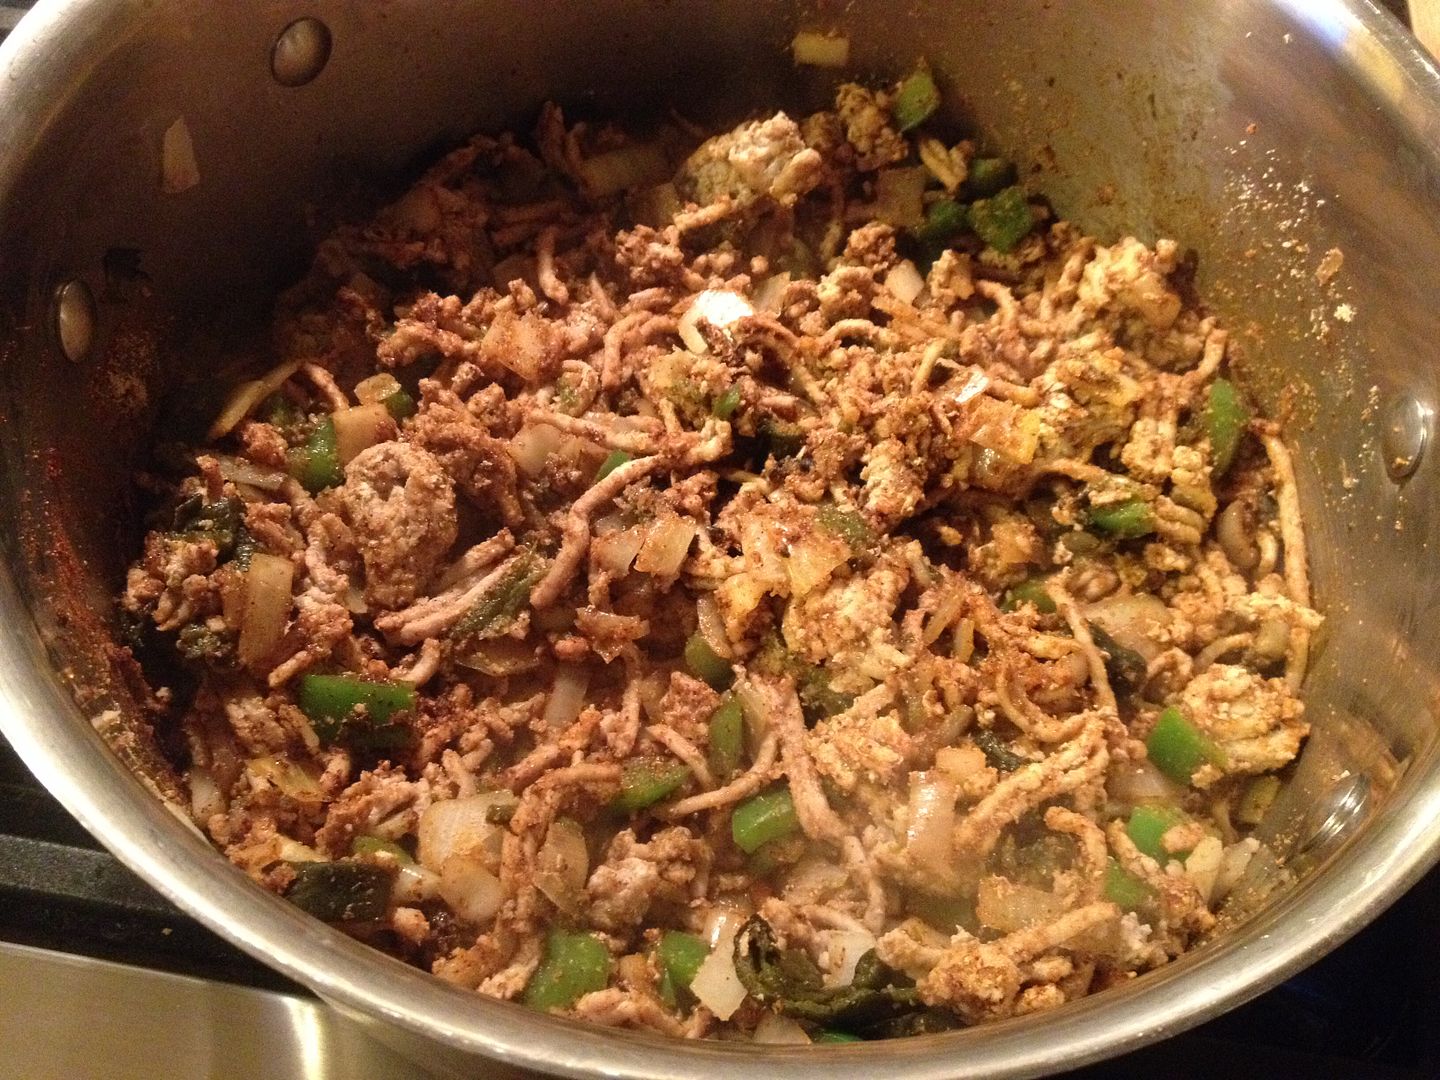
So, grab your dutch oven add your olive oil and heat to brown your ground meat.  If I use beef, I drain the fat  But, since this batch was made with turkey, draining was not needed.  While the turkey was browning, I prepared the rest of my ingredients.

First, I took my poblanos and removed the outer skin.  I used to go though the hassle of putting the hot peppers in paper bags to steam off the skin for removal.  Chilebrown over at Mad Meat Genius suggested that this was not needed.  Just freeze your roasted peppers whole and remove the skins after thawing.  Much easier he said.  Trust me.  Well, he was right.  Thanks for the tip Chilebrown.


I then diced my onion and pepper, not fine, but a nice rough chop to add some texture to the final product.  I also measured out my spices into a bowl.

Once the meat was about halfway through the browning process, I added my peppers, onion, and garlic and sautéed until translucent.  Then, I added my spices, poblanos and brown sugar and sautéed for about one more minute.


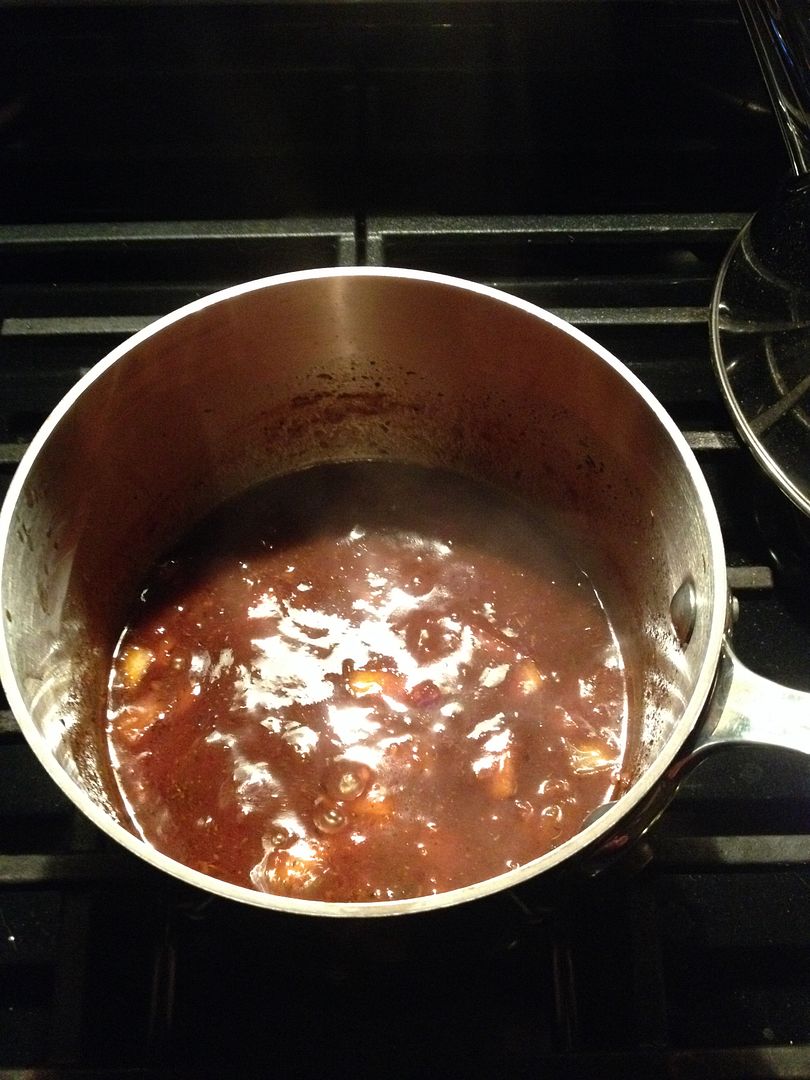
Next, all of the wet ingredients go into the pot along with the beer and the water.  I used Penn Brewery Oktoberfest for this pot of chili as it was the darkest beer in the house.  In my opinion, darker beer is better in chili.  Then, bring your pot to a boil and let simmer for at least two hours.  This particular batch simmered for about four hours.  Crack the lid on the pot so that you can reduce the volume a bit, concentrating the flavors.  Stir your pot occasionally as well.

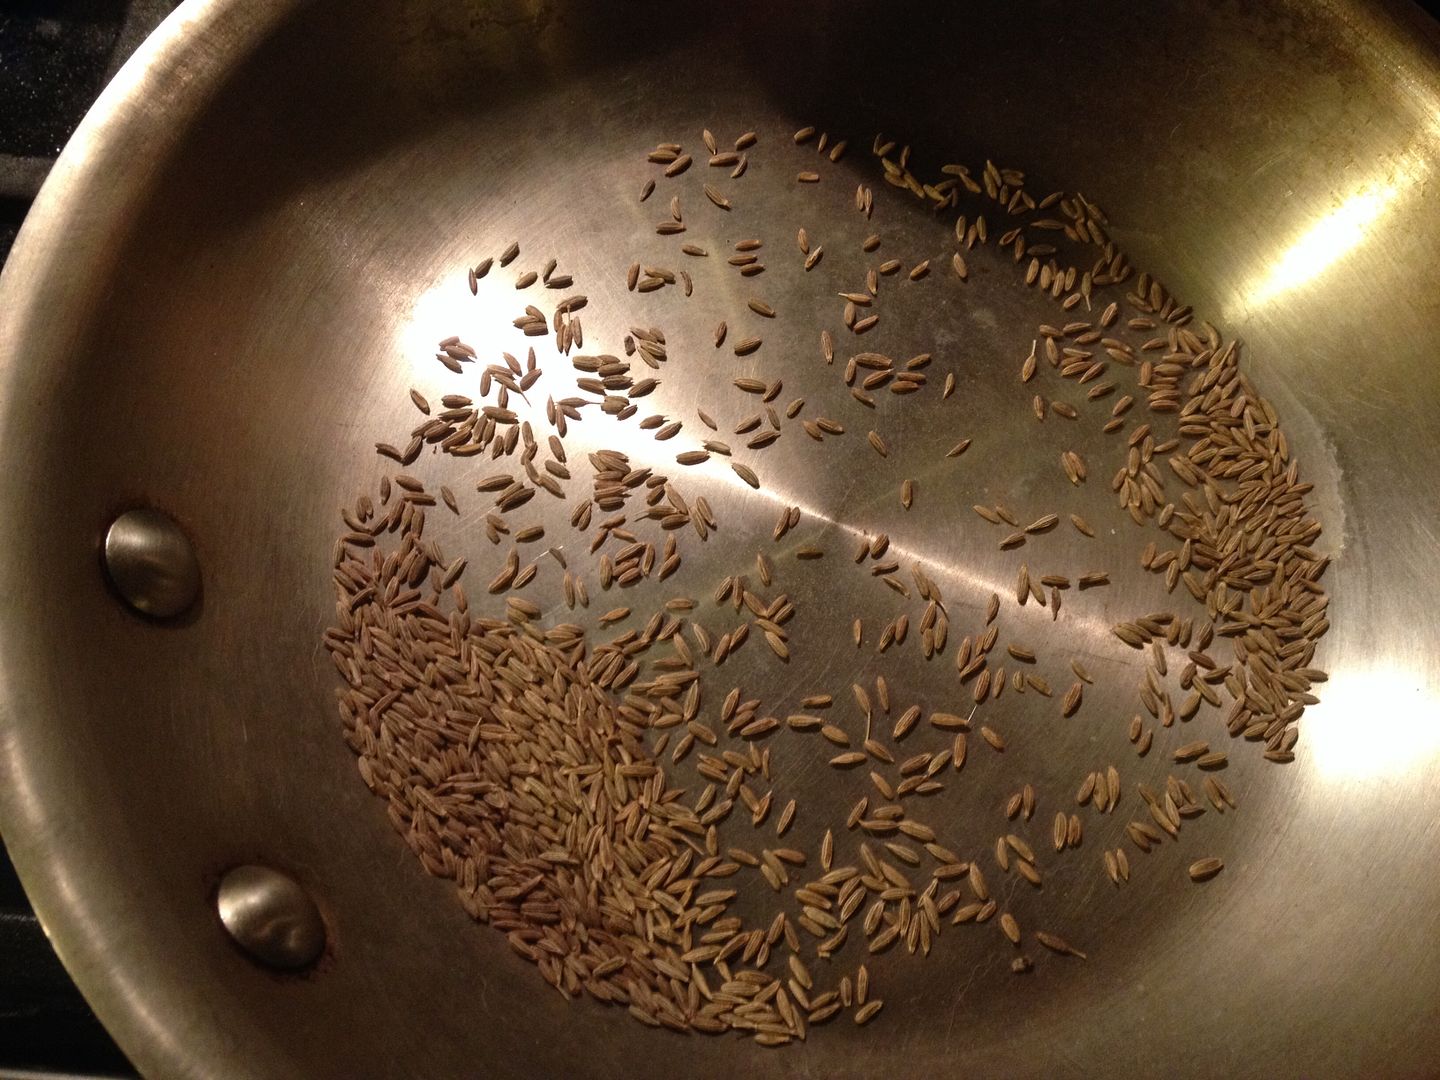
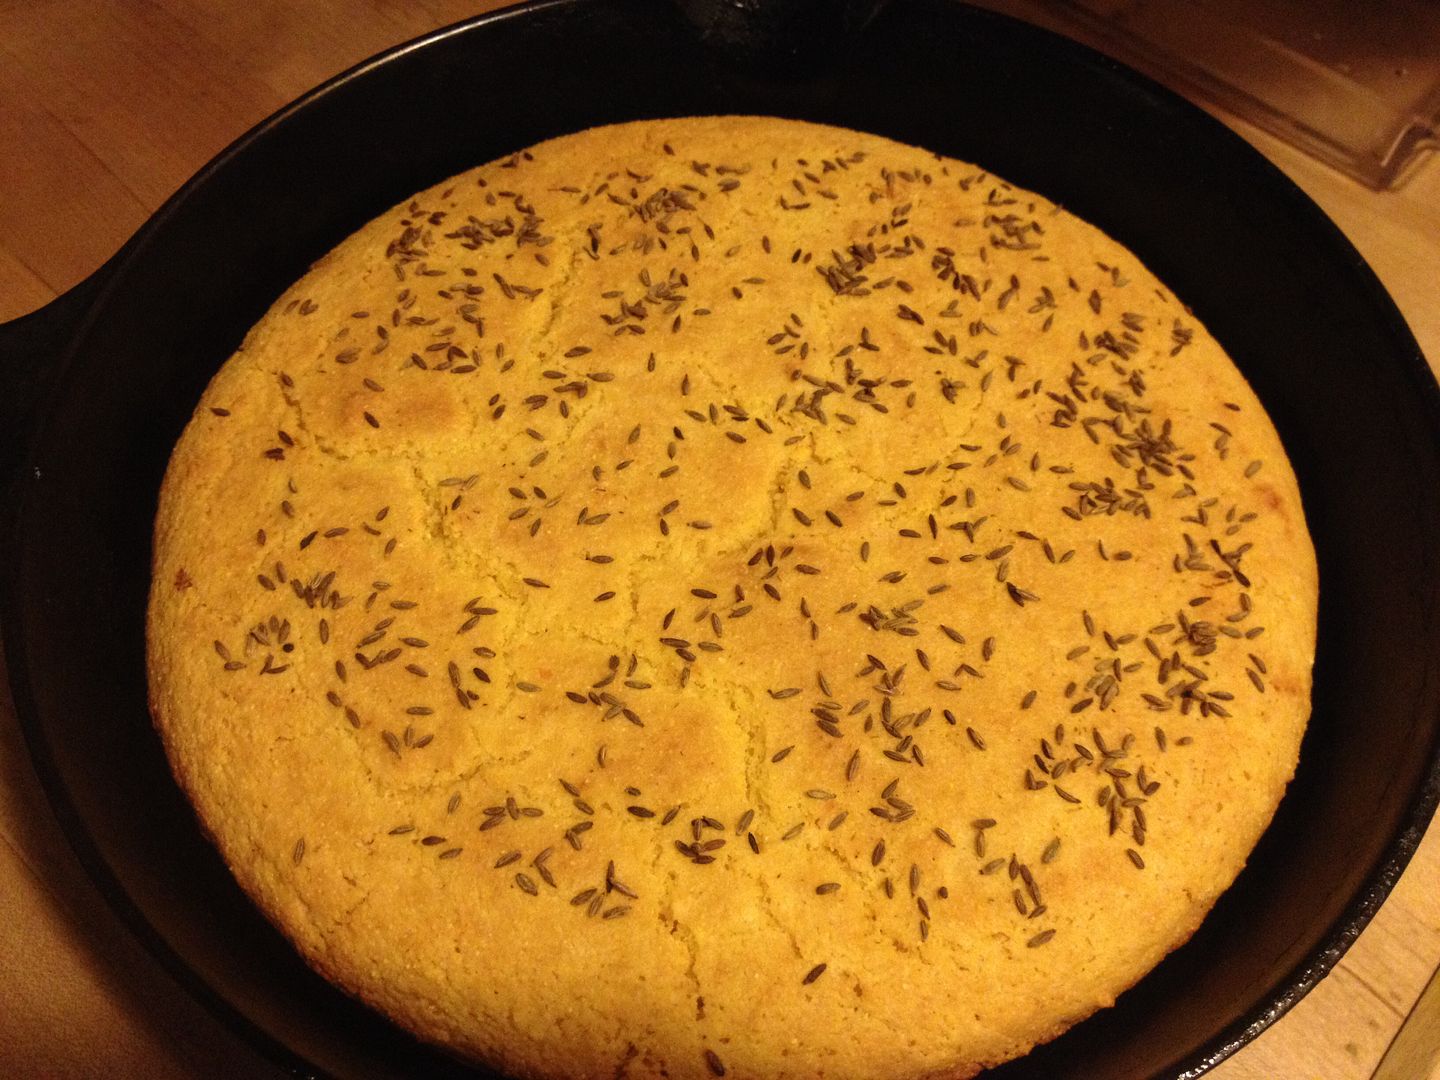
I usually serve my chili with diced sweet onion, four cheese Mexican blend, and a dollop of sour cream on top.  I also paired this dinner with a pan of Toasted Cumin Buttermilk Cornbread.


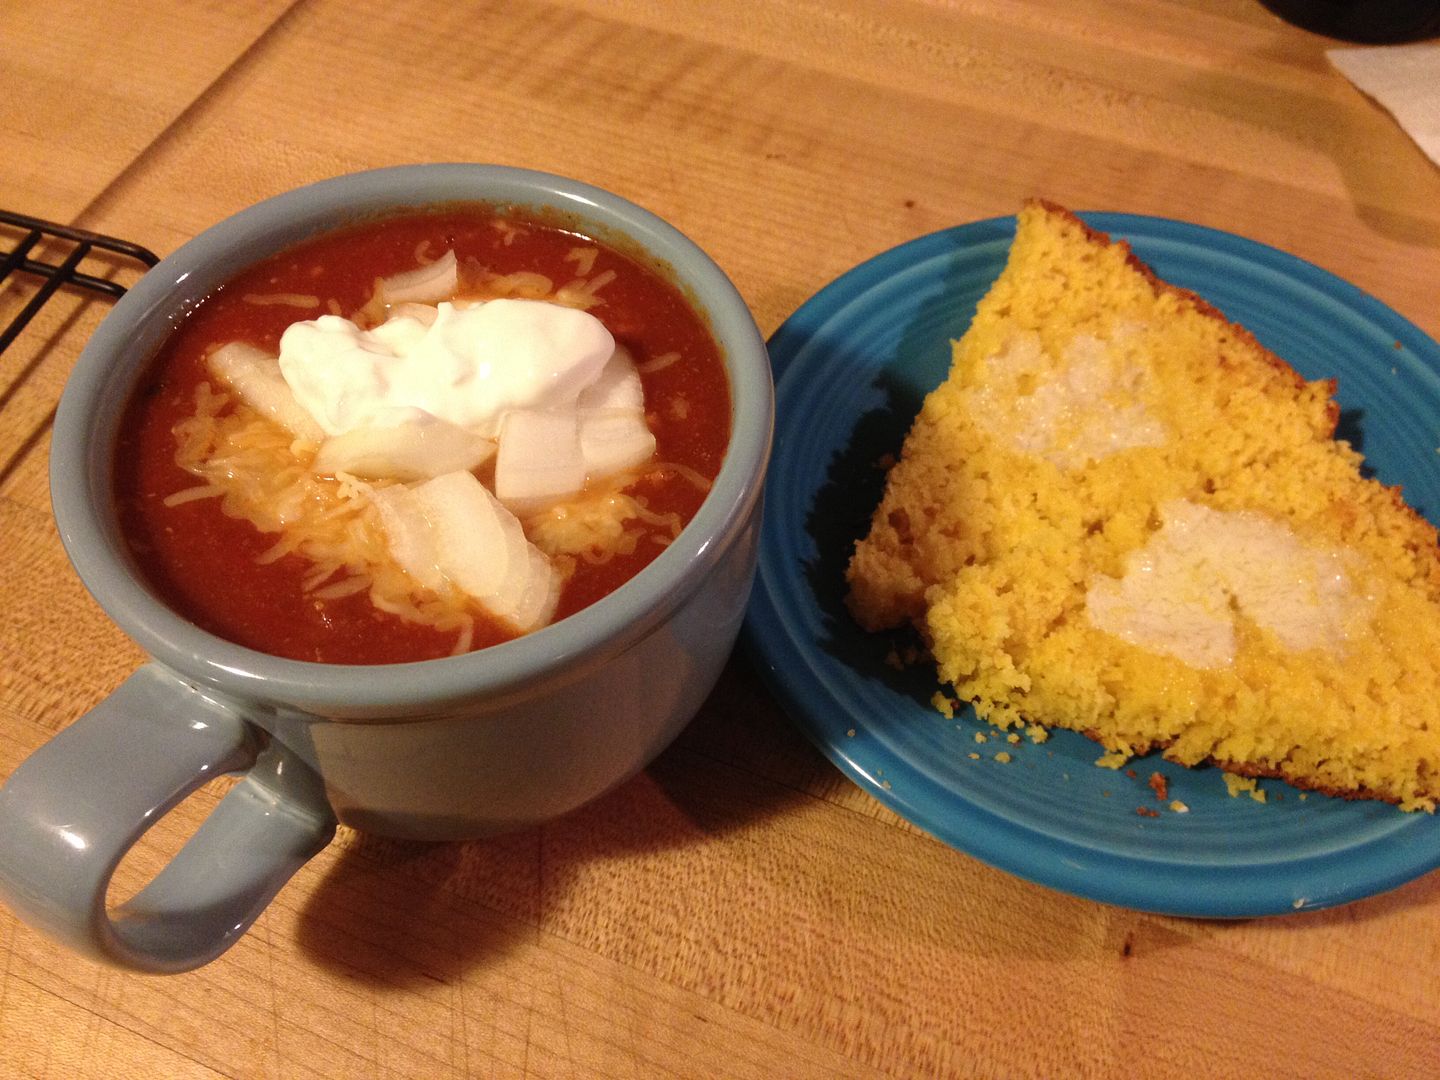
Simple and easy, this is a meal that is perfect for a cold winter night.

Thanks for stopping by,

Bill

Thursday, January 22, 2015

Cooking your Goose, Part Four: Goose Pastrami

For our final experimentation with this seasons goose, lets take a gander at a great recipe for pastrami that I found at Hunter Angler Gardner Cook.  

Here is the link to the recipe: Goose Pastrami

I followed the directions exactly for the cure.  It was easy to make.  Just make sure you have some curing salt on hand.  

Breasts after one day in the cure.


After the full 36 hours in the cure.


I rinsed the meat well, then prepared my pastrami rub.  Here is where I deviated.  I used the Close to Katz pastrami rub recipe from Amazing Ribs.  You can find the recipe here.  Just a quick note.  If you are going to make your own pastrami, regardless of whether your meat quacks, honks, moos, or oinks, you can't beat this rub recipe.  I have tested on real breathing people from the Bronx and they loved the beef pastrami that I smoked using this rub.  Give it a try.  Lets move one.  

After preparing the rub, I dipped the goose breasts in water so that the rub would stick to the meat, applied the rub liberally, then wrapped them in foil and placed them in the refrigerator for a three day rest.  


Here are the breasts after three days in the refrigerator and before smoking.


I smoked the breasts at 180 F with pecan wood in the ash pan until they reached 145 F internal temperature, about three hours.  Here is the final product.


Now, I would never suggest that pastrami made from goose breast is better than pastrami from real beef brisket.  But, the goose version is pretty good in its own way.  Obviously, the meat is not as fatty.  But, the taste was there.  After a sandwich on crusty rye with spicy mustard, I was happy with how this turned out.  

So, lucky enough to have some fresh goose?  Consider giving this or one of the other goose recipes that I have tried on the blog a try.  You won't be disappointed.  

Thanks for stopping by,

Bill

Sunday, January 18, 2015

Something Simple: Toasted Cumin Cornbread

Sometimes in your travels you come along culinary hacks that are so simple, yet add so much to the final product.  This was the case this past year while traveling in India for business.  When you visit customers in India, it is customary to sit down, have some refreshment and talk about the weather (yes, it is very hot and dusty here.  Have you ever seen snow?), family (yes, a wife, two stepchildren, and three dogs), and politics when they find out you are from the United States (yes, our federal government does act like petulant children and I am 110% sure I would be fired if I acted like that in the workplace).  Anyway, because India was once colonized by England, there is a large English influence in some aspects of life.  One of those influences comes in the Indian choice of snacks.  Snacks generally consist of a tin containing assorted butter cookies, potato chips, crackers, and tea.  During this one visit, a place of crackers that looked like Ritz crackers appeared.  Upon closer inspection, I saw some seeds baked into the cracker.  I was intrigued, so I grabbed one and nibbled.  My American geared brain was thinking caraway.  I was so wrong.

My Chinese colleague tried one of these crackers at about the same time.  We both looked at each other and said "cumin?" at the same time.  Cumin is prevalent in Indian cuisine.  I should not have been surprised.  But, this simple ingredient took a run of the mill cracker and turned it into something that I had to battle my colleague for the rest of the plate.  Is there a big box grocery store in Chandigarh on the way to the airport that I can stop and get a box?

Since this visit was around day three or four in India, I was in full Food Fantasy mode, centering mostly around BBQ and pizza.  Getting around India is truly Planes, Trains, and Automobiles.  You fly to a general area and drive no less than two hours to your destination.  So, on the three hour drive back to the airport, I was thinking of ways to introduce toasted cumin into something crispy and savory.  Cornbread came to mind and just last weekend I put my idea to the test.

I kept this dish simple. Simple can be better sometimes.  I thought about introducing caramelized onions and jalapeño peppers.  But, I decided against this and went with my standard cornbread recipe, toasted cumin included.

My recipe is my mothers recipe with some minor tweaks.  It is a standard Southern buttermilk cornbread that is savory, not sweet.  There is more cornmeal than flour.  Recipes that have equal or more flour than cornmeal in the recipe just turn into corn cake in my opinion.  One final note, fresh buttermilk gives you a fluffier final product.  Using old buttermilk produces a denser, flatter final product.

Homemade Toasted Cumin Buttermilk Cornbread

1.5 cups Cornmeal (I use Quaker yellow)
1/2 cup Self Rising Flour
1 tsp Baking Soda
1 Egg, beaten
1.25 cups Buttermilk
4 Tbsp Vegetable Oil (I tried cutting this in half.  It works, but is a bit dry.  Go with 4 Tbsp)
1/2 tsp toasted cumin seed

Preheat your oven to 400 F.  While you are waiting on your oven, mix together your dry ingredients in a mixing bowl. Beat your egg in a separate bowl, then add to your dry ingredients with the buttermilk stirring until all the dry ingredients are wet.  Do not over mix your batter.  Then, I took my cumin seed and lightly toasted them in a sauté pan on low heat until fragrant and browned.  This takes about five minutes depending upon how low your low is on your stove top burners.  Very intoxicating if you like cumin like I do.

Before toasting.


After toasting.


Next, add the vegetable oil to the cast iron skillet and place in your hot oven for 3 to 4 minutes. You want your skillet to get hot, but you don’t want the oil to start smoking.  I usually let it sit in the oven for two minutes.  Remove your skillet from the oven (remember, hot cast iron looks like cold cast iron, wear an oven mitt) and move your skillet around to make sure all surfaces of the skillet are thoroughly coated with the oil, including the sides.  Next, pour the excess oil into the batter and stir, then pour your batter into the hot cast iron.  Next, I evenly topped the batter with my toasted cumin and placed the pan in the oven.  Bake for 25 minutes or until lightly browned.  A toothpick inserted into the cornbread will come out clean when done.

The final product.


I served with lots of butter and some chili (more on that later) on the side.


Yep, it was everything that I expected.  So simple, yet it adds a nice subtle flavor to the cornbread.  The Youngest scarfed half of the pan himself.  Next time, I am going to incorporate the toasted cumin into the batter before pouring into the skillet.  I may even add some jalapeño and caramelized onion as well.

Thanks for stopping by,

Bill

Wednesday, January 14, 2015

More Adventures with Goose, Part Three: German Smoked Goose Breast

During my fun in the kitchen with the goose The Oldest shot during hunting season, I wanted to do a few things a bit outside the box.  Perhaps something cured and smoked.  So, after some searching, I found a recipe for German Smoked Goose on my new favorite cooking website, Hunter Angler Gardner Cook.  The recipe calls for goose breasts with the skin and fat still on the butchered breasts.  Unfortunately, the breasts I received were skinless and free of fat.  But, the recipe looked good and while the taste might not be the same, I figured it would be close.  So, on to the kitchen.

This recipe calls for juniper, pepper, salt (both regular and curing), and optional scotch.  I followed the recipe exactly except for the use of scotch.  I just do not keep scotch around the house.  Maybe I need to rethink that strategy.  Anyway, I digress.

The process calls for a three to four day cure (I cured for four days), followed by one night in the refrigerator to dry, then seven hours of smoking.  Recommended woods for smoking were beech, alder, or cherry.  Since I have a supply of alder, that is the wood I used.  Here is a photo journey of the process.

The breasts, cleaned, trimmed and ready to go.


The cure, all ready for application.


Cure applied and ready for the four day cure.


After the day one flip.


After the four days of cure.  Notice how all of the sugar and salt have dissolved and the liquid has been pulled out of the breast during the cure process.


After an overnight in the refrigerator and after trussing.  No comments on the trussing.  This is the first time have have tied up any piece of meat.  Ever!


After the seven hours of smoking.


Then, the final product after two days in the refrigerator to let the smoke flavors age and mellow.


Not too bad if I say so myself.  This recipe is pretty good.  The texture reminded me a little bit like South African biltong.  The juniper was present, but not overpowering.  The breast were a bit salty for my taste, but a more thorough rinse after the cure will take care of that issue.  Maybe even soaking the cured breasts for an hour or so will cut the saltiness further.  As for the scotch, I will try that step in the future as well.

I have put in a request for some goose breast in the future with the skin and fat attached.  I think that preparing the recipe as intended will add a whole new layer of flavors to something that was good to start.

Thanks for stopping by,

Bill

Thursday, January 8, 2015

Bock BBQ Sauce with Pulled Beef and Broccoli Slaw

Around here, during the holidays, the Penn Brewery releases one of my favorite seasonal beers: St. Nikolaus Bock.


Slightly sweet, full bodied, yet smooth.  A nice holiday session beer.  One day over the holidays, I was yearning for something other than heavy holiday meals.  A taste of summer perhaps.  So, I decided to work a St. Nikolaus Bock into a BBQ sauce and used pulled beef as my meat of choice.

First, the day before, I put a quick over night pickle on a pint of broccoli slaw mix, 1/4 of a sweet onion, and two garlic cloves.


To make this sauce, I used an old recipe that I had and worked the beer into the ingredients.

St. Nikolaus Bock BBQ Sauce

3 Cloves Garlic, minced
1 Small Sweet Onion
1 Cup Ketchup
1 Cup Beer
1 Tbsp Cider Vinegar
2 Tbsp Worcestershire Sauce
1 Tbsp Dark Brown Sugar
1/2 tsp dried thyme
1/2 tsp dried mustard powder
1 tsp black pepper
1 tsp chili pepper
1/4 tsp cayenne pepper
Olive Oil for sautéing

I heated the olive oil and sauteed my garlic and onion in a small sauce pan on low heat until soft and translucent.  Then, I added the remaining ingredients into the saucepan and brought to a boil.  Then, I reduced the heat and simmered until I had reduced the sauce by 1/3 of the volume or until thick.  Then, I made the mixture smooth with my immersion blender.


That's it.  Quick and simple.  I suggest preparing the day before you plan to use so that the flavors have a chance to mingle and mellow.  It was even better the second day.

For the pulled beef, I took a two pound chuck roast, hit both sides with the tenderizer, then let it marinade in the rest of the beer overnight.


The next day I rubbed with some Oakridge Beef and Pork rub, then smoked with pecan wood at 250 F until the chuckie was at 195 F internal temperature.  I smoked the roast in the pan with the leftover beer marinade.  When the meat was done, I foiled the pan tightly then placed in my oven, turned off, to rest for one hour.  Then, Hope was nice enough to pull the beef apart and add the sauce.


Hope was also nice enough to make some crusty French loaves for this BBQ treat.


Before assembling the sandwich, I drained my pickled broccoli slaw and added one tablespoon of mayonnaise for some creaminess.


Tender BBQ pulled beef, BBQ sauce with a slight bock beer flavor, crunchy slaw, and crispy French bread.  A perfect meal to remind us of summer and to escape from the succession of holiday meals.

Thanks for stopping by,

Bill

Sunday, January 4, 2015

Your Goose is Cooked, Part Two: Brined and Roasted Two Ways

Back when The Oldest brought over his goose jerky to be smoked, he also dropped off the rest of his jerky trimmings for me to play with in the kitchen.  I decided that I would try and make them edible in a form as close as possible to the real meat without curing or turning into jerky.  To do that, I needed a way to get over the shoe leather qualities of the meat when cooked traditionally.  The solution to that was a brine.

One of the problems The Oldest was having with cooking his goose breast was the blood that the meat was retaining.  For example, after soaking the breasts in water overnight, we observed a lot of blood in the water the next morning.  There was even blood on the paper towels used to dry the breasts.  So, as an experiment, we placed the breasts back in the water and after about 30 minutes of soaking, blood could be observed diffusion into the water.  This is where the brining helps. Brining does two things to poultry.  One, it adds flavor to the meat.  Two, it removes any blood or funky fluids that you do not want in your meat.  Basically this is being done by diffusion.  The brine has a high salt concentration as well as a higher concentration of flavorings.   The salt and other flavorings migrate into the meat until an equilibrium is formed.  At the same time the brine removes the blood and other unwanted juices from the meat retaining the water, keeping your meat moist and flavorful during the cooking process.  Here is a picture of the goose trimmings after four hours in a brine, rinsed with clean water to remove the excess salt, then being dried on paper towel.  Notice the absence of blood.


For our brine, I used Oakridge Game Changer brine.  Instead of all water, I substituted half of the water for apple juice to add flavor.  The recommended brining time for poultry parts is two to four hours, so I opted for four hours of brining time knowing this would be one tough bird.  Once brined, rinsed and dried, I wrapped half of the goose tenders in bacon and left the other half unwrapped.  Next I applied rub.  Half of each type were rubbed with Oakridge Game Bird and Chicken rub, the other half were seasoned with Oakridge Habanero Death Dust.  I allowed the goose tenders to rest on the counter at room temperature while I brought my smoker to a temperature of 350 F.  When the smoker was ready, I added pecan to the ash pan for smoke flavor, then placed my racks of goose on the top rack of the smoker.


I was shooting for a temperature of 145 F.  So, due to the thin cut on these tenders, I started checking for temperature after 20 minutes.  The unwrapped tenders were done at exactly 20 minutes.  The bacon wrapped tenders were done after about 45 minutes as they were the thicker tenders and were wrapped with an outer layer of bacon.  Here is the final product.


No shoe leather here.  The tenders were tender and juicy.  No knife needed here.  The game bird rub from Oakridge is one my favorite non competition rubs and did not disappoint.  It was a nice balance of flavor with the richness of the goose.  The Habanero Death Dust was a pleasant surprise, a nice balance of flavors and sweet with heat at the end of your bite.  I will have to start using this rub more in my cooking.  Very good.

So, there you have it, a way to cook your goose with out eating shoe leather as your final product.  I can't wait for the oldest to bring more goose over for experimentation.

Thanks for stopping by,

Bill