Search This Blog

Showing posts with label Oakridge Black Ops Brisket Rub. Show all posts

Wednesday, February 25, 2015

Brisket Barley Soup. Or, Keeping Warm in this Never-ending Winter

So much for a milder winter to make up for last years deep freeze.  True, it is not as bad as last year.  We have been able to practice a few times for the upcoming season, but the last few weeks have made up for the slow start to winter with temperatures as low as -20 F in the morning.  Sure, we do not have it as bad as my Canadian friends or those from Minnesota.  But, I have had it.  See what I mean?


I am thinking of moving to the Carolinas.  Or, maybe we will win the Powerball and buy a small Caribbean island?  Well, neither of those options are going to happen any time soon.  So, in order to cope, it was time to come with with some meals to warm you up.

A friend of ours from the BBQ circuit, John from Eatapedia, posted a nice recipe making beef stew from leftover brisket.  Then, a colleague from work took a brisket I smoked for him and turned it into a tomato based brisket barley chili.  I just happened to have some leftover brisket from a recent practice.
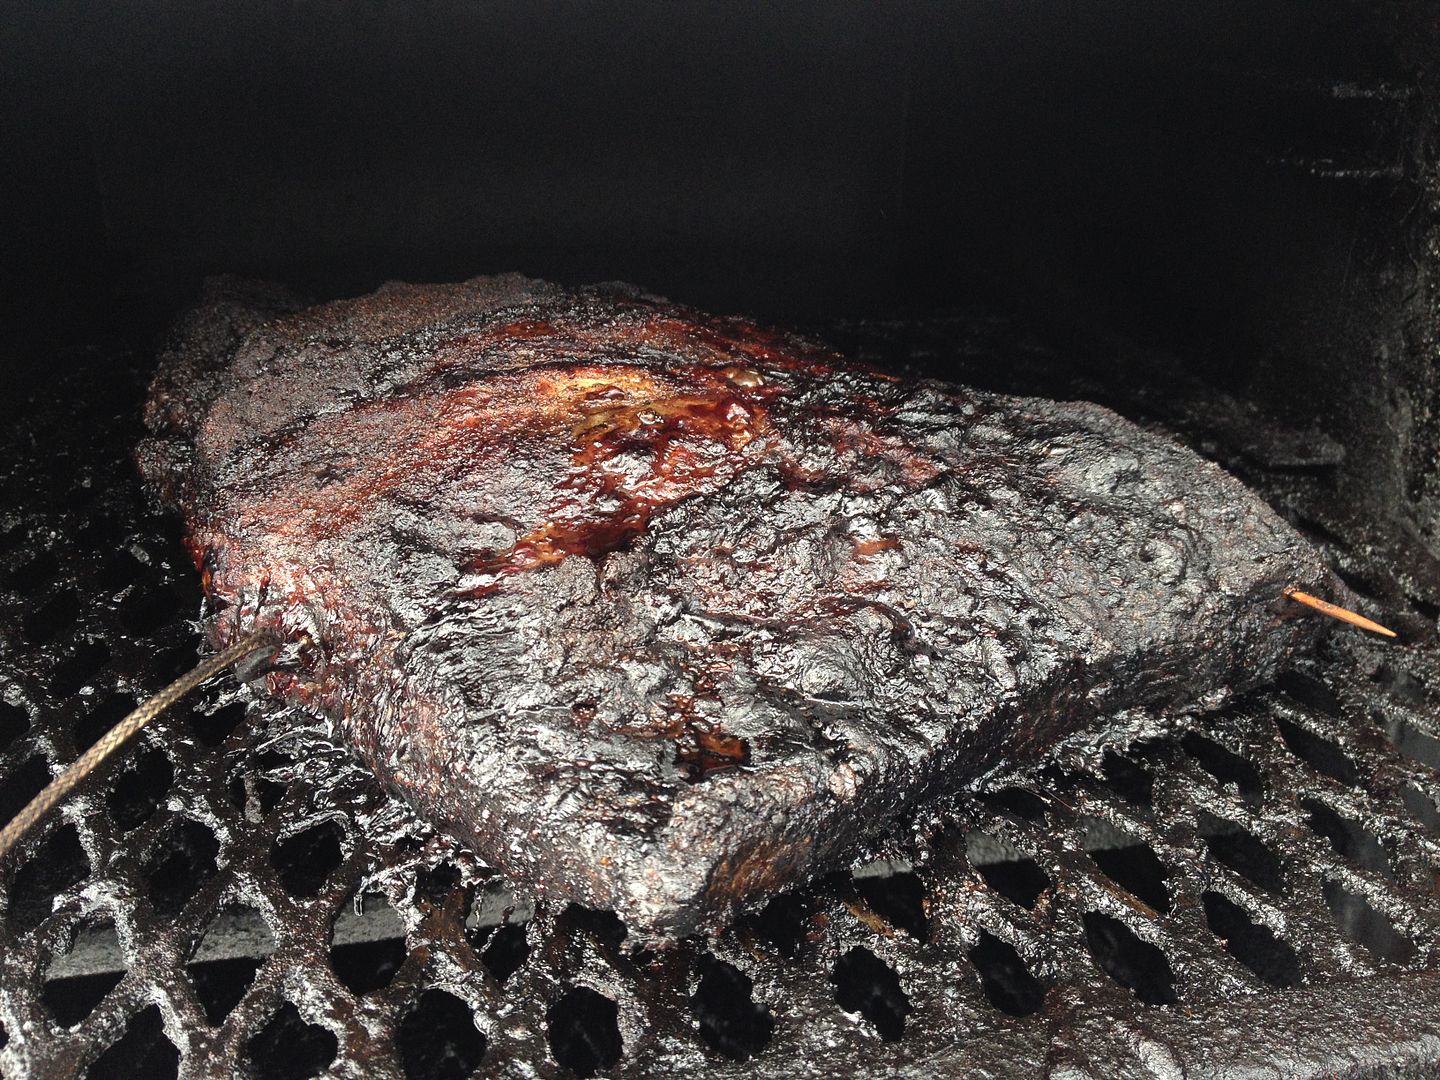

I had some leftover point (the fatty juicy end) and some leftover flat (the lean end that some of you may equate with pastrami or smoked brisket slices).  So, with my leftovers, I took my two inspirations and combined them into one.  I give you Brisket Barley Soup with Wild Rice and Roasted Veggies.

First, the ingredients.

Brisket Barley Soup

1 lb of smoked brisket, chunked.  I used a mix of point and flat.  Either will work fine.  Don't have any smoked brisket?  Stew meat will work.  Just cube to the size you want and cook while simmering for at least 12 minutes.  Longer if you want your beef more tender.
2, 48 oz cans of low fat beef broth (12 cups).  You can make your own as well
3 large carrots, peeled and chunked
3 ribs of celery, cut into 1/2" pieces
1, 8 oz package of button mushrooms, cleaned and quartered
1, small sweet onion, quartered
2 cups of cooked barley
1, 5 oz package of long grain wild rice, cooked
Olive oil for roasting the veggies
Salt and pepper for roasting the veggies

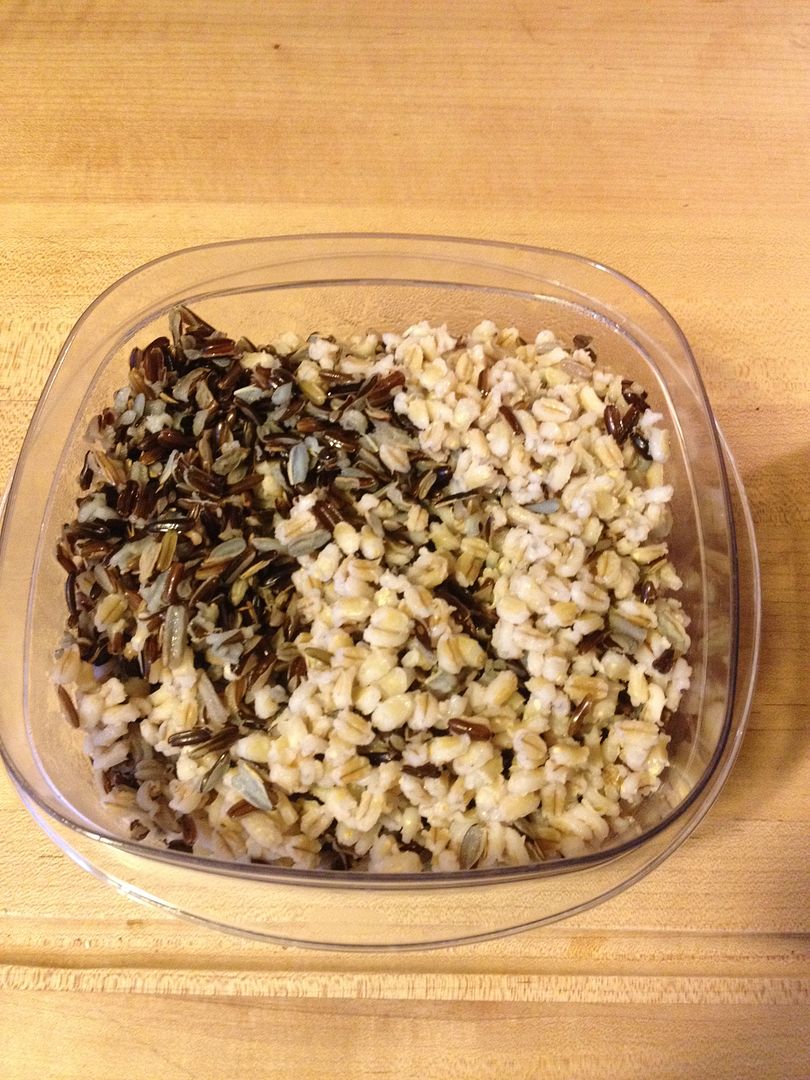
I bought the uncooked, whole grain barley.  Why?  Of all things the store was out of that day.  Everyone must have had vegetable soup on their mind that weekend with the impending winter storm.  There was a run on milk, bread, toilet paper, and quick barley.  You can never have enough of either during a winter emergency.  Right.  Anyway, I rinsed 1/2 cup of the barley and cooked according to the package instructions.  Barley expands four times during the cooking process, so I ended up with two cups.  Next, I cooked the wild rice, a last second addition to this recipe.  Why?  Because it was next to the empty row of quick barley.  After cooking, I cooled and placed in the refrigerator for use the next day.

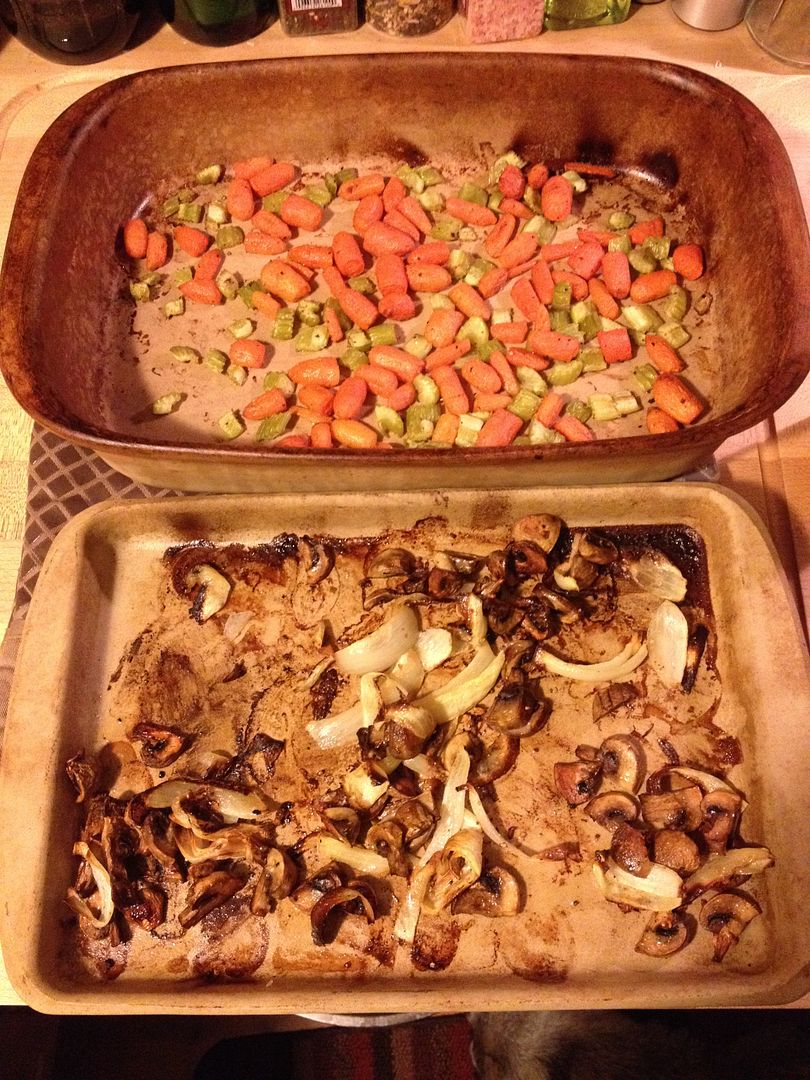
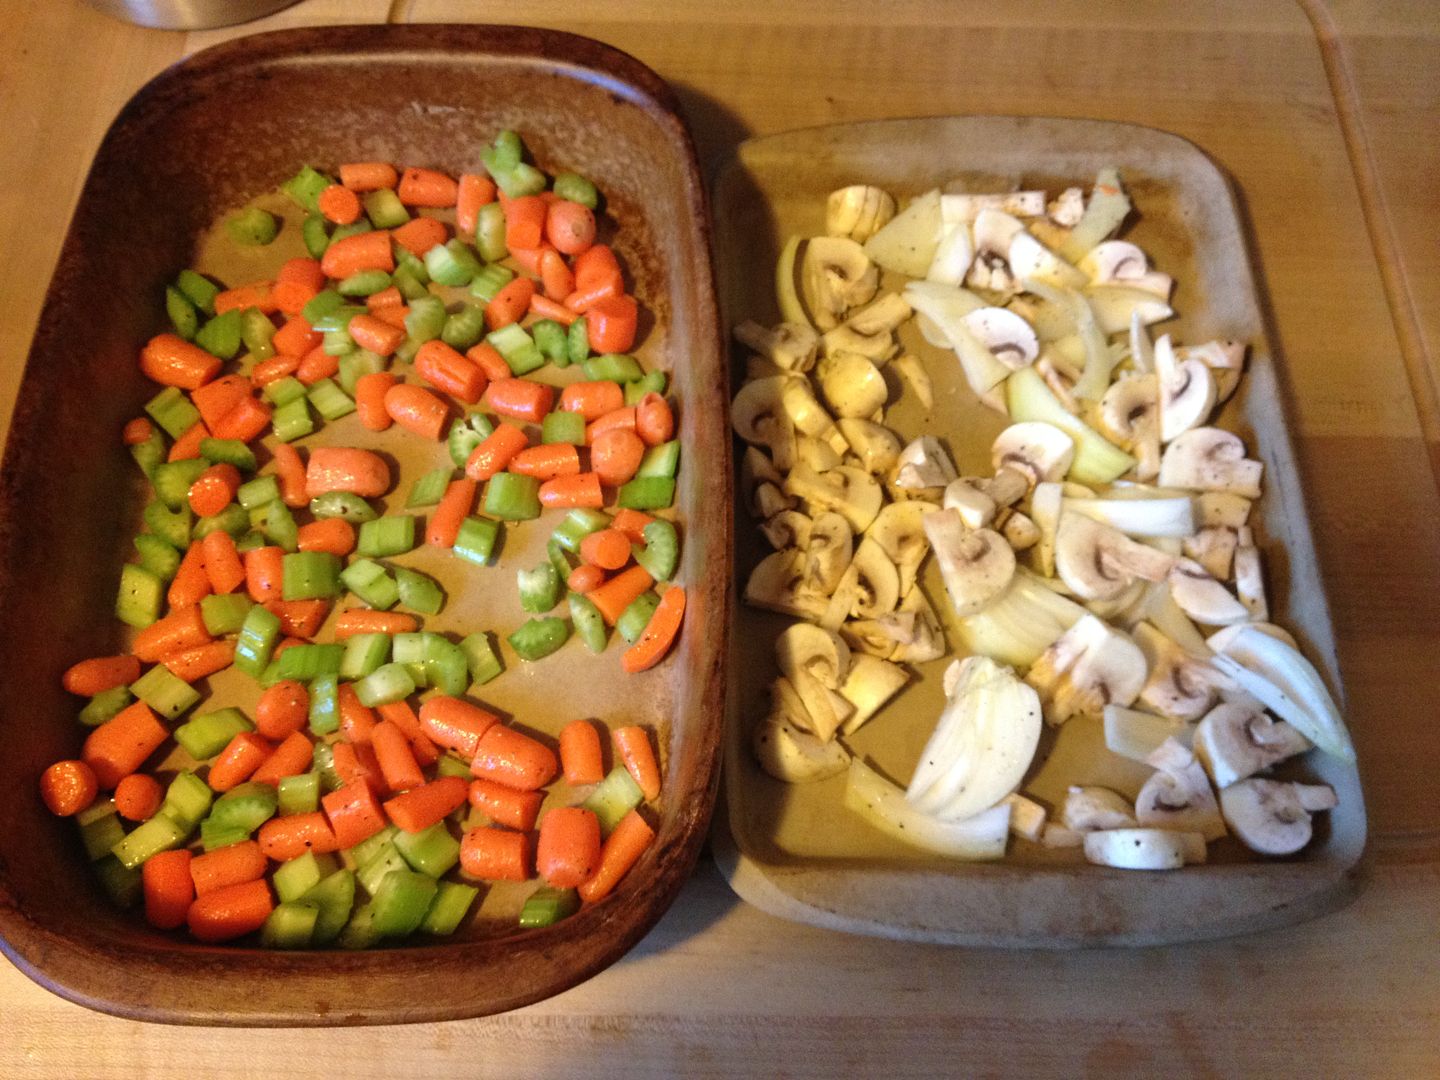
The next day, I roasted my carrots and celery in one pan and my mushrooms and onions in another.  I used about 2 tsp olive oil to coat each and added salt and pepper to taste.  The carrot/celery mixture was roasted in the oven at 400 F for one hour and the mushroom/onion mixture was roasted at 350 F for one hour.  Here is the before and after.


While the veggies and fungi were roasting, I placed my beef broth in dutch oven and brought to a boil, added my chunked brisket, and lowered the heat to a simmer.  Here is the chucked brisket for an idea on size.


I went with the larger sized chunks knowing that during the simmer time with the broth, the chunks would break down into medium sized pieces of brisket.  I didn't want strained baby food consistency.

So, when the veggies were done and after about 30 minutes of the simmering beef and broth, I added my veggies, fungi, and barley/rice mixture.  I brought the mixture back to a simmer and let it cook for 30 more minutes.
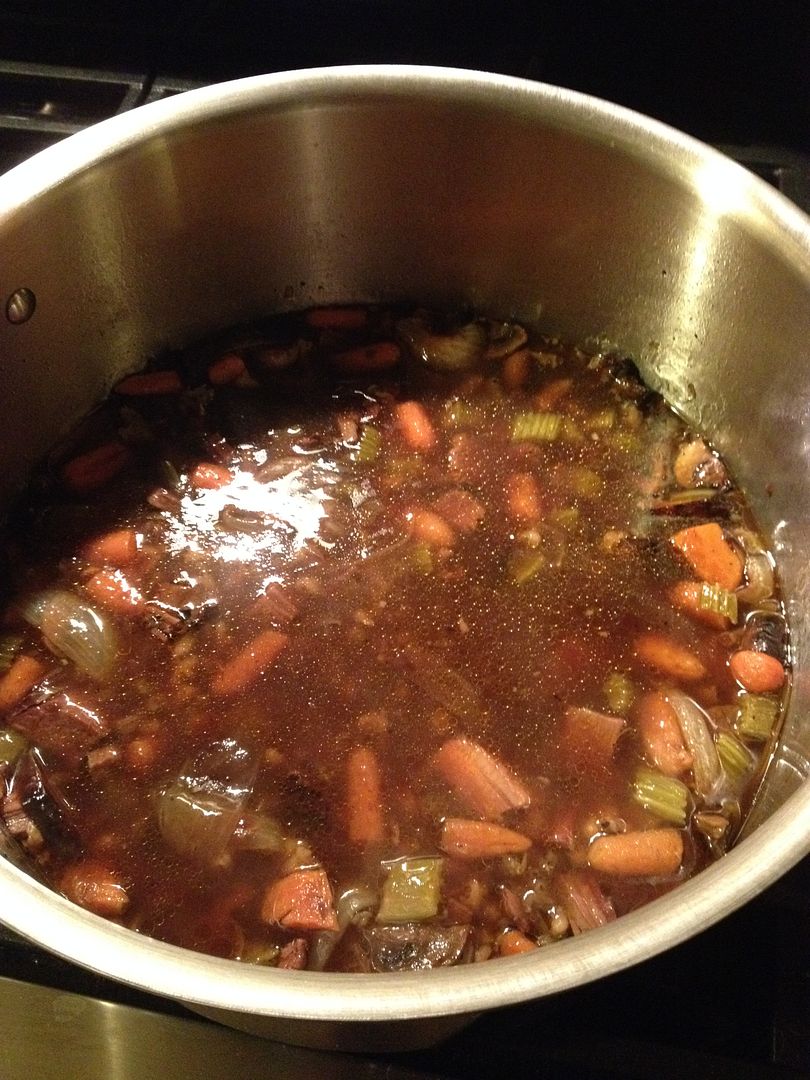

Not the best final picture I have taken, but you get the idea.  The veggies and mushrooms contributed a nice caramelized component to this soup.  The barley and rice added some texture.  As for the brisket, the bark from the Oakridge Black Ops brisket rub flavored the broth perfectly.  There was even that slight smokey taste that comes with a smoked brisket.  A perfect hearty soup for a cold winter day.

Thanks for stopping by,

Bill

Saturday, December 20, 2014

Smoked Rib Steaks with a Jet Engine Sear

When it is time for a steak around here, we usually go for whatever cut is on sale at the butcher that day.  A few weeks ago, rib steaks were on sale, so I picked up a few and ran home to prepare them for our dinner that evening.  We like rib steaks around here because the fat to meat ratio is perfect and you have a bone to gnaw on at the end.  You get a bit of crispy fat, tender beef, then you can go all Fred Flintstone on the bone.  Perfect.

I happened to have the smoker rolling that day and thought about smoking these steaks.  While I like the taste of smoked beef, I feel the perfect steak needs to have some char on the outside.  So, I struck a compromise.  I seasoned, then smoked the steaks over some pecan.  Then, I finished them up at the end using my new favorite grilling technique, the "Jet Engine" sear.

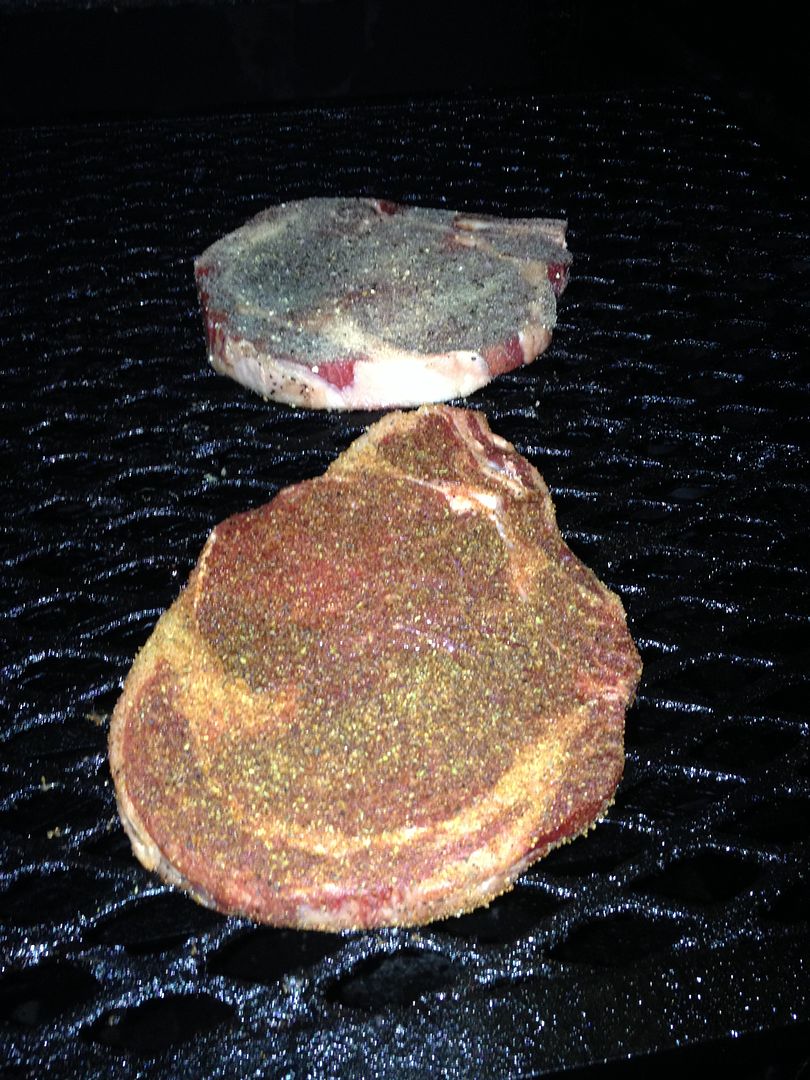
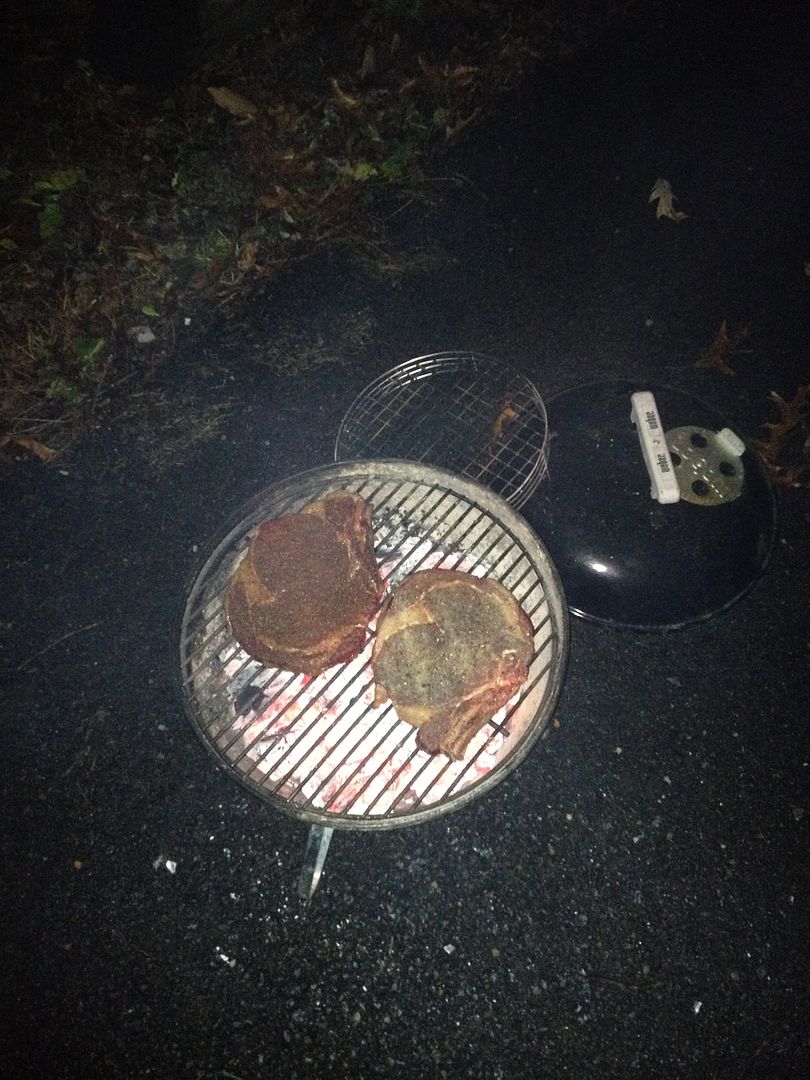
First, I seasoned our rib steaks.  The one on the top is with Oakridge BBQ Black Ops brisket rub for me.  The one on the bottom is standard salt, pepper, and granulated garlic for Hope.  I let them sit on the counter, while seasoned, for an hour to come up to room temperature.


Then, I tossed them on my smoker, set for 250 F with pecan in the ash pan, for about 20 minutes to infuse some smoke flavor.


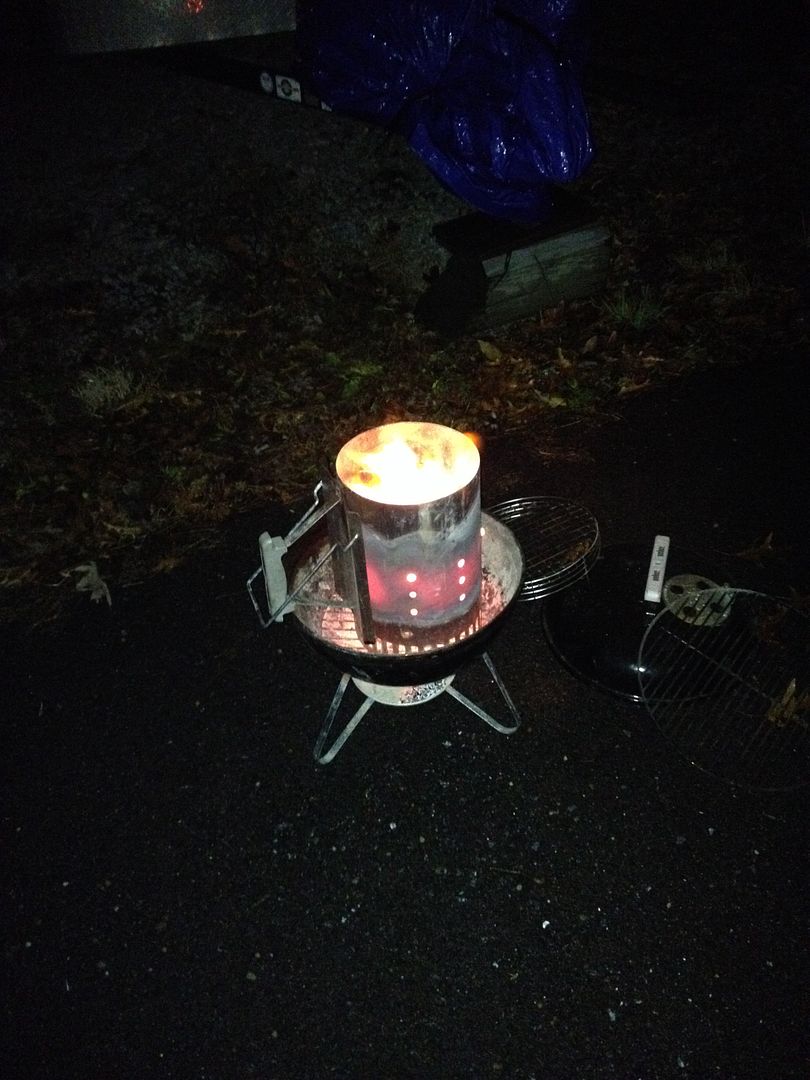
While the steaks were sitting in their smoky sauna, I fired up the "Jet Engine".  Just to remind you, the Jet Engine method of grilling is to place a grill rack on top of a chimney full of lit charcoal.  Think screaming hot broil from the bottom and not the top.


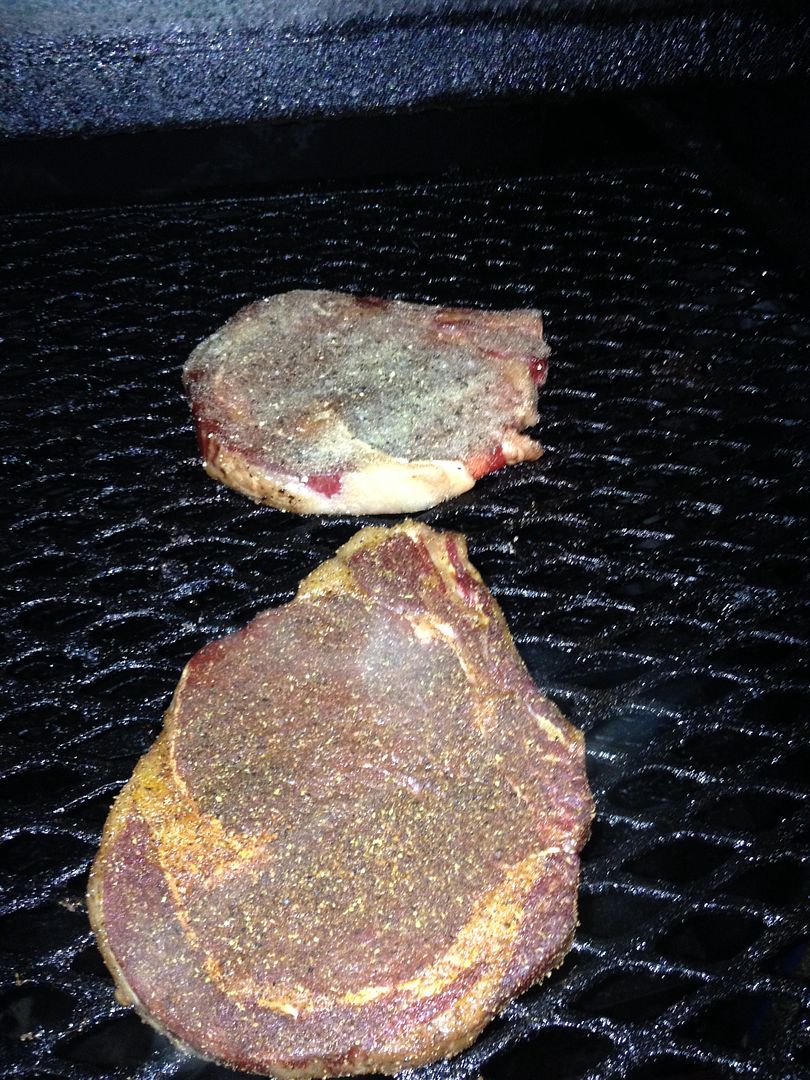
Once the fire was going, about 20 minutes later, it was time to pull the steaks off the smoker and get them seared.  See that nice dark red color on the steak?  I knew they had picked up some nice smoky flavor just by seeing that.


Then, onto the Jet Engine for some crispiness.


After the flip.


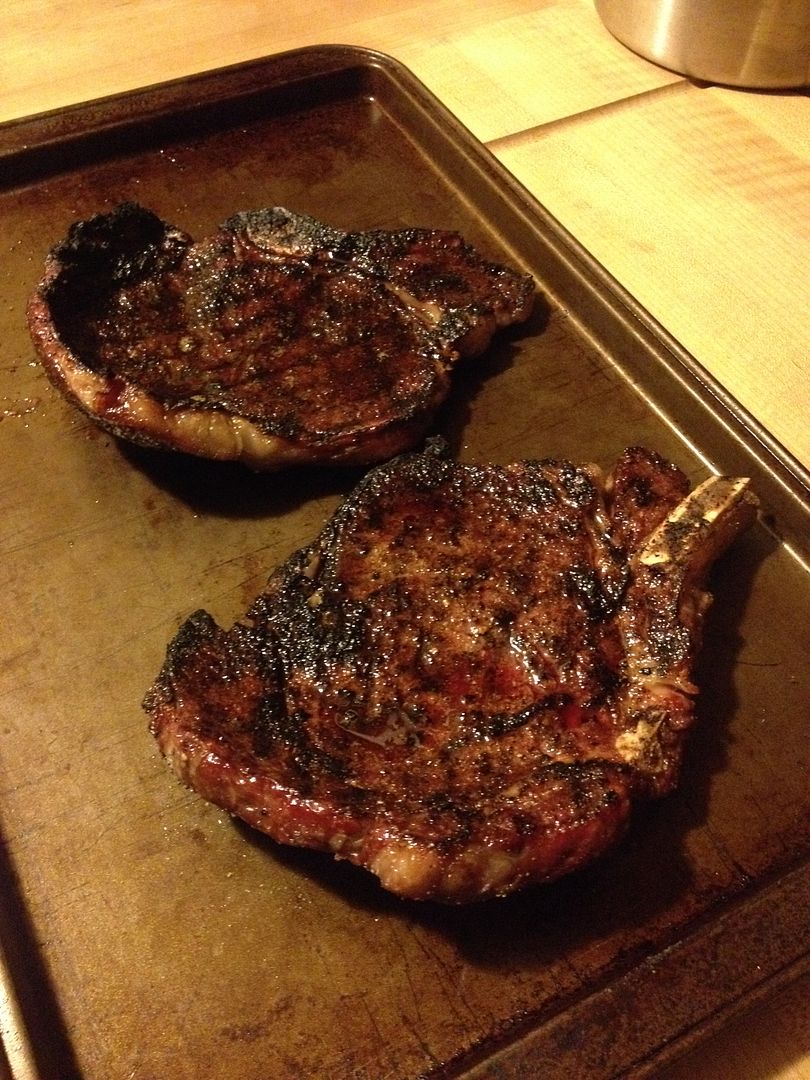
Final product, resting nicely.


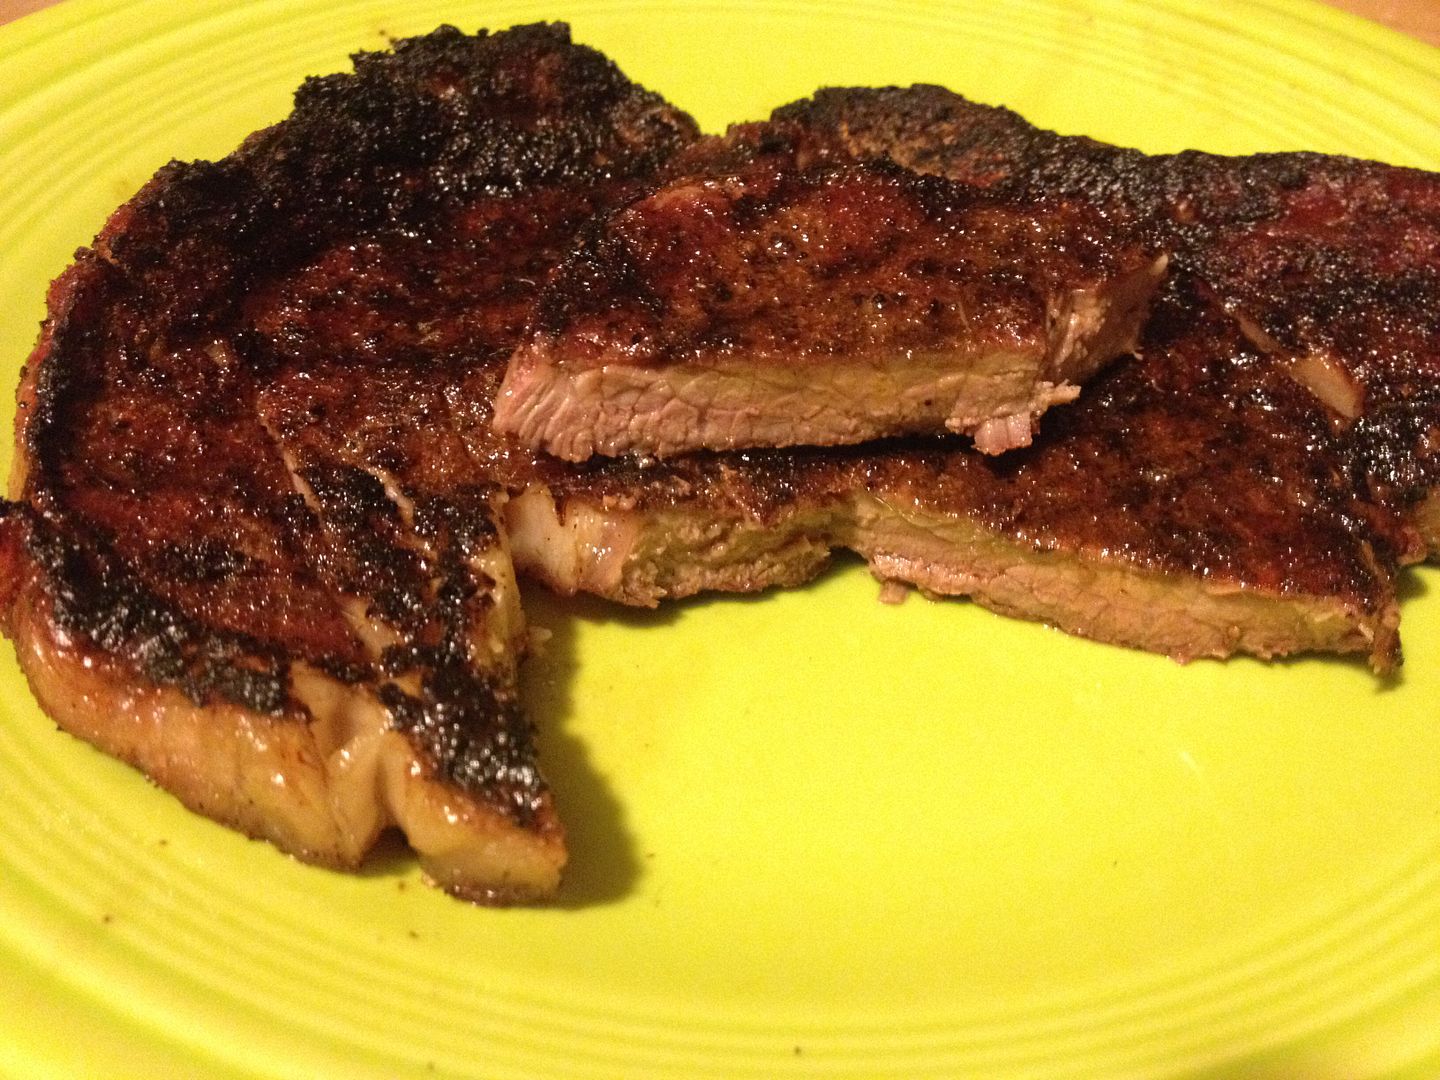
Now, yes, they are a little overdone.  These rib steaks would fall into the medium well category.  There is just a very thin vein of pink left.  But, they were still tender and juicy with a perfect amount of char on the outside and smoke flavor on the inside.

This was the first time I have tried a reverse sear on our steaks.  I let them sit on the Jet Engine for about one and a half minutes a side.  A bit too long as you can see.  So, next time, I am going to cut that sear time back to 45 seconds a side and see how that works.

Overall, this method works well.  You get that smoky goodness that everyone loves with some steakhouse char.  Also, if you haven't tried your brisket rub on a steak, you should give it a try.  Very good.  We will be doing this again in the future for sure.

Thanks for stopping by,

Bill

Tuesday, September 30, 2014

Boneless Beef Short Ribs the Old Fashioned Way

As luck would have it, I was shopping for a few things at Costco the other day.  As is the usual MO at Costco, I was drawn in by the meat case.  What's this?  Do I spy a package of beautiful looking beef short ribs winking at me?  Why, yes I do.  The sirens song made me pick up the package and deposit it in my cart.  Damn you Costco!  So, as I wondered through the store, picking up what I needed and a few more impulse buys, I kept intact my streak of not getting out of that terrible place for less than $100 and drove home.  During the drive home I mulled over how to cook those beautiful ribs.  I settled on a blast from the past, grilling.

Growing up, as a young, budding grill master, I had no idea when smoking meat low and slow was.  Ribs, both beef and pork, plus chicken, were par boiled (gasp!) by my mother.  Then, I took the plate of cooked meat and finished it up on the grill with a little sauce.  Oh my, how I have come a long way.  Occasionally though, I love the taste that a grill imparts to smoked meat.  So, with a few changes, off to the grill I went.


What you see above are two whole boneless beef ribs, cut in two.  Diet you know.  The marbling was beautiful.  I was going to go simple here.  Two of them I sprinkled with Oakridge Black Ops Brisket rub and the other two I seasoned the way I would a steak: sea salt, fresh ground pepper, and granulated garlic.


As I waited for the meat to come to room temperature, I fired up the grill, taking care to keep the coals off to one side.  When the coals were ready, I threw a chunk of pecan wood on top.  Once the pecan was burning nicely, I brought my ribs out and started cooking.


I placed them on indirect heat and closed the lid.  The temperature was about 350-400 F inside.  At this point, I walked away and came back after 30 minutes.  A quick check with the thermometer showed that these ribs were ready for step two: a hot sear.


When cooking beef ribs, there are two trains of thought.  Pull at 165 F, rest, then eat.  Or, push through to 195 F.  At the lower temperature, you get a chewier product.  At the higher temperature, you end up with something a little more tender.  Don't get to far past 195 F, or you will end up with pulled beef.  I like them either way, but I was in the mood for tender tonight.

At this point, I lightly sauced the BBQ rubbed ribs with Blues Hog Tennessee Red.  The steak seasoned ribs left naked.  I then moved the ribs to direct heat for a quick sear.


The Devil Dog Ellie Mae was waiting on any grilling mishaps.


The ribs were seared about two and a half minutes a side.  Just long enough to caramelize the sauce and put a nice char on the steak seasoned ribs.


This dinner took me back a bit in time.  Moist, tender, and juicy.  I need to try this method with some pork ribs sometime soon.

Thanks for stopping by,

Bill

Saturday, April 26, 2014

Perfect Tri-Tip and Grilled Artichokes

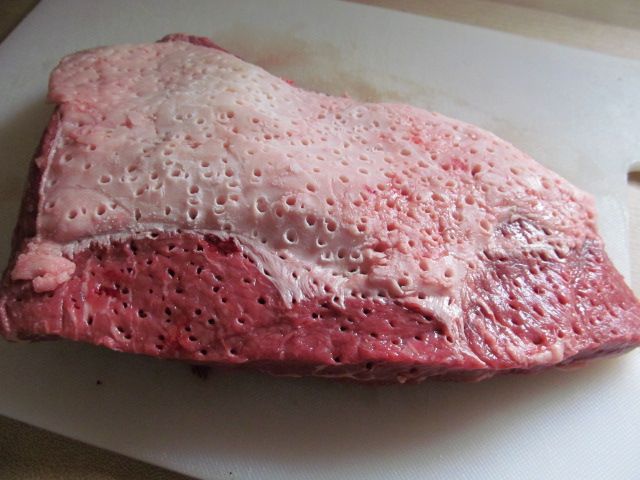
My butcher get in some of the best looking tri-tip roasts.  We have also done well in any grilled beef competition serving our grilled tri-tip.  So, a few weeks ago, we took the opportunity to practice our tri-tip cook.  At the same time, our local grocery store had artichokes on sale, so I decided to try my hand a grilling a few.

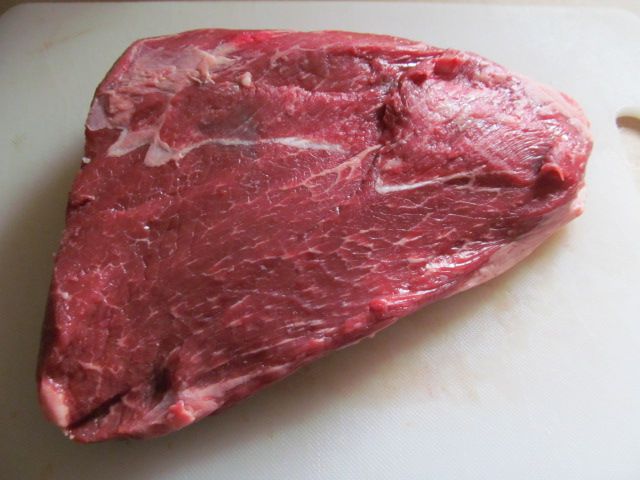
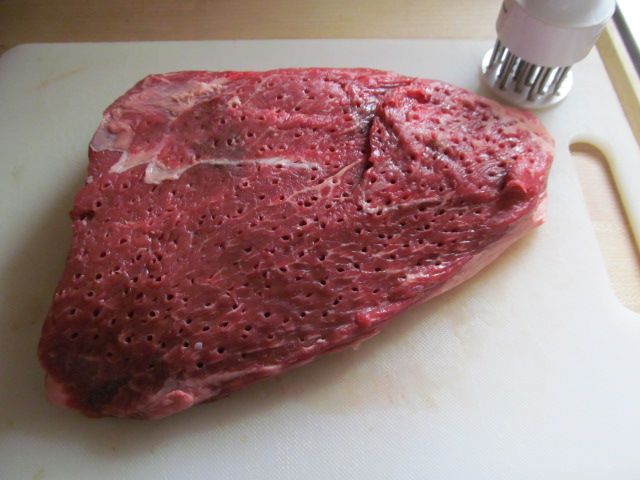
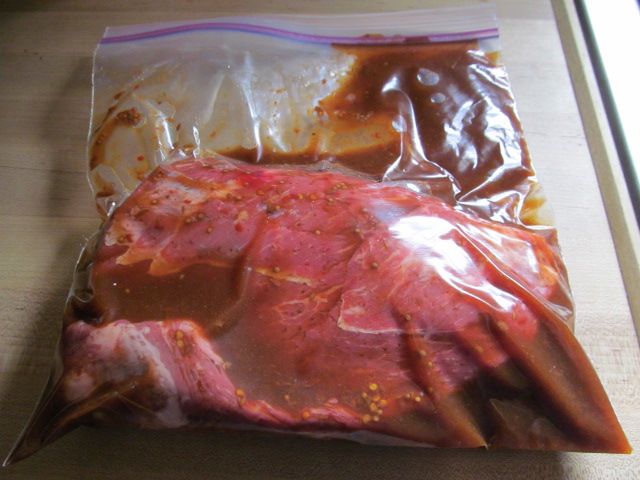
First, I took my tri-tip and tenderized on both sides, then I placed the meat in a plastic bag with a bottle of Stubbs beef marinade.  I then placed everything in the refrigerator to get happy for a few hours.


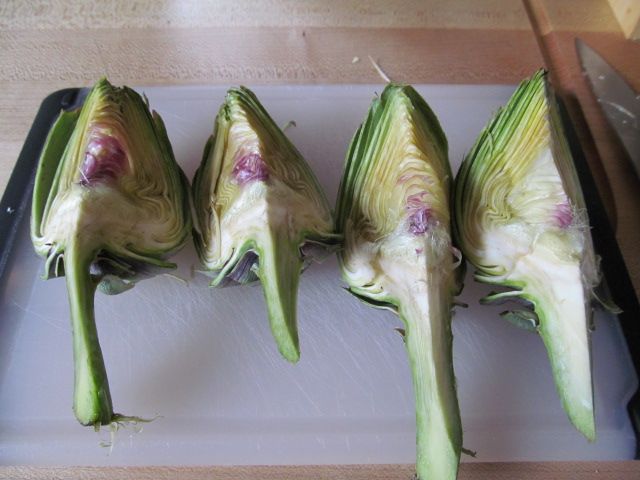
While the tri-tip was getting happy, I started on the artichokes.  I started by cleaning them.  First I removed the outer layer of leaves from the bottom and rinsed well.  Then, I cut the artichoke into quarters, leaving the stem intact.  


I placed the artichokes in simmering water and let them simmer for 15 minutes.  Then, I removed them from the water, and cleaned them further by removing the hairy part where the leaves meet the stem.  The is the "choke" part, just above the heart.  Once this was complete, we were ready to roll.  

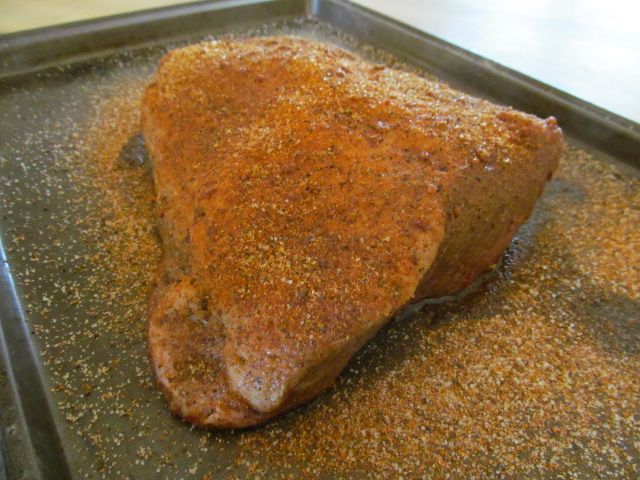
I seasoned my tri-tip with some Oakridge Black Ops Rub and allowed the meat to come to room temperature by sitting out for an hour.


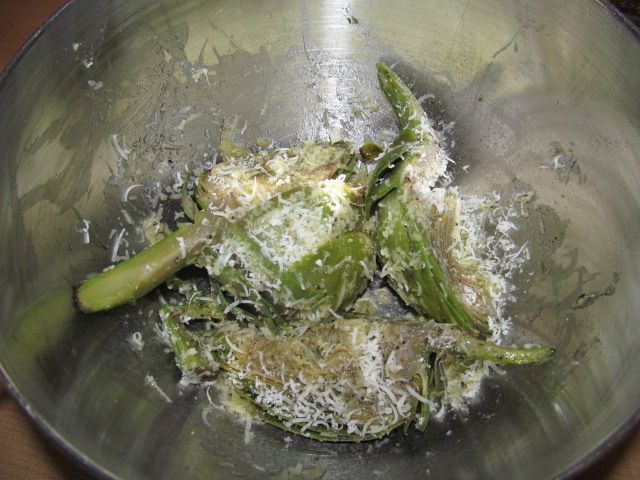
To the artichokes, I added olive oil, salt, pepper, and fresh ground Parmesan cheese.  When you add the oil and cheese, be sure to work the mixture down into and under the leaves for maximum flavor distribution.  


I fired the grill up and made a nice bed of coals.  I placed my tri-tip over the coals on direct heat and we were off to the races..  Once the tri-tip hit 135 F internal, I brought the meat inside to rest under some foil for 10 minutes and took the artichokes outside to grill.  

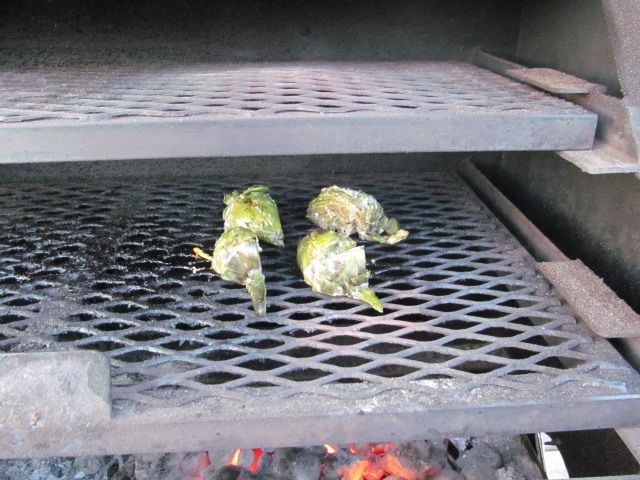
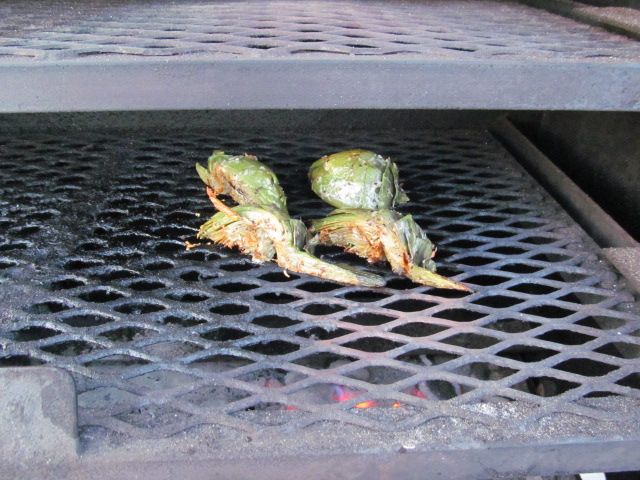
I placed the artichokes on direct heat for five minutes a side.  You only want to grill them long enough to warm them up, put some grill marks on them, and to brown the Parmesan a little.  


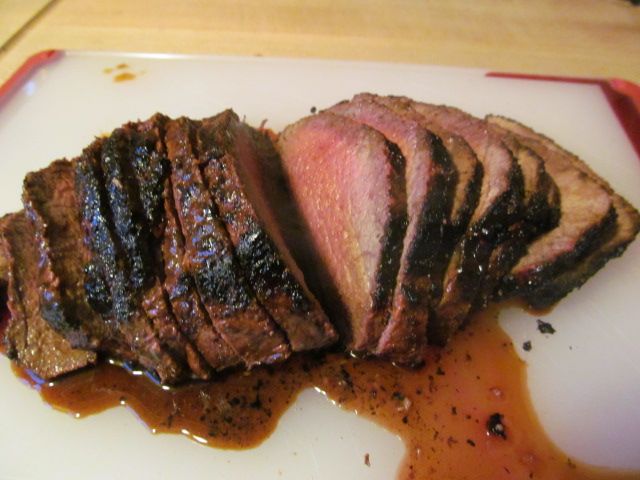
When done, I brought them inside and sliced the tri-tip.  


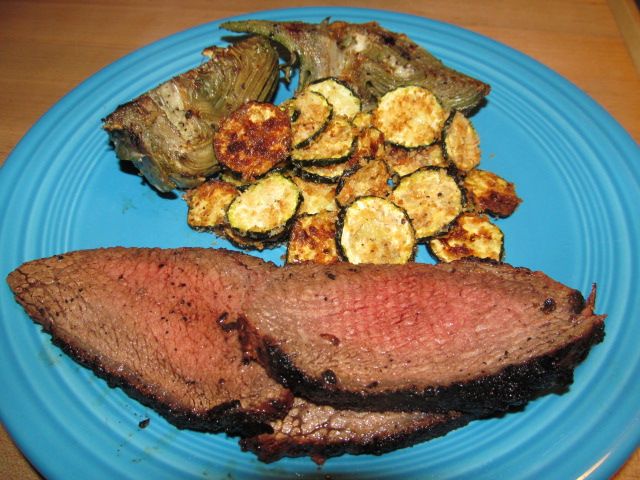
Perfect medium rare!

We served this tri-tip with the grilled artichokes and some oven roasted crispy Parmesan zucchini chips. 


Good stuff.  Hope liked the artichokes, so we can have them again.  The tri-tip was flavorful, juicy, and tender as always.  The zucchini chips were good as well.  We like these better than fried.  Just a touch of olive oil, salt, pepper, panko bread crumbs and grated Parmesan.  In the oven at 450 F for 20 minutes.  They are sweet, crunchy, and not drenched in frying oil.  They are actually good for you.

Thanks for stopping by,

Bill

Tuesday, April 15, 2014

A New Twist on a Burger

While I look outside the window today to gray skies, howling wind, and snow, it is hard to believe that it was sunny and in the 80's over the weekend.  But, Mother Nature is fickle in Western Pennsylvania in the springtime.  But, I made the most of the nice weather and grilled up some burgers.

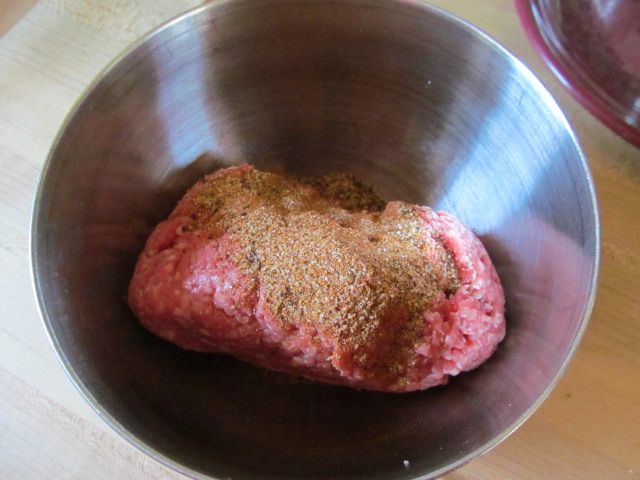
These were burgers with a twist though.  Nothing over the top, but different none the less.  We usually go for a plain burger around here.  Maybe the occasional onion soup mix burger.  But, I decided to add some of our brisket rub to the mix this time around.  So, to one pound of ground round, I added one tablespoon of Oakridge Black Ops Brisket rub.

So, burger in the bowl with the rub.  Mix well, but not too much so that you end up with a grainy burger after cooking.


1/4 pound portions in my magical burger press.


Back in the fridge to firm up.  Go outside to fabulous weather to fire up the grill.


Red hot grill, then toss the burgers on and go inside to get my cheese.  Oh, by the way, do you think they like cheese?


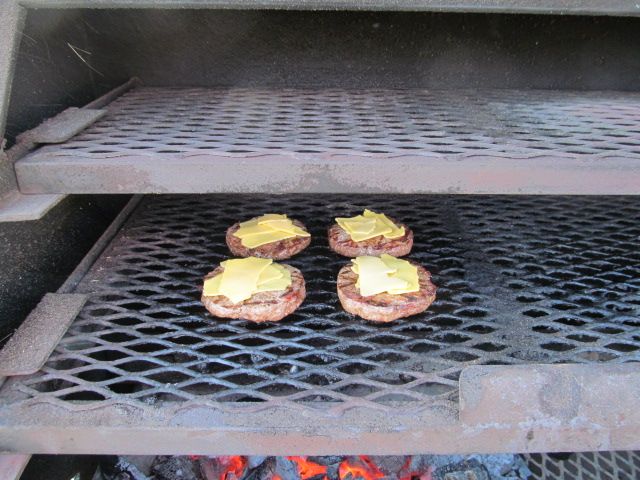
Flipped the burgers after about three minutes, then added the cheese and closed the lid.


Three minutes later.  Perfect medium!


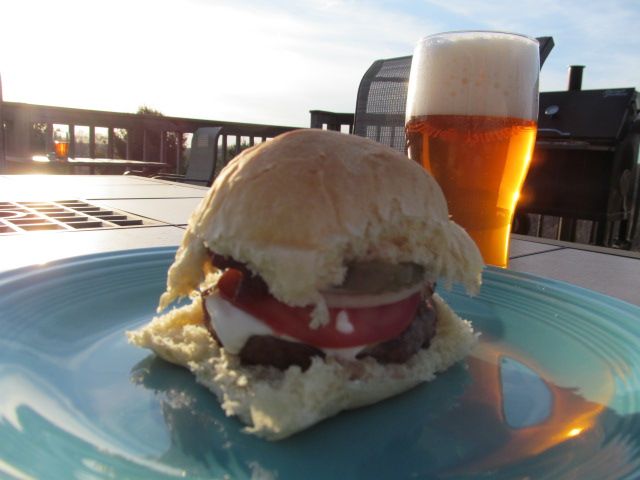
Add thin sliced sweet onion and tomato, dill chips, a thin schmear of mayo and a dollop of Heinz Balsamic Vinegar ketchup.  Served with a cold IPA and I was in heaven.


The brisket rub really kicked this up a notch.  You could make these burgers with any beef rub that you like.  I suggest you give it a try.

Thanks for stopping by,

Bill
Saturday, March 1, 2014

Brisket: The Low and Slow Method

Our last post focused on the Hot and Fast method of smoking a brisket.  This method seems to be all the rage these days on the BBQ circuit.  But, now I go back to a method where I made my best brisket, from a tenderness standpoint: going Low and Slow.

Twelve years ago for a house warming party (I've lived here this long?  Where does time go?) I smoked a nice brisket on my Weber kettle.  It took all day long, but it was tender.  So, lets see how low and slow works on a proper smoker.

First, I made a batch of my injection:

2 cans of beef stock
1 bottle of Stubbs beef marinade, strained to remove the large spices that will clog your injector
3 tbsp of butter
1 tbsp of Mesquite Liquid Smoke
1 tbsp Sriracha sauce

Bring the above to a boil, then chill to 40 F so that you can inject the brisket safely.

This time I had some advance notice as this brisket was for a Super Bowl party.  So, I had a full seven  pound flat and a seven pound point.  I injected both, rubbed liberally with Oakridge Black Ops Brisket rub, and let sit in the refrigerator overnight.

Point:


Flat:


Ready for the smoker after a night in the refrigerator:


I brought the smoker to 225 F, placed some pecan wood in the ash pan, and placed the brisket on the top rack.  Time to wait.  Here are my cooking notes:

Placed brisket on top rack in the middle at 6:45 am.

12:10 pm, flat at 159 F internal.

2:24 pm, flat at 171 F internal.

2:45 pm, flat at 175 F, time to put in pan with reserved injection and cover with foil.

Brisket before the pan.


5:30 pm, point and flat at 195 F.  Probe slides in like butter.  Time to pull and rest.

I wrapped both pans with towels and let sit in a cooler for two hours to rest.  Then, I made burnt ends with the point and sliced the flat.  Here are the results.

Point before cubing.


Flat before slicing.


Burnt Ends.


Sliced flat.


This brisket now ranks as the best brisket that I have ever made.  It was also the first brisket I have made that was ready at 195 F.  This brisket was tender and full of flavor.  It would have not scored less than an eight in any category on the KCBS judging scale.  

What do I think of the two methods?  Well, every brisket is different.  I could have been lucky that the Low and Slow produced a brisket that was perfect from a tenderness standpoint at 195 F.  I usually end up probing until the meat reaches between 200 and 205 F.  So, I will try this method one more time before May.  But, I am leaning towards low and slow.  It may mean less sleep for me at a competition.  But, it may pay off the next day with a walk to the stage.

Overall, I was glad I tried both methods.  If I need to produce a brisket on short notice, the Hot and Fast method will produce acceptable product in a short amount of time.  If I am looking for the gold standard, Low and Slow is the way to go.  

Thanks for stopping by,

Bill