

It was a tropical heat wave around here over the weekend. 50 was the high on Saturday. A 60 degree swing from a few highs the week before. I felt much like Mr. Dusfesne in the picture above. Time to grab some burger meat and head to the grill.
A year or so ago, as I was cruising through the grill section at a Big Box hardware store, my eye was drawn to a display of Master Forge Hamburger Presses.

$3.99 on clearance = impulse buy. Some people buy the National Inquirer at checkout. My weakness is BBQ and grilling gadgets. I have made many a perfect patty with this gadget. But, I have never used it for its intended use, making a stuffed burger. I like the design. But, you do have to do a little thinking to get it to work. But, I pulled through in the end. It breaks down easy, is dishwasher safe, and cleans up nicely. If you see them on sale, go to the light and pay your $3.99.
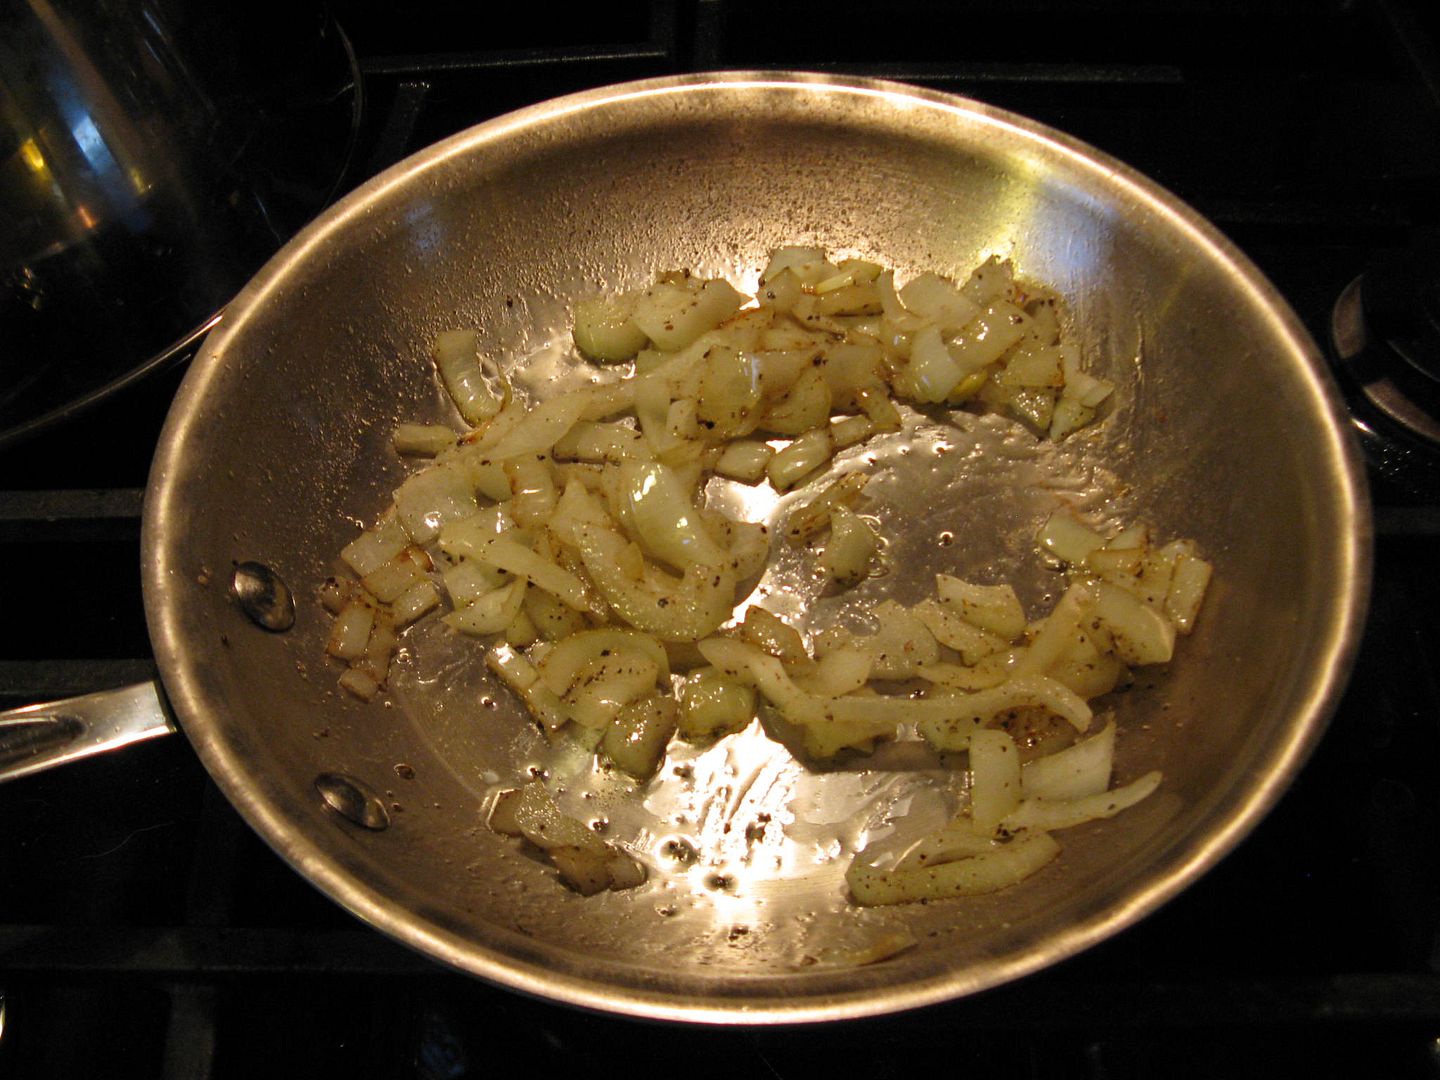
Hope wanted a traditional burger. So, I was alone in my experimentation. I opted for caramelized onion, American cheese, and BBQ sauce. I started by caramelizing some sweet onion in a small amount of olive oil with a grinding of sea salt and pepper.
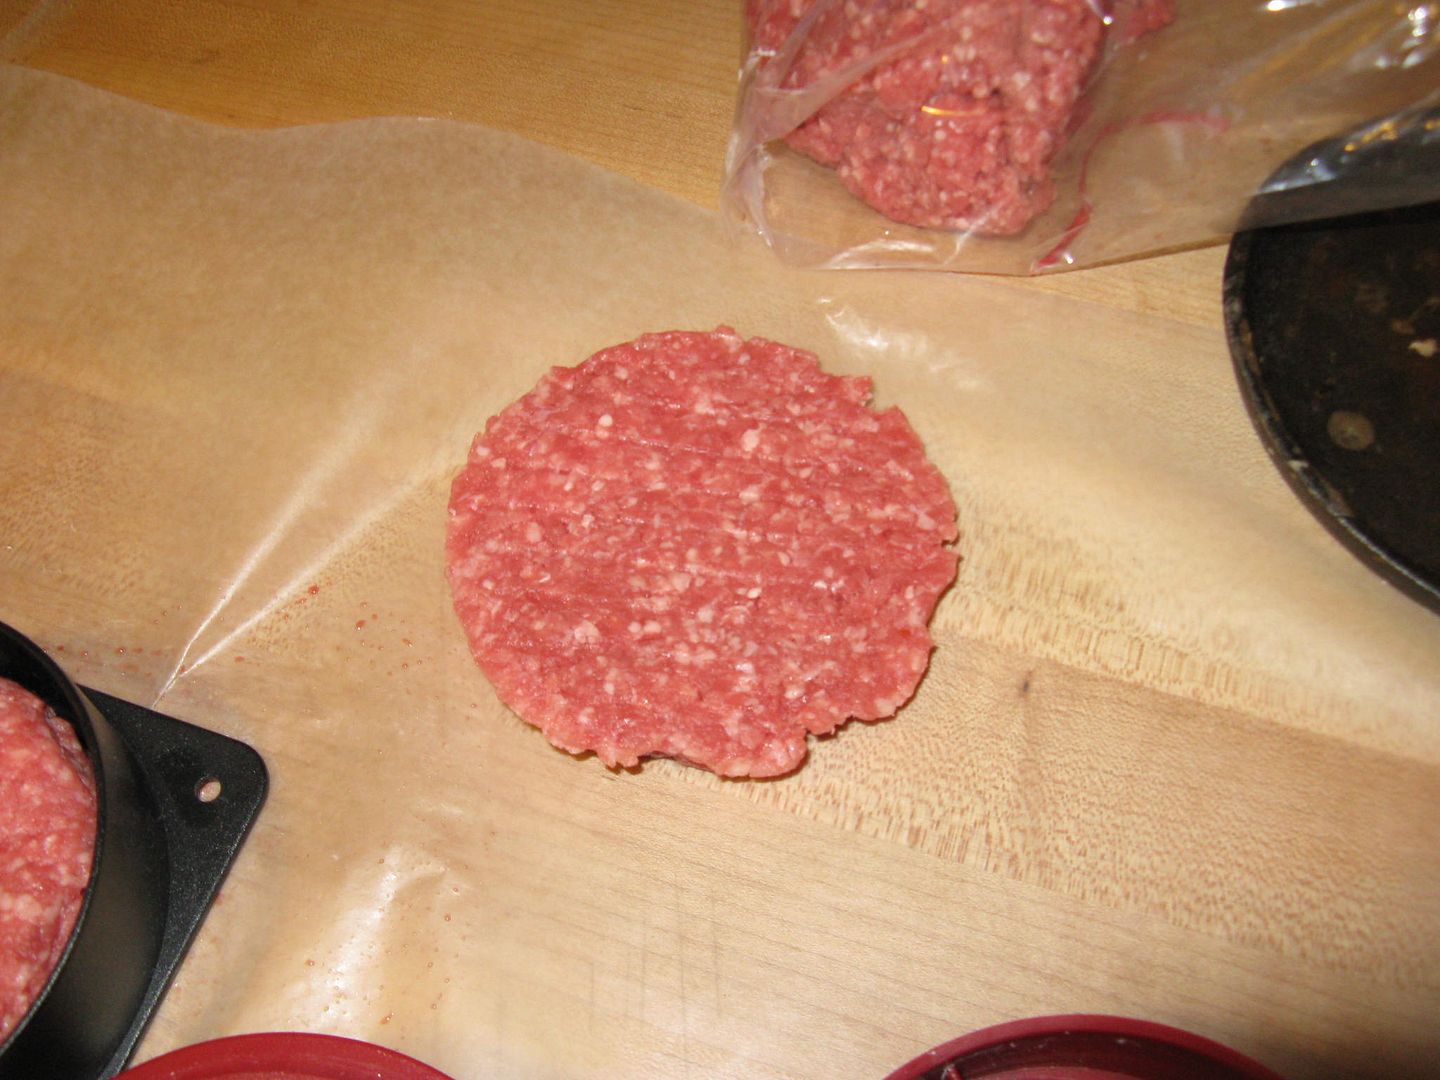
While this was cooking down, I started by pressing 1/4 cup of hamburger meat rolled into a ball into a patty. I removed the patty and set aside as the top for my stuffed burger. Then, I placed 1/3 cup of hamburger meat rolled into a ball into the base and pressed using the red top so that a cavity was made in the patty.

Then, it was time to stuff. I started with one slice of American cheese.
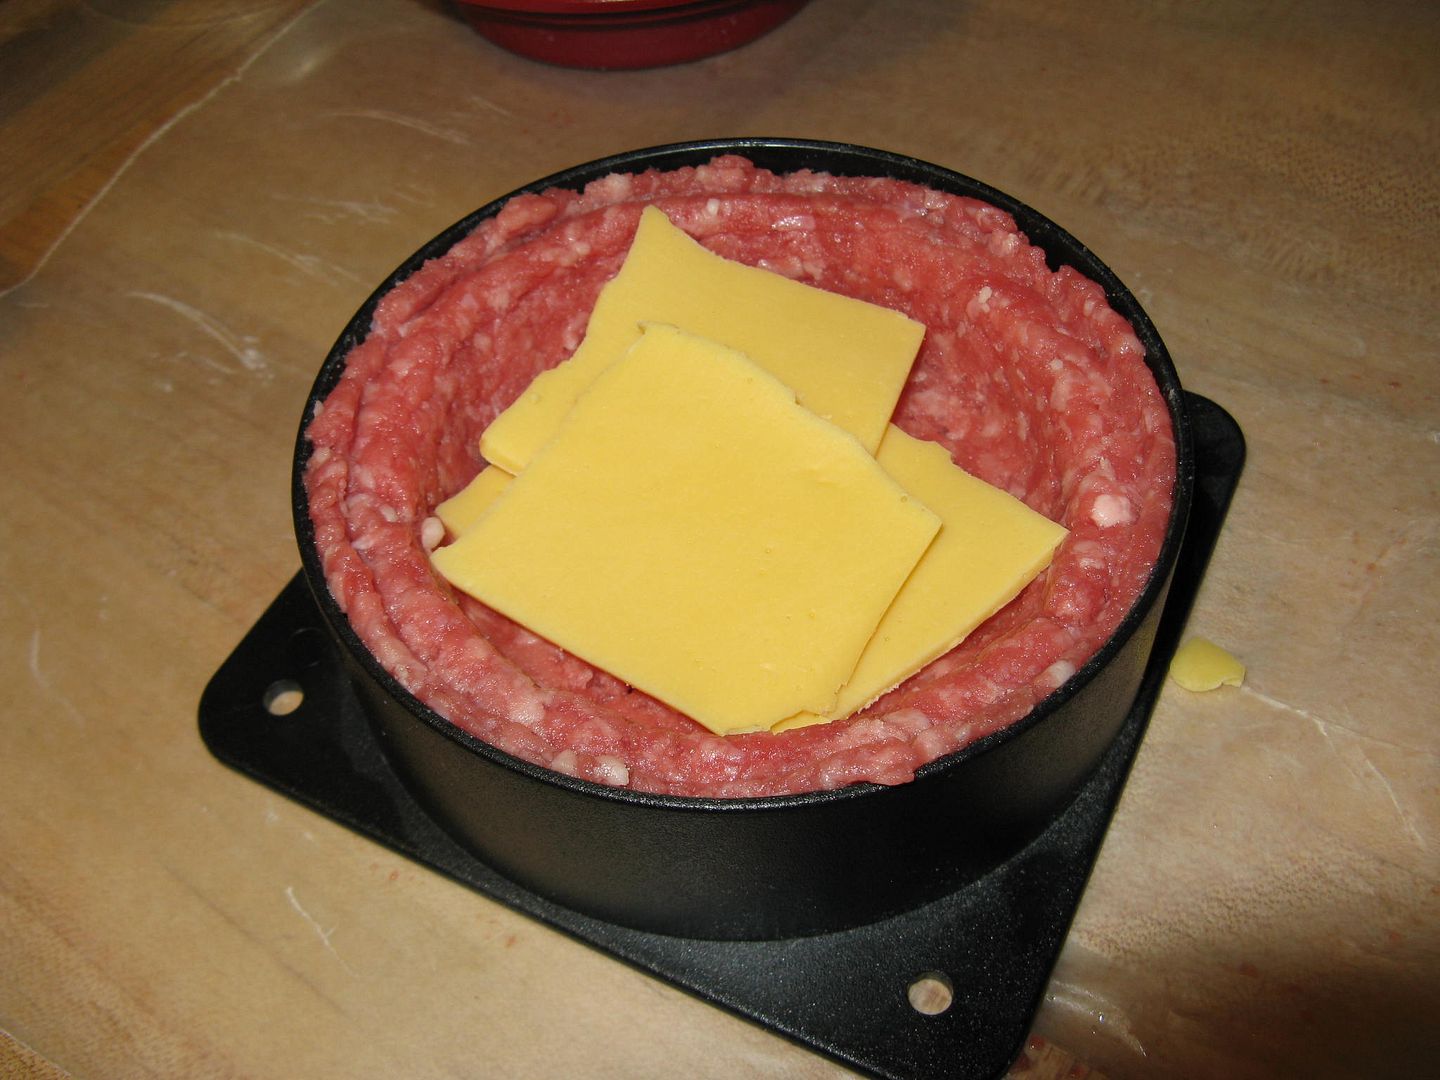
Then, I added some Sweet Baby Ray's to my caramelized onion and layered on top of the cheese.

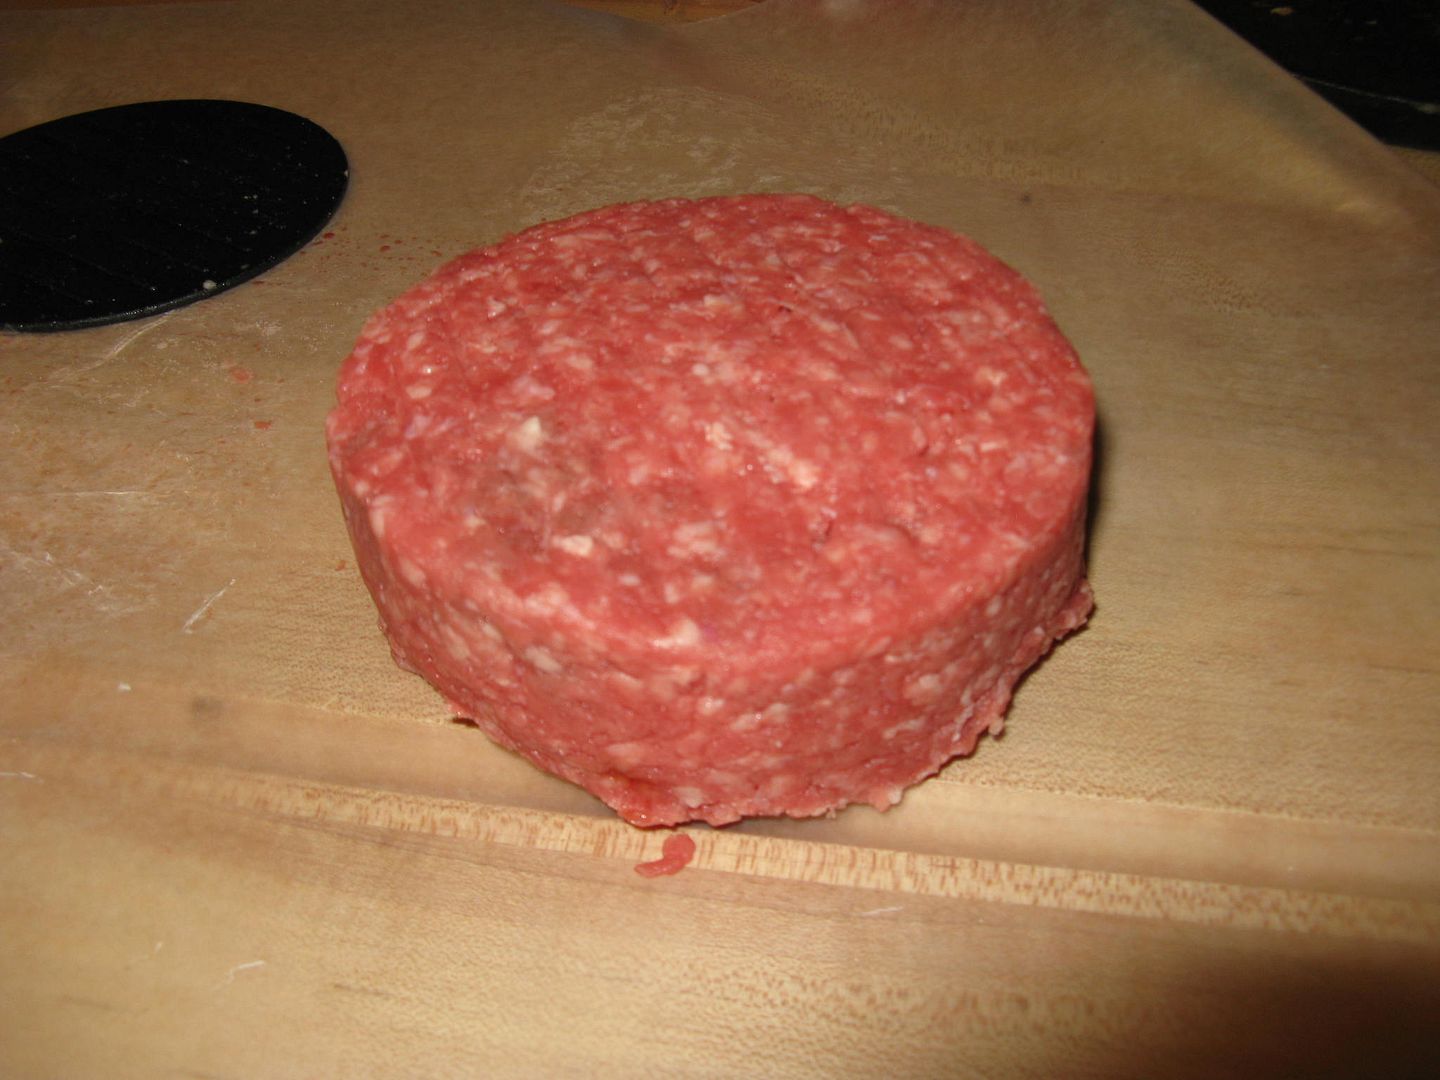
Then, I placed my other patty on top of the cavity, covered with the flat black disk that can be used for flattening, and pressed down firmly. Amazingly, the burger sealed and only required a minimum of sculpting when removed from the press.
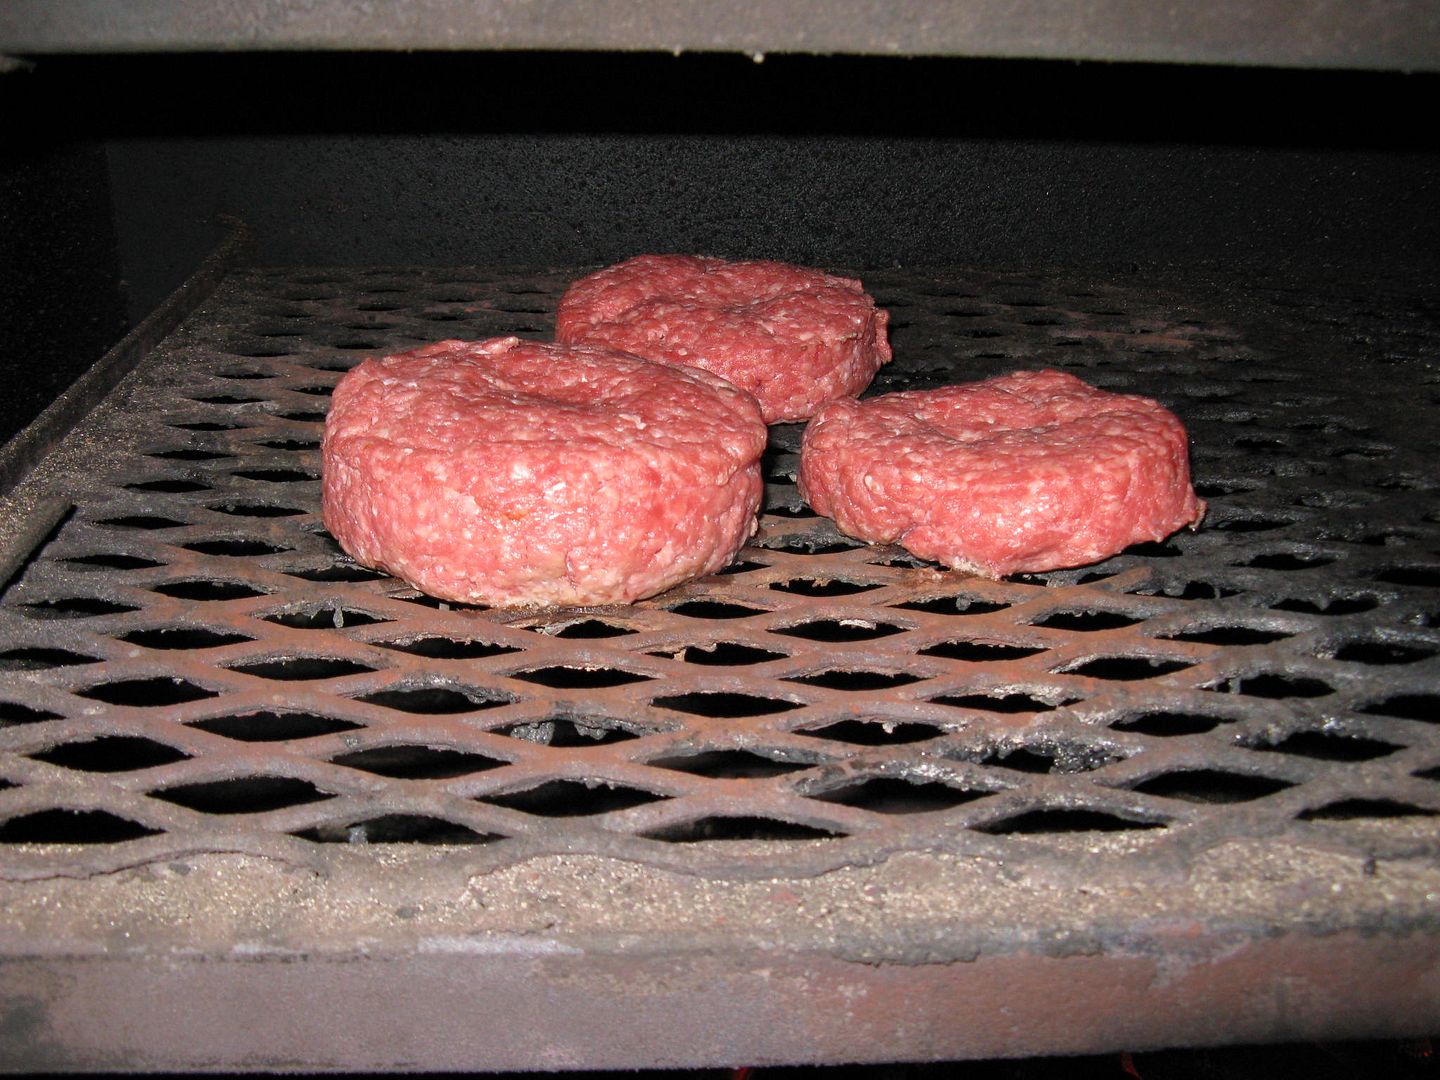
The stuffed burger is on the top in this picture.

Notice the dimples in the tops of the patties? I never knew that putting a dimple in the top will keep the burger from swelling up like a beach ball when being grilled. This tip I learned from Gus over at Gusface Grillah. More on Gus's site later. But, he has some great posts on the art of grilling Down Under. You should visit.
So, the grill was at temp. I added the patties and waited with anticipation.
I flipped after five minutes. The stuffed burger is on the left. Amazingly, no oozing of the cheese from the inside. Success so far!
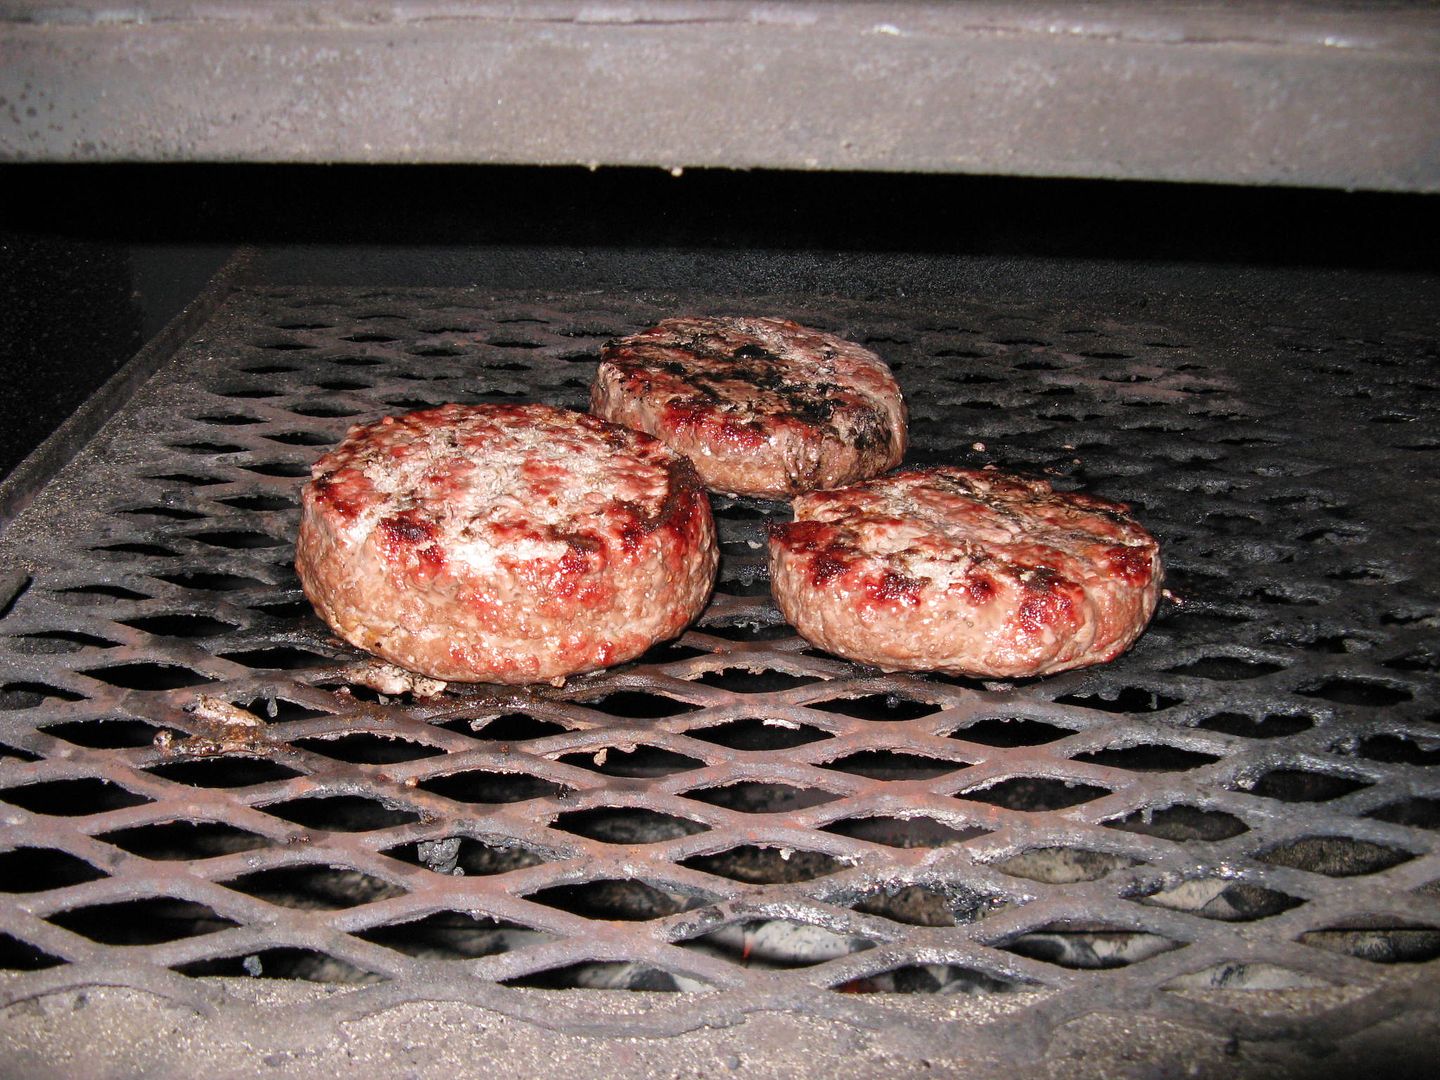
I cooked five more minutes, then flipped back over to put cheese on Hope's burger and a left over piece on mine.

I closed the lid and let the cheese melt. Then, removed from the grill.
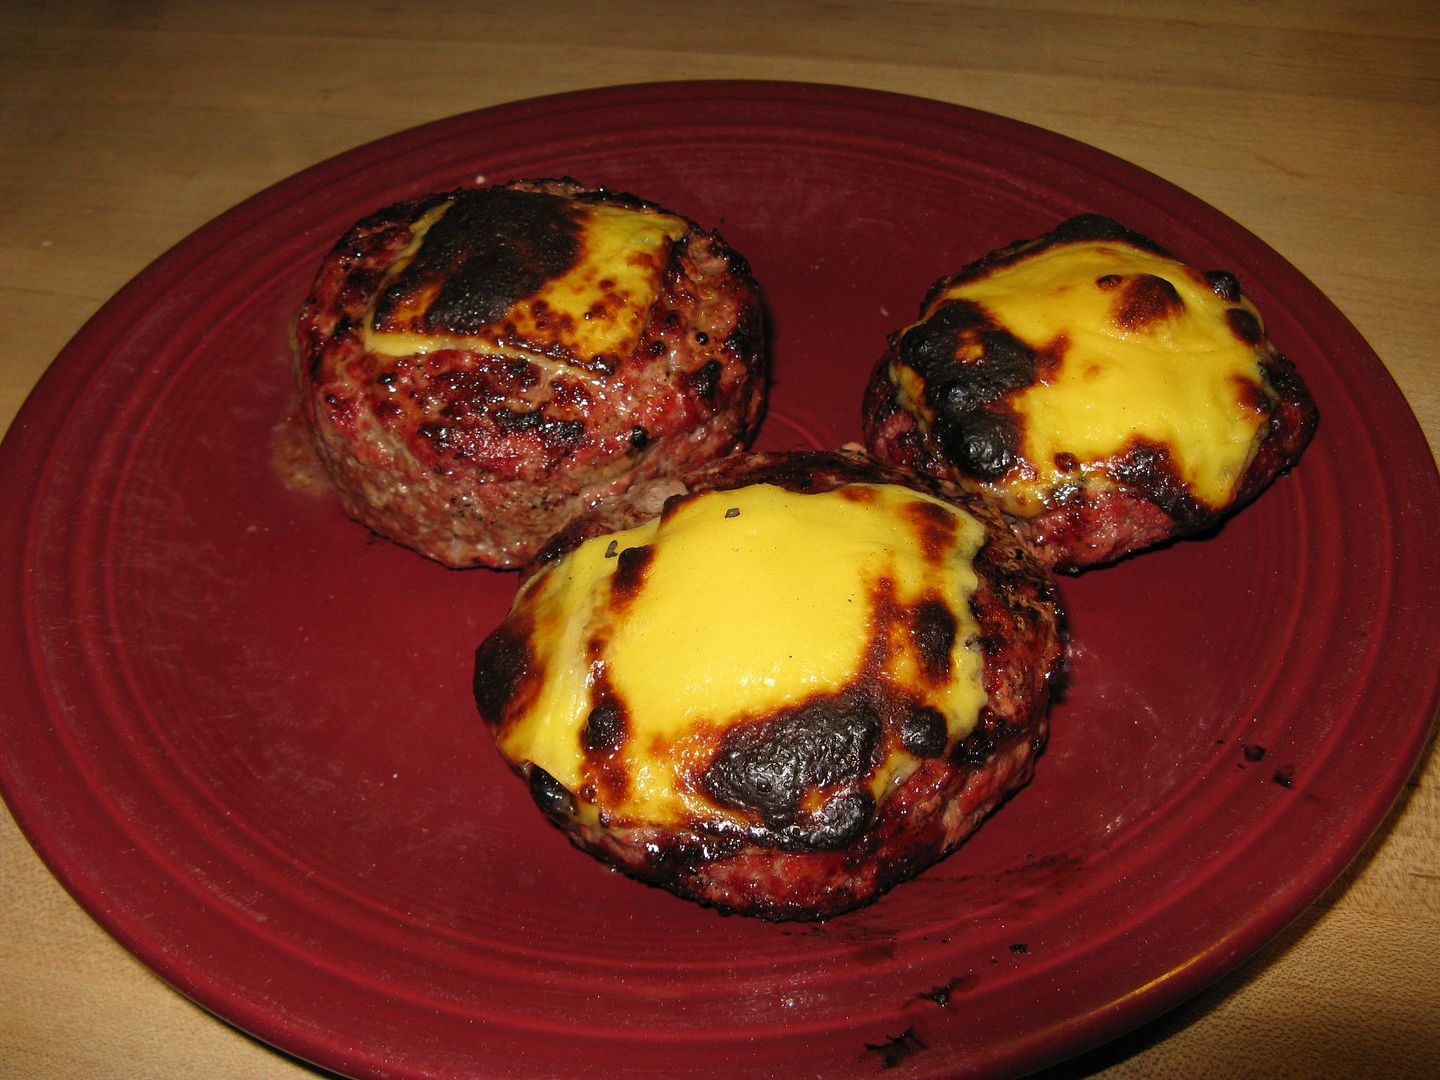
I know what you are thinking. You burnt the cheese. Well, maybe, but we like our cheese on the brown and bubbly side. Also, while five minutes a side for a burger seems a bit much for medium, but the press does make a thick burger a requires a longer grill time.
I didn't have any hamburger dill chips, so I topped mine with a dollop of dill relish and cut in half.

The results were excellent. No leakage of cheese! The interior was gooey and added a great flavor to the burger. I wish I had remembered to add some bacon. Next time maybe.
There is a world of possibilities using this burger press. Next time, I am thinking a Greek style burger made with ground lamb and stuffed with olive, spinach, and feta cheese. Stay tuned.
Thanks for stopping by,
Bill
Thanks for the kind words, Bill!
ReplyDeleteI've seen those burger stuffers before, they look awesome! Definitely going to have to pick one up.
Filling looks great, cheese and caramelised onions are my kind of flavours
The possibilities are endless Gus. I have just scratched the surface!
Delete