Search This Blog

Sunday, November 16, 2014

Crispy Roasted Root Vegetables and Red Potatoes

The root vegetable time of year is upon us.  I never used to like root veggies, but I have learned that roasting these vegetables in the proper manner will provide a nice side dish to any smoked, roasted, or grilled meat.

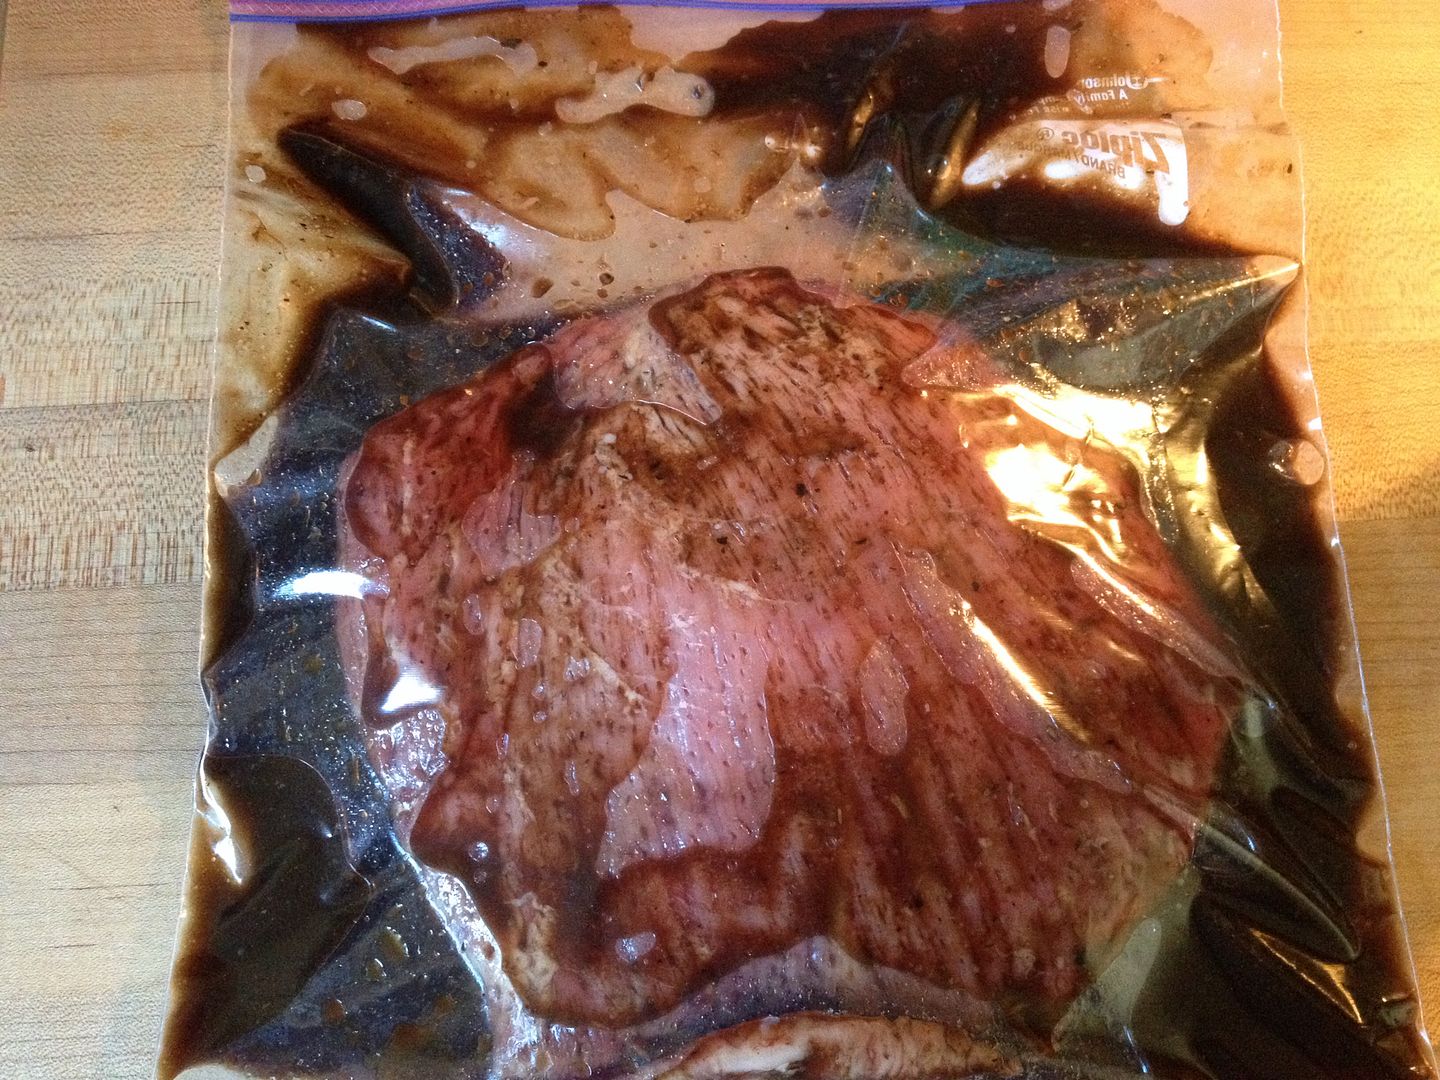
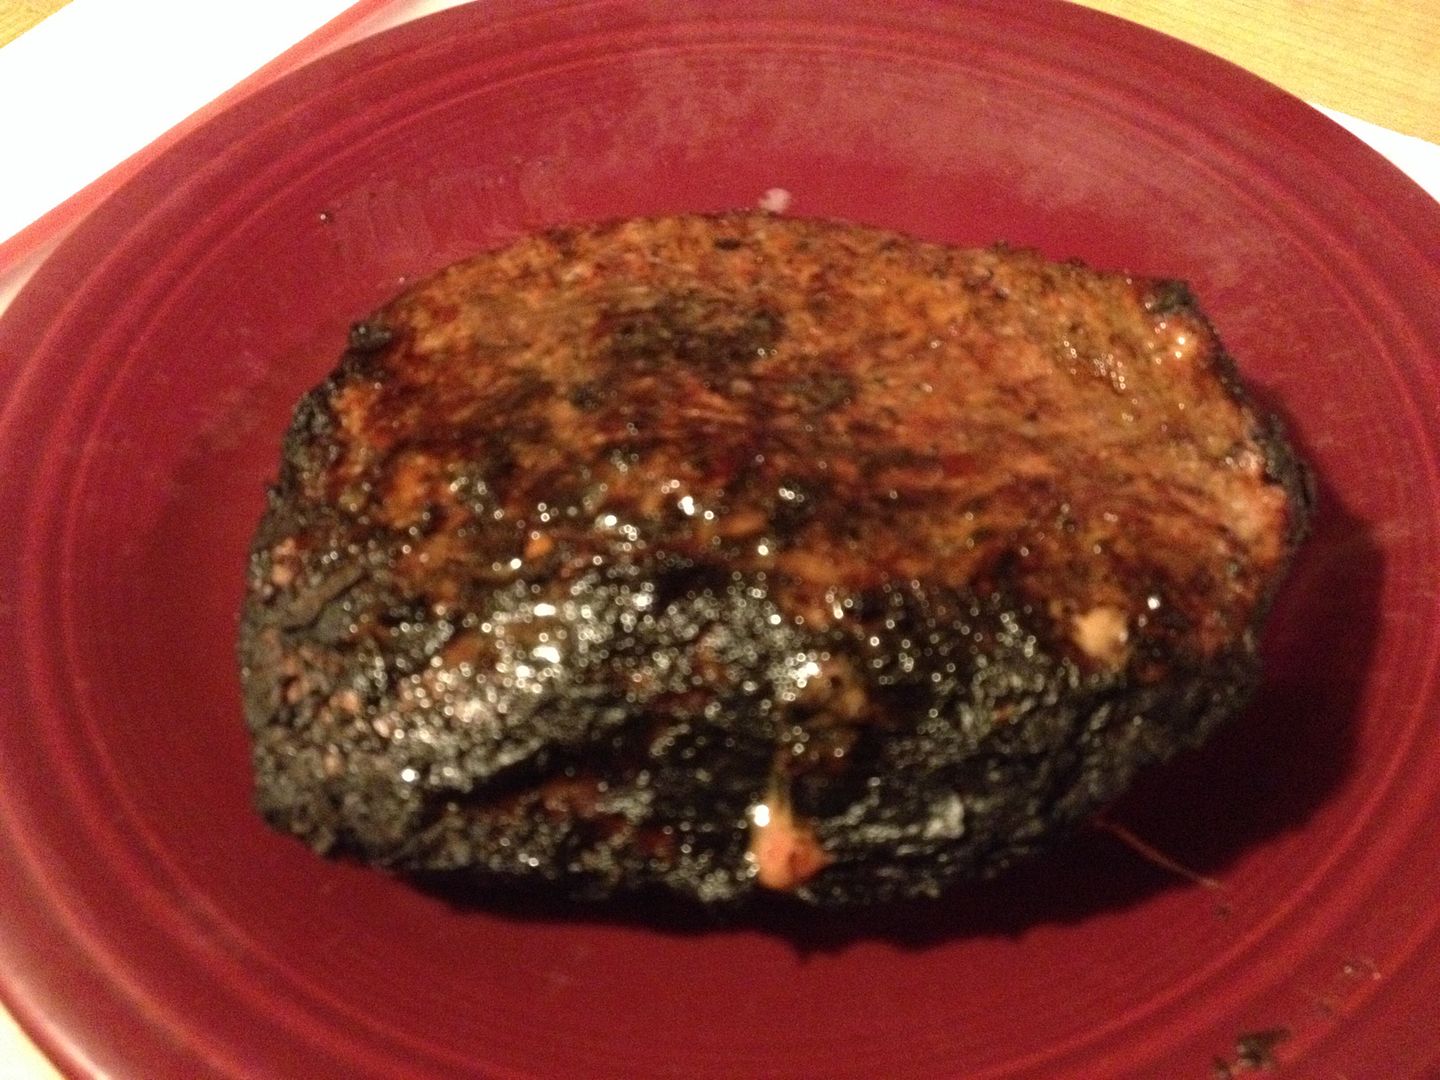
A few weeks ago when I was making my beer and butter injected pork roast, I decided that some roasted veggies were in order.  The recipe is quick, easy, and you will find yourself fighting the rest of the family for the slightly burnt, crispy remains.  Here is the process.

Ingredients:

1 lb of small red potatoes, washed and cubed
1 lb of turnips, washed and cubed
1 lb of carrots, peeled and cut into 1 inch pieces
3 ribs of celery, washed and cut into 1/2 inch pieces
1/2 medium sweet onion, quartered, then separated
2 garlic cloves, minced
1/4 cup olive oil
2 tbsp of white vinegar
2 tbsp of kosher salt
1 tsp thyme
Salt and pepper to taste


Take the potatoes and turnips and place into a pan large enough to hold the veggies and add enough water to cover.  To this mix, add the white vinegar and kosher salt.  Bring to a boil and cook the potatoes and turnips at a hard boil for five minutes.


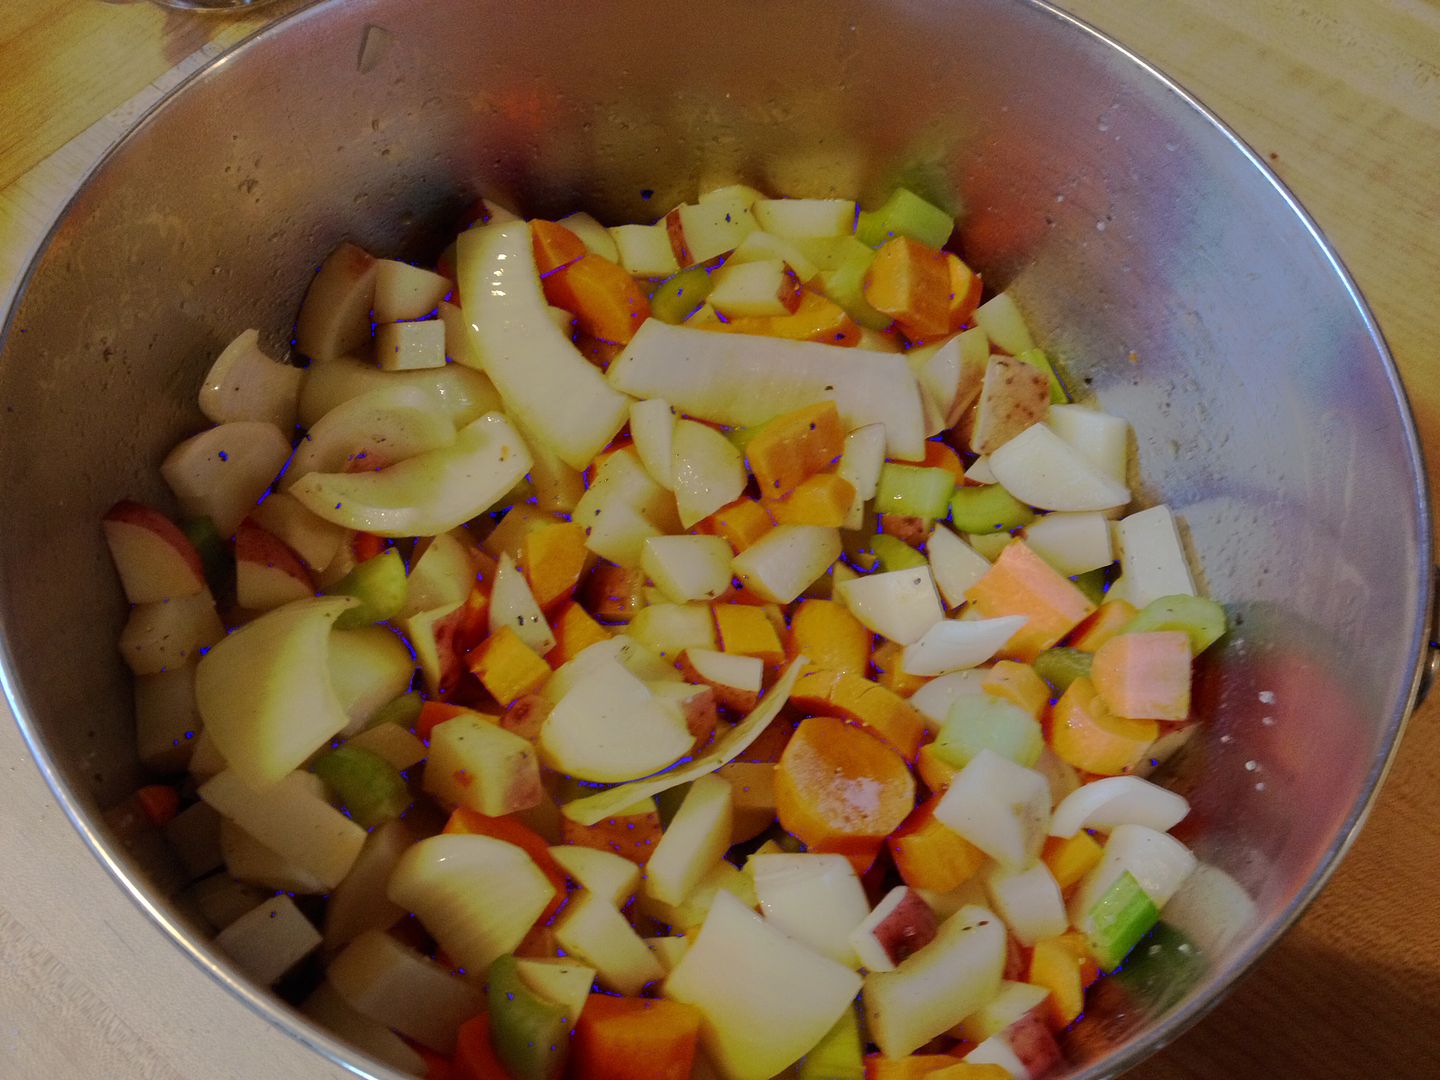
After the five minutes of boiling, drain the potatoes and turnips in a colander making sure to shake off all of your excess moisture.  Place the potatoes and turnips into a large mixing bowl with the rest of the vegetables.  Add your olive oil, thyme, and salt and pepper to taste.  Mix well.  Sorry about the remaining pictures.  It seems that I had a filter running on my camera and did not know it at the time.


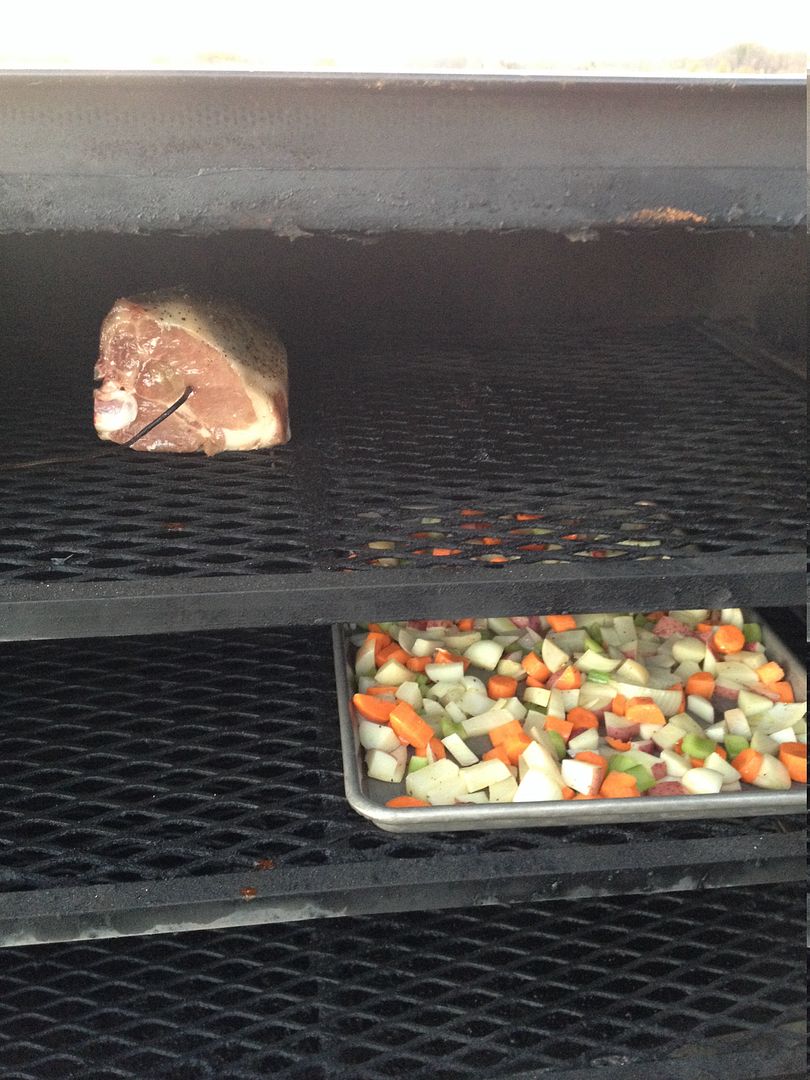
Spread the vegetable mix onto a cookie sheet in one layer.


I placed sheet of vegetables into my smoker at 375 F.  You could easily use your oven set at this temperature as well.


After 20 minutes of cooking time, I flipped the vegetables with a spatula to ensure even roasting for the final product.  Then I cooked for 25 more minutes for a total of 45 minutes of cook time.


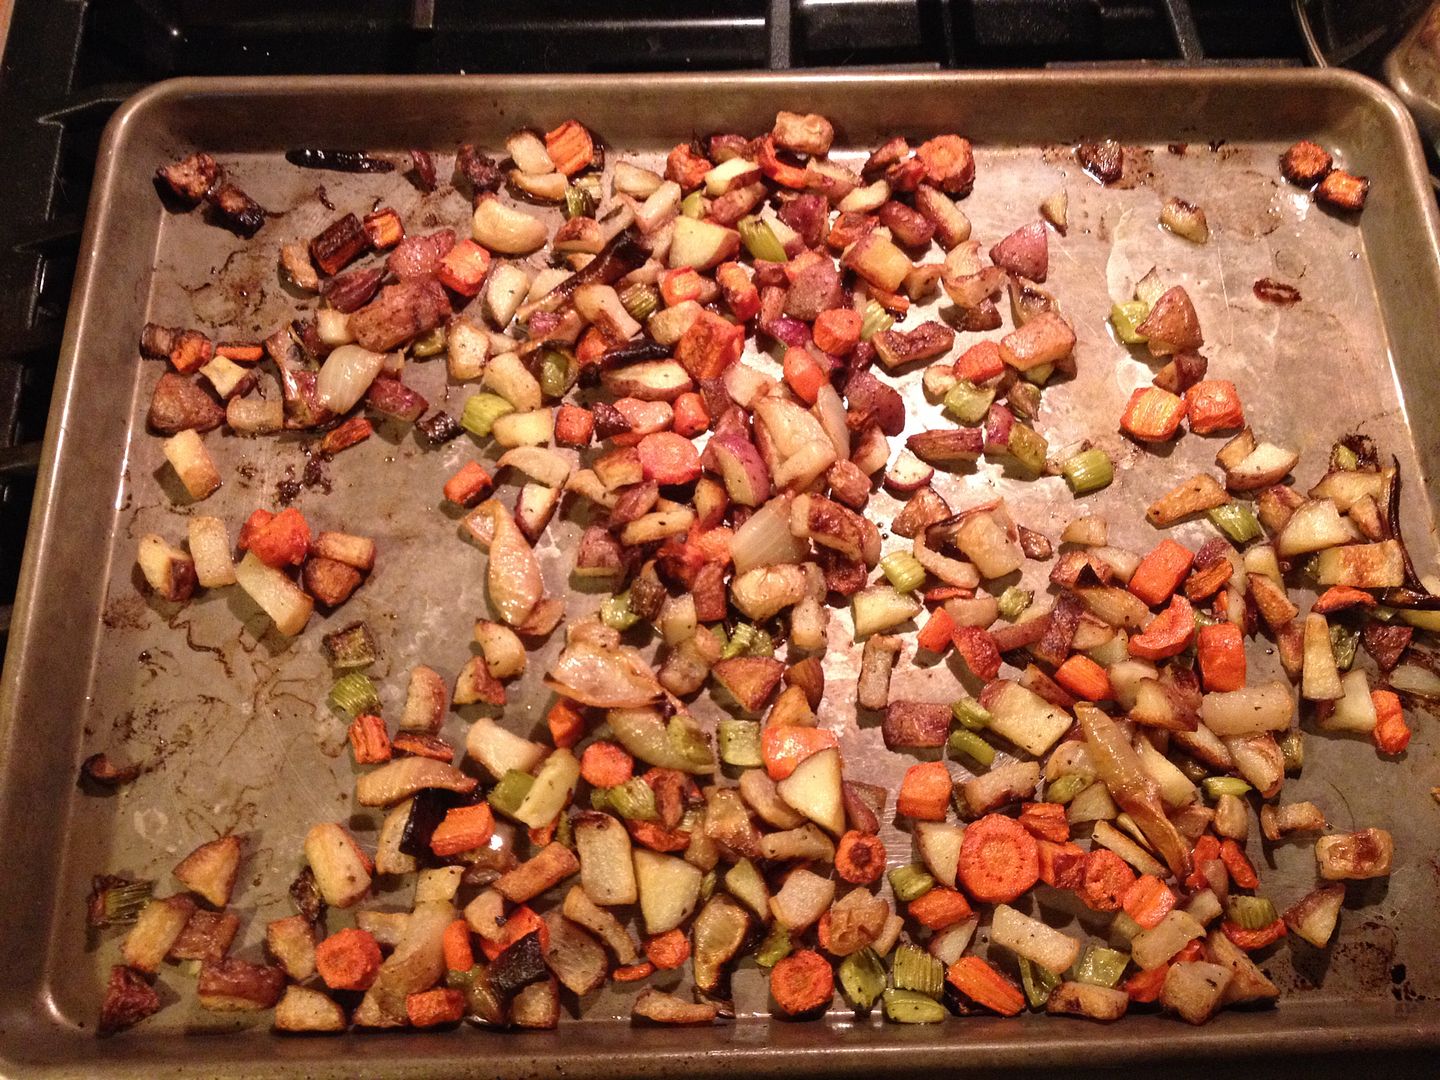
I love these veggies.  The onions, garlic, and carrots develop a nice, crispy caramelization that mixes well with that roasted potato and turnip crunch.  Feel free to add in other vegetables as you see fit.  I am going to try this again with some parsnips in the future.  You can also add other spice combinations as you see fit pair with the meat you are serving as well.

One thing that I always forget is how much veggies can shrink during the roasting process.  This recipes is enough for three people.  I would recommend doubling the recipe for a family of four or more.

Thanks for stopping by,

Bill

Saturday, November 8, 2014

Caramelized Mushrooms and Onions in a Roasted Garlic Milk Stout Reduction

Last weekend, when I was preparing my roasted garlic and milk stout marinade, I needed a side dish to go with my flank steak.  I had some mushrooms in the refrigerator and decided to use them up.  It is also my culinary mission to introduce to The Youngest foods that induce a gag reflex in Hope.  I gain satisfaction in seeing The Youngest scarf down food that makes his mother look the other way.  My success rate runs about 80 percent.  But, mushrooms would be a tough one.  Lets see what we can do.

I took the left over mushrooms, removed the stems, cleaned and quartered them, then placed them in a bowl with half of a quartered sweet onion.  Then, I poured about 1/3 cup of my Roasted Garlic Milk Stout marinade on the mushrooms and tossed to coat evenly.  Missed that recipe?  Here it is:

Roasted Garlic Milk Stout Marinade

1, 12 oz bottle of your favorite stout.  I choose a milk stout.  Just try and choose a well balanced brew
3 large cloves garlic, roasted
1/4 cup canola oil
1/4 cup balsamic vinegar
1/2 tsp ground mustard powder
1/2 tsp dried thyme
1/2 tsp sea salt
Fresh ground pepper.  I used 10 turns of my grinder

Put everything into a small sauce pan and bring to a boil.  Then, lower your heat and simmer until reduced by 1/3.  Then cool to room temperature.


I covered the foil and placed in the refrigerator to marinade for five hours or so.  When my grill was ready, I placed the marinaded mixture into a small foil pan.


The pan was placed on the top rack my grill to slowly caramelize.  My grill temperature was around 350-400 F for most of the cook.  I rotated the pan every 10 minutes so that the mushrooms and onions on the hot side of the grill would not burn.  The total cook time was about 40 minutes.


Those are the mushrooms up there in the upper right hand corner.  One mistake I made was forgetting how much a mushroom can shrink when cooking.  But, what I didn't have in quantity, I definitely had in quality.  The marinade reduced, intensifying the roasted garlic, stout, and balsamic vinegar flavors. Add in the caramelized sweetness of the onions and mushrooms and this side dish is a worthy accompaniment to any grilled steak.  I think I see some sort of beefy, mushroom laden pie in my future.

As for The Youngest?  I had to fight him for the remains.  Mission accomplished.

Thanks for stopping by,

Bill

Tuesday, November 4, 2014

Grilled Flank Steak with a Roasted Garlic Milk Stout Marinade

Recently, I have been trying to incorporate some new flavors into the grilling or smoking we have been doing around the house.  Beer has been playing a role in those marinades.  This past weekend, inspired by Gus over at gusfacegrillah.com, we tried making a beef marinade out of a nice stout.

My choice was a nice and smooth milk stout from Southern Tier Brewing: Double Milk Stout 2X Stout.


This stout is smooth and creamy.  Not too bitter, not too sweet, and well balanced.  Perfect for this beef bath.

To prepare this marinade, I started off by roasting some garlic.  I do not roast whole heads of garlic.  Way too much garlic for what I need.  I just take the cloves that I need, slice the tips off, and place in a foil packet with some olive oil.  The packet goes into a 350 F oven for 30 minutes.  Perfect roasted garlic every time.


Here are the rest of the ingredients:

Roasted Garlic Milk Stout Marinade

1, 12 oz bottle of your favorite stout.  I choose a milk stout.  Just try and choose a well balanced brew
3 large cloves garlic, roasted
1/4 cup canola oil
1/4 cup balsamic vinegar
1/2 tsp ground mustard powder
1/2 tsp dried thyme
1/2 tsp sea salt
Fresh ground pepper.  I used 10 turns of my grinder

Put everything into a small sauce pan and bring to a boil.  Then, lower your heat and simmer until reduced by 1/3.  Then cool to room temperature.

While the marinade was cooling, I tenderized my flank steak thoroughly on both sides.


Once the marinade was chilled, I placed everything in a plastic bag and put into the refrigerator to steep in the stout mixture.  I flipped the bag over every hour.  Total marinade times five hours.


After five hours, I removed the steak from the refrigerator and placed on the counter to come to room temperature.  Then, I wend outside and started my grill.  Once my coals were ready, the flank steak went on direct heat for about seven minutes a side.  I was looking for 130 F internal temperature.  Once done, I brought inside and let the meat rest for 10 minutes, covered with foil, before slicing.


Sorry about the picture.  As you might be able to see, the marinade created a nice caramelized bark on the outside.  We also nailed the medium rare that we prefer (at least on the thick end).


The flavor was great.  Better then I was hoping for really.  The roasted garlic, vinegar, and spices made for a nice combination.  The stout brought it all together adding a nice richness to the beef.  We will definitely be trying different variations of this marinade in the future.  So, if you have a spare stout hiding the the refrigerator at home, give this a try.

Thanks for stopping by,

Bill

Sunday, November 2, 2014

Product Review - Yeungling Lager BBQ Sauce

Years ago, Yenugling Brewing offered a line of sauces that were pretty good.  One was what was billed as a lager sauce and the other two were a hot and mild wing sauce.  I liked all three of them.  The lager sauce was like a thin finishing sauce for BBQ meats.  The wing sauces were good as well.  But, unfortunately, they mysteriously disappeared from the grocery store shelves.  I tried to recreate the lager sauce and came pretty close.  But, it wasn't the same.  A few weeks ago as I was cruising the BBQ section at the store, I saw that Yeungling sauces are back on the market.  This time, with the two wing sauces and a new BBQ sauce in place of the lager sauce.  So, I picked up a bottle of the BBQ and ran home to give it a try.


As you can see from the label, it really does contain Yeungling lager, although it is halfway down the ingredient list.  I opened the bottle a gave this new sauce the finger test.  Somewhat sweet, somewhat tart, this sauce does have a nice balance.  Did I taste beer?  Yeah, a bit.  Not overpowering and perhaps I would have liked a bit more of that malty flavor.  For the true test, I made some pulled chicken and sauced the meat for some chicken sandwiches.

I brined a fryer overnight and lightly seasoned with Oakridge Secret Weapon Pork and Chicken rub, then smoked with pecan at 350 F until 160 F internal.  About two hours.


I placed in a pan and tightly covered with foil to rest for 30 minutes before pulling.


After pulling, I lightly sauced the pulled chicken with about 1/3 cup of the sauce.  We served on white buns with diced onion and dill pickle chips.  How was it?  Well, the reincarnation of the Yeungling lager sauce as a BBQ sauce is ok.  Compared to other bottled BBQ sauces, this offering is slightly above average.  But, when compared to their thinner lager sauce from the past, it is a bit lacking.  The past sauce had more of a vinegar bite and malty flavor.  The new product is sweeter and lacks a malty backbone.  I will buy more in the future. But, if there is another sauce that catches my eye, I just might try something else as well.

Thanks for stopping by,

Bill