Search This Blog

Showing posts with label Roasted Vegetables. Show all posts

Sunday, November 16, 2014

Crispy Roasted Root Vegetables and Red Potatoes

The root vegetable time of year is upon us.  I never used to like root veggies, but I have learned that roasting these vegetables in the proper manner will provide a nice side dish to any smoked, roasted, or grilled meat.

A few weeks ago when I was making my beer and butter injected pork roast, I decided that some roasted veggies were in order.  The recipe is quick, easy, and you will find yourself fighting the rest of the family for the slightly burnt, crispy remains.  Here is the process.

Ingredients:

1 lb of small red potatoes, washed and cubed
1 lb of turnips, washed and cubed
1 lb of carrots, peeled and cut into 1 inch pieces
3 ribs of celery, washed and cut into 1/2 inch pieces
1/2 medium sweet onion, quartered, then separated
2 garlic cloves, minced
1/4 cup olive oil
2 tbsp of white vinegar
2 tbsp of kosher salt
1 tsp thyme
Salt and pepper to taste


Take the potatoes and turnips and place into a pan large enough to hold the veggies and add enough water to cover.  To this mix, add the white vinegar and kosher salt.  Bring to a boil and cook the potatoes and turnips at a hard boil for five minutes.


After the five minutes of boiling, drain the potatoes and turnips in a colander making sure to shake off all of your excess moisture.  Place the potatoes and turnips into a large mixing bowl with the rest of the vegetables.  Add your olive oil, thyme, and salt and pepper to taste.  Mix well.  Sorry about the remaining pictures.  It seems that I had a filter running on my camera and did not know it at the time.
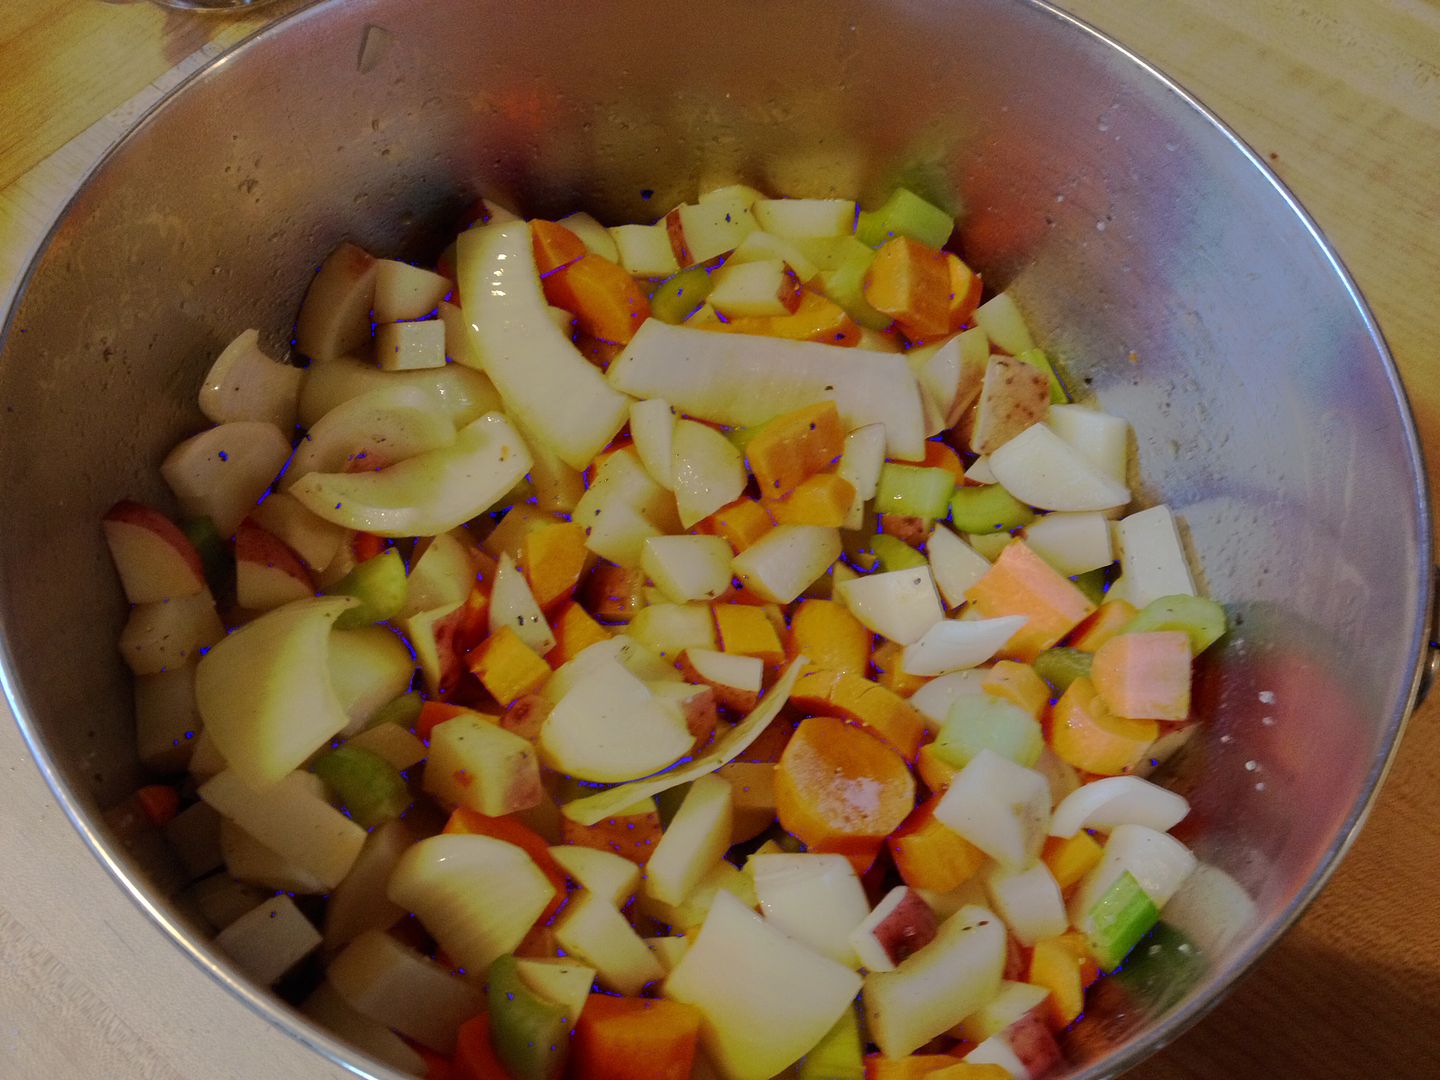

Spread the vegetable mix onto a cookie sheet in one layer.


I placed sheet of vegetables into my smoker at 375 F.  You could easily use your oven set at this temperature as well.
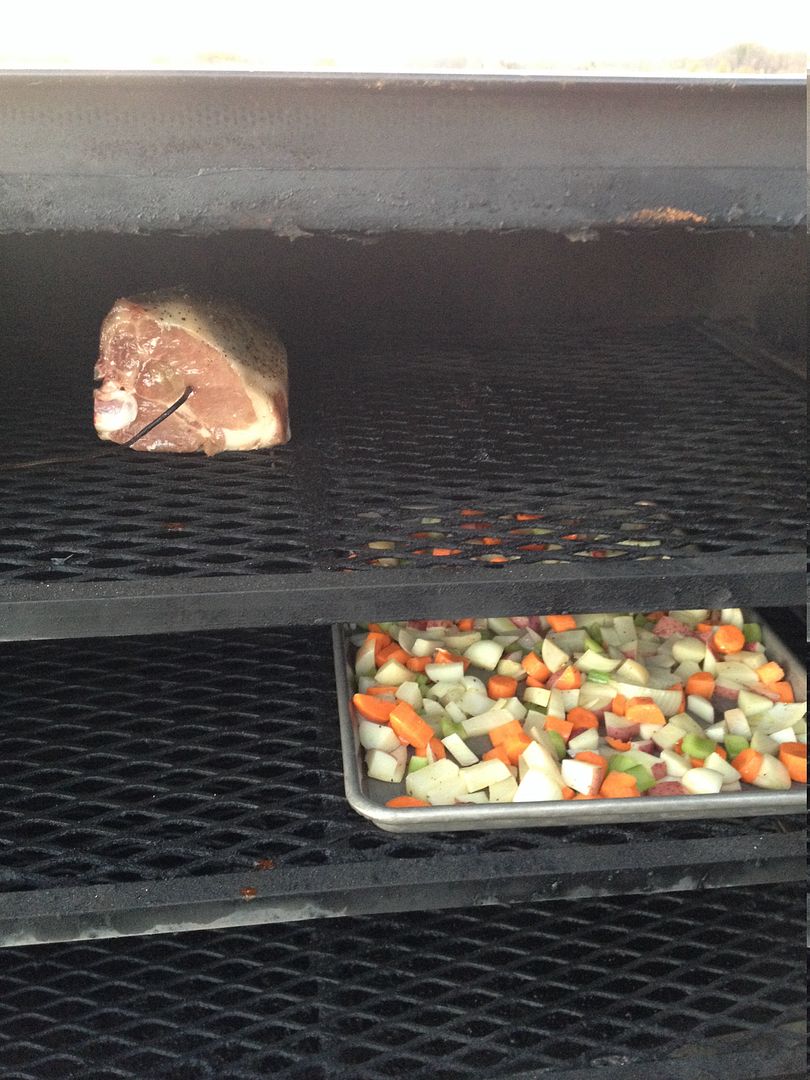

After 20 minutes of cooking time, I flipped the vegetables with a spatula to ensure even roasting for the final product.  Then I cooked for 25 more minutes for a total of 45 minutes of cook time.
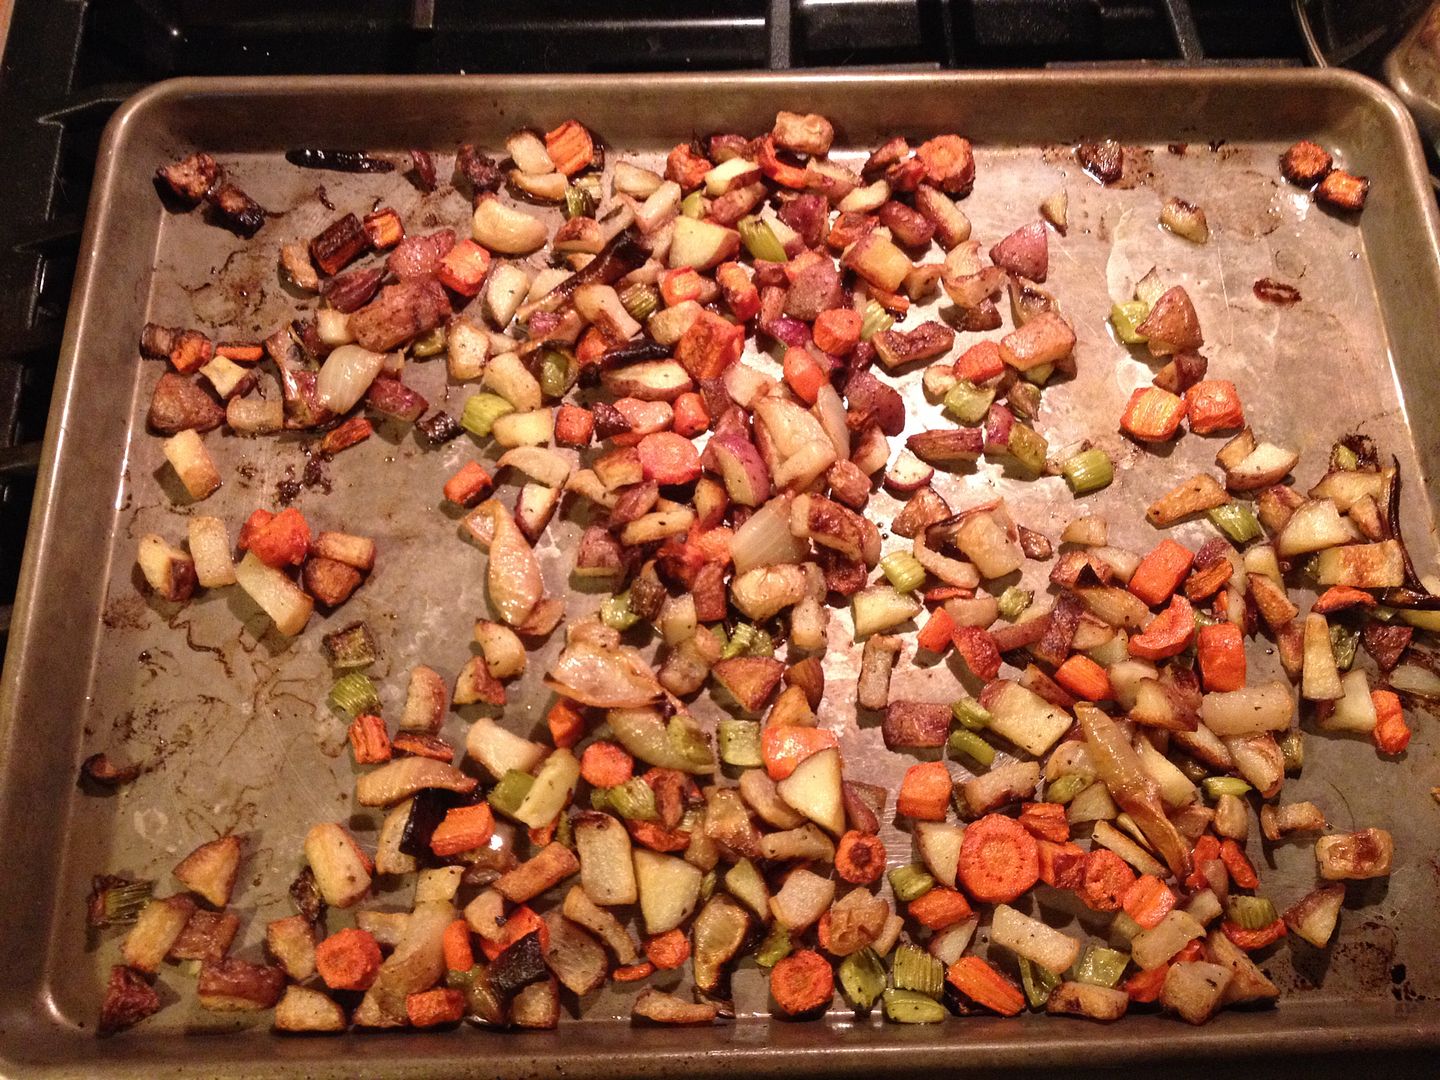

I love these veggies.  The onions, garlic, and carrots develop a nice, crispy caramelization that mixes well with that roasted potato and turnip crunch.  Feel free to add in other vegetables as you see fit.  I am going to try this again with some parsnips in the future.  You can also add other spice combinations as you see fit pair with the meat you are serving as well.

One thing that I always forget is how much veggies can shrink during the roasting process.  This recipes is enough for three people.  I would recommend doubling the recipe for a family of four or more.

Thanks for stopping by,

Bill

Sunday, September 15, 2013

Roasted Cauliflower with Garlic and Thyme

I know the thought of eating cauliflower can prime the gag reflex on even the most adventurous of eaters.  For me cauliflower is a take it or leave it proposition.  On its own, it has a bland taste.  I usually add liberal amounts of butter, salt and pepper.  Or I smother it in cheese sauce.  But, our friend Joanie introduced us to roasted cauliflower.  Roasting caramelizes the cauliflower, bringing out a nutty, rich flavor.  Here is how I made it last weekend.

After picking up a nice head of cauliflower at the local farm market, Hope broke it down into medium sized florets, washed, and dried.  I added 1/2 of a thinly sliced sweet onion.  Then, I made a olive oil slurry to coat the cauliflower:

Enough olive oil to liberally coat your florets.  I used about 1/4 cup for this head
3 garlic cloves, minced
1 tsp of rubbed, whole thyme
A generous grind of sea salt and pepper

Joanie added hot pepper flakes to her olive oil mix.  You can do so if you like some heat.  I imagine you could experiment with any spice mix that you desired.

I took the olive oil slurry, poured over the cauliflower and onion, tossed to coat everything, then spread into one layer on a cookie sheet.


I then placed on the top rack of our smoker at 350 F and roasted for 1.5 hours.  After 45 minutes, I went out and mixed up the florets on the sheet to promote even browning.  Here is what they looked like when they were done.


The pieces with the most brown were the best.  Sweet and caramelized with a bit of crunch.  This roasted cauliflower tastes nothing like its steamed cousin.  Go ahead, give it a try.  You won't be disappointed.  I eat this stuff like buttered popcorn.

In the coming weeks, I will be posting some other recipes that you can create with this roasted treat.  Check back to see what we will do.

Thanks for stopping by,

Bill
Tuesday, August 27, 2013

Roasted Peppers, Onions, Tomatoes, and Olives with Feta Cheese for the Smoker

When I go to Germany, this is a go to meal when I am tiring of all that heavy German cuisine.  It is also  a great way to deal with your garden veggies for which you probably have run out of ideas for use and consumption.  In Germany, this is called Shaftkase mit Peperoni and Knoblach (Sheep Cheese with Peppers and Garlic).  I call it delicious!

First, I brought the smoker up to 350 F, no wood in the ash pan for flavoring.  Then, I sliced some onion and jalapeno, then added in some pitted Kalamata and green olives, plus two whole cloves of garlic.  Then, I seeded and rough diced some pickled pepperoncini and mixed everything in a bowl with some sea salt and olive oil.  This mix was placed in a cast iron skillet and put on the smoker for 30 minutes.


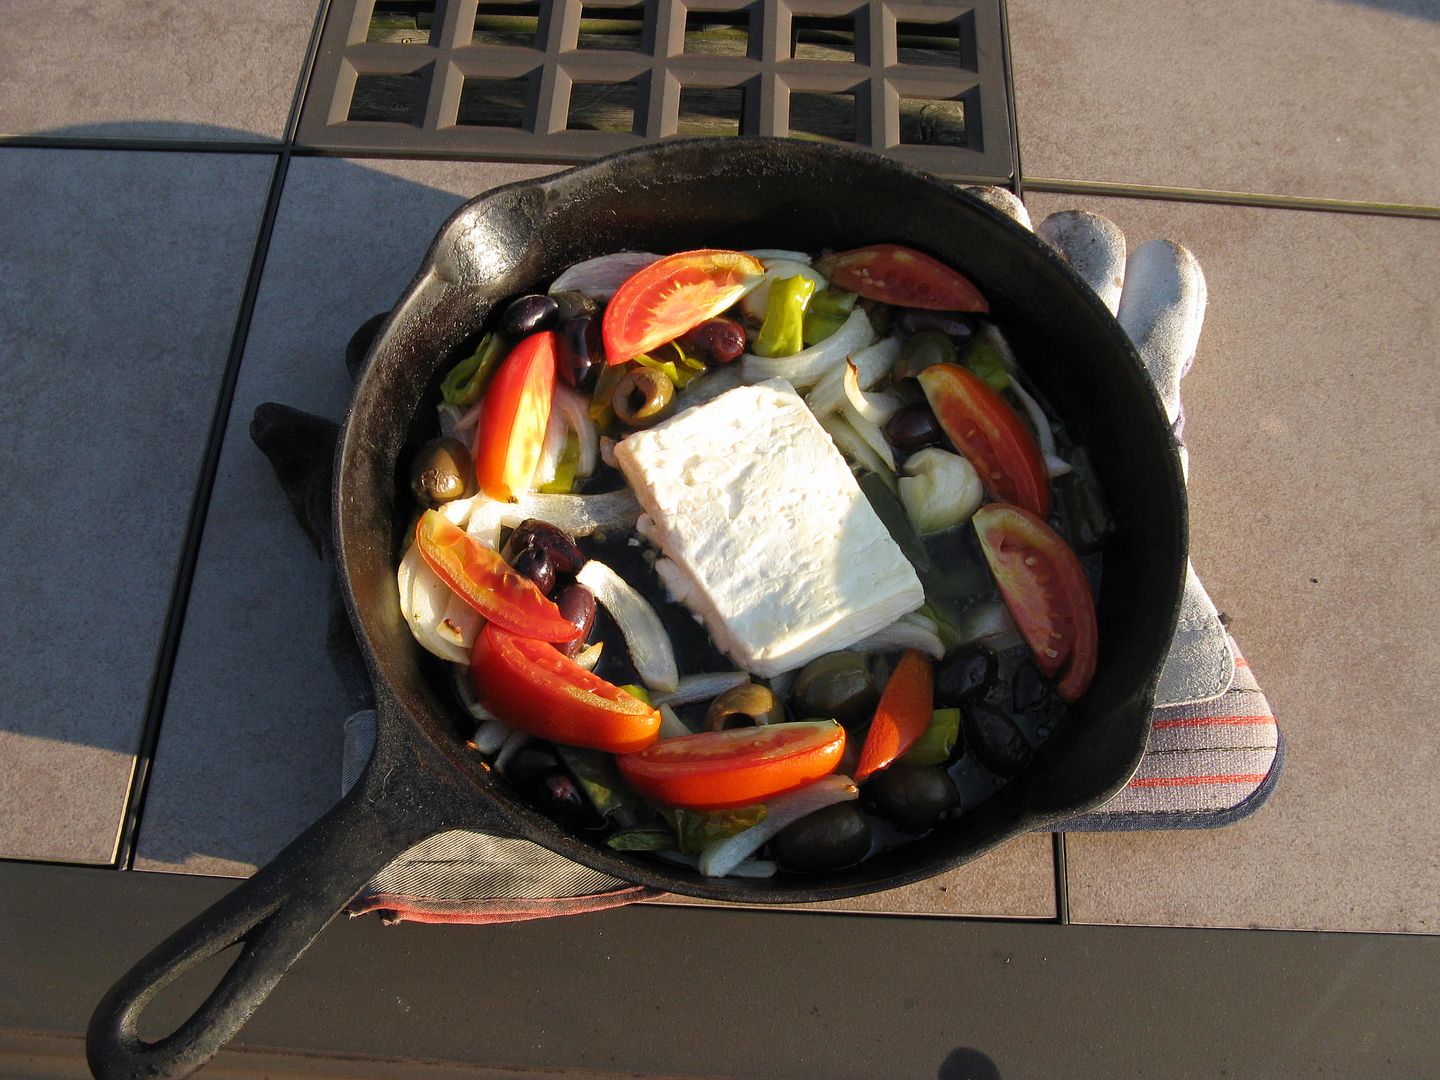
After 30 minutes, I added a slab of fresh feta cheese and Roma tomatoes, sliced into quarters.


Then, I put back in the smoker for 30 more minutes and served hot with crusty Italian bread on the side.


The feta does not melt, but it has a slight brown color on top and is soft enough to spread.  The veggies are tender crisp, the olives are lightly roasted, and so are the tomatoes.  I place a little bit of everything on crusty bread and dig in.  Once the good stuff is gone, make sure you have enough bread to sop up all of that garlic and pepper flavored oil.  This is a nice, light summertime meal.

Thanks for stopping by,

Bill

Saturday, April 6, 2013

Another Practice with a Home Cured Ham and a Veggie Roast

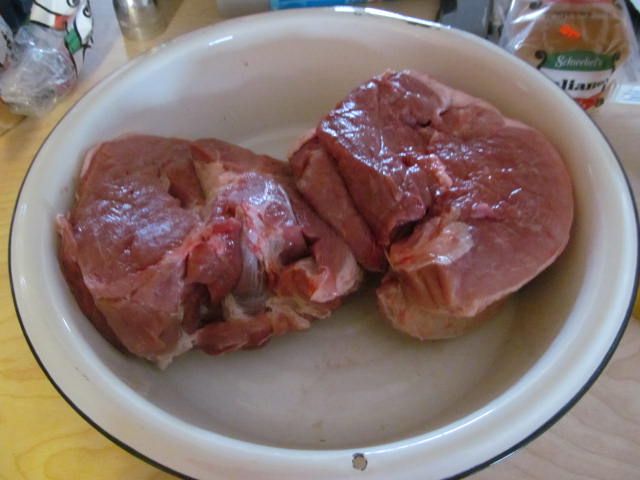
Earlier in the year, I gave making a home cured ham a whirl.  We liked the taste, but I was a bit unsatisfied as the cure did not make it to the middle of the ham.  So, for Easter, I cured three, five pound fresh hams and took a different approach.

Before coating the outside of the ham with the sugar/salt mix, we made a small batch of brine for injecting.  It was 1/2 cup of turbinado sugar, 1/2 cup of sea salt, and 1 cup of water...


We brought it to a boil, placed in a pint canning jar, and let sit in the refrigerator all day long to cool down.  Once chilled, I injected into the deepest part of all three hams...


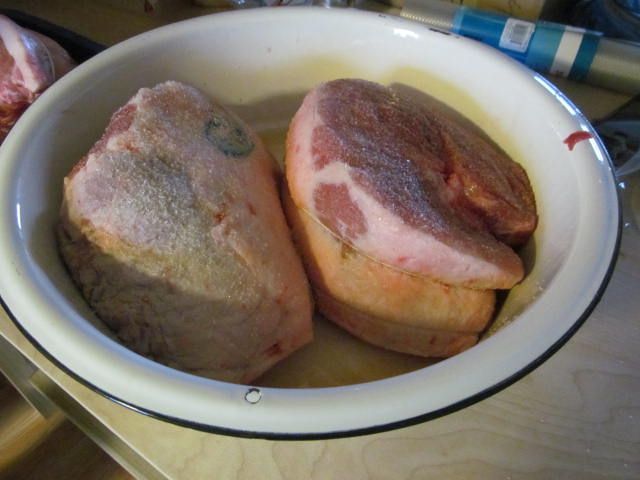
Then we covered with a 50/50 mix of sea salt and turbinado sugar, covered with foil, and placed in the refrigerator...


After three days, we removed from the refrigerator, drain the water that had been pulled from the pork by the sugar/salt mixture, and reapplied the sugar/salt mix...


Look at all of the water that was pulled out of the meat in just three days.  Impressive if you ask me.

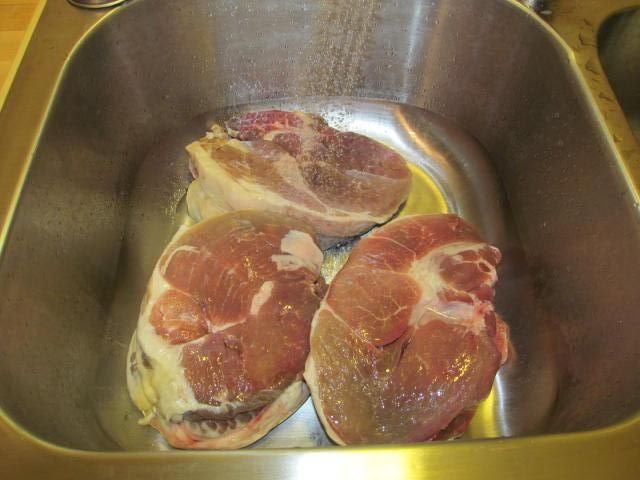
Then, after eight total days of cure time, I rinsed the hams thoroughly with cold water to remove the excess salt and sugar...


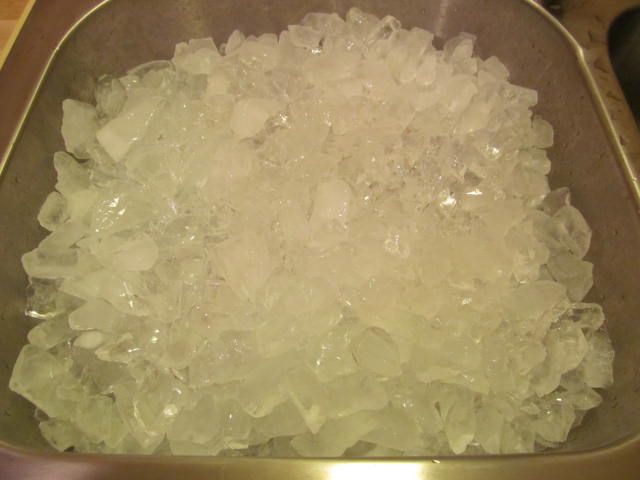
Then I covered with ice to sit over night and remove more of the salt/sugar mix...


The next day, I fired up the smoker and removed the racks inside so that I could hang my hams for smoking.  While I was waiting on the smoker to come up to temperature, 200 F, I prepared my hams for smoking.  I removed them from the ice and patted them dry.  Then I prepared my ham stockings...


I purchased these ham stockings so that I could smoke hams, but I can't wait to use them to make chicken stock.  Just put your chicken and veggies in one of these and you should eliminate the hassle of straining the broth.  But, I digress...

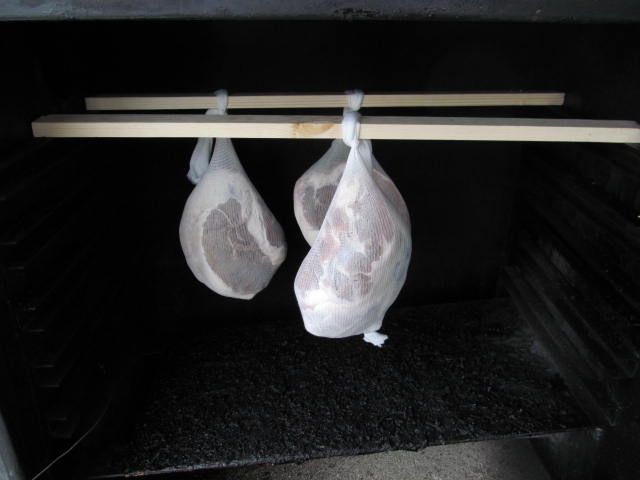
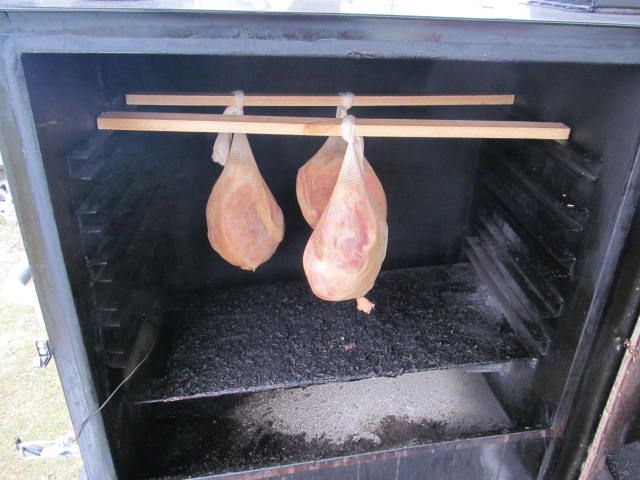
After the hams were placed in their Easter stockings, Hope tied them to the wooden hangers.  I used untreated pine for my hangers, and had pre-seasoned them in the smoker.  Don't use treated wood as you may leach chemicals from the wood into your meat.  Bad news...  Once tied, I placed the ham into the smoker with a 50:50 mix of hickory and apple smoking wood in the ash pan...


After three hours...


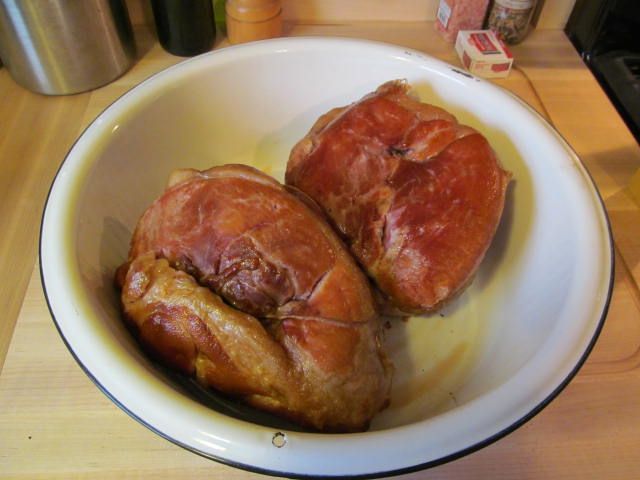
I took the hams to an internal temperature of 150 F.  Then, I pulled two of the hams to chill and freeze for later in the year.  With the third ham, I ramped the temperature of the smoker up to 350 F and brought the internal temperature of the ham to 165 F for dinner.  Here are the two hams I pulled at 150 F...


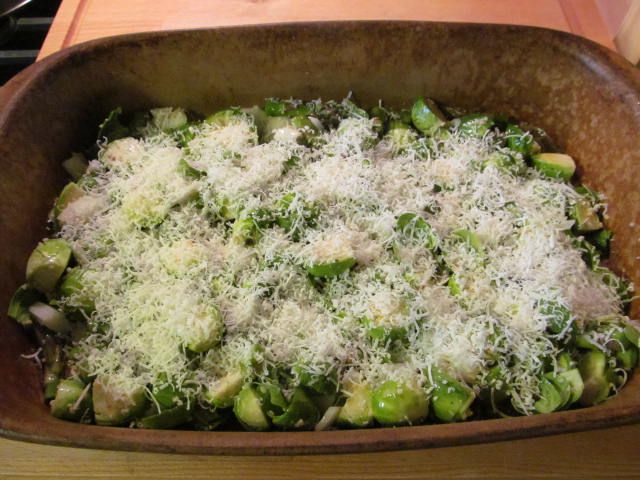
For a side dish, I made a brussel sprout and asparagus roast (yes, fresh asparagus is back!)


Quick and simple...

Brussel Sprout and Asparagus Roast

1 lb fresh brussel sprouts, cleaned, trimmed, and cut in half
1 lb fresh asparagus, cleaned, trimmed, and cut into 1 inch pieces
1/4 large sweet onion, diced
1 tbsp garlic
Fresh ground pepper and sea salt to taste
Olive oil for coating
Parmesan Cheese to cover

Mix all of the ingredients in a bowl with enough olive oil to coat thoroughly.  Spread in the bottom of a 9 x 12 pan that has been sprayed with cooking oil.  Cover with fresh grated Parmesan cheese.  Place foil over top to seal and place in a 350 F oven.  Bake for 30 minutes and remove foil.  Cook 15 more minutes or until the cheese and veggies are starting to brown.

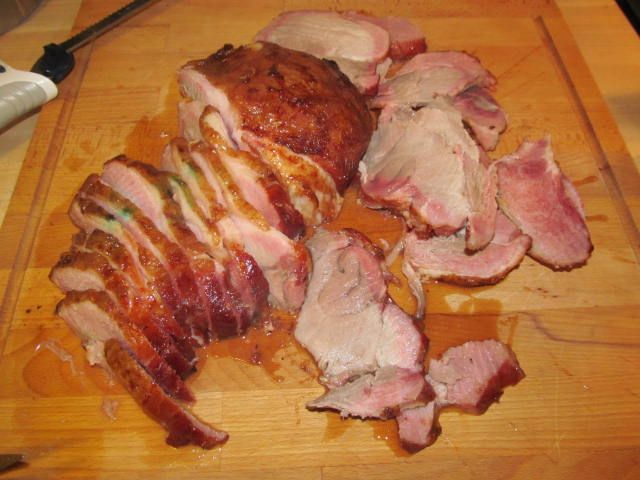
Once the ham was done, I brought it inside, let rest for 15 minutes, then sliced...


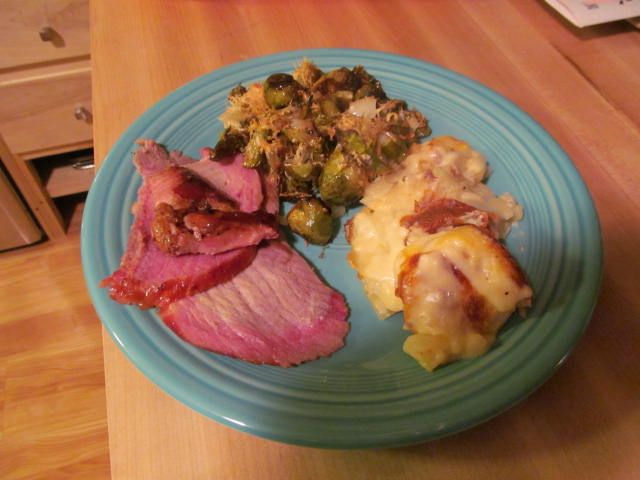
Served with the brussel sprout/asparagus roast and some homemade scalloped potatoes...


We really do like home curing the ham.  It allows us to make a ham with great smoky flavor and a lower salt content.  It is still a work on progress, but we are closer to a recipe that will make us happy.

Thanks for stopping by...

Bill