Once we purchased our larger smokers, one of the things on our bucket list to try was homemade, cold smoked bacon. Bacon is good, bacon is great, bacon is addictive! Last year when we made some, the results were great. I used Hi Mountain Buckboard Bacon cure last year, then when we smoked the bacon, we just took to a lower temperature than called for in the box recipe. This year, I wanted to try and cure the bacon the old fashioned way: with salt only. We are trying to get away from those nitrates that you find in regular cured meats. So, I talked with some people at work who cure and preserve some of their venison from hunting season and applied it to homemade, cured bacon. Here is the process, step by step, and the results. I think you'll like what you see...
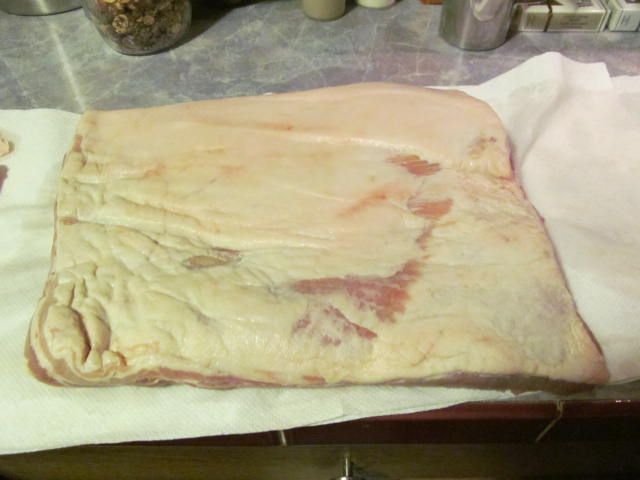
First, we purchased a 5 lb pork belly from Dave's Country Meats...
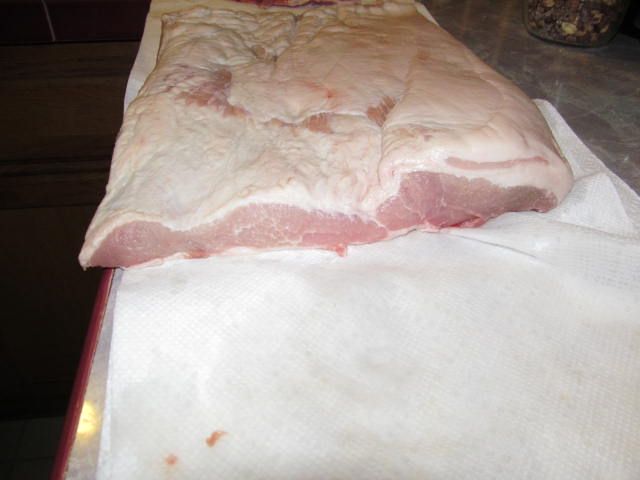
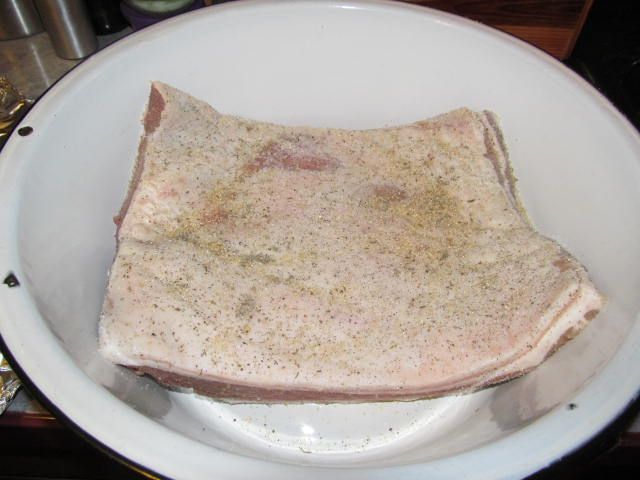
As you can see from the side, it is a blank canvas, just ready to become tasty bacon...
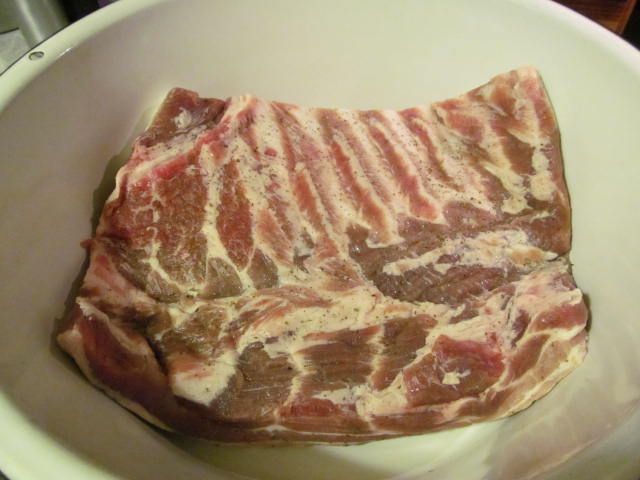
All I did to prepare this belly for curing was to rinse well with water, pat dry, and cut a small flap of meat off of the back to make the piece of meat uniform...
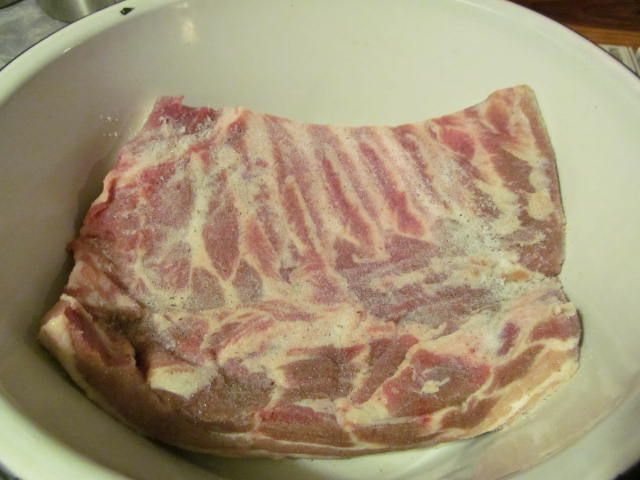
Looks a lot like ribs without the bone? Well, you are right. Another name for pork belly is pork side. It comes from the side of the pig and is part of where the spare ribs come from. You could actually cook this piece of meat like ribs. That just might be a future post... But, I digress...
Next, I placed the pork belly in a non-reactive container large enough to hold 5 pounds of future, bacony goodness. I just happen to have a ceramic wash basin that has been in the family for years and was passed down to me by my mother. It is perfect for mixing large batches of stuffing, etc...
Into my spice shaker, I placed 1/4 cup of sea salt, 1 tbsp of sage, and 1 tbsp of turbinado sugar. One of the pros of curing your own bacon is that you can add whatever flavors you would like. I was going for more of a traditional savory/sweet taste with my first experiment. But, you could add garlic, dried ground peppers, cracked pepper... The possibilities are endless.
I thoroughly seasoned both sides of the belly making sure to cover all surfaces, placed aluminum foil on the top, and put in the refrigerator for 24 hours. After 24 hours, here is what the belly looked like...
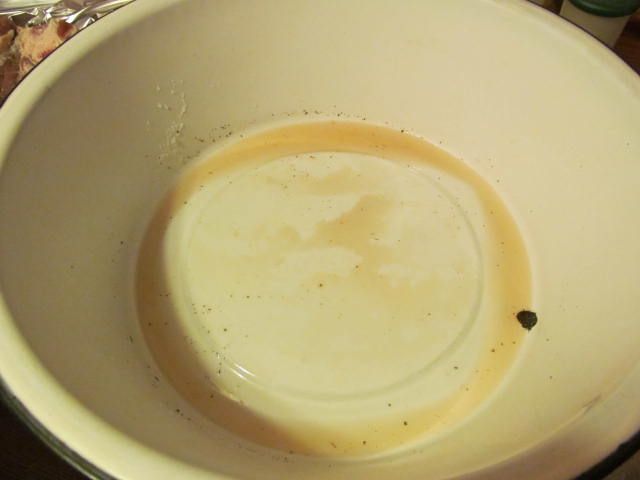
And here is the liquid that was extracted from the meat due to the salt...
A closer inspection of an outside piece of the belly shows that the salt is doing what we want: removing the liquid...
The belly at this point is feeling firmer due to the reduced water content and turning that red color that comes from the curing process.
At this point, I washed and dried the container and re-seasoned the belly with 2 tbsp of sea salt, 1 tbsp of sage, and 1 tsp of turbinado sugar. Then, I covered with foil, and put back into the refrigerator for 24 more hours...
This process was repeated every other night for a total of five days. After the fifth day, I soaked the meat in cold water for about an hour to remove as much of the salt as possible and patted dry. Here was the pork, ready for the smoker...
At this point, I heated up the smoker to 175 F and added hickory to the ash pan. I placed the belly on the top rack and the meat received a generous 12 hour smoke. I added hickory to the ash pan every hour to ensure the belly was getting a healthy amount of smoke. We like smoke around here! Here is what the belly looked like after the 12 hour smoke...
I covered the pan with foil and placed the bacon outside to cool so that it would firm up for slicing, about 4 hours at 28 F outside.
We have a smaller slicer, so we cut into quarters so that it would fit on the slicer...
Sliced heaven on a plate...
Vacuum packed and ready for the freezer...
A couple of test slices, fried up for quality control...
The flavor was outstanding. The outside pieces were a bit salty, but the rest was perfect, bacon goodness. In the future, I am going to experiment with different flavors and smoking woods to find the perfect slab of bacon.
Thanks for stopping by...
Bill






Interesting curing method.Alton Brown has a good recipe for a wet cure using molasses and no nitrates. I want to try cold smoking someday.
ReplyDeleteI know your bacon was fantastic.
It was good for sure. I'll have to check out the Alton Brown recipe. Thanks for the tip...
ReplyDelete