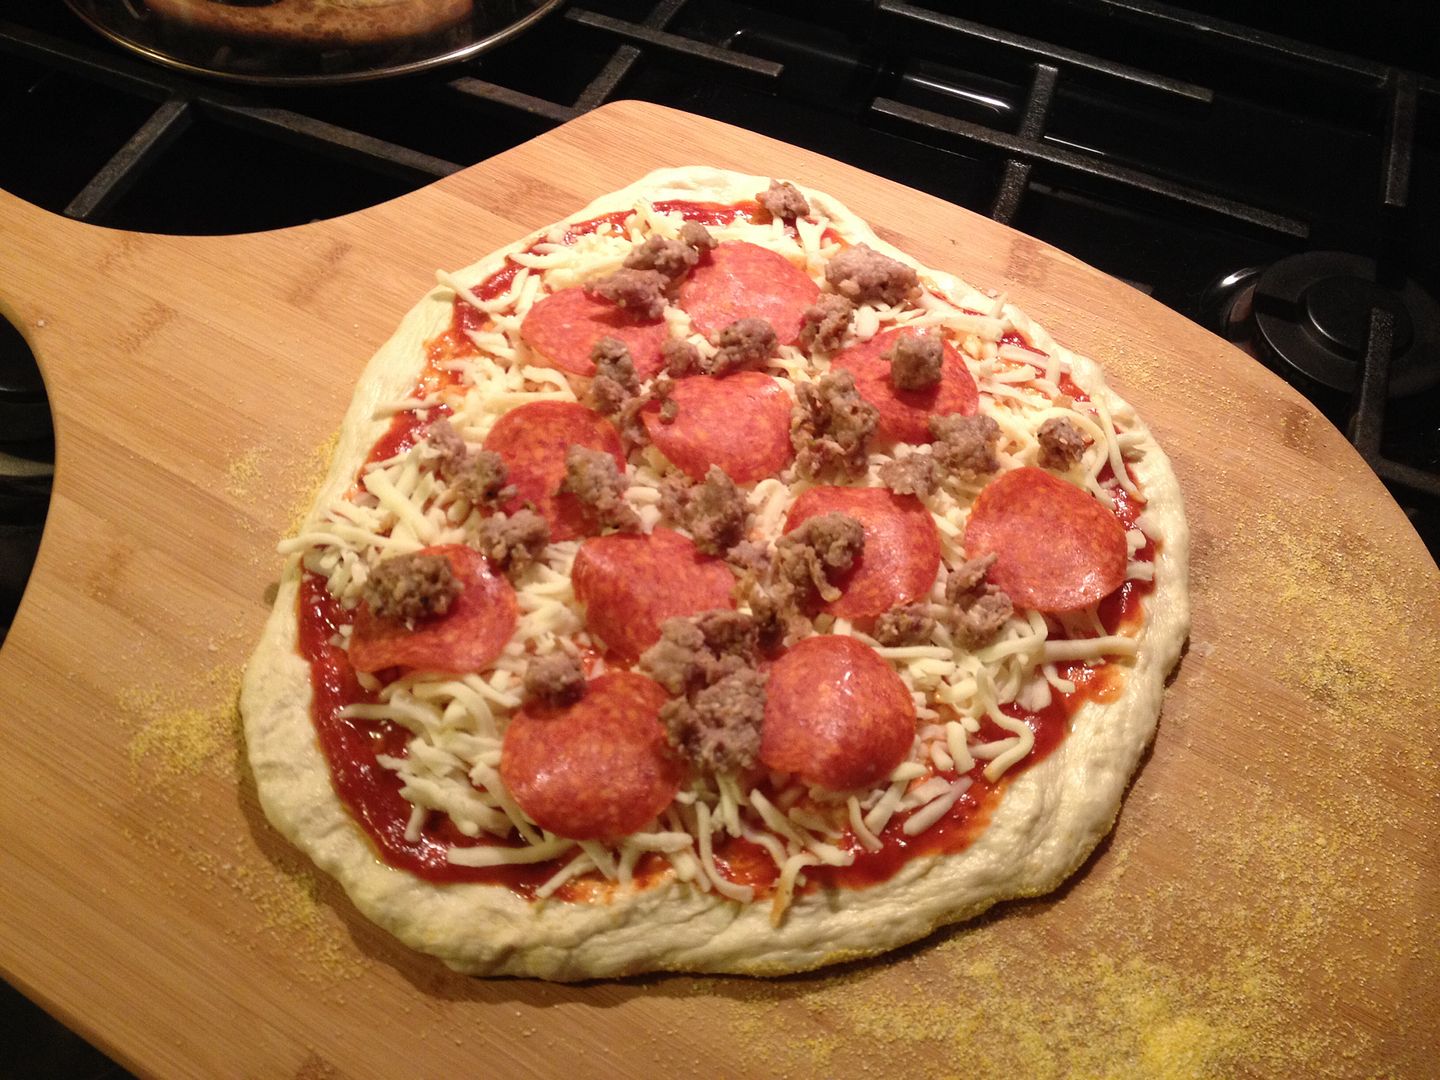
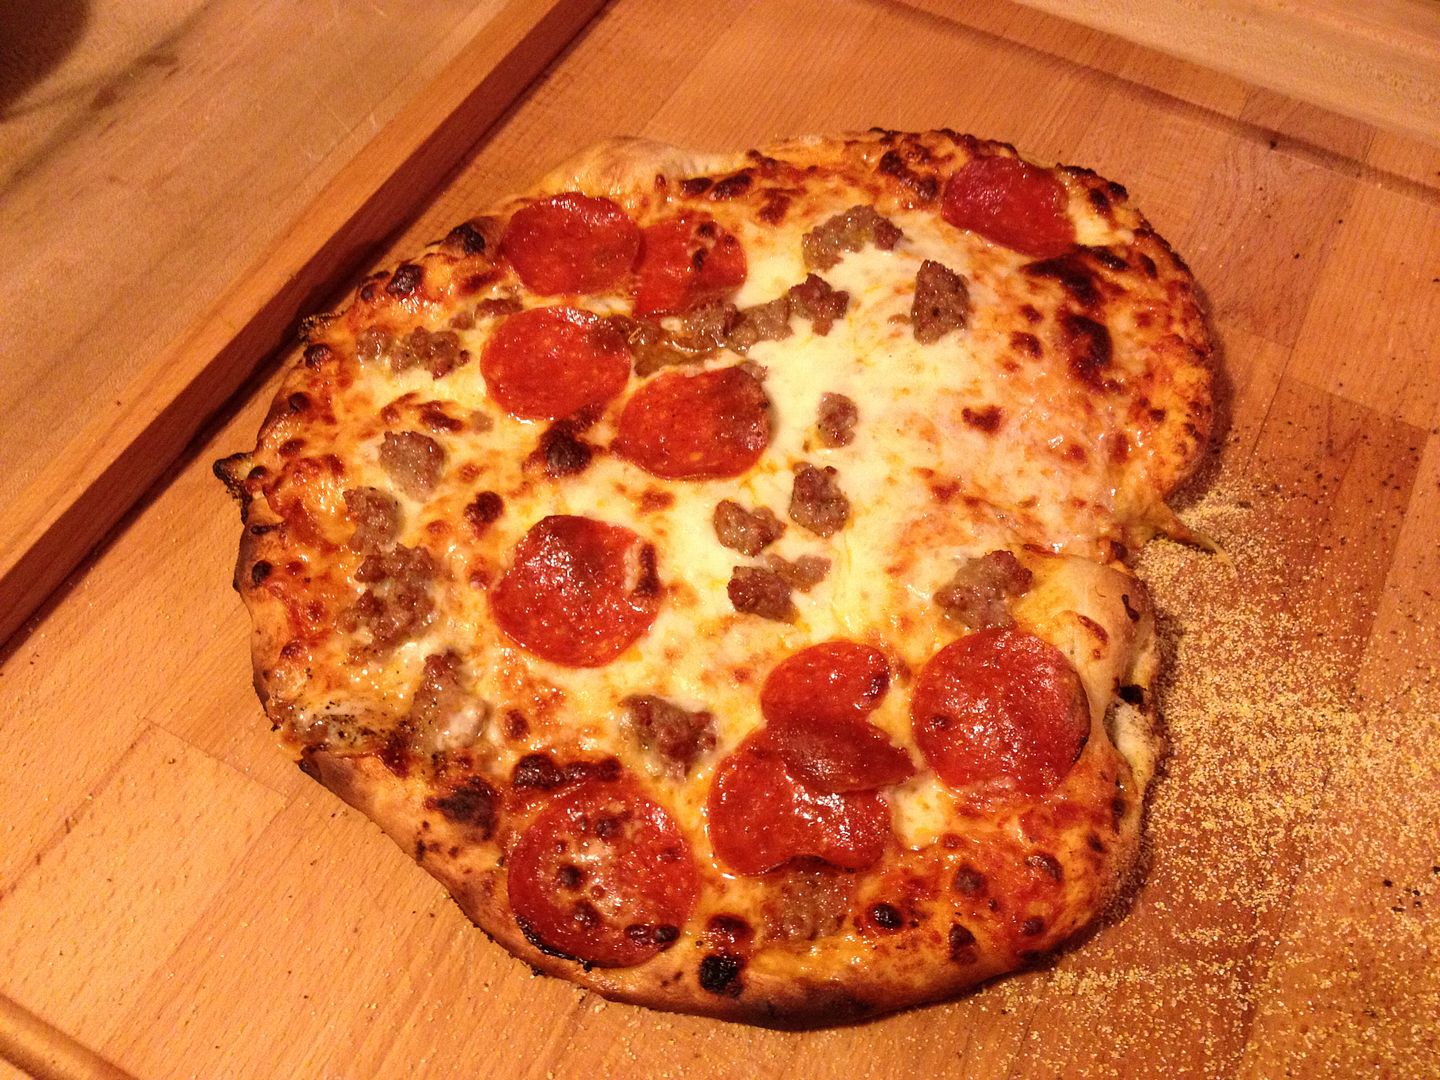
It was early in the day Super Bowl Sunday. We had yet to be excited by the best catch in the history of the game to be followed by the worst play call in the history of organized football. On our minds was the topic of eats. What to make? After looking through the refrigerator, we decided upon a traditional go to meal for the big game. Pizza. Hope and The Youngest wanted a traditional pie with sausage, pepperoni, and cheese. I was looking for something different.
I set forth to rummaging through the refrigerator for some ideas. Perhaps Greek yogurt and spinach? Nah. Olives, broccoli, and processed cheese product? Nope. My eyes fell upon the batch of pinto beans I had made the day before. It had been awhile since I had indulged in some Mexican fare. I had just bought a chunk of Thunderjack cheese the other day. Hmmm, a plan was developing. Lets to go back to the pinto beans and start from the beginning.
My mom has made pinto beans for years. Beans are not every ones cup of tea, but I grew to like them. No, actually love them. Beans of all types prepared in many ways. But, my go to dish is Mom's good old pinto bean recipe. Quick, simple, and great with some stovetop Mac and Cheese and a wedge of corn bread. Here is the recipe:
Homemade Pinto Beans:
1 lb dried Pinto Beans. Rinsed and stones removed.
1 small sweet onion, roughly diced.
1 bell pepper, roughly diced.
4 cloves of garlic, minced.
1 Tbsp of freshly ground pepper.
2 tsp ground cumin
Salt to taste.
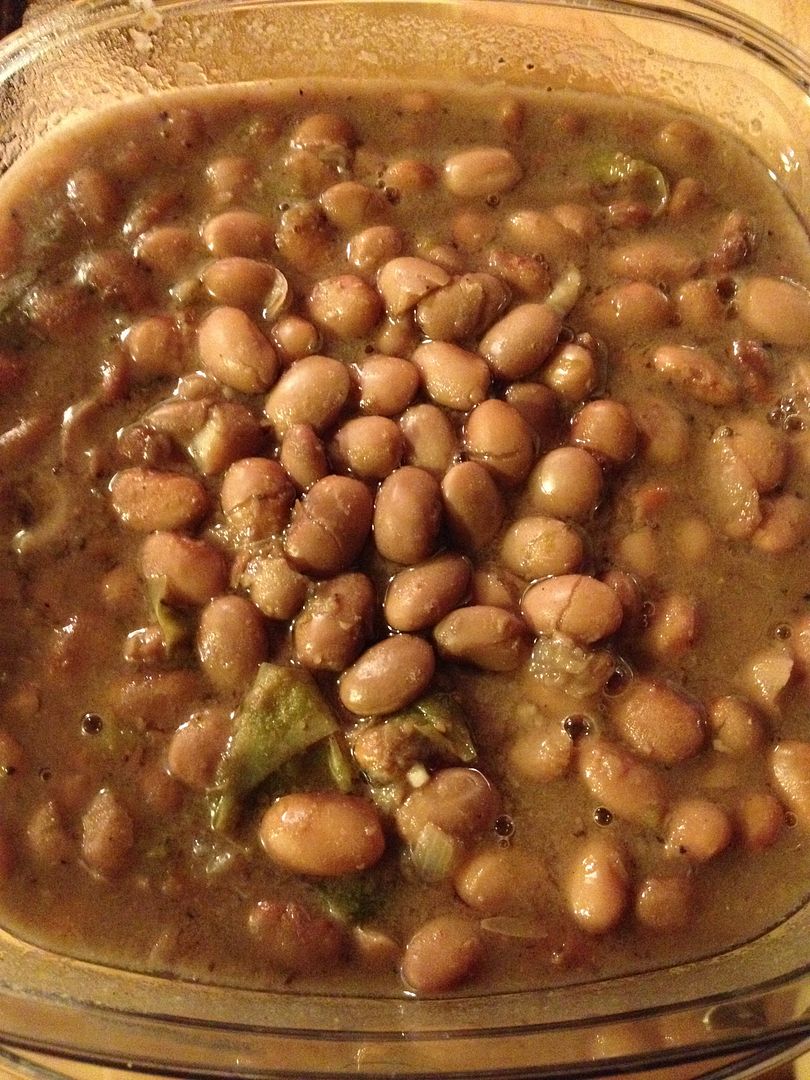
I soak my beans over night. You don't have to do this, but I think that it provides a smoother bean after cooking. After soaking overnight, drain your beans and rinse with cold water. Place the beans and all of your ingredients, except the salt into a pot with enough water to cover and an inch more. if you cook with the salt at the beginning, you will end up with a tough bean that is no fun to eat. Bring your pot to a boil, then simmer your beans for three hours. I crack the lid on my pot so that I reduce the amount of liquid a bit while cooking. Why? I like a thicker bean. After cooking, remove the beans from the heat and add salt to taste. You could add a hamhock or some bacon while cooking, but I like the pintos just like this. Here was my last batch.

How was I going to incorporate beans into a pizza? Refried beans of course. This recipe is quick and simple and way better than any refried bean you will get at a Mexican restaurant.
Homemade Refried Beans:
One cup of your Pinto Beans, plus the liquid.
1/4 cup shredded four cheese Mexican blend.
Olive Oil for your pan.
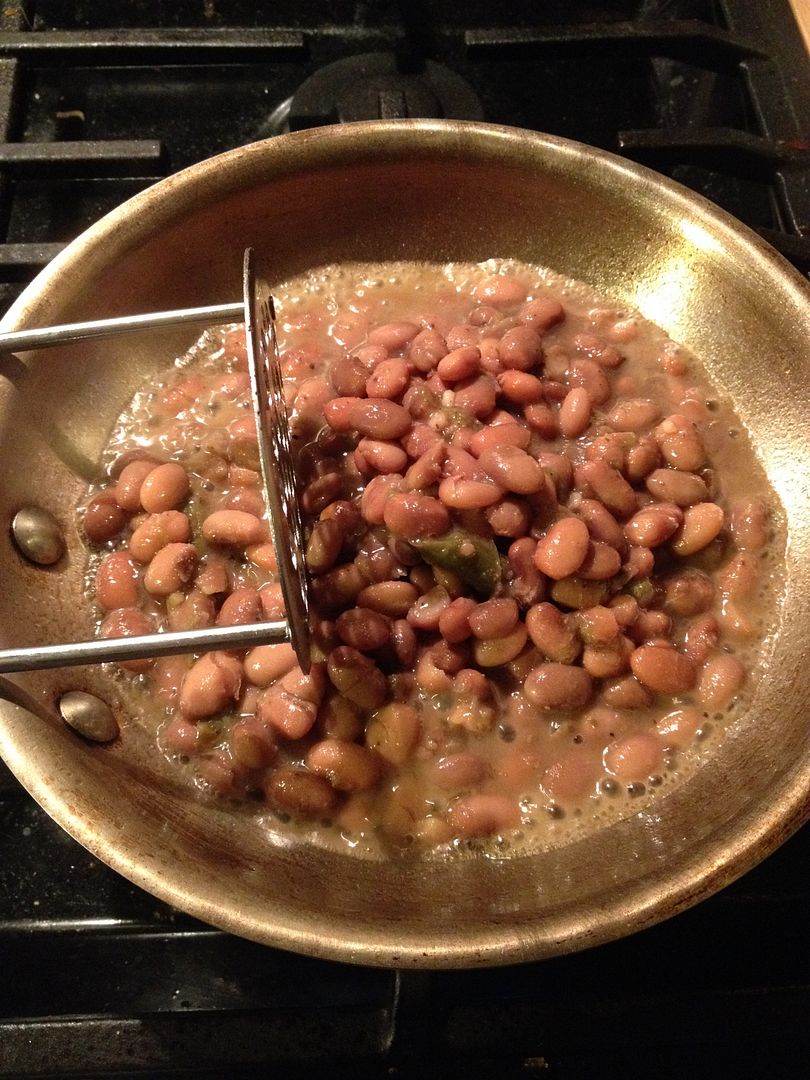
First, get a small skillet and add just enough olive oil to prevent your beans from sticking. Turn your burner to medium heat. Once the oil is starting to shimmer, twirl your pan to coat all surfaces and add your beans. Then, start mashing your beans with a potato masher.

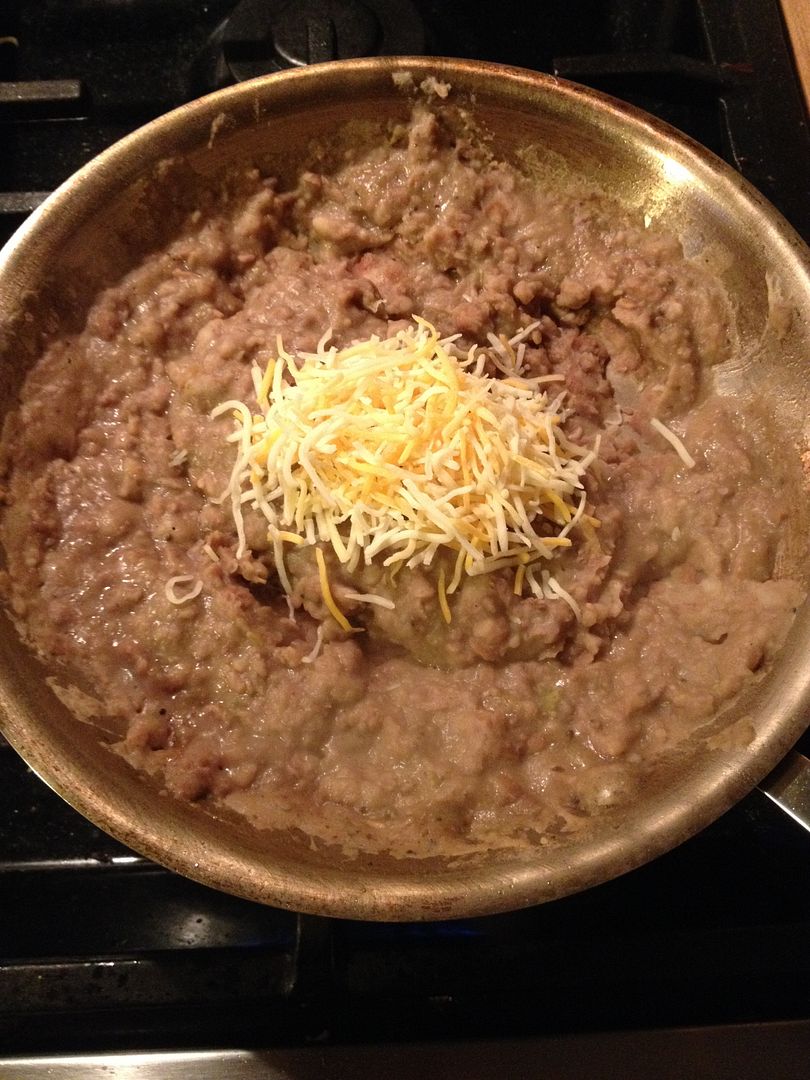
Once you get your beans to the consistency you want, add the cheese and mix until melted and combined.

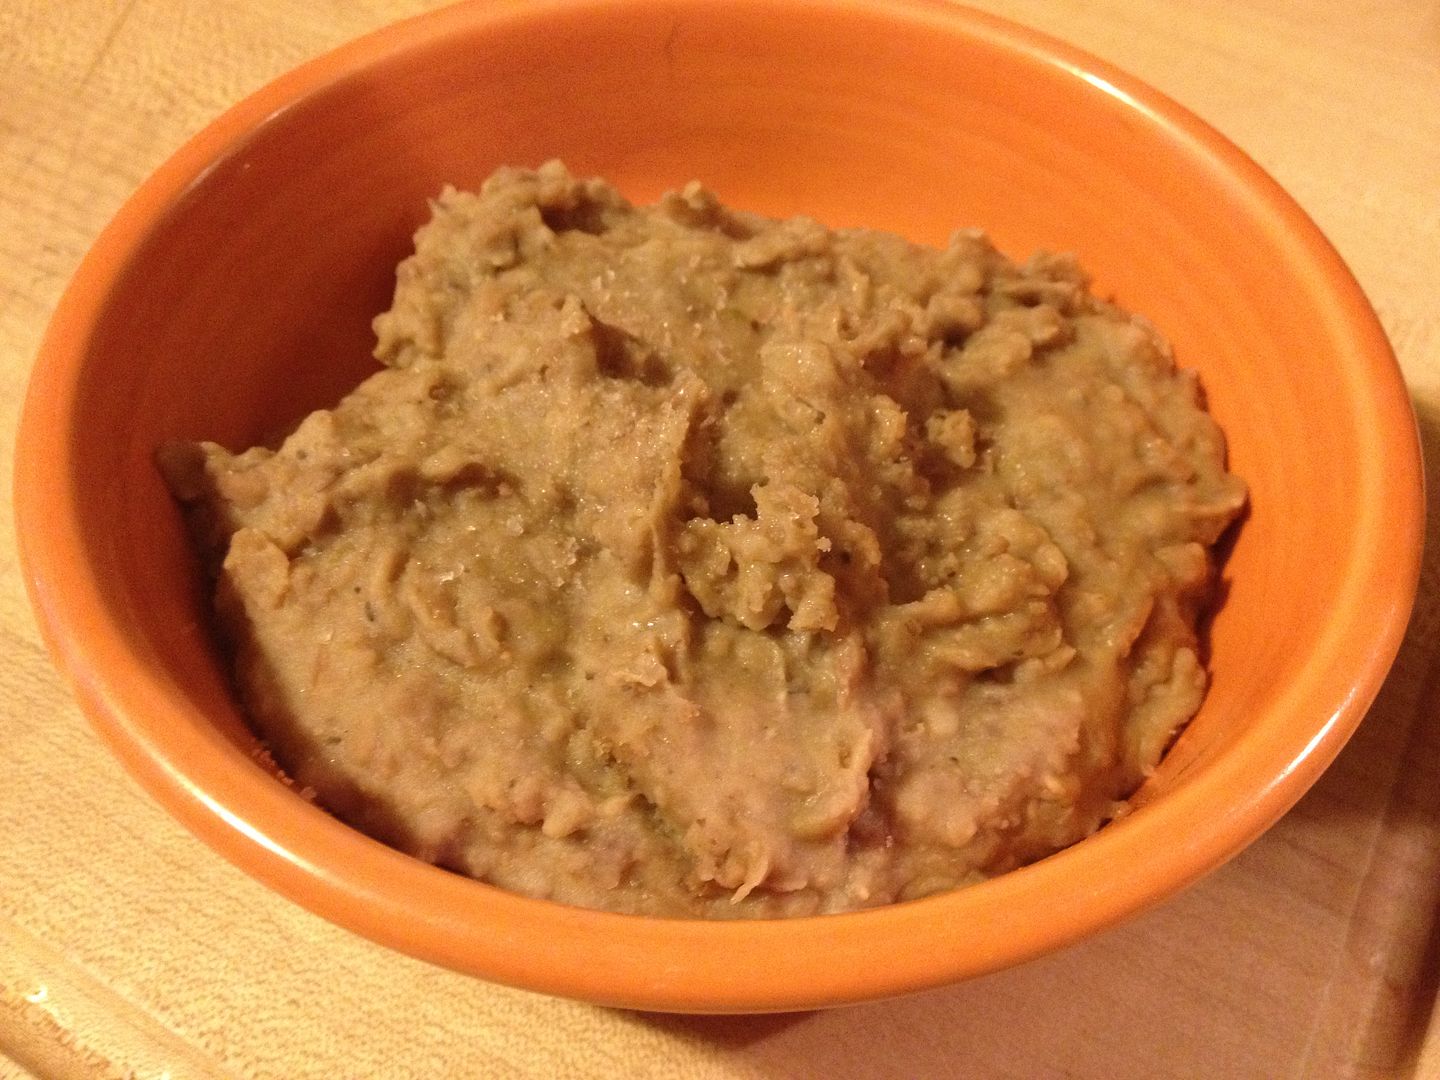
I do not mash my beans until they look like something that comes out of a baby food jar. I like some texture to my refried beans. I would say the biggest chunks are about 1/4"

Now, for the pizza. First, Hope made a batch of pizza dough. Here is the recipe. It is Jeff Smith's The Frugal Gourmet Cooks Italian Recipe...
Pizza Dough
3 1/4 cups AP flour
1 tbsp yeast
1/4 tsp sugar
1 tsp salt
2 tbsp olive oil
1 1/4 cups warm water
Put all of the ingredients into a bread machine, yeast on the bottom. Hit start and let your machine go through one knead and raise cycle. Then remove your dough from the bread maker and cover with a clean towel for 15 minutes to raise. When handling the dough, spray your hands with cooking spray. You'll thank me later...
Quesadilla Style Pizza:
1/2 of our Pizza Dough recipe
1 cup of Refried Beans
Enough sliced Thunder Jack Cheese to cover your pie
1/2 small Red Onion, diced
2 oz Black Olives
Hot Peppers, sautéed in oil, to taste. You could use sweet if you like
Lets run through the ingredients.
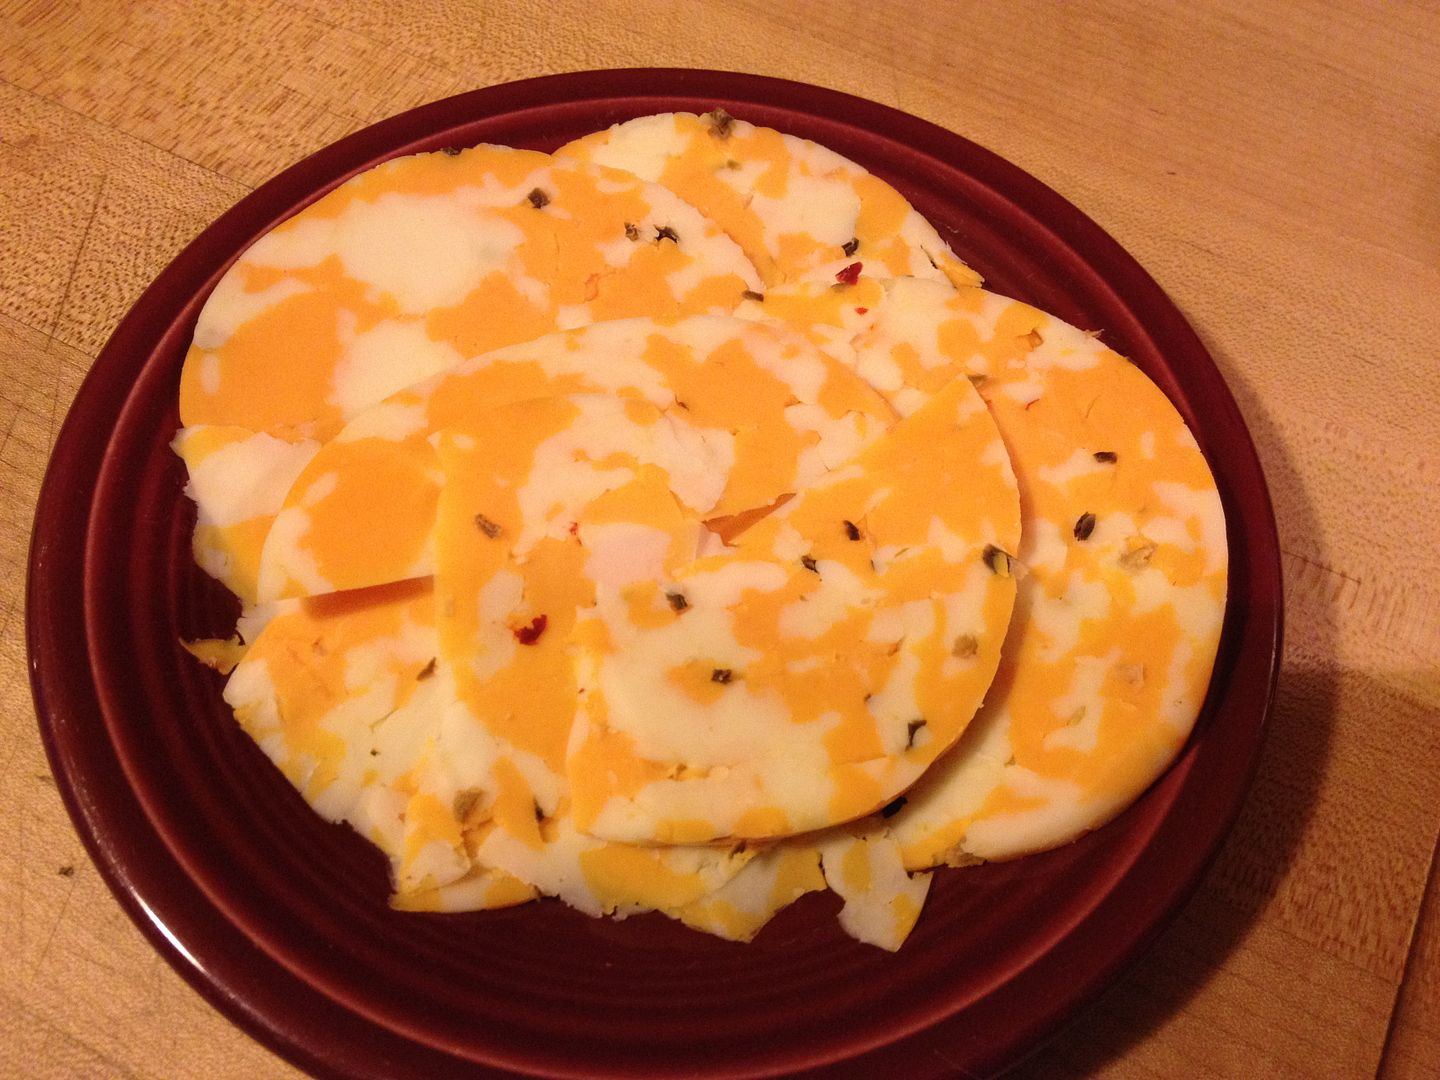
Thunder Jack Cheese is the best Co Jack I have found at our local grocery store. It can be found in the specialty case of your local Big Bird. It is better than any pepper jack cheese I have ever found. It has that great Co Jack flavor with big hunks of real pepper. I could eat the whole block myself.

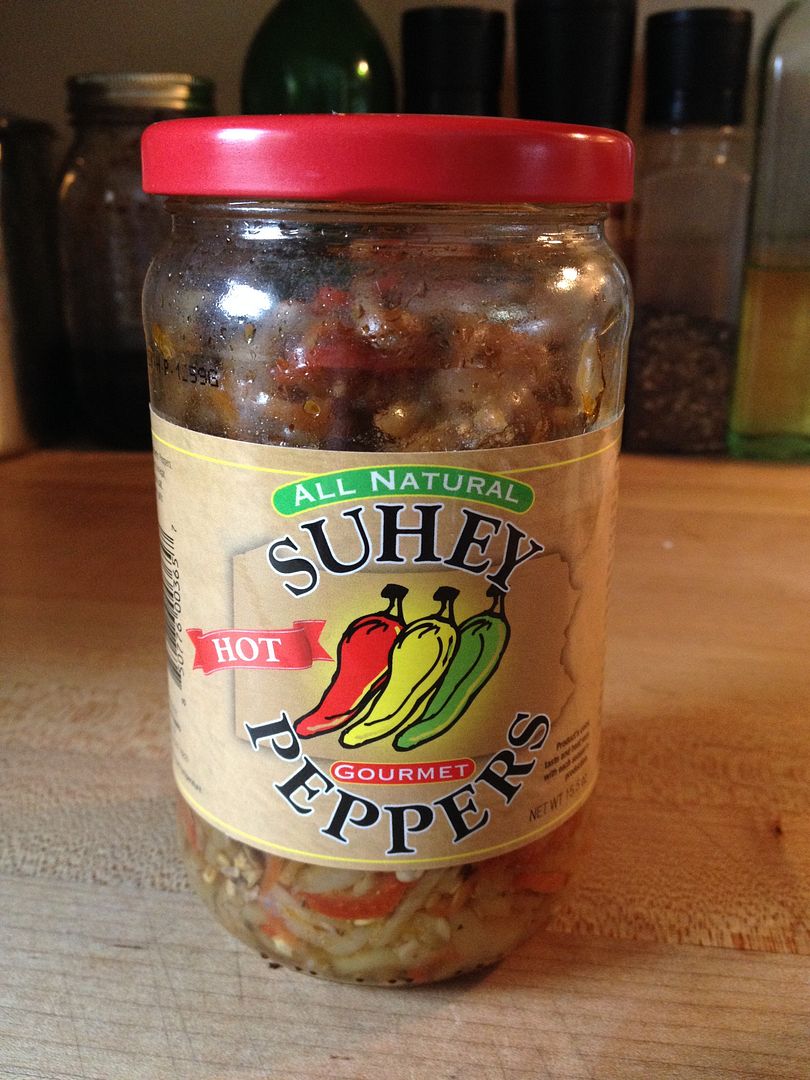
Next up, the hot peppers in oil. I have found a great product from Suhey's Peppers. Suhey, sound familiar? Yes, these peppers are made by the same Matt Suhey that rumbled through the Penn State backfield back in the day. It is tough for a Pitt guy to like this product, but I have put my college rivalry aside. These peppers are perfectly spiced and prepared with whole cloves of garlic. These peppers top out on the top of the heat scale. Blazing hot, but not in an obnoxious way. They add lots of flavor to any dish. I have even started adding them to my tossed salads. Warning though, they are not for the capsicum challenged. Suhey's does make a sweet variety that is just as good. I recommend either.

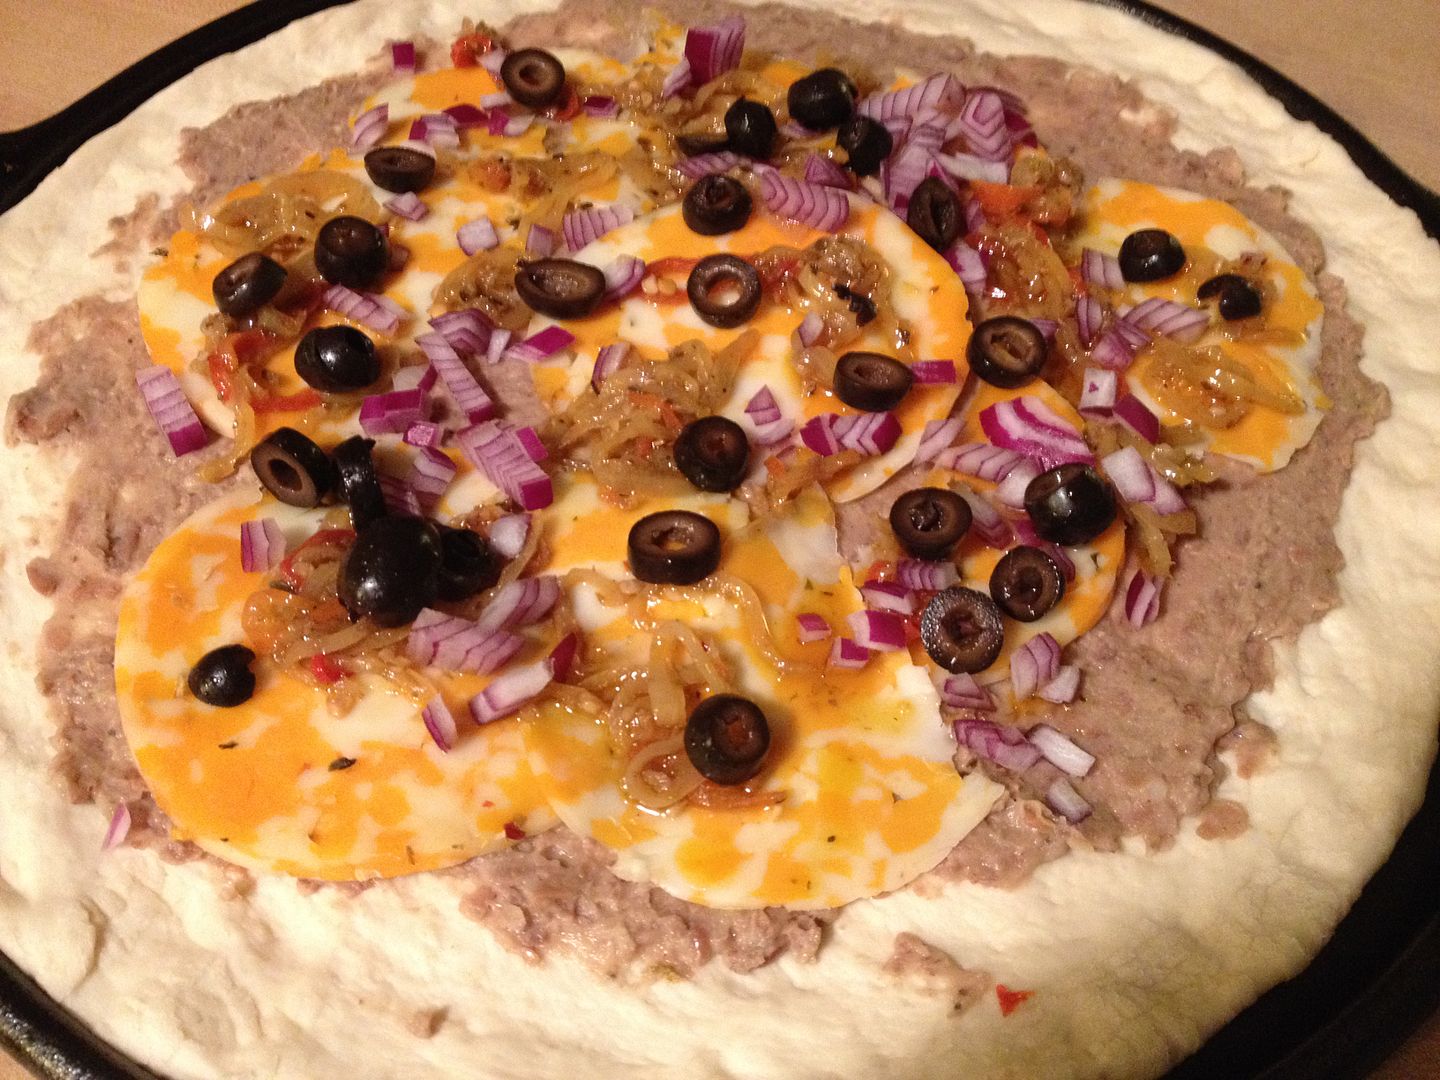
So, I built my pizza. I spread my refried beans on my crust, then topped with the cheese, onion, olives, and peppers.

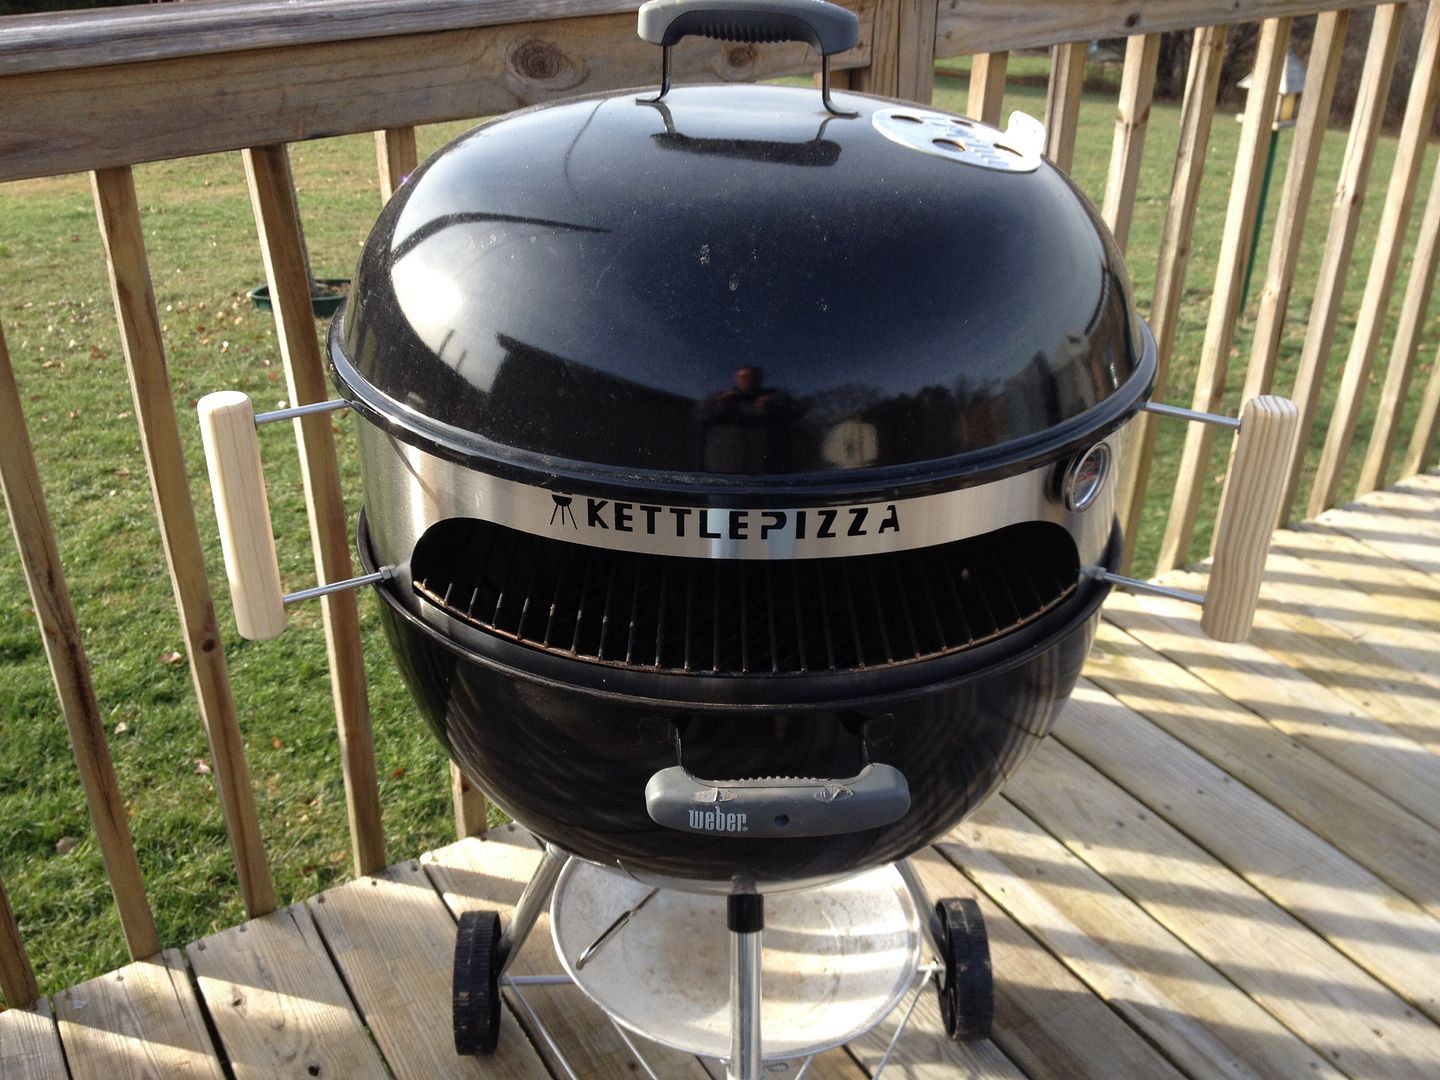
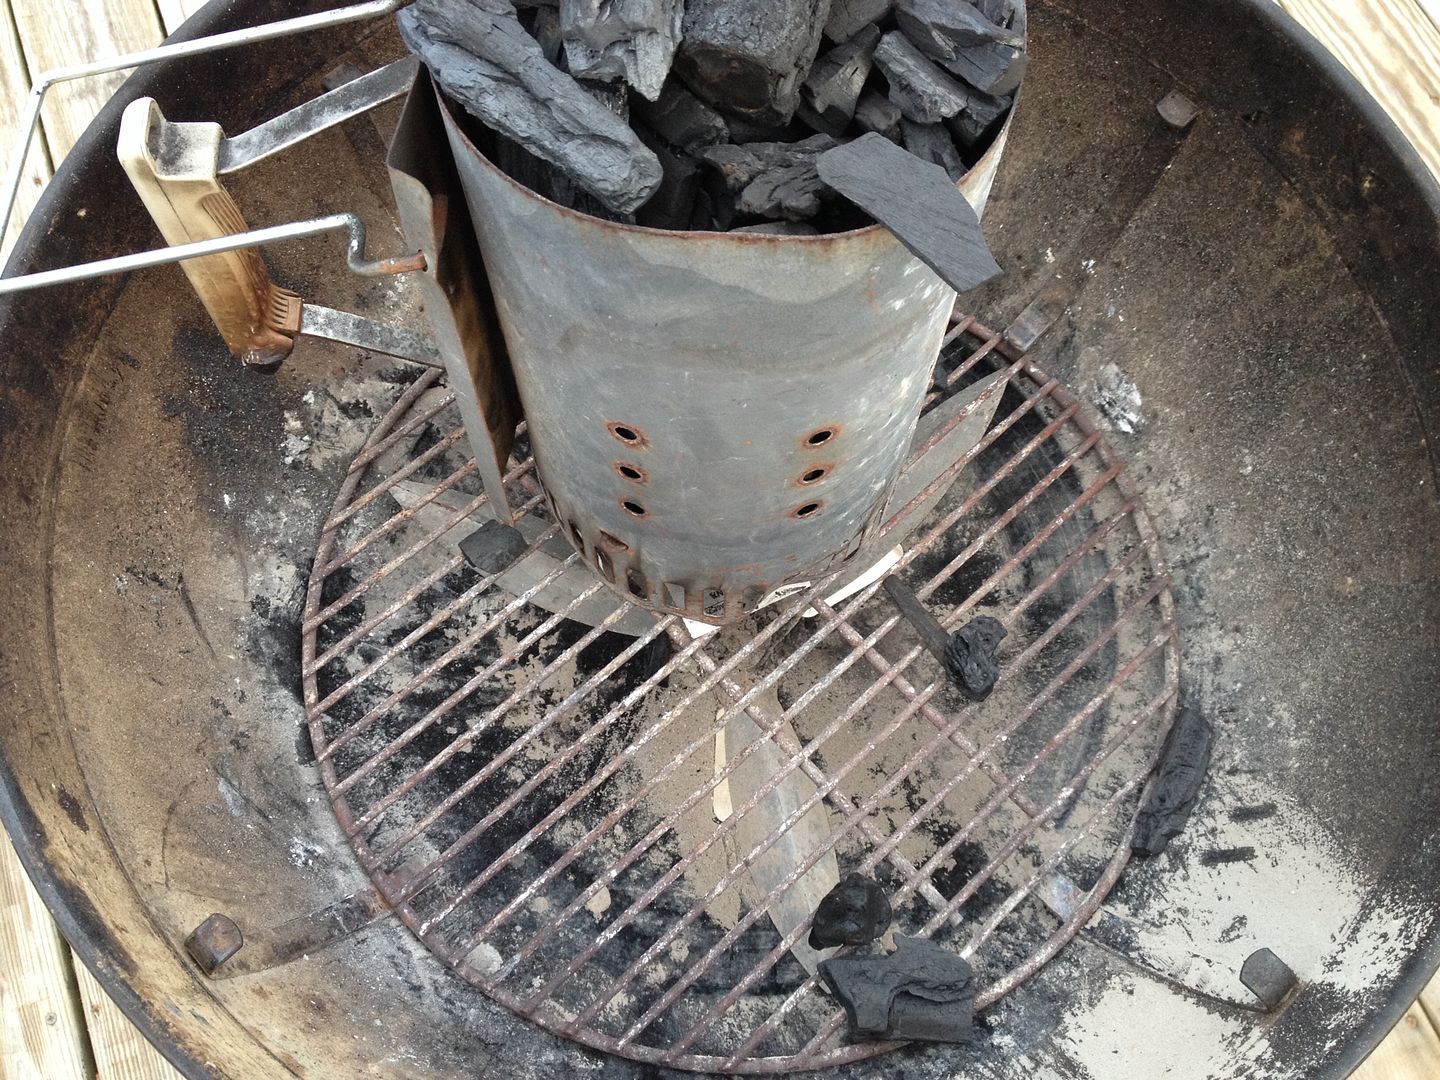
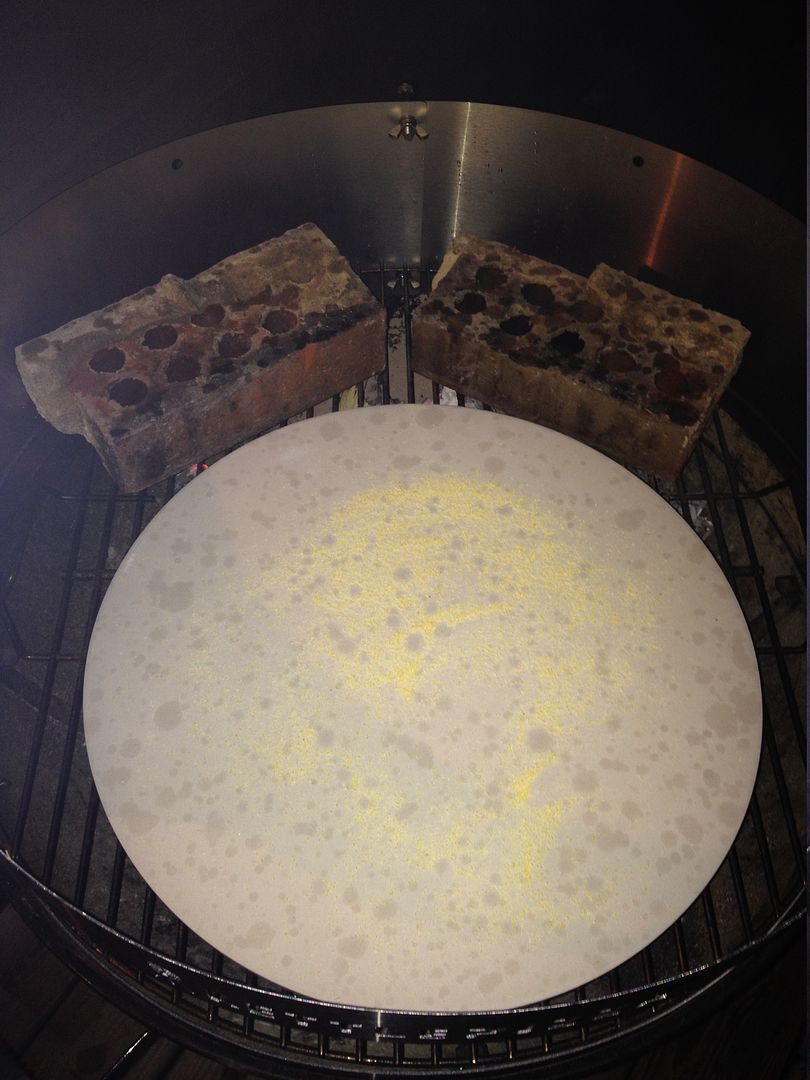
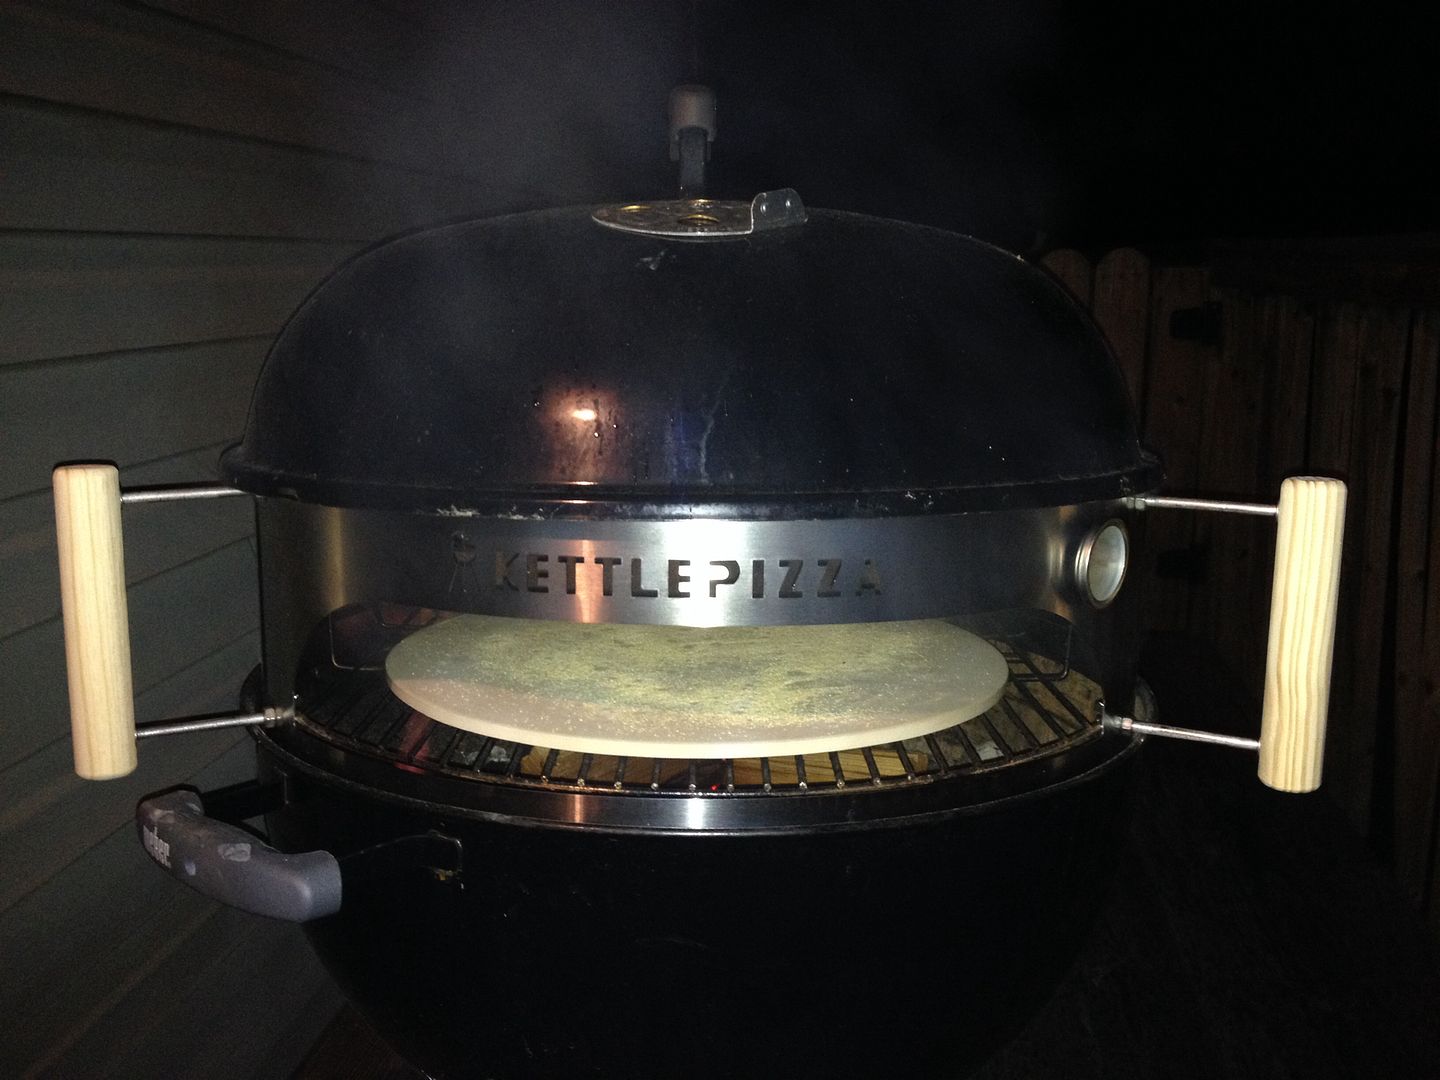
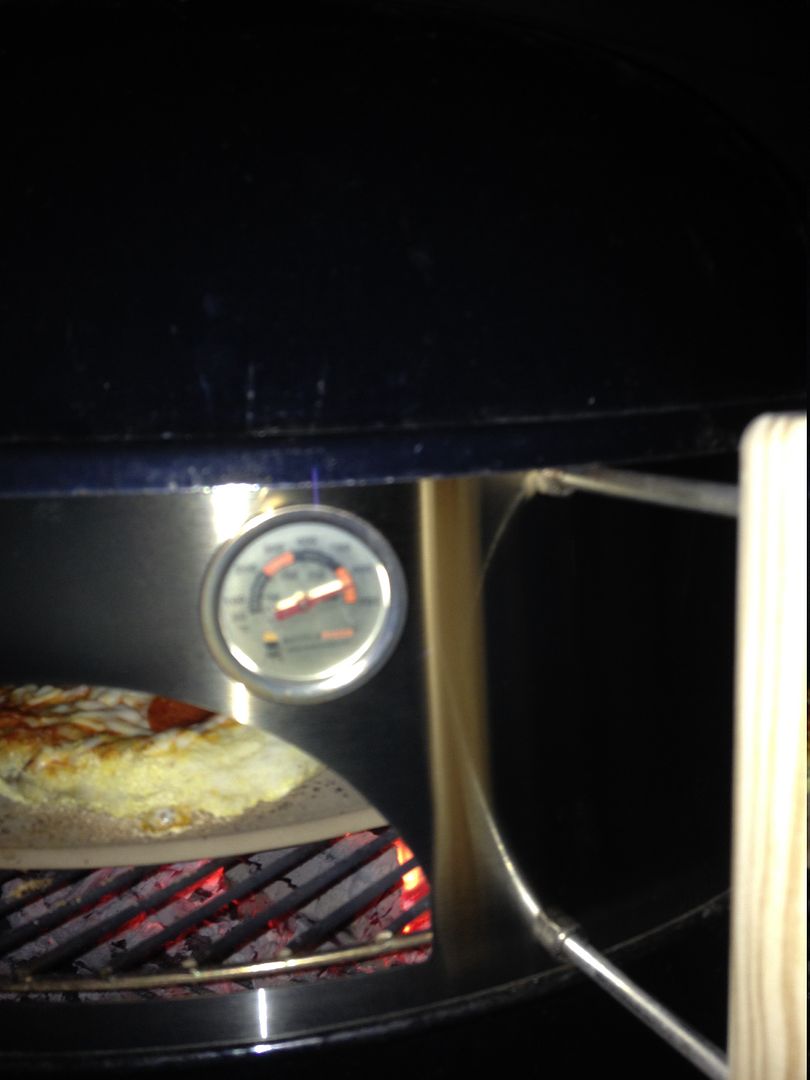
I fired up our new toy, the Pizzakettle, then cooked this pie in no time. Seven minutes to be exact, with one 180 degree turn halfway through the cook.


Seriously, this pizza was everything I had hoped for and more. Was this a quesadilla or an open faced bean burrito? The inner part of the pie was like a bean burrito that had been grilled due to the crispy crust on the bottom. The outer edges were more like a crispy happy hour quesadilla. This pizza had it all. The beans crisped up on the outer edges and so did the cheese. The oil from the peppers slightly caramelized the red onion. Everything just came together. There are even options for future versions of this pie. Why not add some grilled shrimp or chicken breast? I just might try the shrimp the next time. One thing I will change the next time I make this is to use more refried beans. Perhaps a double recipe the next time. The outer edges could have used a little more bean coverage.
Thanks for stopping by,
Bill
I set forth to rummaging through the refrigerator for some ideas. Perhaps Greek yogurt and spinach? Nah. Olives, broccoli, and processed cheese product? Nope. My eyes fell upon the batch of pinto beans I had made the day before. It had been awhile since I had indulged in some Mexican fare. I had just bought a chunk of Thunderjack cheese the other day. Hmmm, a plan was developing. Lets to go back to the pinto beans and start from the beginning.
My mom has made pinto beans for years. Beans are not every ones cup of tea, but I grew to like them. No, actually love them. Beans of all types prepared in many ways. But, my go to dish is Mom's good old pinto bean recipe. Quick, simple, and great with some stovetop Mac and Cheese and a wedge of corn bread. Here is the recipe:
Homemade Pinto Beans:
1 lb dried Pinto Beans. Rinsed and stones removed.
1 small sweet onion, roughly diced.
1 bell pepper, roughly diced.
4 cloves of garlic, minced.
1 Tbsp of freshly ground pepper.
2 tsp ground cumin
Salt to taste.
I soak my beans over night. You don't have to do this, but I think that it provides a smoother bean after cooking. After soaking overnight, drain your beans and rinse with cold water. Place the beans and all of your ingredients, except the salt into a pot with enough water to cover and an inch more. if you cook with the salt at the beginning, you will end up with a tough bean that is no fun to eat. Bring your pot to a boil, then simmer your beans for three hours. I crack the lid on my pot so that I reduce the amount of liquid a bit while cooking. Why? I like a thicker bean. After cooking, remove the beans from the heat and add salt to taste. You could add a hamhock or some bacon while cooking, but I like the pintos just like this. Here was my last batch.
How was I going to incorporate beans into a pizza? Refried beans of course. This recipe is quick and simple and way better than any refried bean you will get at a Mexican restaurant.
Homemade Refried Beans:
One cup of your Pinto Beans, plus the liquid.
1/4 cup shredded four cheese Mexican blend.
Olive Oil for your pan.
First, get a small skillet and add just enough olive oil to prevent your beans from sticking. Turn your burner to medium heat. Once the oil is starting to shimmer, twirl your pan to coat all surfaces and add your beans. Then, start mashing your beans with a potato masher.
Once you get your beans to the consistency you want, add the cheese and mix until melted and combined.
I do not mash my beans until they look like something that comes out of a baby food jar. I like some texture to my refried beans. I would say the biggest chunks are about 1/4"
Now, for the pizza. First, Hope made a batch of pizza dough. Here is the recipe. It is Jeff Smith's The Frugal Gourmet Cooks Italian Recipe...
Pizza Dough
3 1/4 cups AP flour
1 tbsp yeast
1/4 tsp sugar
1 tsp salt
2 tbsp olive oil
1 1/4 cups warm water
Put all of the ingredients into a bread machine, yeast on the bottom. Hit start and let your machine go through one knead and raise cycle. Then remove your dough from the bread maker and cover with a clean towel for 15 minutes to raise. When handling the dough, spray your hands with cooking spray. You'll thank me later...
1/2 of our Pizza Dough recipe
1 cup of Refried Beans
Enough sliced Thunder Jack Cheese to cover your pie
1/2 small Red Onion, diced
2 oz Black Olives
Hot Peppers, sautéed in oil, to taste. You could use sweet if you like
Lets run through the ingredients.
Thunder Jack Cheese is the best Co Jack I have found at our local grocery store. It can be found in the specialty case of your local Big Bird. It is better than any pepper jack cheese I have ever found. It has that great Co Jack flavor with big hunks of real pepper. I could eat the whole block myself.
Next up, the hot peppers in oil. I have found a great product from Suhey's Peppers. Suhey, sound familiar? Yes, these peppers are made by the same Matt Suhey that rumbled through the Penn State backfield back in the day. It is tough for a Pitt guy to like this product, but I have put my college rivalry aside. These peppers are perfectly spiced and prepared with whole cloves of garlic. These peppers top out on the top of the heat scale. Blazing hot, but not in an obnoxious way. They add lots of flavor to any dish. I have even started adding them to my tossed salads. Warning though, they are not for the capsicum challenged. Suhey's does make a sweet variety that is just as good. I recommend either.
So, I built my pizza. I spread my refried beans on my crust, then topped with the cheese, onion, olives, and peppers.
I fired up our new toy, the Pizzakettle, then cooked this pie in no time. Seven minutes to be exact, with one 180 degree turn halfway through the cook.
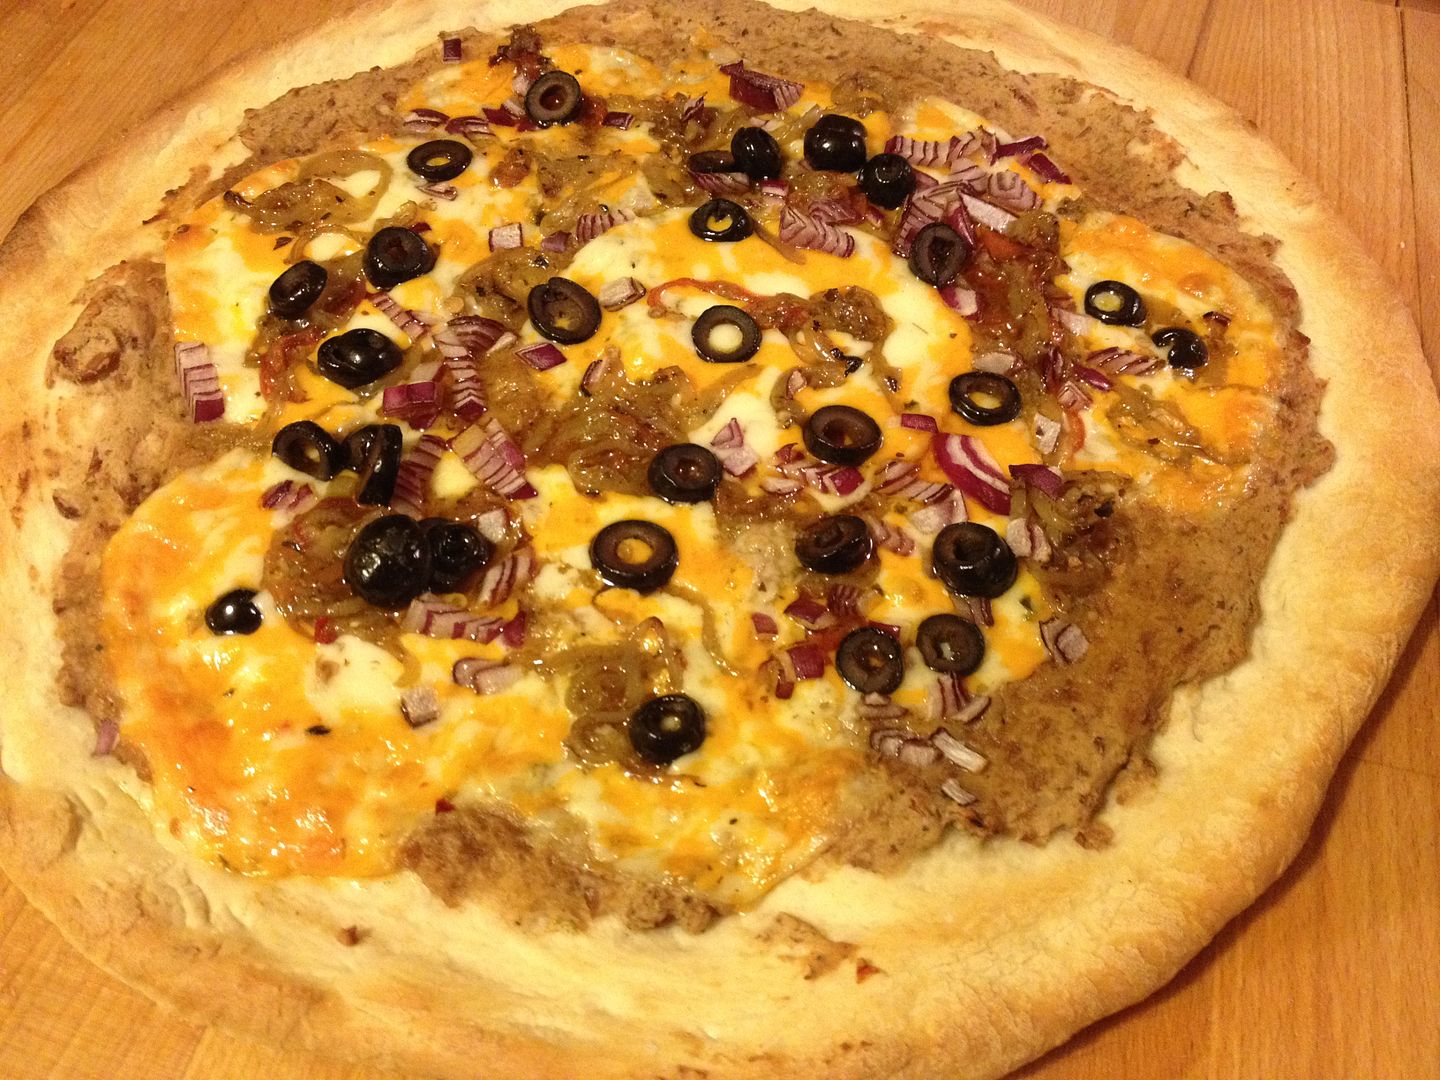
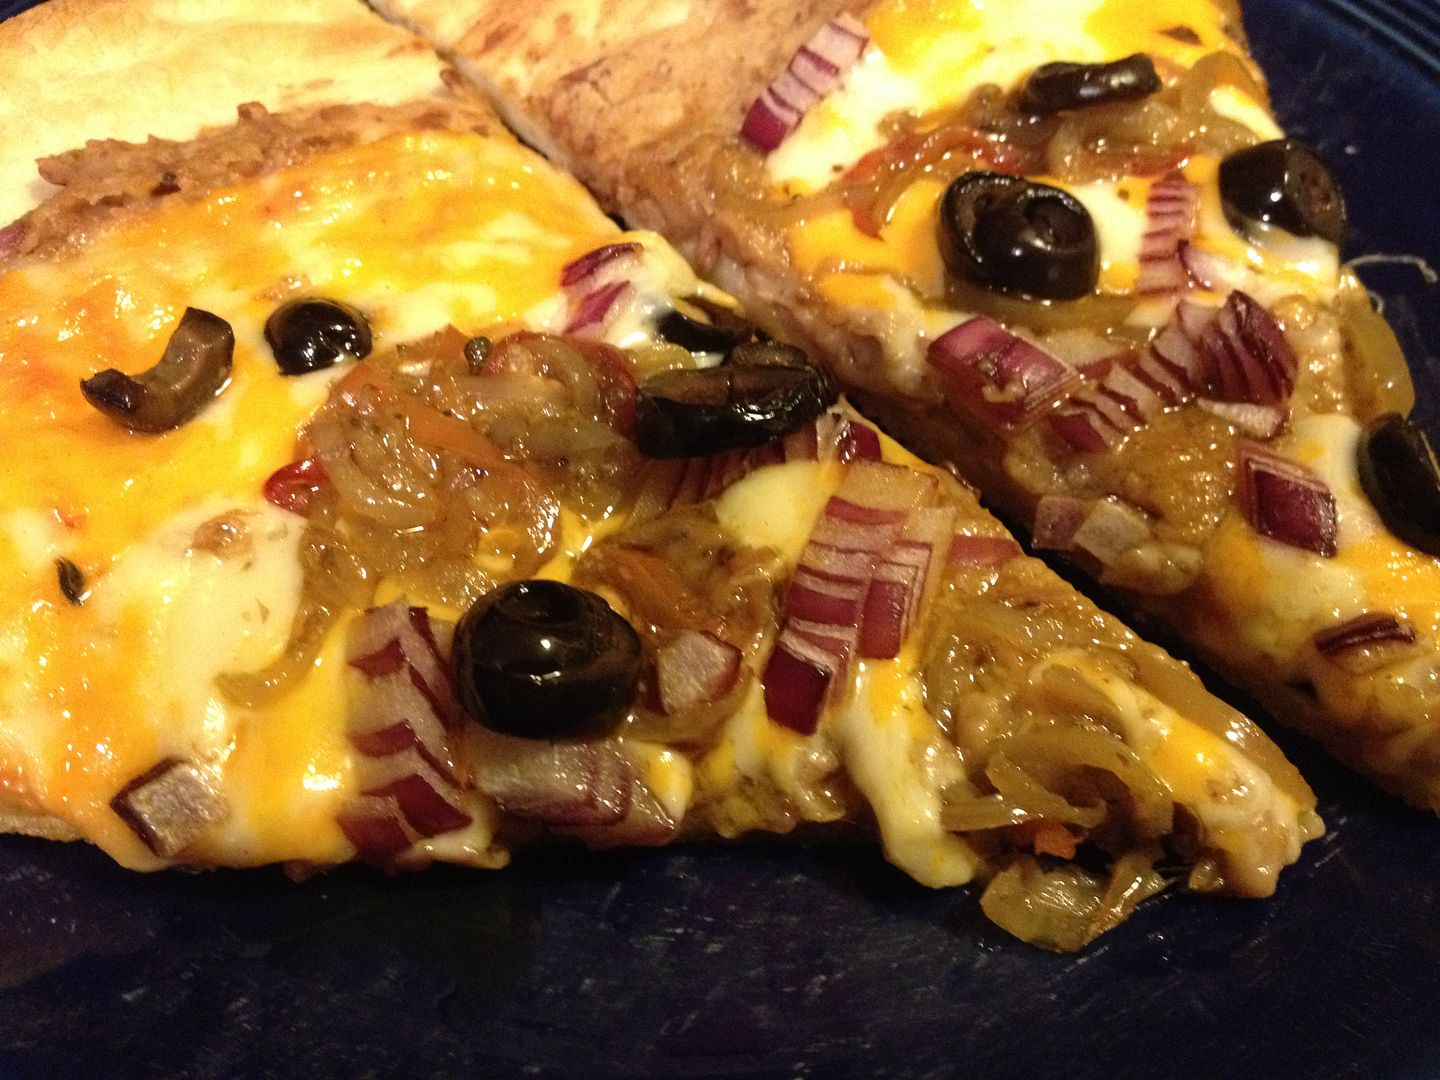
Seriously, this pizza was everything I had hoped for and more. Was this a quesadilla or an open faced bean burrito? The inner part of the pie was like a bean burrito that had been grilled due to the crispy crust on the bottom. The outer edges were more like a crispy happy hour quesadilla. This pizza had it all. The beans crisped up on the outer edges and so did the cheese. The oil from the peppers slightly caramelized the red onion. Everything just came together. There are even options for future versions of this pie. Why not add some grilled shrimp or chicken breast? I just might try the shrimp the next time. One thing I will change the next time I make this is to use more refried beans. Perhaps a double recipe the next time. The outer edges could have used a little more bean coverage.
Thanks for stopping by,
Bill