I had my eye on the weather towards the end of February. After one of our short cold snaps, the weekend forecast was shaping up nicely. 70, sunny, no rain. Ah yes, the benefits of an El Nino winter. Or perhaps, the rat from Punxsutawney was right for once. Either way, I was determined to take full advantage of the bonus February heat wave. I had a taste for something with some smoke and maybe a little sauce. Turkey breasts were on sale. I had some cheddar cheese at home. The plan was taking shape. After a quick detour back to the produce department for a poblano pepper, it was time to rush home and get down to some smoking!
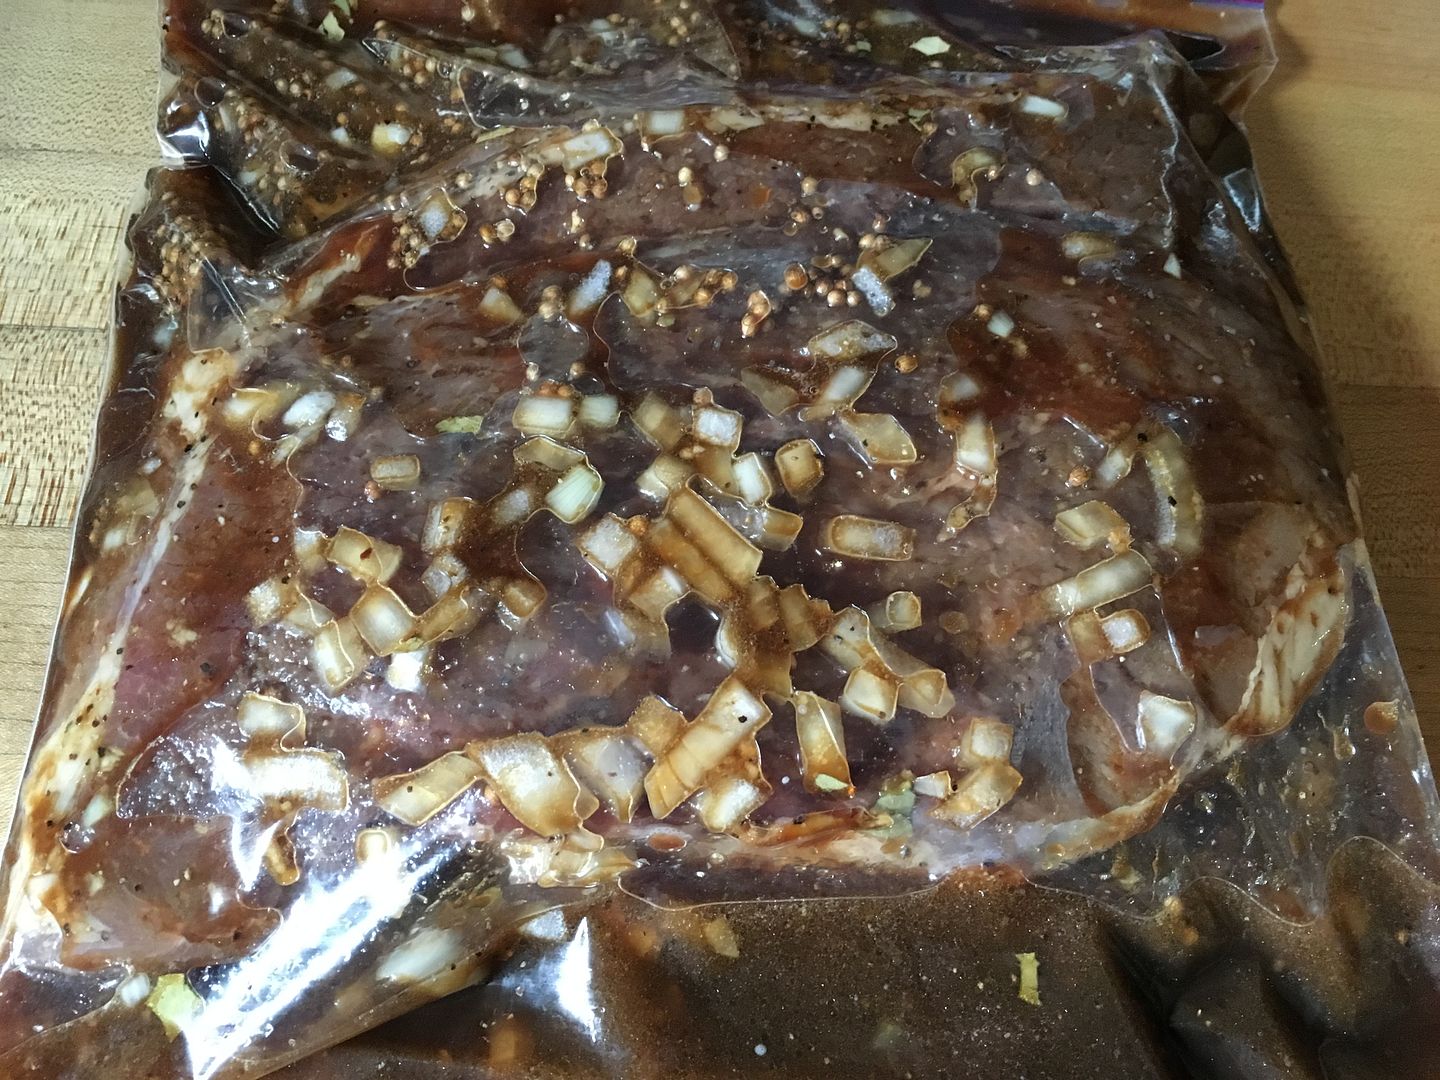
First, I whipped up a half batch of poultry brine and placed it in the refrigerator to cool overnight. The next day, I placed the turkey in the brine for a two hour spa treatment. While the turkey was tucked away in its briny bath, I thinly sliced some sweet onion, seeded and sliced my poblano pepper into strips, and for good measure, I thawed some home cured maple bourbon bacon. Next, I lit my smoker and set the temperature for 250 F and fished some apple wood out of storage for my smoke flavor.
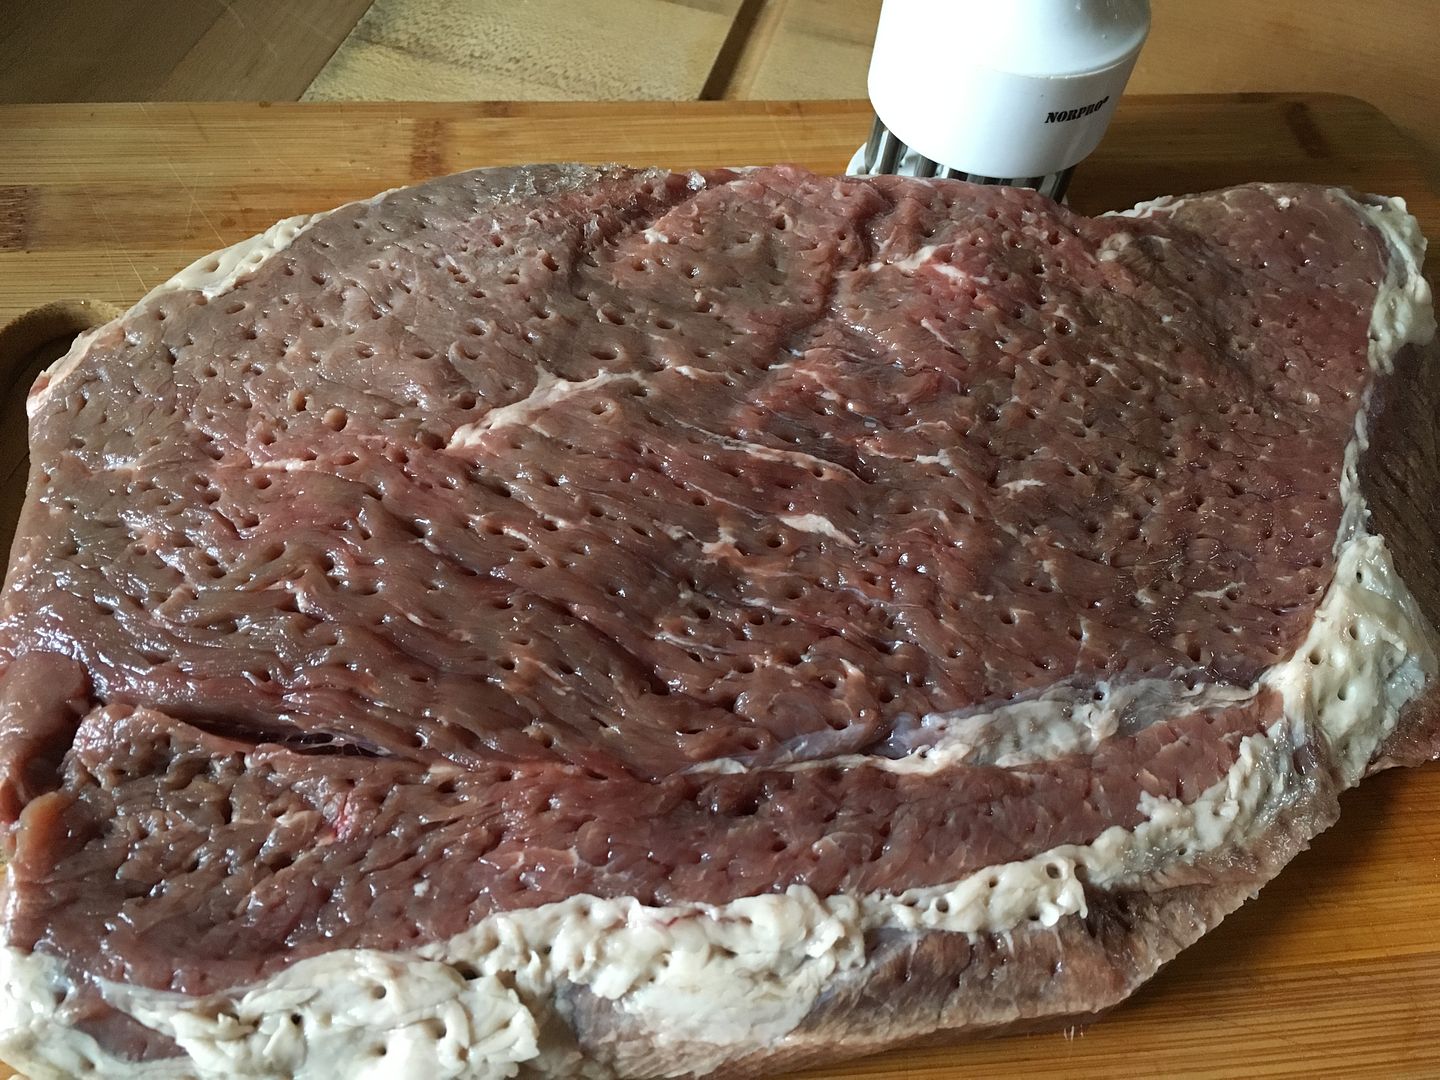
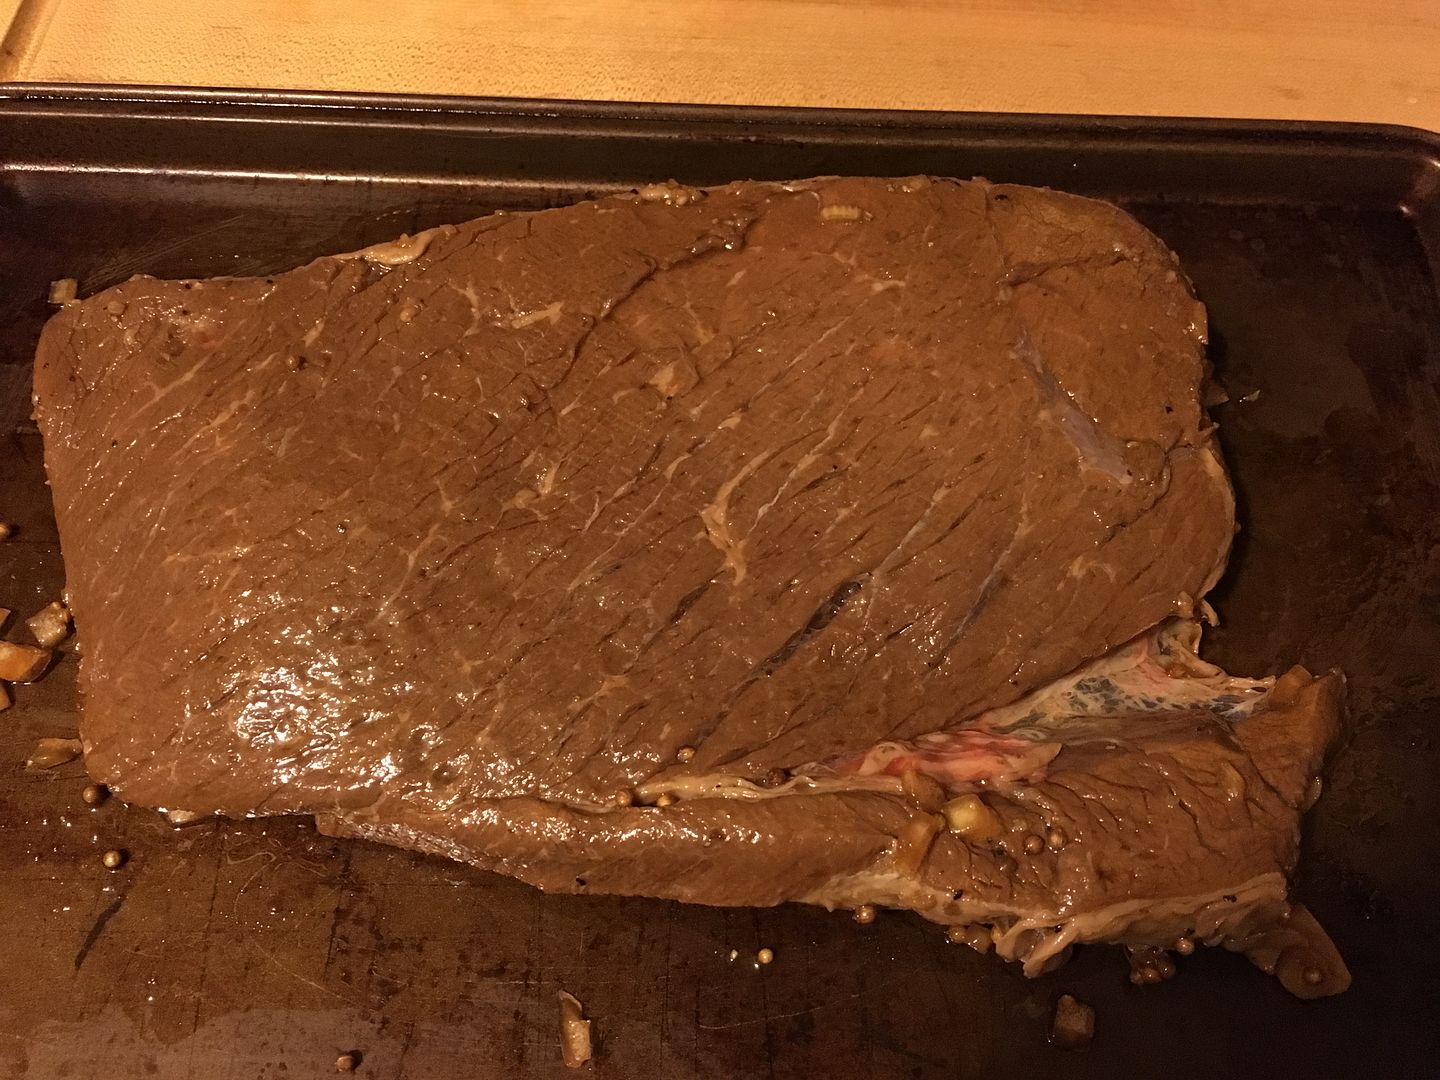
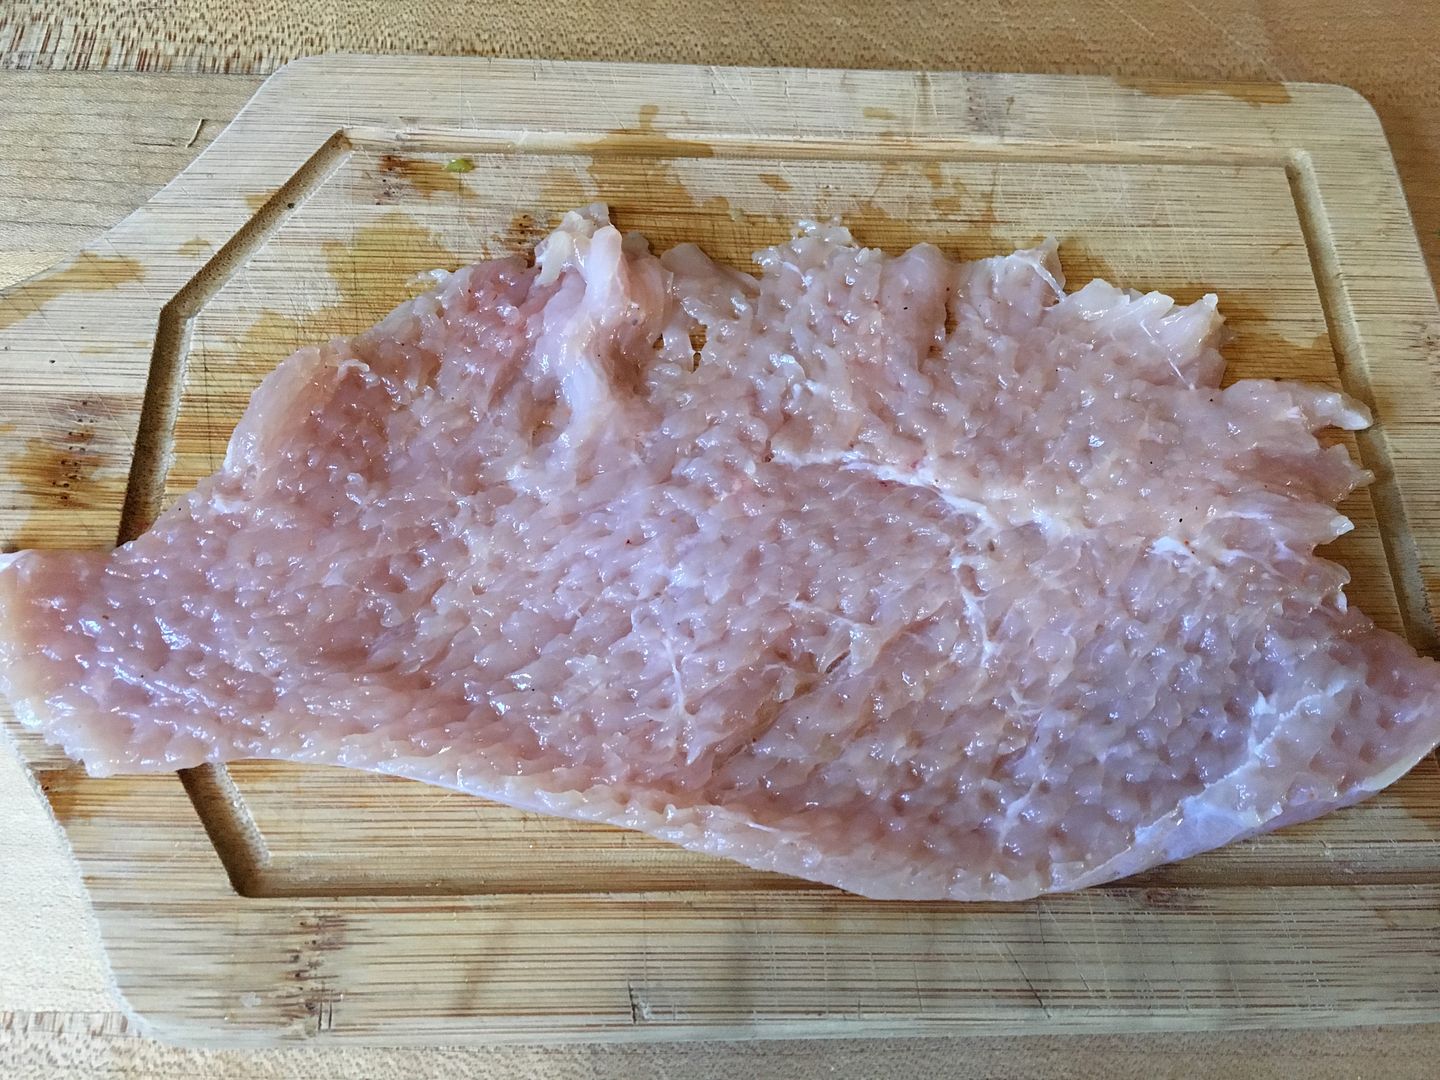
Once I removed the turkey from the brine, I rinsed thoroughly with water, patted them dry, then vented some stress by pounding the breasts to about 1/4-3/8" thick with a meat mallet.

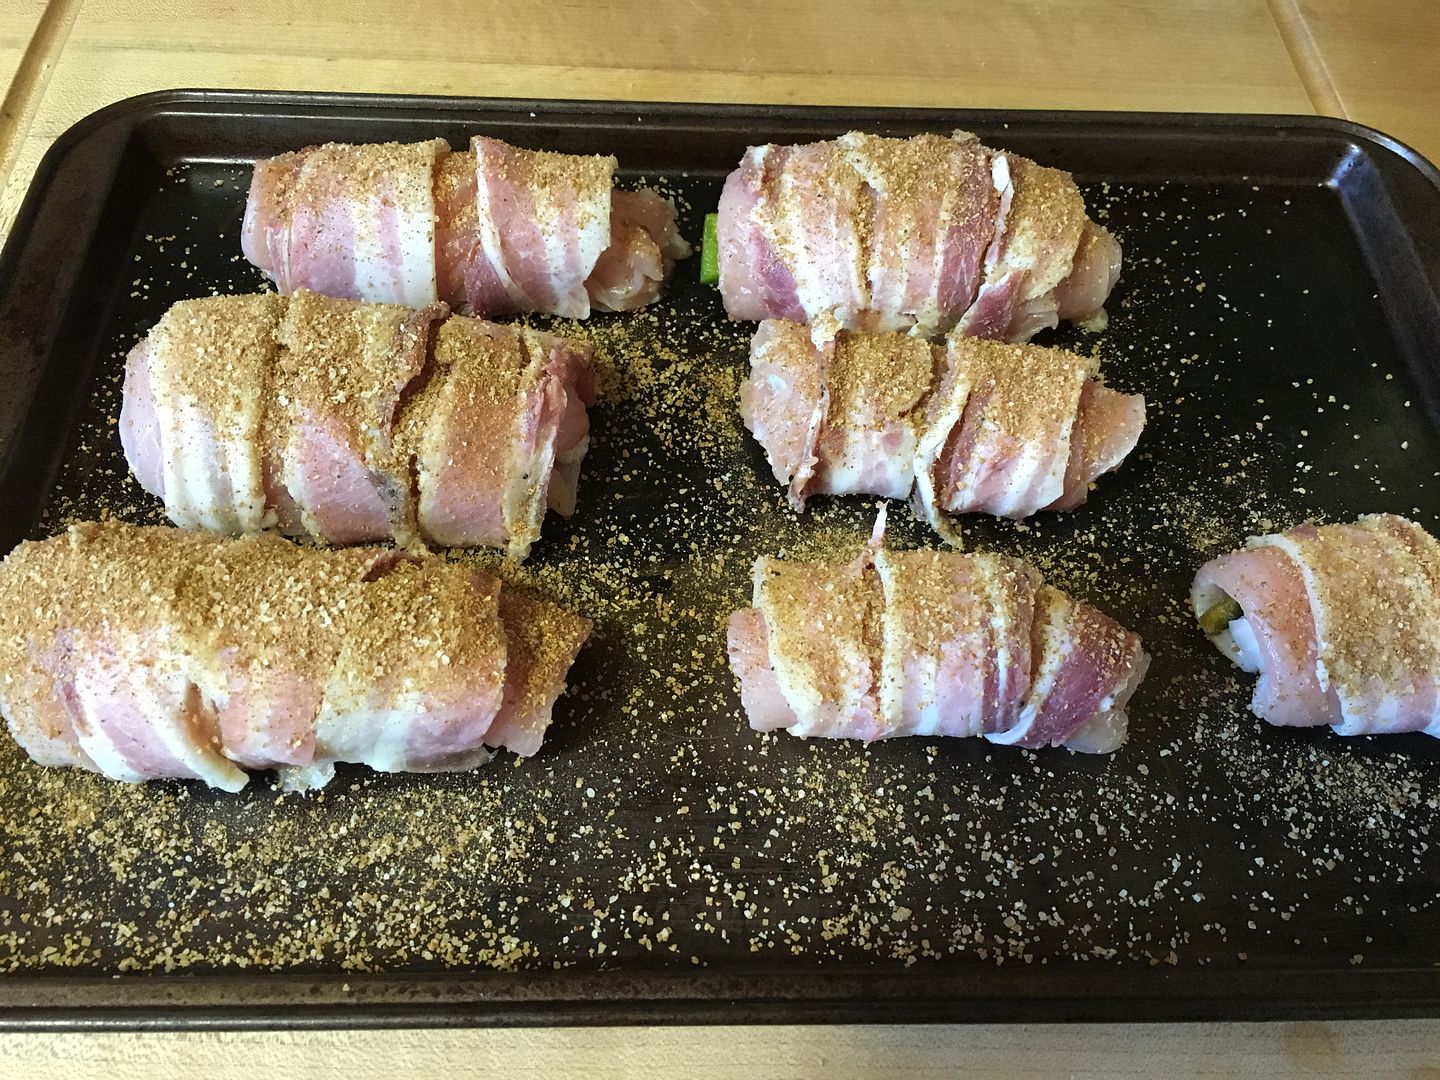
Next, I placed a slice of sharp cheddar, a slice of onion, and one poblano strip off to one side of the breast. Then I rolled up the breast and then wrapped the breast in bacon. The final touch was a light dusting of Dizzy Pig Raging River Rub. The maple flavors in the rub would complement the bourbon bacon nicely.


Once the assembly process was complete, I placed the breasts on a wire rack and placed them on the top rack of the smoker. After 60 minutes, I checked the temperature of the breasts and they were right around 145 F.

Time for a BBQ sauce glaze. You can use any sauce of your choosing. I grabbed a pint of homemade sauce kindly given to us by our good friends at Red Valley BBQ and lightly glazed these packages of bacon wrapped goodness.

After 15 minutes, I lightly applied a bit of the sauce and then placed the rack back in the smoker for 15 more minutes to set the final application of sauce.

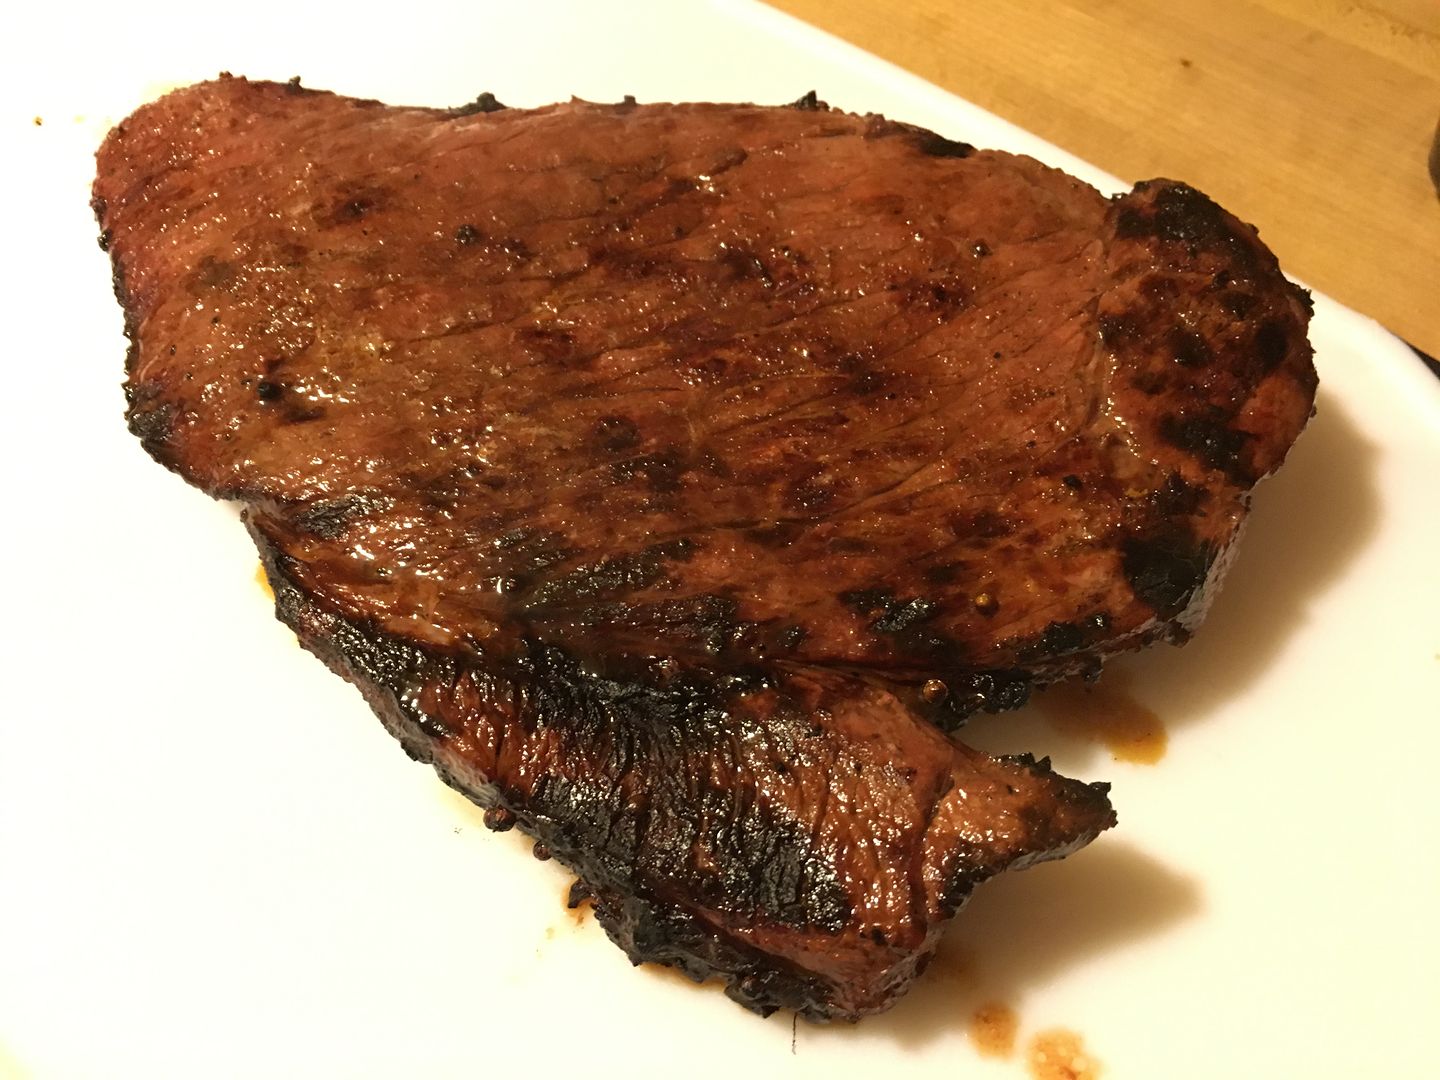
When finished, I grabbed an adult beverage, a knife and a fork, and sat on the deck, enjoying the warm February weather. This little experiment turned out just right. Moist and tender, cheesy with a little bite from the pepper and the sauce. Oh yeah, the bourbon bacon was a nice touch as well. I should have turned this turkey breast in for the World Bacon Championship last year. Oh well, not much I can do about that now, right?
Thanks for stopping by,
Bill
First, I whipped up a half batch of poultry brine and placed it in the refrigerator to cool overnight. The next day, I placed the turkey in the brine for a two hour spa treatment. While the turkey was tucked away in its briny bath, I thinly sliced some sweet onion, seeded and sliced my poblano pepper into strips, and for good measure, I thawed some home cured maple bourbon bacon. Next, I lit my smoker and set the temperature for 250 F and fished some apple wood out of storage for my smoke flavor.
Once I removed the turkey from the brine, I rinsed thoroughly with water, patted them dry, then vented some stress by pounding the breasts to about 1/4-3/8" thick with a meat mallet.
Next, I placed a slice of sharp cheddar, a slice of onion, and one poblano strip off to one side of the breast. Then I rolled up the breast and then wrapped the breast in bacon. The final touch was a light dusting of Dizzy Pig Raging River Rub. The maple flavors in the rub would complement the bourbon bacon nicely.

Once the assembly process was complete, I placed the breasts on a wire rack and placed them on the top rack of the smoker. After 60 minutes, I checked the temperature of the breasts and they were right around 145 F.

Time for a BBQ sauce glaze. You can use any sauce of your choosing. I grabbed a pint of homemade sauce kindly given to us by our good friends at Red Valley BBQ and lightly glazed these packages of bacon wrapped goodness.
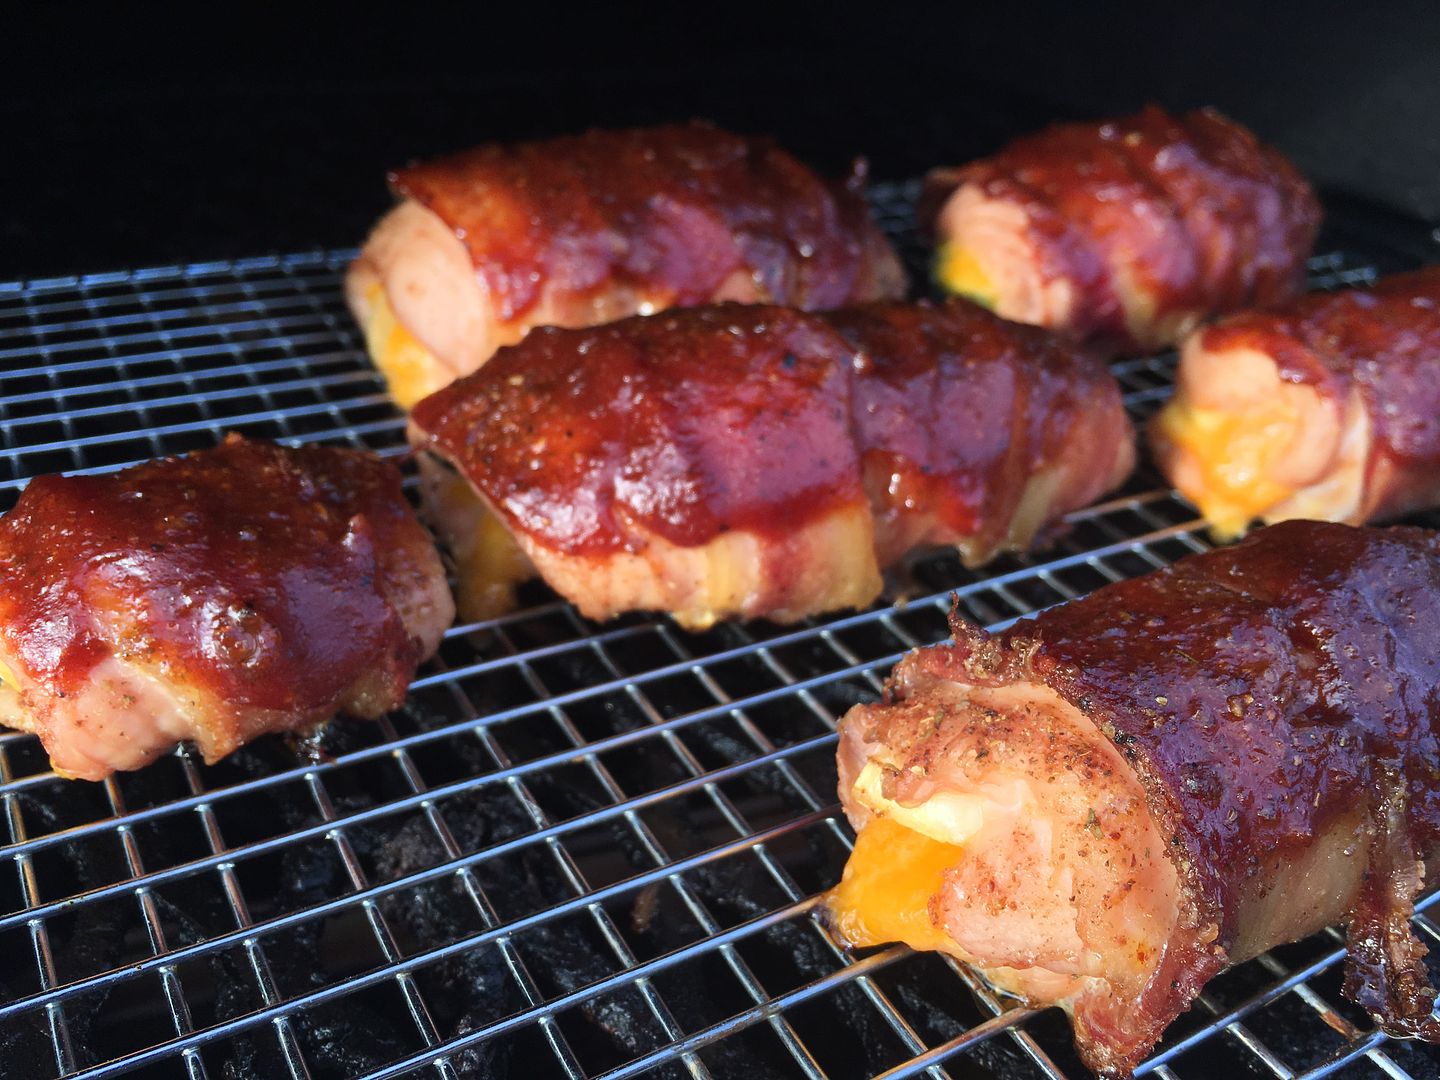
After 15 minutes, I lightly applied a bit of the sauce and then placed the rack back in the smoker for 15 more minutes to set the final application of sauce.
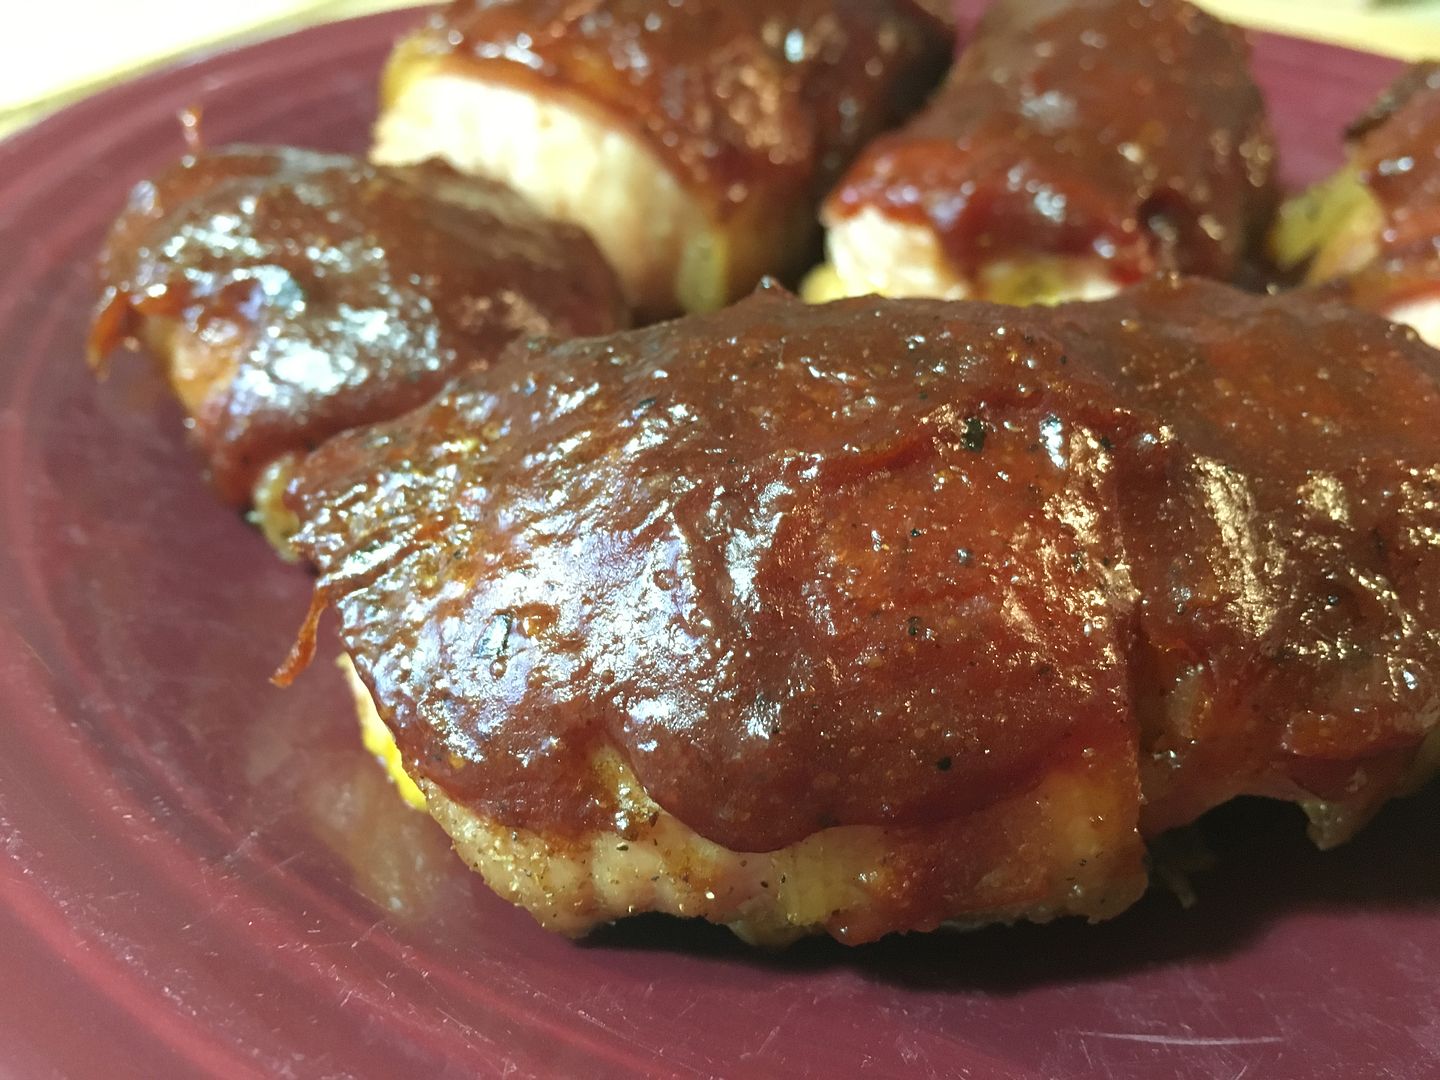
When finished, I grabbed an adult beverage, a knife and a fork, and sat on the deck, enjoying the warm February weather. This little experiment turned out just right. Moist and tender, cheesy with a little bite from the pepper and the sauce. Oh yeah, the bourbon bacon was a nice touch as well. I should have turned this turkey breast in for the World Bacon Championship last year. Oh well, not much I can do about that now, right?
Thanks for stopping by,
Bill