Search This Blog

Tuesday, September 30, 2014

Boneless Beef Short Ribs the Old Fashioned Way

As luck would have it, I was shopping for a few things at Costco the other day.  As is the usual MO at Costco, I was drawn in by the meat case.  What's this?  Do I spy a package of beautiful looking beef short ribs winking at me?  Why, yes I do.  The sirens song made me pick up the package and deposit it in my cart.  Damn you Costco!  So, as I wondered through the store, picking up what I needed and a few more impulse buys, I kept intact my streak of not getting out of that terrible place for less than $100 and drove home.  During the drive home I mulled over how to cook those beautiful ribs.  I settled on a blast from the past, grilling.

Growing up, as a young, budding grill master, I had no idea when smoking meat low and slow was.  Ribs, both beef and pork, plus chicken, were par boiled (gasp!) by my mother.  Then, I took the plate of cooked meat and finished it up on the grill with a little sauce.  Oh my, how I have come a long way.  Occasionally though, I love the taste that a grill imparts to smoked meat.  So, with a few changes, off to the grill I went.


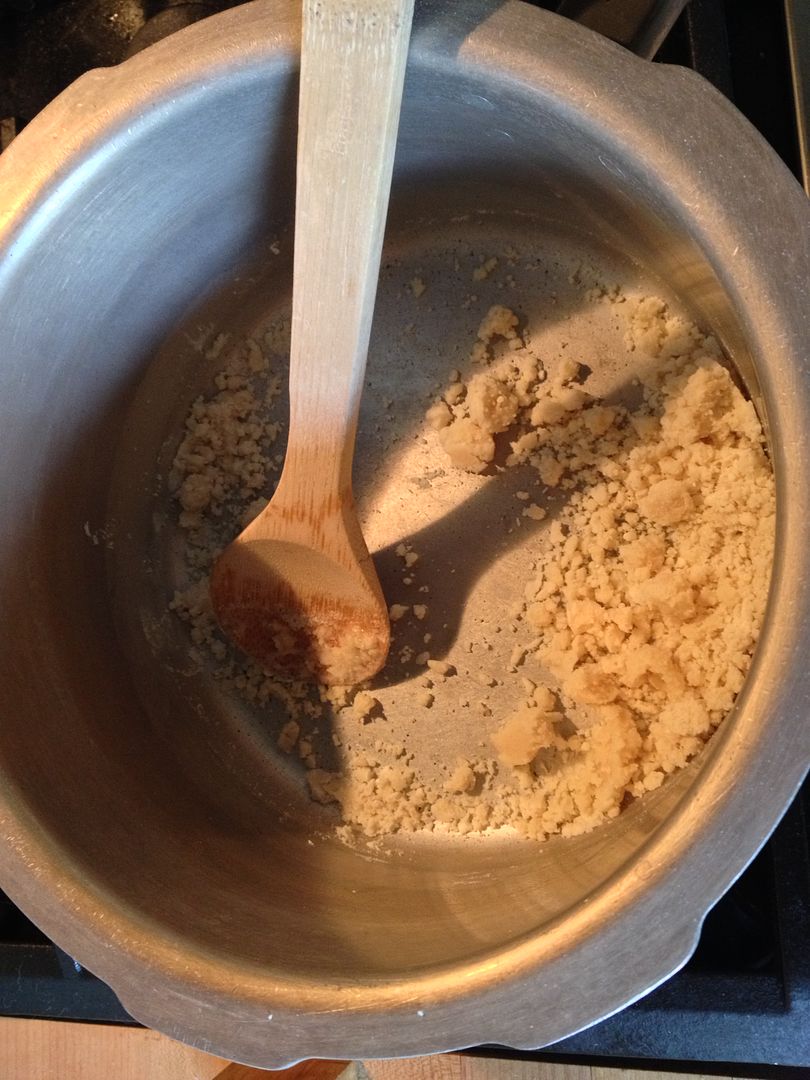
What you see above are two whole boneless beef ribs, cut in two.  Diet you know.  The marbling was beautiful.  I was going to go simple here.  Two of them I sprinkled with Oakridge Black Ops Brisket rub and the other two I seasoned the way I would a steak: sea salt, fresh ground pepper, and granulated garlic.


As I waited for the meat to come to room temperature, I fired up the grill, taking care to keep the coals off to one side.  When the coals were ready, I threw a chunk of pecan wood on top.  Once the pecan was burning nicely, I brought my ribs out and started cooking.


I placed them on indirect heat and closed the lid.  The temperature was about 350-400 F inside.  At this point, I walked away and came back after 30 minutes.  A quick check with the thermometer showed that these ribs were ready for step two: a hot sear.


When cooking beef ribs, there are two trains of thought.  Pull at 165 F, rest, then eat.  Or, push through to 195 F.  At the lower temperature, you get a chewier product.  At the higher temperature, you end up with something a little more tender.  Don't get to far past 195 F, or you will end up with pulled beef.  I like them either way, but I was in the mood for tender tonight.

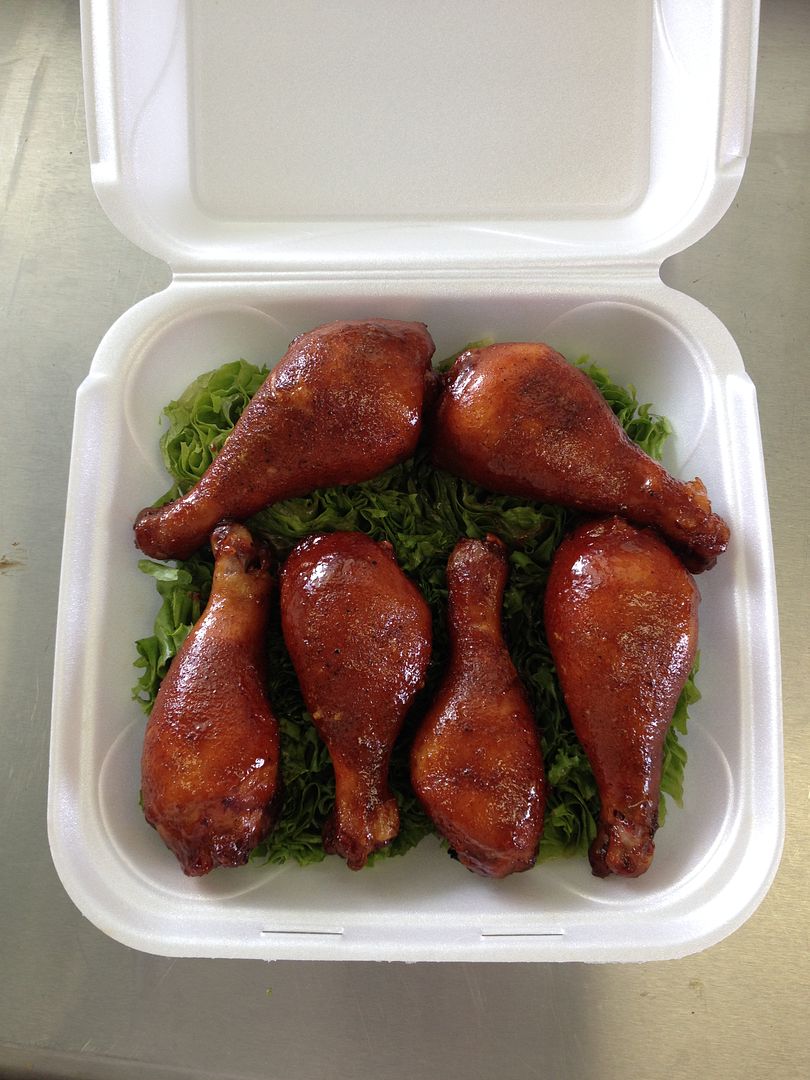
At this point, I lightly sauced the BBQ rubbed ribs with Blues Hog Tennessee Red.  The steak seasoned ribs left naked.  I then moved the ribs to direct heat for a quick sear.


The Devil Dog Ellie Mae was waiting on any grilling mishaps.


The ribs were seared about two and a half minutes a side.  Just long enough to caramelize the sauce and put a nice char on the steak seasoned ribs.


This dinner took me back a bit in time.  Moist, tender, and juicy.  I need to try this method with some pork ribs sometime soon.

Thanks for stopping by,

Bill

Friday, September 26, 2014

Mac and Cheese Stuffed Peppers with Bacon and Smoked Onions and Peppers

Rikk over at Shortsville Smokers makes the best macaroni and cheese on the BBQ potluck circuit.  Period.  I've watched him and Deb make a batch.  Lots of secret ingredients, tons of cheese, and jalapeños as well.  I lost track of the method.  But, he did inspire me to raise my game a notch or two.  A few weekends ago, I played around in the kitchen and whipped up a batch of my homemade mac and cheese.  This is comfort food at its highest level.

First, I fried up some bacon.  Once cooked, I drained on paper towel and crumbled.


After eating a strip for quality control purposes, I ended up using crumbled bacon from three strips.


Then, I cut the top off of two, garden fresh bell peppers and removed the seeds and pulp.


My smoker was already at 350 F, so I diced 1/4 of a sweet onion and sliced one jalepeno pepper.  I added a small amount of olive oil, salt, and pepper, then placed in the smoker to caramelize.  After about 15 minutes, this is what they looked like:


With the pre-work done, time to move to the mac and cheese.  First, I boiled two cups of dry macaroni for about eight minutes.  I cook short of the recommended time as the macaroni will finish cooking when you bake the mac and cheese mixture.  When done, drain in a colander and set aside.

Next up, the roux.  First, I melt two tablespoons of butter in a saucepan.  Once melted, I add two heaping soup spoons of AP flour.  Then, I cook on medium heat until the flour is crumbly and brown. The more you brown your flour, your roux will have a deeper color and flavor.  Here is what I try and strive for at this step:


At this step, I slowly whisk in three cups of milk.  I use 2%.  You could use any kind you wanted.  I have been known to use half and half when I am feeling evil.  The choice is up to you.  Do not add all of the milk at once or you will end up with a big flour ball.  Once all of the milk has been added, I simmer on low heat while stirring constantly until the roux starts to thicken.  I shoot for the consistency of cream gravy.  This usually takes about 10-15 minutes.  Once the roux is done, I stir in six ounces of shredded extra sharp cheddar cheese and add salt and pepper to taste.  When the cheese is melted, stir in your macaroni and mix to incorporate.  At this point, I pour into a 9x13 pan that has been sprayed with cooking spray.  Today, since I had peppers, the method was a bit different.

To the whole mix, I added my crumbled bacon.  At this point, I removed one cup of the mixture for me and added the caramelized onions and peppers.  I added my mix into one pepper and a cup of the other mixture into another pepper.  The balance of the mac and cheese mixture when into a foil pan to cook.  Do not fill the peppers to the top.  I left about 1/4 of space at the top to allow for expansion.  Both of the peppers and the foil pan were topped with shredded mozzarella cheese.

Then, everything went into a 350 F smoker, along with some kielbasa and hickory wood in the ash pan for smoke.


Bake until your mac and cheese is brown and bubbly on top.  This takes about 30 minutes.  Here was our final product.


Creamy, cheesy, bacony.  Add in the heat from the jalapeño and the caramelized flavor of the sweet onion and this was comfort food in its highest form.  The bell pepper was good a well.  It added a nice sweet flavor.  It was not mushy, just slightly past tender crisp.  Perfect.  

Here is my basic baked mac and cheese recipe.  Feel free to experiment on your own with different flavors.  Just a hint, crumbled Gorgonzola cheese on top takes this dish to new heights!

Three Dogs BBQ Mac and Cheese.  Base Recipe.

2 cups of uncooked elbow macaroni
2 Tbsp of butter
2 heaping soup spoons of AP flour
3 cups of 2% milk
6 oz shredded sharp cheddar cheese
Salt and pepper to taste
Shredded cheese of choice for topping

Cook macaroni for eight minutes, drain, and set aside.  Melt butter in saucepan, then add the flour.  Stir constantly over medium heat until the flour is crumbled and brown, about 10 minutes.  Slowly add the milk while whisking.  Once all of the milk is added, simmer on low until thickened, about 10 minutes.  Add cheese, salt and pepper, then incorporate macaroni.  Pour into 9x13 pan sprayed with cooking spray.  Top with shredded cheese, then bake at 350 F until brown and bubbly on top.  About 30 minutes.  Serve and enjoy.

Thanks for stopping by,

Bill

Tuesday, September 23, 2014

KCBS Competition - Oinktoberfest 2014

This past weekend, the Three Dogs BBQ traveling road show loaded up the trailer and headed to Clarence, NY for our next to last competition of the year at Oinktoberfest.


Uncharacteristic to The Oink, the weather was spectacular for most of the weekend.  No snow or pouring rain.  Only a bit of rain overnight on Saturday with a windy Sunday.  But, nothing we couldn't deal with.


The evenings were a little brisk, but nothing a fire wouldn't keep away.


So, on Saturday morning, the sun rose, the moon set, and the smoke was rolling.


It was time to compete.  Lets review the weekend.


Chicken is our most consistent category and this weekend was no exception.


This box scored a 166.8800, good enough for a 12th out of 66 teams.

Ribs had a bit of a fall off after nice showing at Hudson Valley.


Our score was a disappointing 149.1316, good enough for 49th overall.  I tinkered with the cook time a bit.  Time to go back to our old method for sure.


After a miserable year in pork, our tinkering under the new rules has paid off finally.  This box scored us a 169.1316 and a call at fifth place over all.

Our last turn in was brisket.


Another drop off from our 7th at Hudson Valley.  This box scored a 150.2744 and 41st place.

When you add it all up, Three Dogs came in 25th place overall.  So, a bit of a mixed bag.  But, any weekend you can get a call and a ribbon or trophy is a good weekend.


Congrats go out to our Grand Champions Hawg Doctors and to our Reserve Grand Champs Priorville.  Also, we would like to send some good luck to our friends competing at the American Royal and The Jack in the next month: Good Smoke BBQ and Smokin' Hoggz BBQ.  Bring some trophies back to the Northeast!

The Oink is a bittersweet weekend.  It is the last New York competition of the year.  So, it is the last time we get to see our New York and Canadian friends until next year.  We can't wait until Roc City already.  For everyone else, we will see you at The Keystone Classic BBQ State Championship in two weekends.  If you are close, stop on by.  It is well worth it for the state fair types of food as well as come high quality BBQ.

Thanks for stopping by,

Bill

Wednesday, September 17, 2014

When Life Gives you Tomatillos, Make Sauce

This past week, a colleague was kind enough to bring me some tomatillos from the bumper crop she has grown at home.


What to do?  Make salsa or make a sauce?  After careful consideration, spurred on by the fact that Costco had halibut fillets on sale, I decided to make a nice tomatillo cream sauce with Mexican flavors.

Where to start?  I had never cooked with or even tasted a tomatillo.  So, I performed some internet research for a baseline to work from.  The recipe that I used was this one from Melissa d'Arabian on the Food Network website: Tomatillo Sauce Recipe.

As I am prone to do, I tinkered a bit.  I wanted more of a Mexican flavor.  I was also thinking cream sauce as well.  So, here is my final version:

Tomatillo Cream Sauce.  Recipe adapted from Melissa d'Arabian

1 pound tomatillos, husked and rinsed
3 cloves garlic, unpeeled
1 white onion, quartered
2 jalapeño chile, whole
2 tablespoons extra-virgin olive oil
1 1/2 teaspoons salt
1/2 tsp ground cumin
1/2 tsp dried parsley
1/4 teaspoon freshly ground black pepper
1/4 cup of low fat half and half

First I husked the tomatillos, rinsed, and dried.


Then, I quartered my onion, rinsed and dried my jalapeños from the garden, and grabbed the three cloves of garlic.  I place them all in a bowl, added the olive oil and salt, then roasted at 350 F for 30 minutes per the recipe.


After roasting, I removed the stems from and seeded the jalapeños.  Then, I removed the garlic from their husks.  Then, all of the roasted veggies and garlic went into the food processor along with the dry spices and was blended on high.  While blending, I added the 1/4 cup of low fat half and half.  Here is the final product.


I placed the sauce into a small sauce pan for reheating.

Then, after lighting the grill, I took a halibut fillet, cut in half, and rinsed and dried thoroughly.  The fillets received a thin coating of olive oil along with a seasoning of sea salt and fresh ground pepper.  On to the grill they went.  I grilled the fillets for about 5 minutes a side, or until they started to get flaky.

After plating, I covered with the tomatillo sauce that was gently warmed on the stove.  I also served and a side of crispy roasted red and fingerling potatoes.  The potatoes even received a dollop of the sauce.


First, the smell of roasting tomatillos was intoxicating.  They had a different aroma than you get from roasting your standard tomato.  I can't describe it to be honest.  You'll have to try it for your self.  As for the sauce, it was outstanding.  Almost tomato like, it was sweeter than a tomato, yet tart as well.  There was also a deeper flavor than you get with a standard roasted tomato.  I can't wait to get some more tomatillos and start experimenting with salsas.  Tomatillo plants will be in our garden next year for sure.

Thanks for stopping by,

Bill