Ever had a smoked and grilled pork chop? You end up with the best of both worlds: a nice hammy taste with a grilled, crispy pork fat flavor. Pork heaven on a plate for sure. So, since we have been on a pork curing kick around here lately and our butcher had pork rib roasts on sale for $2.99/lb, we decided to experiment.
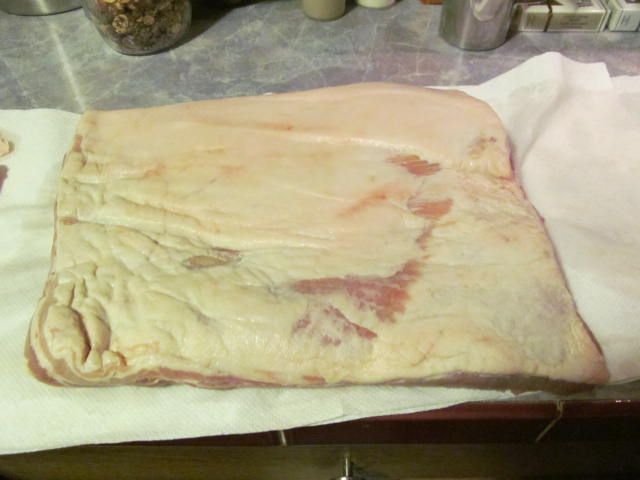
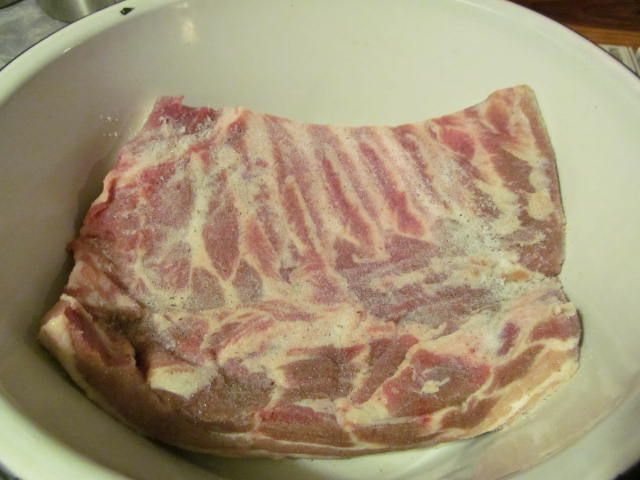
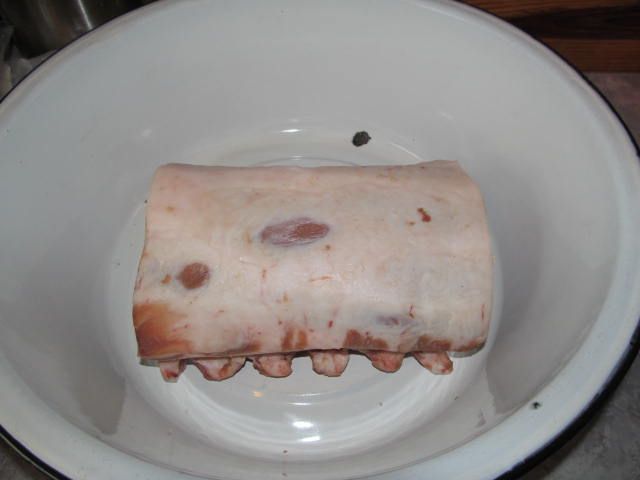
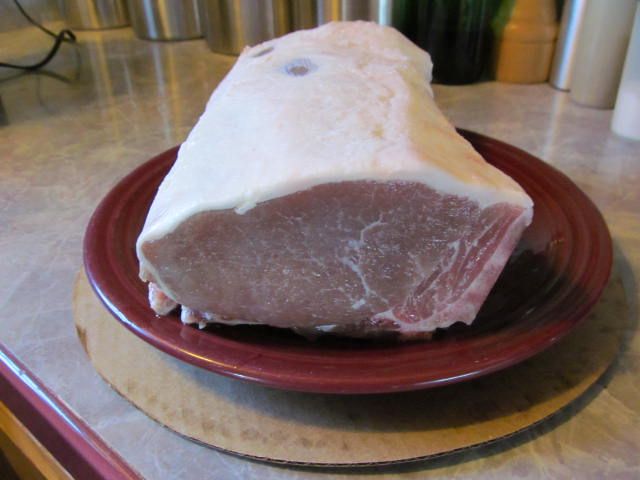
First, we picked up a nice looking pork rib roast from Dave's Country Meats...

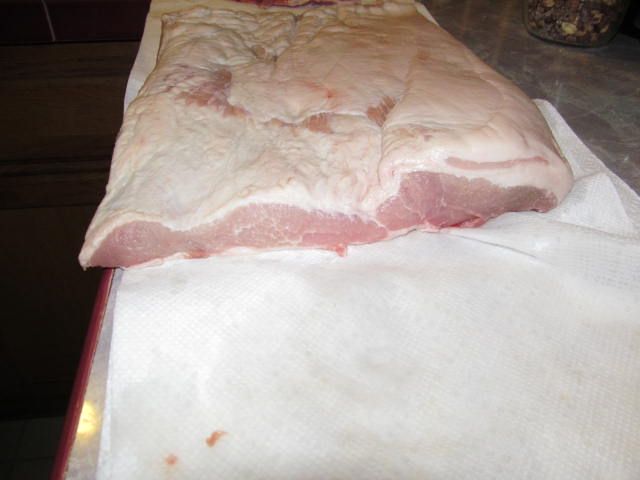
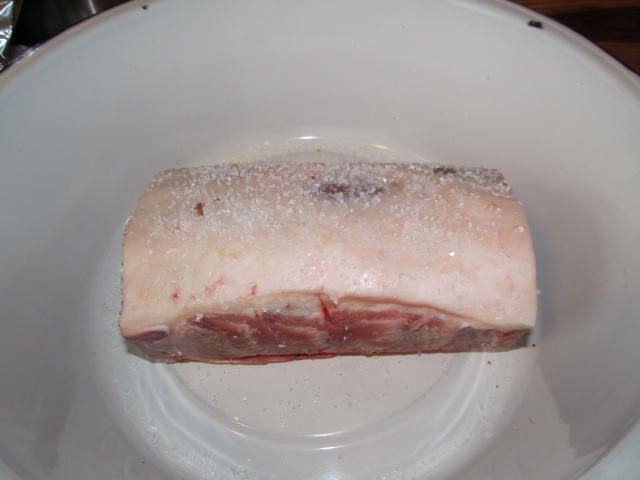
We rinsed with water, patted dry, and removed the membrane from the back of the bones. Then covered all surfaces 1/4 cup of kosher salt, placed in our non-reactive pan, covered with foil, and place in the refrigerator for some happy time...

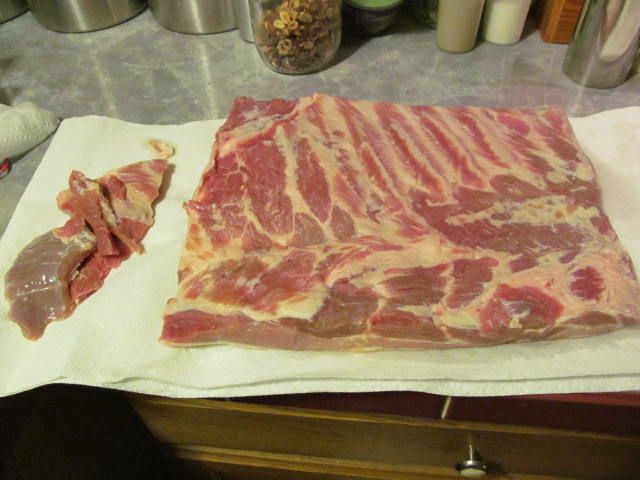
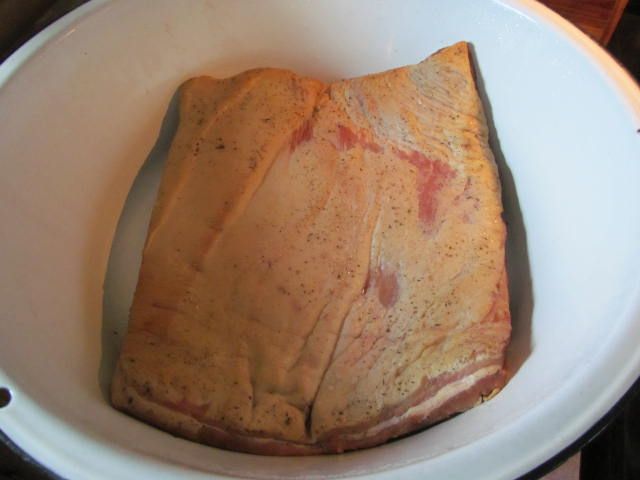
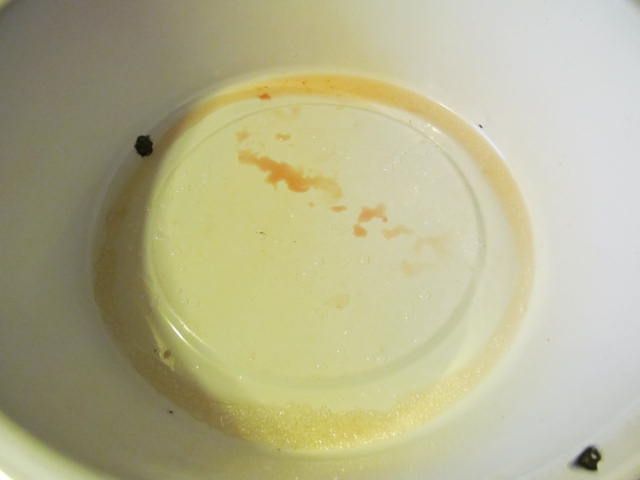
Every other day we drained the water pulled out of the meat by the salt, reapplied a fine coating of fresh kosher salt, and placed back in the frig. After 6 days of curing, I removed from the frig, rinsed the roast throughly, and allowed to soak for 2 hours in cold water to remove all of the excess salt...
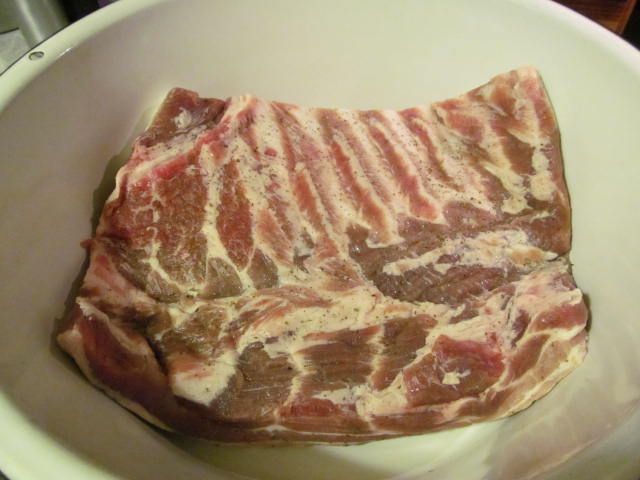
After 2 days...

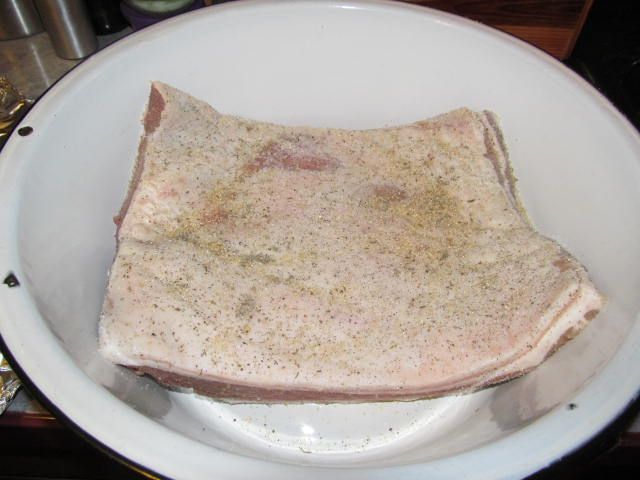
Starting to look "hammy"...

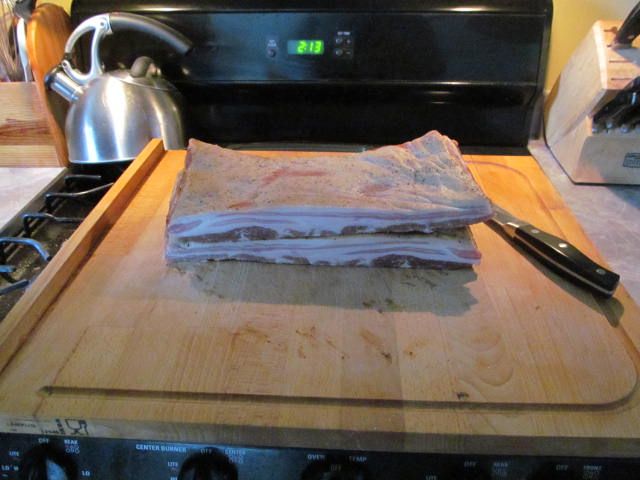
After 6 days...

Don't you see the inner pork chop just trying to get out?

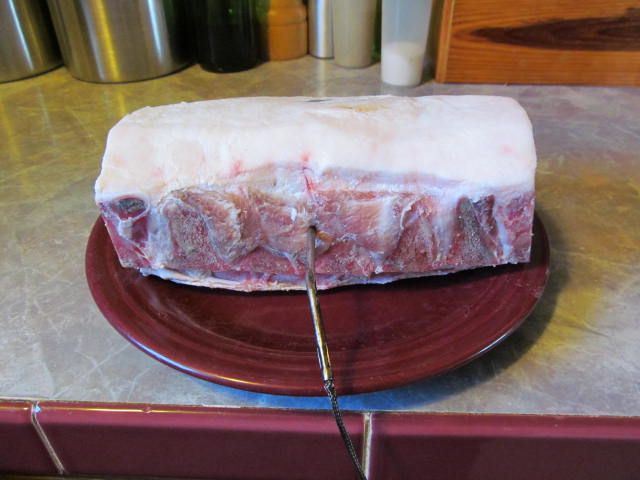
At this point, I lit my smoker and brought to a temperature of 190 F. Then, I added hickory to the ash pan for my smoke flavor. Then, I inserted a temperature probe into the roast from the back, between two rib bones and placed on the smoker...

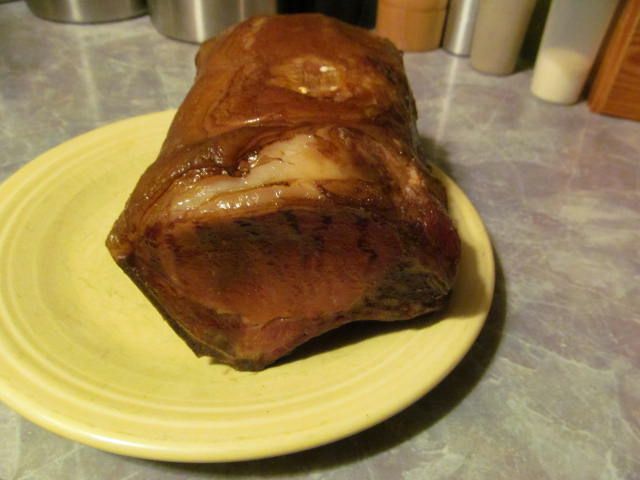
I smoked at 190 F until the internal temperature of the meat was 155 F. Then, I plunged the meat into a cold water bath to stop the cooking process, patted dry, and put in the refrigerator to cool overnight for slicing...

Here is the sliced product...

My slicing turned out to be a bit of a "hack" job. I couldn't cut through the rib bones as the chine bone was still in place. So, after 3 ugly bone-in chops, I removed the bones and sliced for boneless chops.
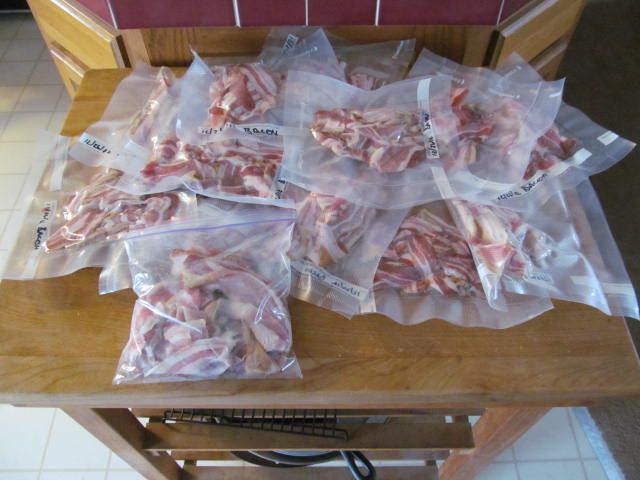
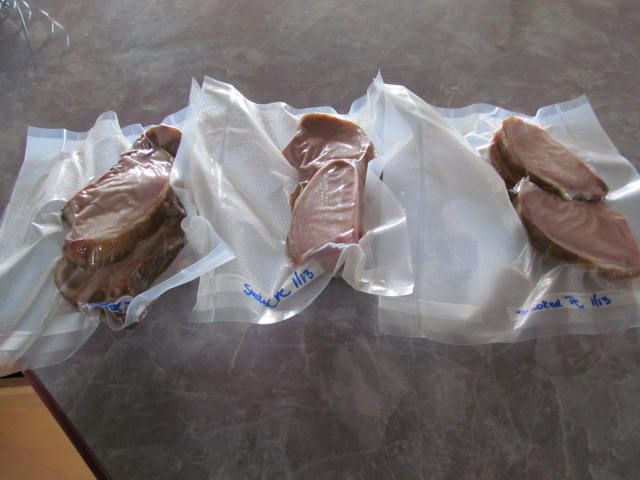
It was too cold to grill, so we vacuum packed for grilling at a warmer date...

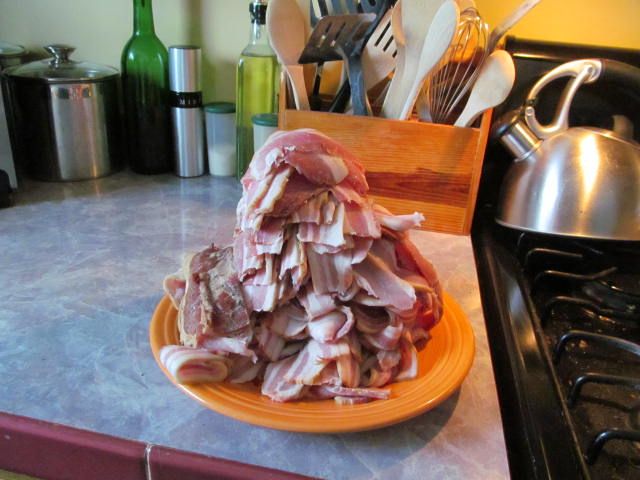
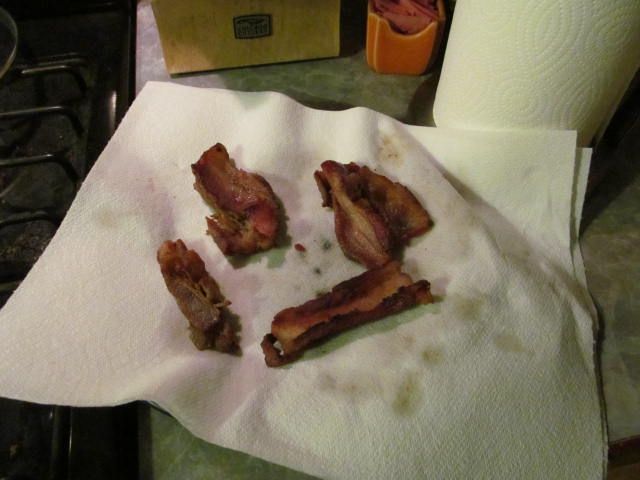
Just by visual inspection, they look great. They look hammy and juicy, and they smell perfect. I cannot wait to try them on the grill. I will report back after the grilling is done...
Thanks for stopping by...
Bill
First, we picked up a nice looking pork rib roast from Dave's Country Meats...
We rinsed with water, patted dry, and removed the membrane from the back of the bones. Then covered all surfaces 1/4 cup of kosher salt, placed in our non-reactive pan, covered with foil, and place in the refrigerator for some happy time...
Every other day we drained the water pulled out of the meat by the salt, reapplied a fine coating of fresh kosher salt, and placed back in the frig. After 6 days of curing, I removed from the frig, rinsed the roast throughly, and allowed to soak for 2 hours in cold water to remove all of the excess salt...
After 2 days...
Starting to look "hammy"...
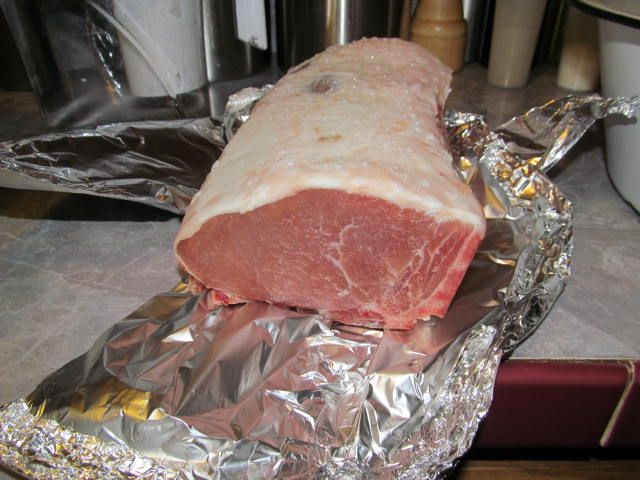
After 6 days...
Don't you see the inner pork chop just trying to get out?

At this point, I lit my smoker and brought to a temperature of 190 F. Then, I added hickory to the ash pan for my smoke flavor. Then, I inserted a temperature probe into the roast from the back, between two rib bones and placed on the smoker...
I smoked at 190 F until the internal temperature of the meat was 155 F. Then, I plunged the meat into a cold water bath to stop the cooking process, patted dry, and put in the refrigerator to cool overnight for slicing...
Here is the sliced product...
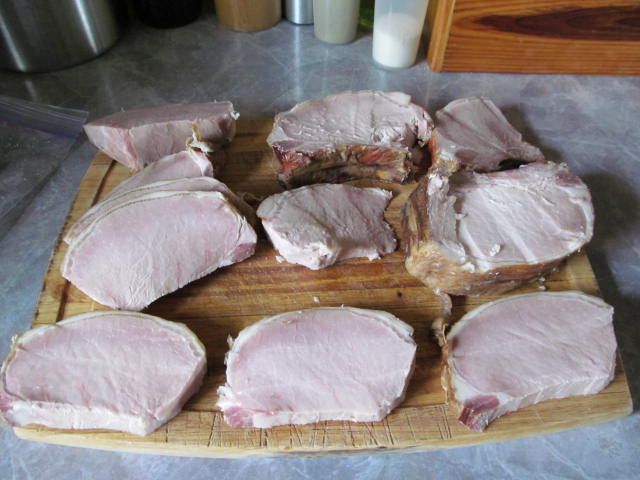
My slicing turned out to be a bit of a "hack" job. I couldn't cut through the rib bones as the chine bone was still in place. So, after 3 ugly bone-in chops, I removed the bones and sliced for boneless chops.
It was too cold to grill, so we vacuum packed for grilling at a warmer date...
Just by visual inspection, they look great. They look hammy and juicy, and they smell perfect. I cannot wait to try them on the grill. I will report back after the grilling is done...
Thanks for stopping by...
Bill